How to Backup an iPhone or iPad Before an Upgrade
With the new iPhones and iOS 12 all making their way into the world, now would be a good time to ensure you know how to backup your iPhone or iPad, and to ensure they are, in fact, backed up before upgrading to the shiny new stuff.
Here we will cover how to backup your iPhone and/or your your iPad both through iCloud and through iTunes.
Backing up with iCloud
An item of note before I explain the backup process: Apple has changed their iCloud storage tiers over time. You can see the current plans here, or by going to Settings → iCloud → Storage → Change Storage Plan.
For the US, the current plans and pricing are:
- 5 GB — Free (same as ever)
- 50 GB — $1/month
- 200 GB — $3/month
- 2 TB — $10/month
If you’re a regular iPhone / iPad / Mac user, you would likely get a lot of value from one of the paid plans. 50 GB will most likely cover the vast majority of people’s backup needs. If you have a bunch of photos, and/or if you want to use iCloud Drive for keeping all the files on your Mac in sync with your iPhone and iPad, then perhaps the 200GB or 2TB options would serve you better.
With that said, here’s how to back your data up to iCloud…
First, determine what you want to include in (or exclude from) the backup. To do that, navigate to Settings → iCloud → Storage → Manage Storage → Choose your device under ‘Backups’.
Under Backup Options you will see a list of toggles for the photo library and every app on your device, sorted by file size:
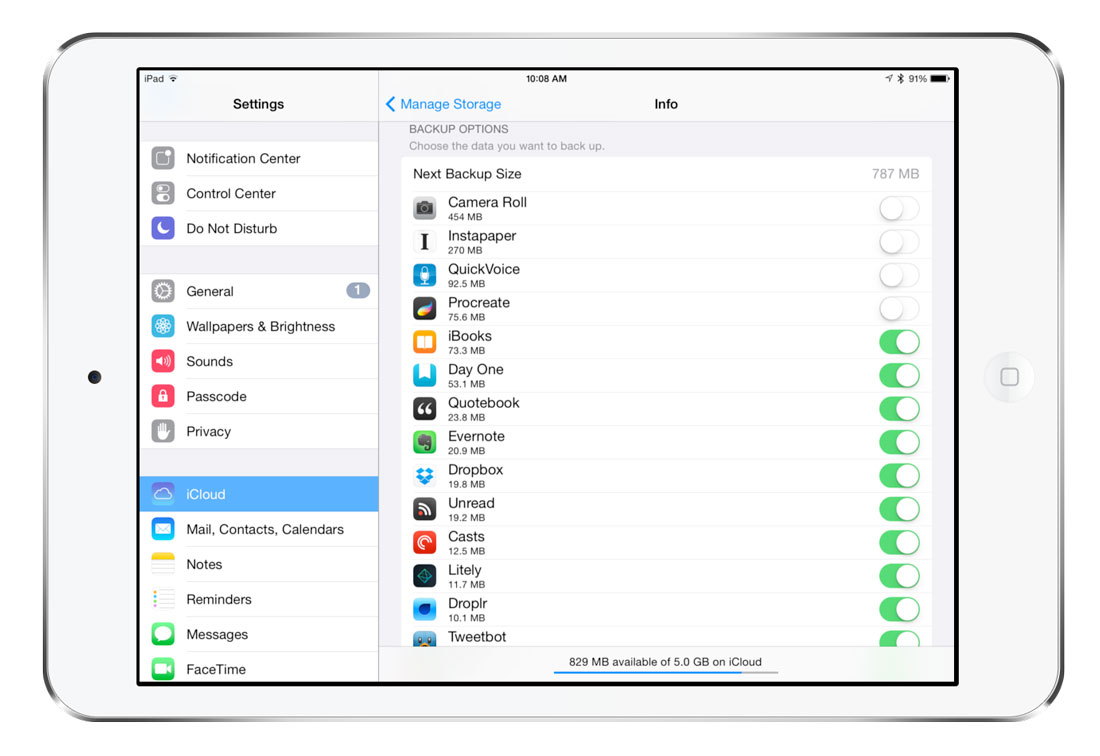
Everything will be toggled on by default, so turn off any items you’d rather not back up. If you’ve upgraded to one of the new storage tiers listed above and space is no concern, then we recommend leaving everything on.
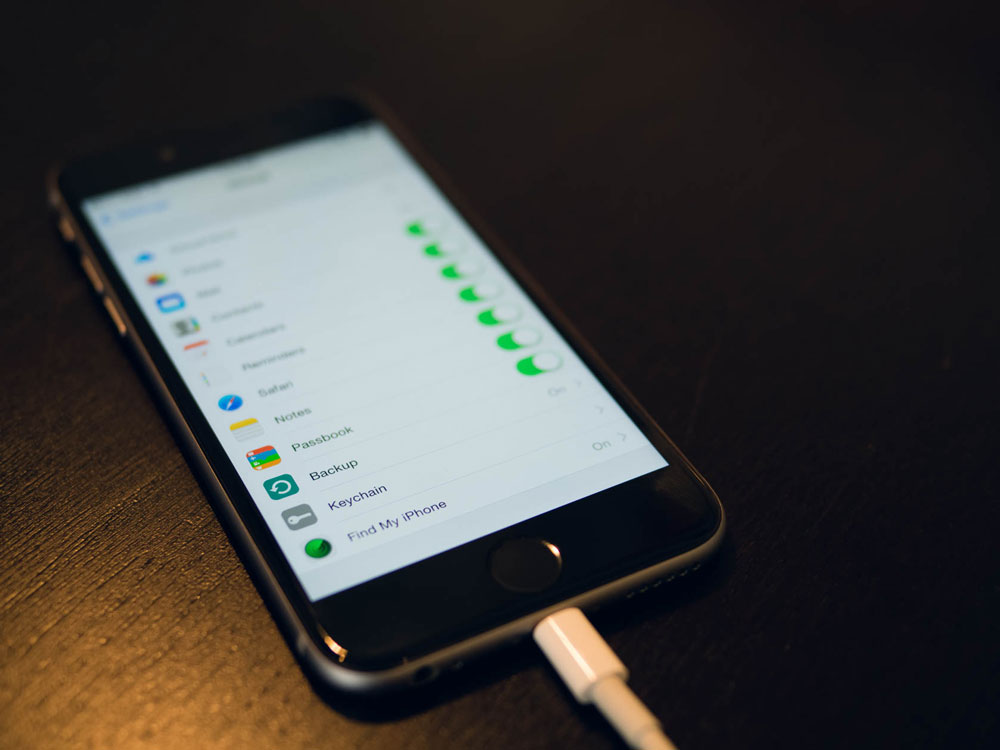
Once you’ve determined what to back up, make sure the device is on a Wi-Fi network and, for best results, connected to a power source (this process can take a while). Now, navigate back to Settings → iCloud → Backup and ensure iCloud Backup is toggled on. If it is, you’ll see a Back Up Now option. Just tap that button and wait for the process to complete.
Also note that iCloud backups can happen automatically at night. Assuming your iOS device is plugged in and charging and is also connected to a Wi-Fi network, it will automatically back up to iCloud. If you’ve been running the iOS 9 betas on your iPhone 6, be sure that it has a current backup before setting up your iPhone 6s. Some versions of the public beta had issues making iCloud backups.
How to Backup an iPhone or iPad using iTunes
An iTunes backup is a great option if: (a) you need more space than the free/paid tier of iCloud storage you have allows; or (b) you want an extra layer of backup in addition to your iCloud backup.
The process is simple:
- Plug your device into your Mac or PC.
- Open iTunes and select the iPhone icon in the upper-left corner.
- Click the Summary tab and scroll down to the Backups section.
- Click the Back Up Now button and wait for the backup to complete.
- To verify that the backup worked, open iTunes Preferences and select the Devices tab. If the backup was successful, you’ll see it listed there.
It’s not as slow as iCloud, but can still take a while if you’re not in the habit of regularly backing up your device. If you don’t keep local copies of your applications stored in iTunes, you’ll want to transfer purchases before trying to restore to a new phone. You can do from File → Devices → Transfer Purchases. Once your new phone is restored and all your apps have been reloaded, you can delete the apps off your Mac to save space.
Regarding the Security of Your Backups
If you store a lot of sensitive information on your device, you’ll be happy to know that Apple’s two-factor authentication feature was recently extended to cover iCloud backups. If you still haven’t activated two-factor authentication yet, you can do so from your Apple ID control panel. We highly recommend it.
iTunes backups can also be protected with a passcode if you’re worried about that data falling into the wrong hands, but be wary—the backup contains your keychain information, meaning all the passwords you’ve saved for email accounts, Wi-Fi networks, websites, and certain apps.

On the plus side, encrypting such a backup allows you to transfer your keychain to a new device without having to re-enter all those passwords, a luxury that unencrypted backups do not enjoy.
Restoring Your Data
Though we would rather avoid having to wipe and restore a device altogether, a good backup eases the pain a bit.
-
Restoring from iCloud: During the iOS Setup Assistant process that comes up with every new (or recently-wiped) device, you will eventually see options to either Set Up as New iPhone or Restore From [iCloud/iTunes] Backup. Choose whichever backup you made most recently.
(Note: If you accidentally set up the device as new when you wanted to use a backup, you’ll have to wipe it and start over again. You can do this from Settings > General > Reset > Erase All Content and Settings. This also applies if you ever get a replacement phone with an older version of iOS than your backup is.)
-
Restoring from iTunes: Open iTunes and navigate to File > Devices > Restore from Back Up. Again, choose the most recent backup you’ve made. On older versions of iTunes (10.7 and earlier), you can right-click your device from the sidebar list and choose Restore from Backup.
We have a whole section of our site dedicated to doing easy backups of your computer. For more information on backups, check out our main Backups Page.