Our favorite external hard drive
WD My Book Hard Drive for Mac
When it comes to backups, software is only part of the equation. There are many good tools on the market, but having a dependable hard drive on the receiving end as important, too.
Purchasing the “best” hard drive is all about what you need out of it. So we have two suggestions:
Our favorite external desktop hard drive
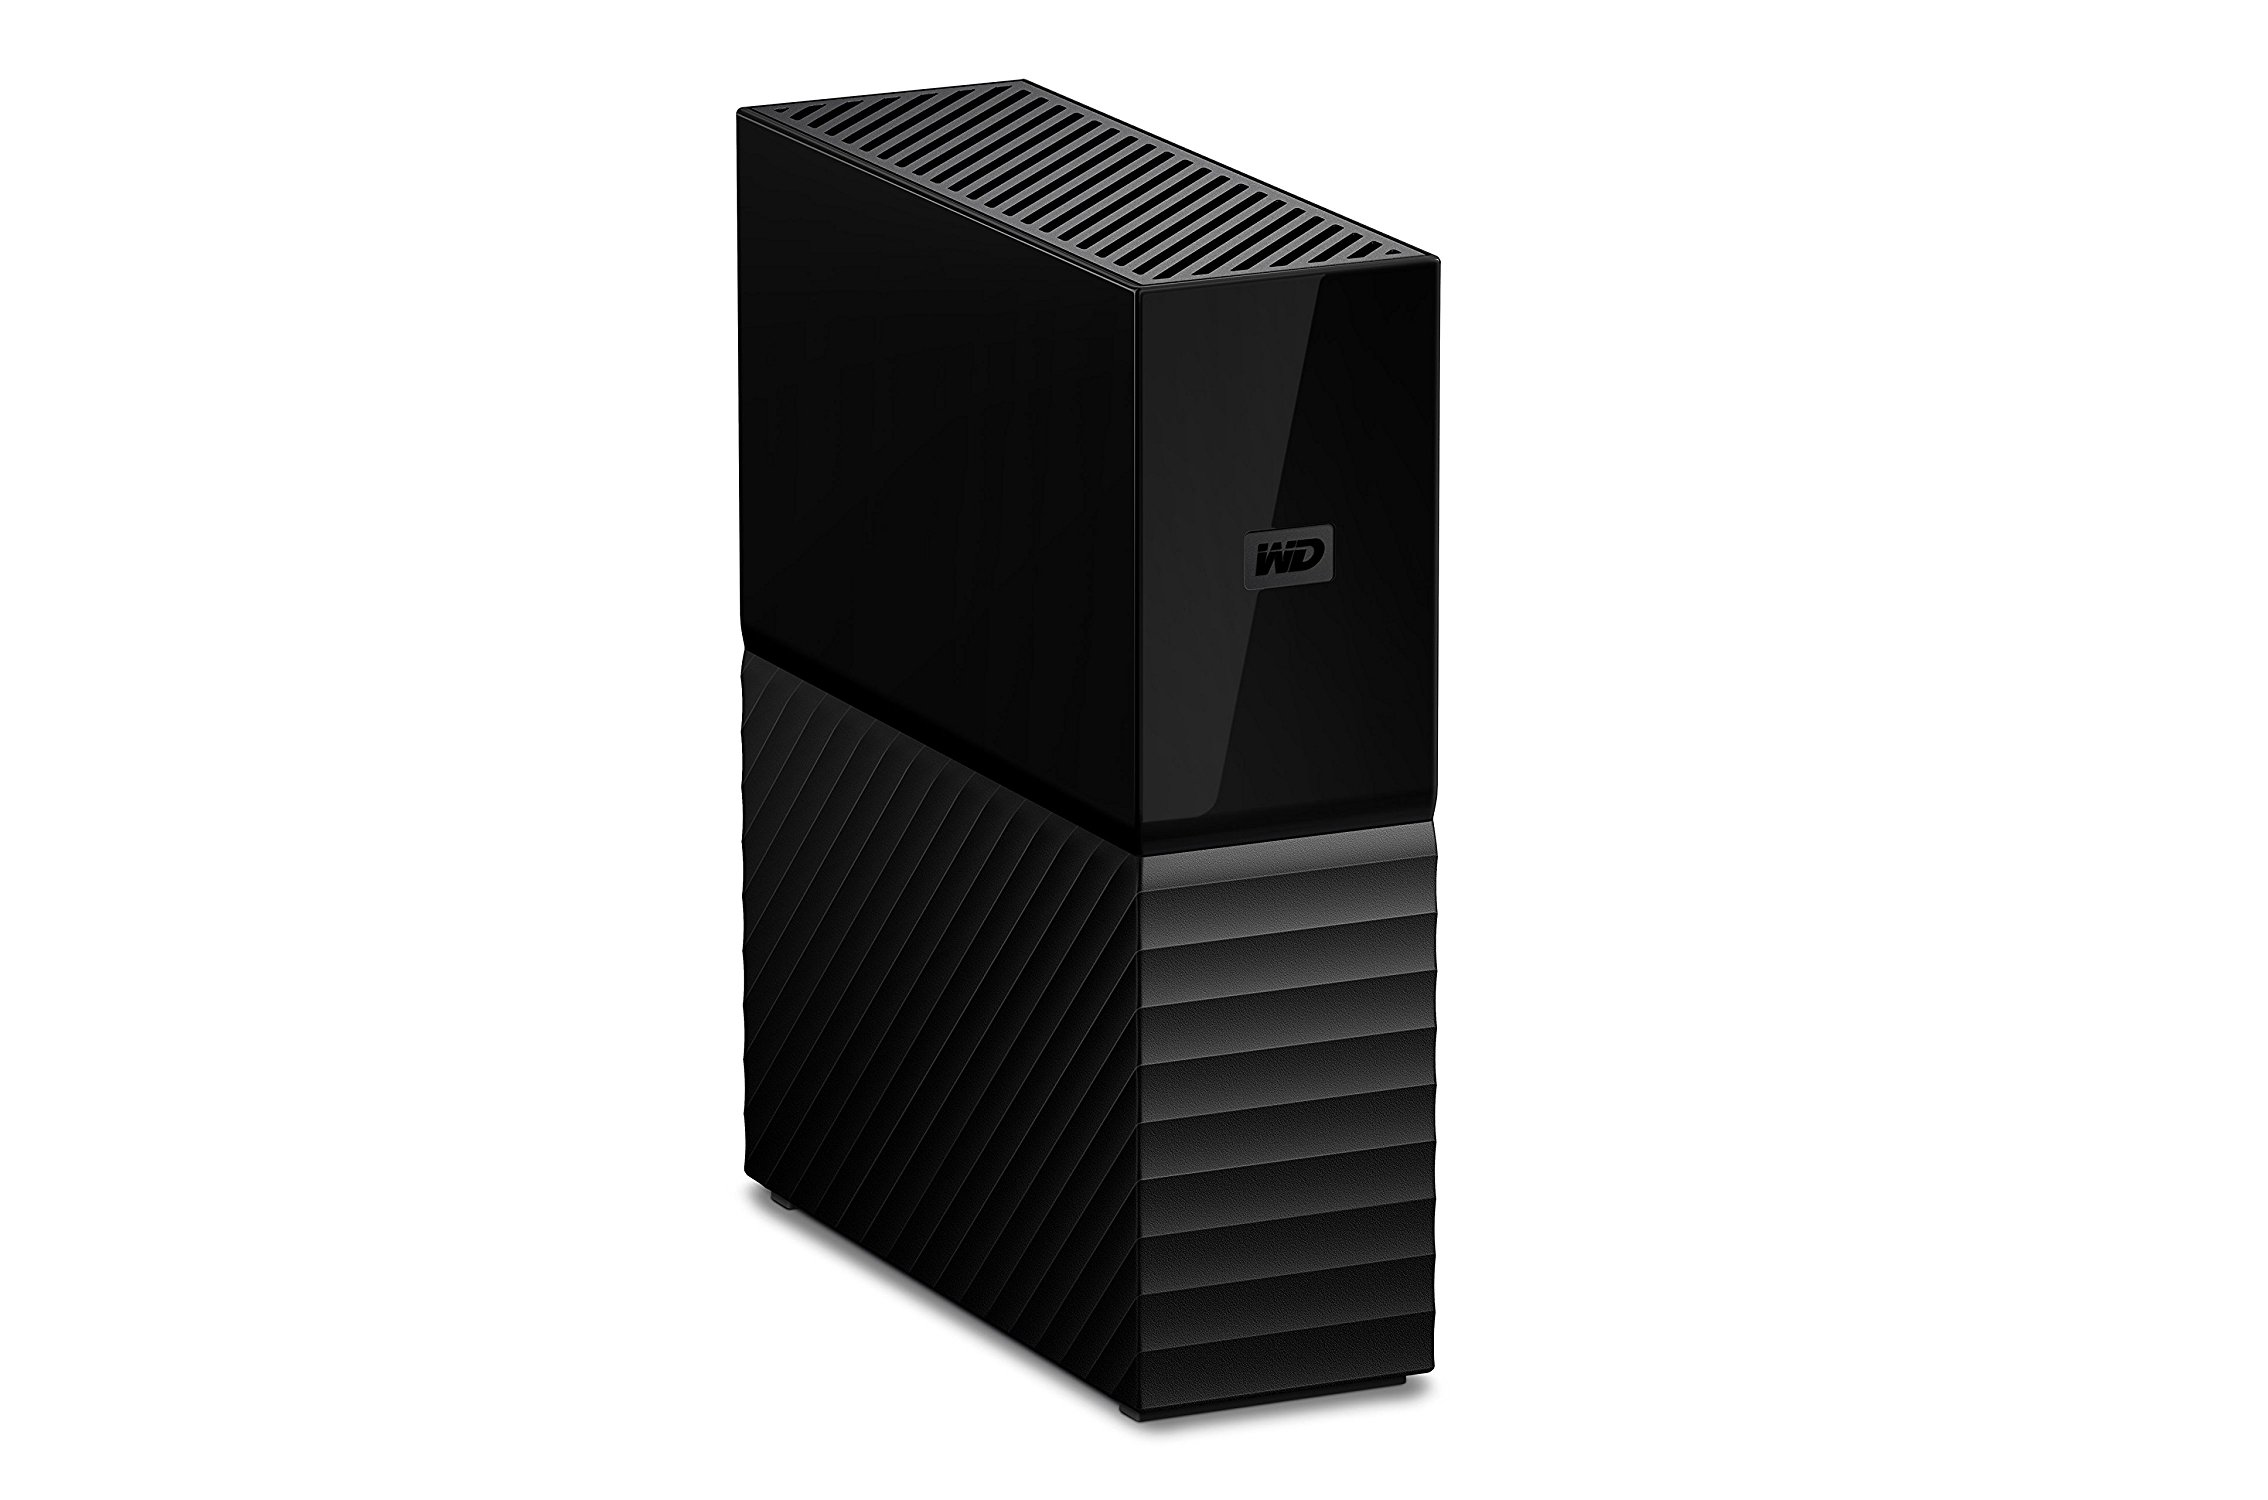
The best external desktop drive is the WD 4TB My Book Desktop External Hard Drive – USB 3.0.
This drive connects directly to your Mac through USB. If you’re running a newer computer, you’ll see a huge speed increase thanks to USB 3.0.
The WD My Book is ready to go with Time Machine or SuperDuper! without any hassle. You just plug it in and can begin using it immediately.
Our favorite portable hard drive
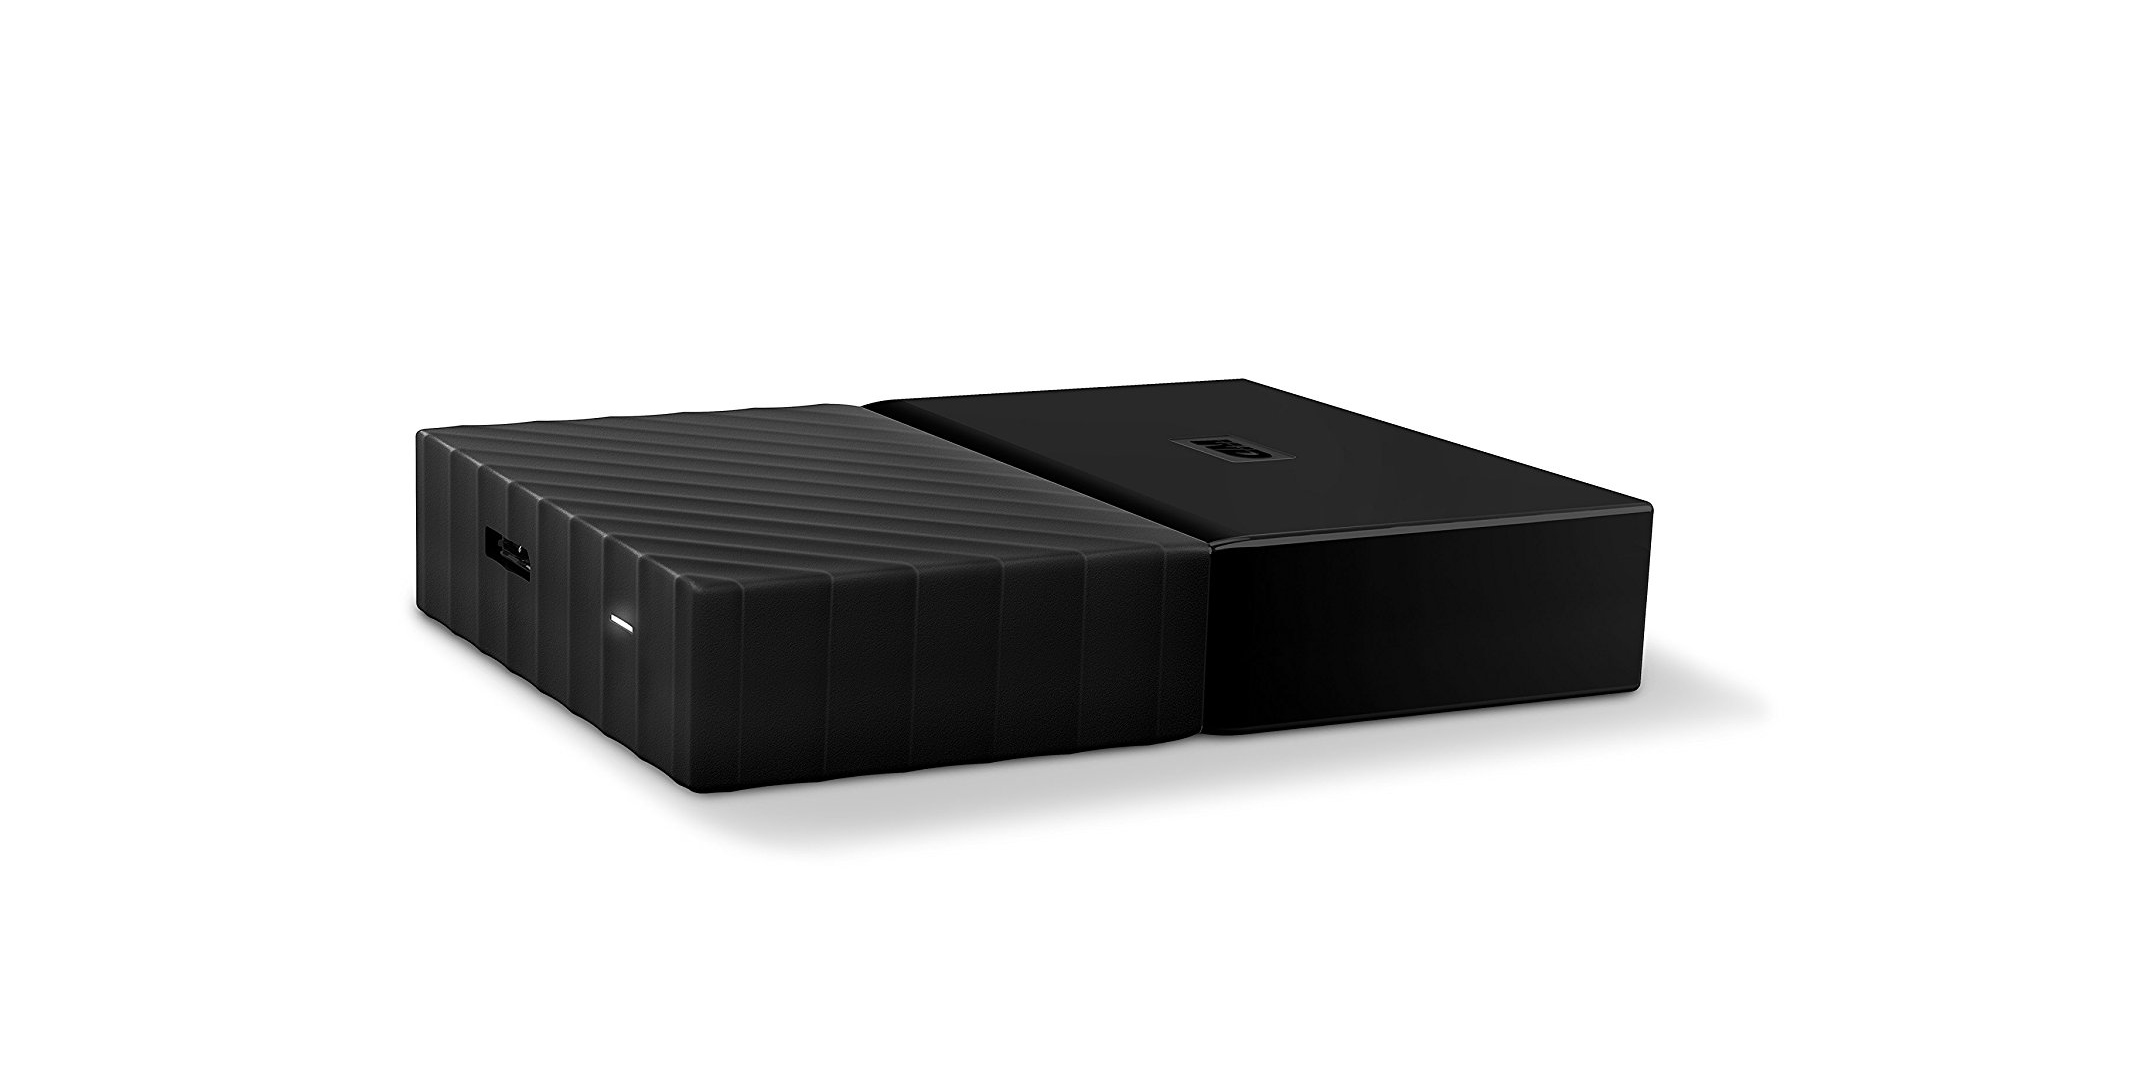
If you need an external drive that’s small and easy to fit in your bag and go, the 4 TB WD My Passport Portable External USB 3.0 Hard Drive is the one to get.
The bus-powered USB 3.0-compatible drive is fast, quiet, and rather rugged. While I wouldn’t drop it off a bridge, the exterior case isn’t flimsy in any way. We’ve used several of these drives for a couple of years without a single hiccup. It’s small enough to fit in your hand (a little bigger than a deck of cards), and being bus-powered means it doesn’t need a separate power source — you just plug it into your computer’s USB port and you’re good to go.
Formatting a new drive
The only downside to these drives is that they are not formatted for macOS out of the box. Apple’s support document on Time Machine gives easy instructions on how to erase and format the drive to work with OS X (for use as a TimeMachine drive, or simply for use as extra storage):
- Open Disk Utility (located in the Utilities folder).
- Connect the disk if it isn’t already attached.
- In the left side of the Disk Utility window, select the disk you want to use with Time Machine.
- Optional: If you want to partition the disk, click the Partition tab and select a layout. Make sure “Mac OS Extended (Journaled)” is selected in the Format menu for the partition that will be used for backups. Click Apply.
- Click the Erase tab.
- Optional: If you want to securely erase the disk, click Security Options to configure, then click OK.
- Click Erase.
- After erasing, open Time Machine preferences in System Preferences and configure as described in the section above.
We have a whole section of our site dedicated to doing easy backups of your computer. For more information on backups, check out our main Backups Page.