How to Enable Time Machine Backups for Your Mac
July 4, 2019
Backups are crucial. Thankfully, macOS comes with a built-in application to let us back up our machines automatically and securely.
Setting up Time Machine is a simple process as long as you know what all the settings mean. Follow these steps to set up Time Machine on your Mac, and enjoy the added peace of mind knowing that your data is safe even if your Mac isn’t.
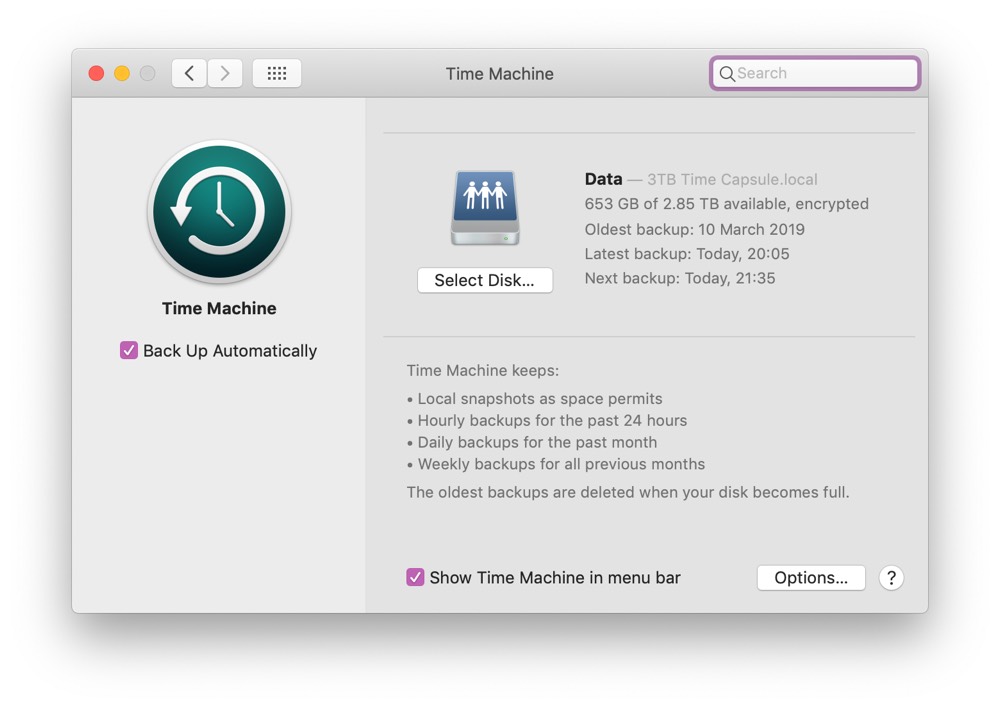
- In System Preferences, open the Time Machine preferences pane.

- Next, select a drive (or more than one) and click Use Disk.

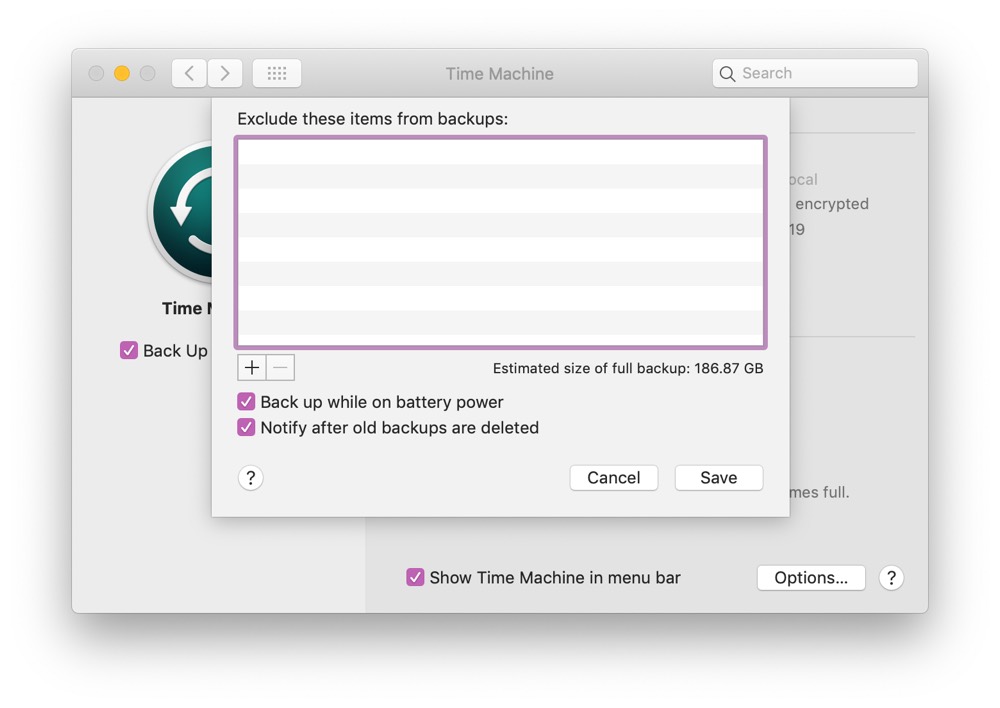
If you don’t have a Time Capsule drive (which are only available refurbished from Apple), then you can buy an external hard drive or something like a Synology NAS device on which to back up your data. After you have selected the drive, you have the option to encrypt the backups, which is a good idea just in case your backup drive is stolen. This means the data can’t be read without the encryption password. After selecting the drive, you can add it. - As well as the option to Back Up Automatically in the main Preferences window, you can fine tune the options in the Options tab. From this tab you can enable backups on battery power, and also exclude certain folders from your backup, which you may want to do if you have a folder of DMGs to install applications, for example.

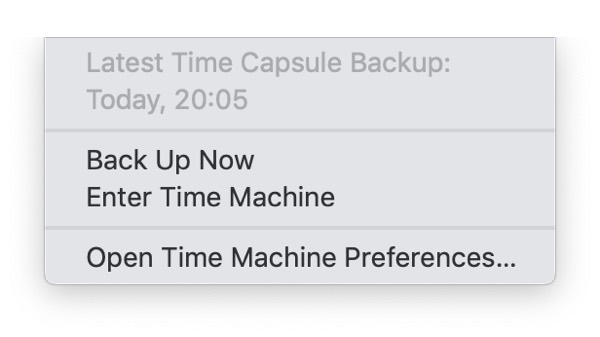
- In the main Preferences window you can also choose to show Time Machine in the menu bar, which displays a small icon that rotates when Time Machine is backing up. And, if you click the icon manually, you can trigger a manual backup.

We have more helpful tips right here.
Our Must-Have, Most Used Productivity Apps
We spend an inordinate amount of time sorting through hundreds of apps to find the very best. We put together a short list of our must-have, most-used apps for increasing productivity.
