Curtis McHale’s iPad and macOS Book Publishing Workflow
One of the things I enjoy doing is writing books. Sometimes, I even start a blog post and realize after 20,000 words or so that it’s really a book and a series of blog posts. This is the nature of creative writing, and I really enjoy the process of taking an idea to a fully fledged body of work. Today, I’m going to walk you through my iPad-focused book writing and publishing process.
Getting the Words Out
If I’ve started a blog post that ends up as a book, then it probably started in a Markdown editor like 1Writer, Ulysses, or iAWriter. I like different parts of each app for shorter content, but when it comes time to really dig into writing something that is book-length, nothing I’ve tried beats Scrivener.
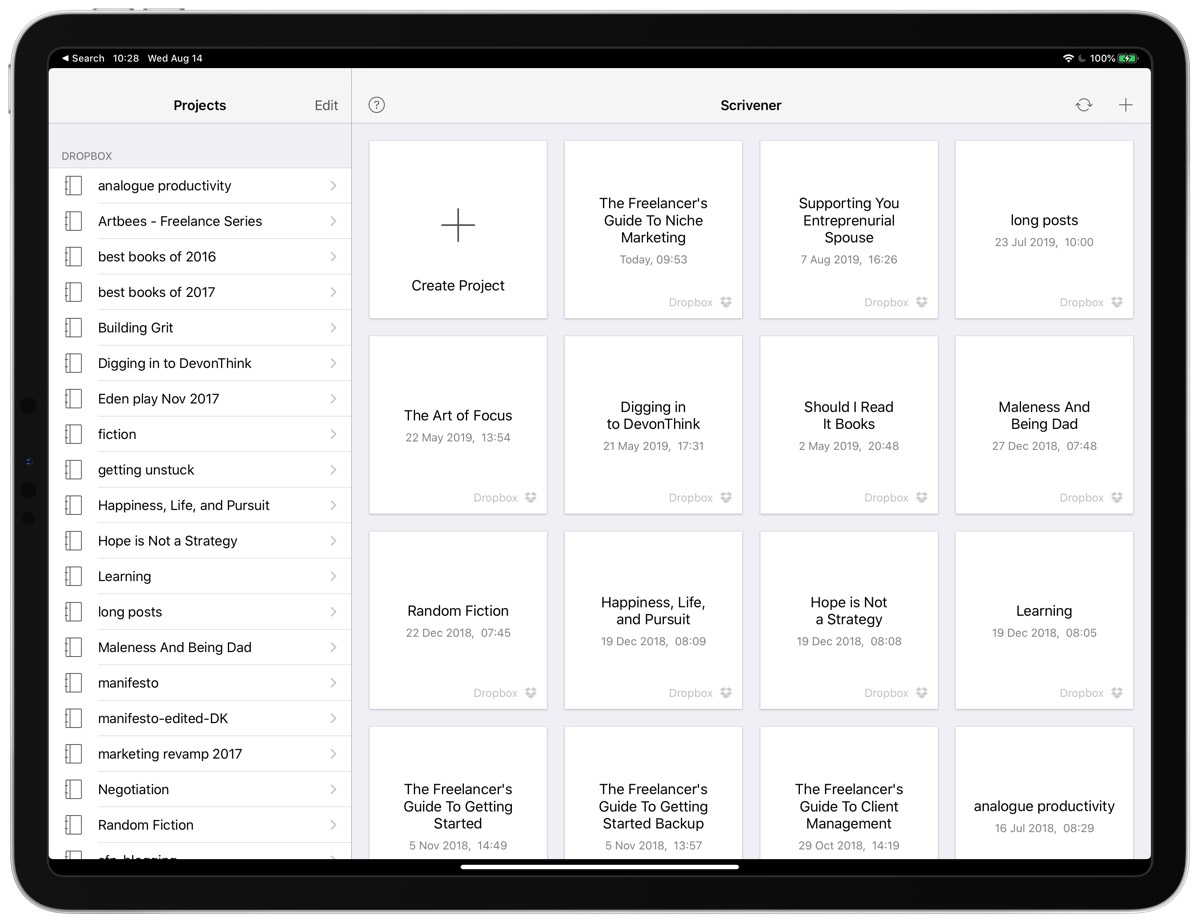
I have a number of book ideas that are future projects that I started in Scrivener. The main goal of these future projects is to collect research and further reading if I ever decide to write them. Much of this research also exists in DEVONthink, but I don’t want to go searching for it through DEVONthink when it’s time to see what I have. I just want to open up my document and start writing.
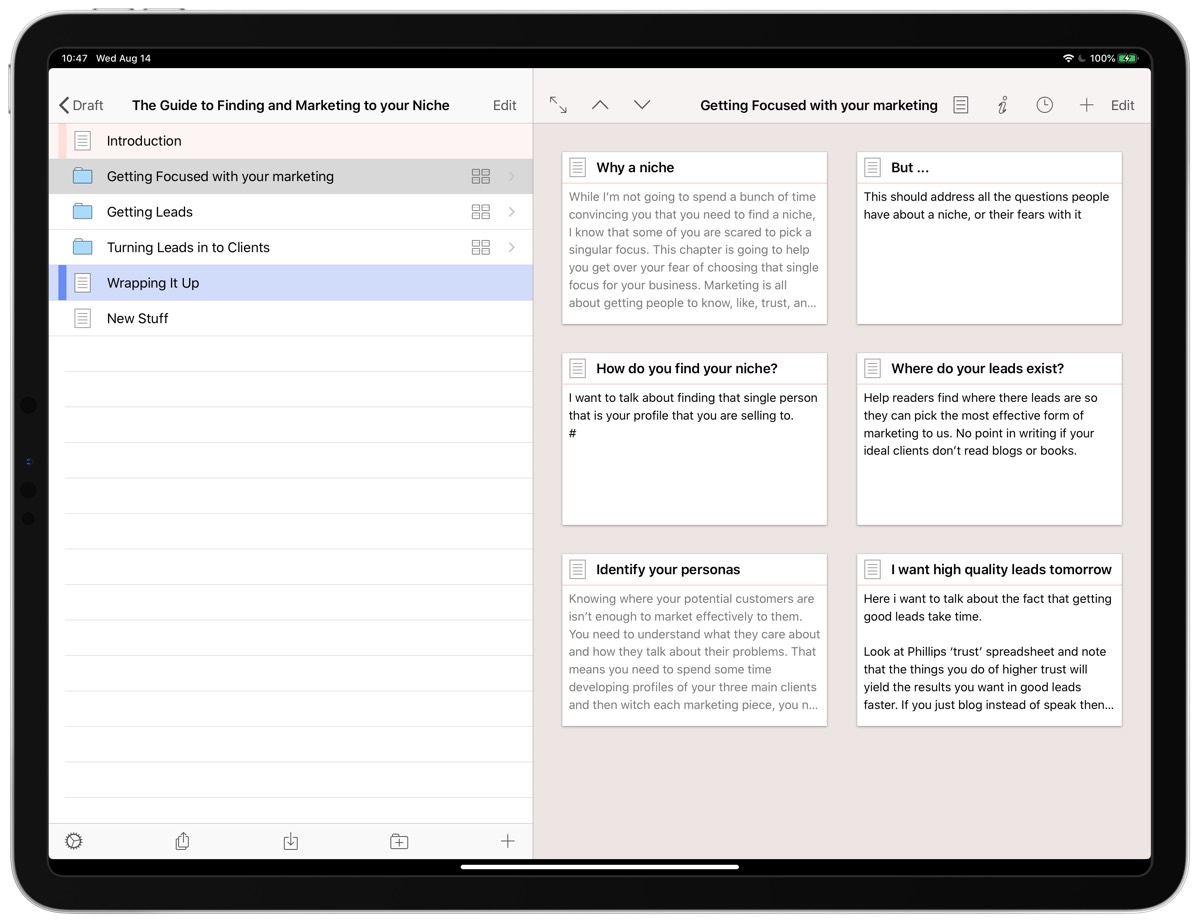
Once I’m happy with the research, I start breaking the book up into sections using the outlining feature that’s built into Scrivener. I also use the cork board interface write something like “By the end of this section the reader will understand/know,” on each card. I also add notes to each card about what I want to cover in the section and occasionally reminders about resources I need to reference. Each chapter gets the same treatment, and a section or chapter is done when that statement is true.
During my writing process, I use labels heavily so I can keep track of where I’m at with each part of my writing. I don’t actually have a standard set of labels or colors I use each time because each project has been different enough that it needed custom labels. In general, I go with something like these labels:
- 1st Draft
- 2nd Draft
- Read Outloud
- Fact Checked
- Ready
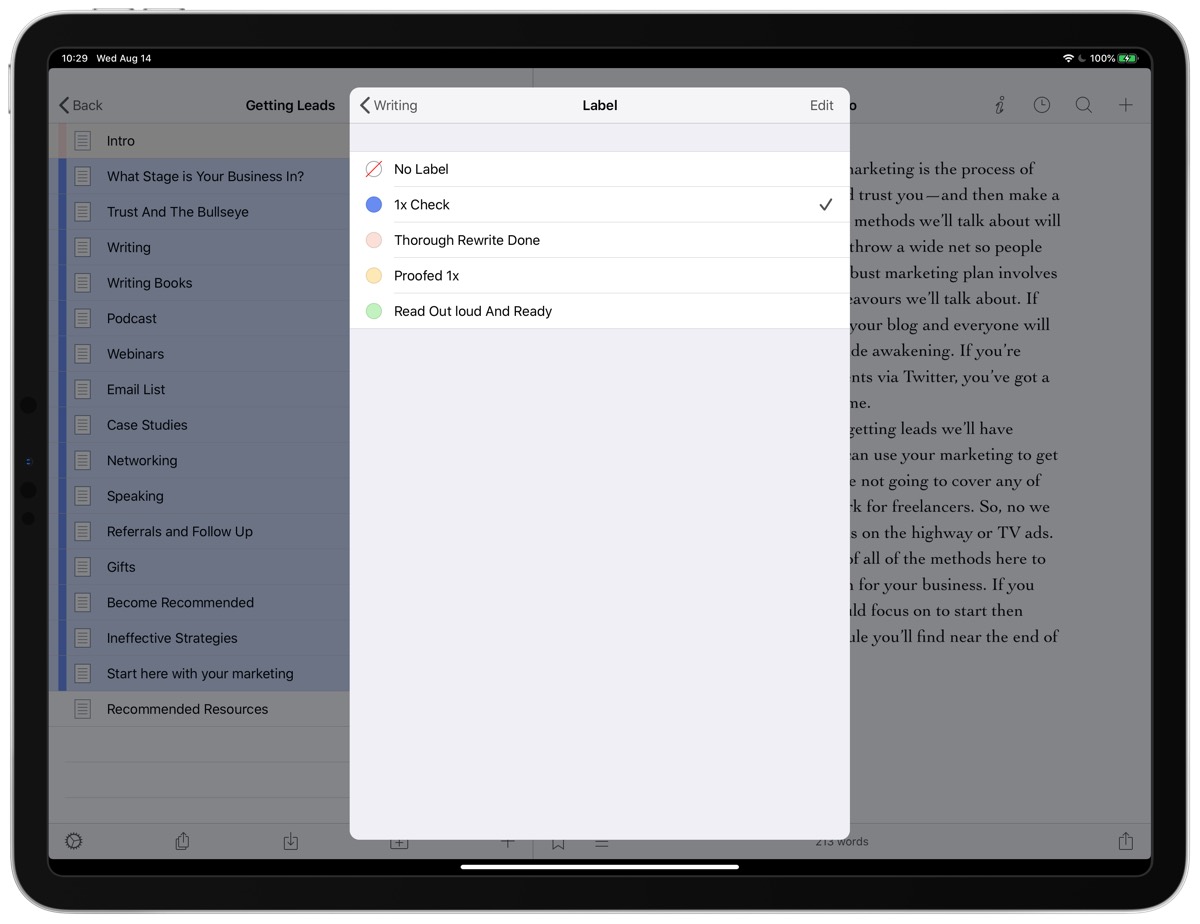
I make sure that the colors are obviously different by editing the labels that Scrivener provides by default. I want to be able to open a project and know that I’m working on blue items, so I grab the first item with a blue label and start working on it. Once I’m done with a section, I’ll change the label color, and then the next time I open the document I know I’m finished with it and move onto whatever is next.
Once I feel the book is ready for the eyes of others, I export it to Google Docs and then start to enlist my email list in the editing process.
Group Editing
While there are other options out there, nothing beats Google Docs for sharing and collaborating on documents. For the books I write, I ask for volunteers that are willing to read through the early copy of the book and make comments on the content. In return, I send them a free copy later and usually a hand-written card to say thanks. All of this collaboration is done inside Google Docs.
The great thing about doing this in Docs is that I can work through each suggestion as it comes in and others can see where a spelling mistake or grammar issue may have already been discussed and corrected. This prevents multiple reports of spelling issues that I have to wade through.
My Google Docs copy of the book ends up becoming the canonical document. From here, I export a Word copy of the document and head over to macOS and Vellum for final formatting.
Final Product
At this point, my words are ready for publishing, but I don’t have a book yet. This is also the point where I really need to turn to macOS because the tools available there are far superior to what’s available for book layout on iOS. In fact, I haven’t found anything for iOS that’s even half-way decent to get a book ready for publishing on Amazon.
On macOS I use Vellum to turn my finished manuscript into a book. Vellum has a number of presets ready for you to use. I simply pick one that I like and let it do the work for me. After importing the manuscript to Vellum, I go through the whole book again and format it properly.
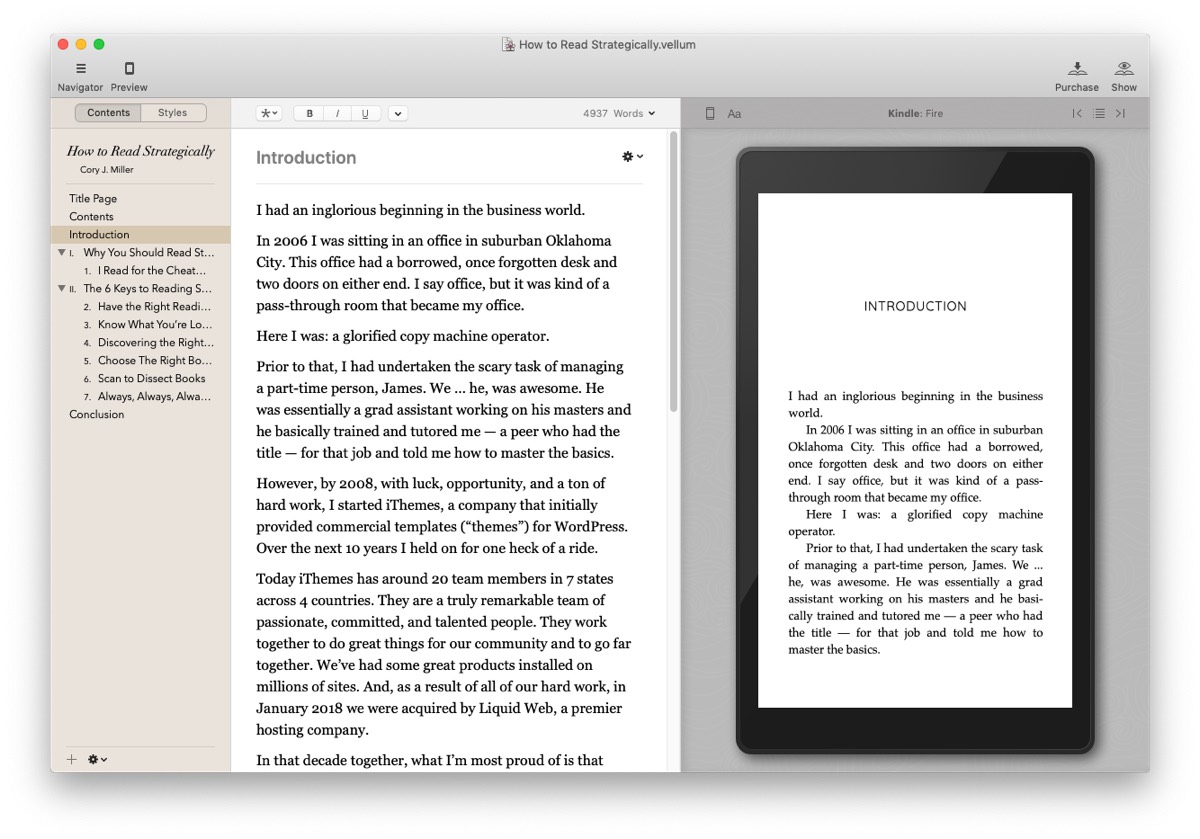
Formatting entails marking text so that Vellum knows a heading is a heading and a quote is a quote. Sometimes I’ll rework images with high-resolution copies, and I alway use the built-in device checker that Vellum provides to make sure that the book looks good for most devices.
One place that Vellum is less than ideal is for image- or layout-heavy books. If you are particular about how your text and images line up, then you’ll have to resort to a more advanced page layout application like Pages or even InDesign. This isn’t a concern for my books, which means Vellum works great for me.
Once I’ve formatted the book for Vellum, it’s a simple matter of exporting the finished product. Here, Vellum produces every format you could need to get your book on Amazon, in print, or for us Canadians, into the Kobo store.
What About a Cover
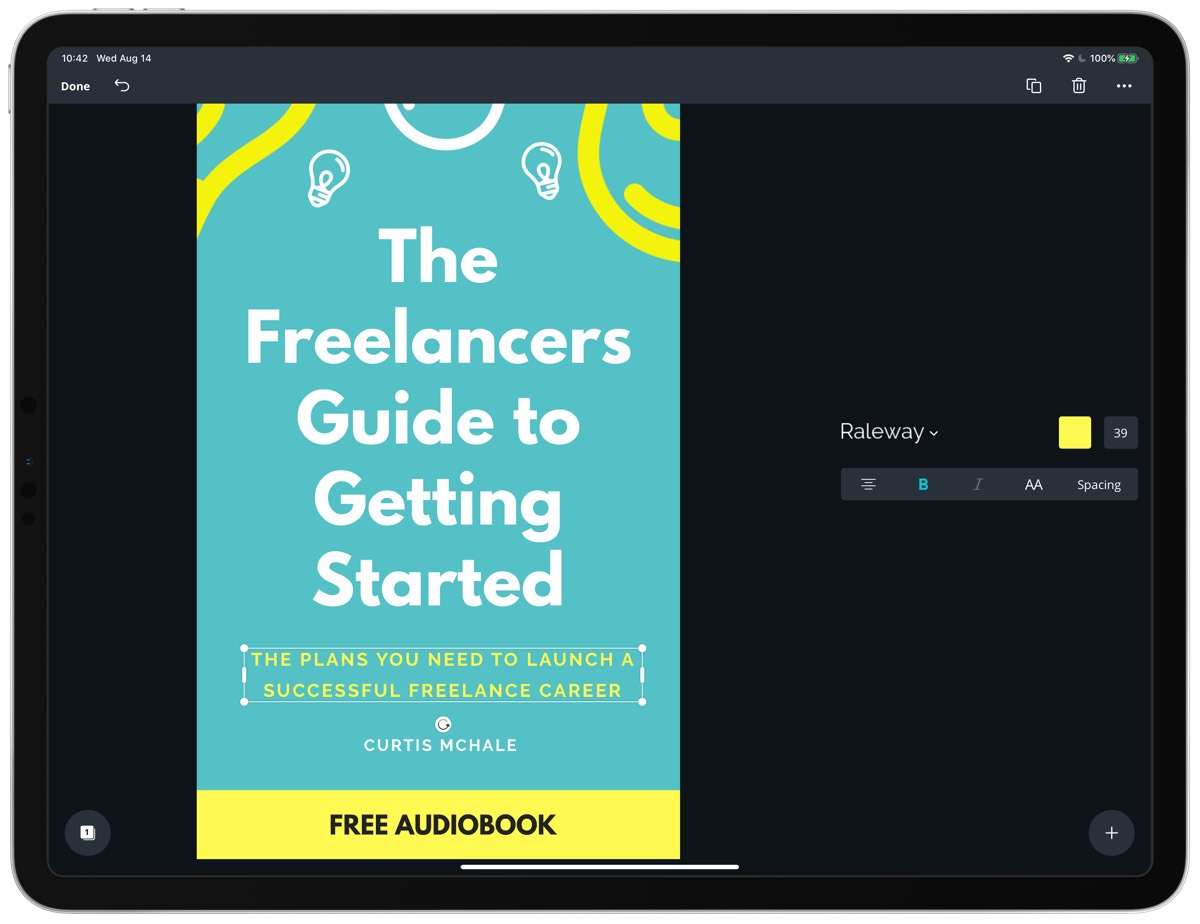
The only thing I haven’t addressed so far, is how I produce book covers from my iPad. While I plan to look more at Pixelmator or Affinity Photo to design my next book cover, I’ve used Canva thus far and been very happy with the results.
What we Need to be iPad Only
Ideally, I’d have my whole workflow on an iPad since I love using my iPad and get so much more done there than I ever can on my Mac mini. Unfortunately, the final step really requires macOS so that I can use Vellum.
I’m sure some of you are thinking that Scrivener offers export and formatting options, and you’re right. I used the export and formatting options available in Scrivener for macOS for my first few books, and it always took me days to get something that looked decent. Even when I duplicated a Scrivener document and then used the same export settings, I’d end up tweaking for days to get what I wanted.
Vellum just doesn’t have that problem and since I can’t really get a final document that I’m happy with out of Scrivener for iOS, I go with Vellum because it’s awesome and easy to use. My hope is that a future where I can use iOS exclusively for publishing my books is very near, but in the meantime I’ve found an efficient workflow that works great for my needs.
Wait. There’s a Bonus….
Custom Productivity Templates for Your iPad
If you want to use custom productivity templates on your iPad, we’ve put together a free, walkthrough guide along with two of our in-house templates that can help you get started.
We’ll show you…
- How to create and save custom page templates.
- How to use those page templates to transform GoodNotes into your own productivity notebook (or any other type of notebook replacement).
Plus, we also have included two of our custom productivity templates for you to get started with.
This guide is available for FREE to our email subscriber community. And you can get it right now.
By joining the Sweet Setup community you’ll also get access to our other guides, early previews to big new reviews and workflow articles we are working on, weekly roundups of our best content, and more.