Automatic Time Tracking with Timing on the Mac
We’ve been extolling the virtues of time tracking on this site for years. We even have a video course that teaches you how to do it.
But one of the most common complaints we hear is that it just seems too fiddly. People just don’t want to have to manually click buttons to start and stop timers.
Fortunately, with Timing, you don’t have to.
In this post, I’m going to show you how to set up time tracking rules in Timing that will allow you to track the time you spend on your Mac automatically.
How Timing Works
Timing basically watches what you do on your Mac and tracks how much time you spend where.
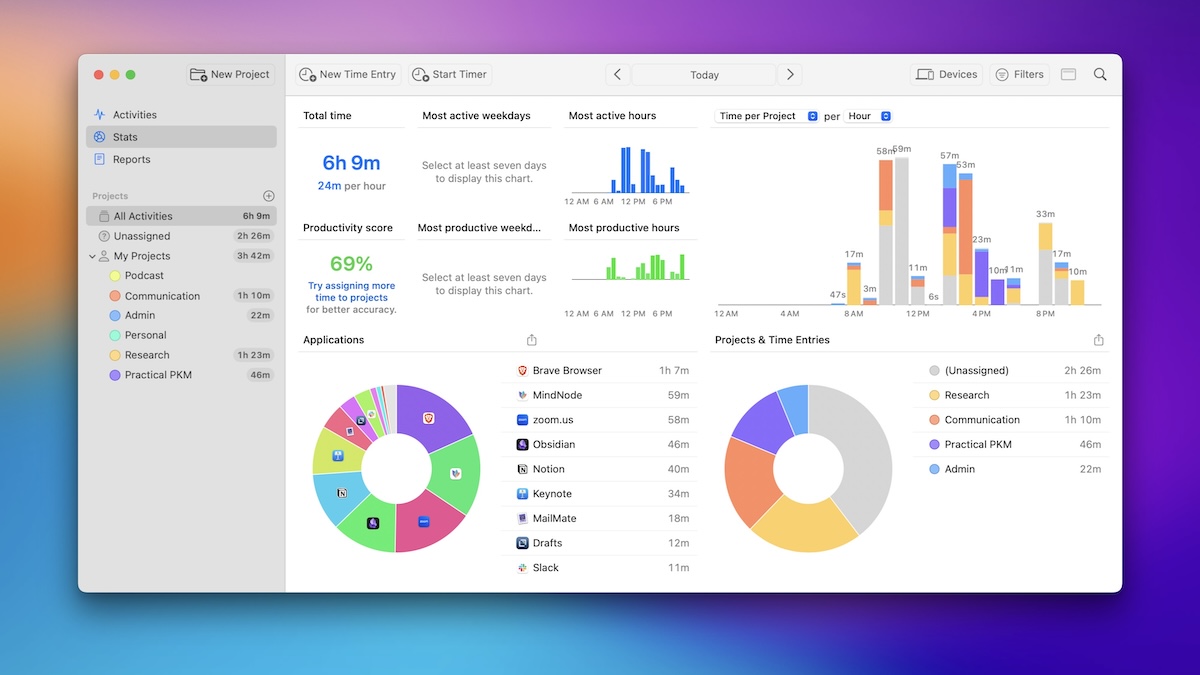
Once you install it (and grant it the appropriate permissions), it runs in the background. The Timing app itself gives you data that looks something like this:

There’s a lot of information contained in this report. First, it shows you how much time you spent total on your Mac (in this case, six hours and nine minutes). It also shows you the time spent in each app as well as the time spent on specific projects. There’s also a productivity score that is calculated by tracking the time spent that aligns with activity that you define on a scale from productive to unproductive. It’s a bit arbitrary, but it helps you grok how you’re actually spending your time (if the data says you spent three hours on Twitter yesterday, that’s hard to argue with — the numbers don’t lie).
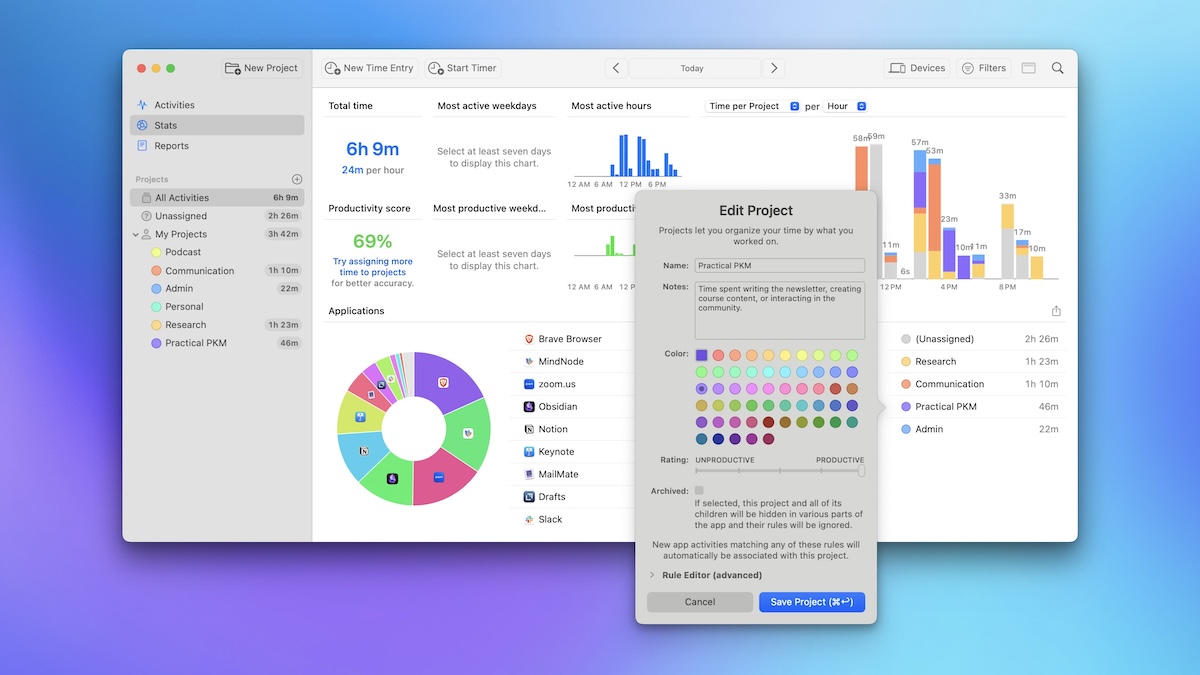
You can right-click on a Project to set the name, notes, color, and productivity rating for the project. There’s even a rule editor where you can create specific rules for what activity gets assigned to that project using conditional logic.

However, there’s a much easier way to create these rules.
Creating Automatic Time Tracking Rules in Timing
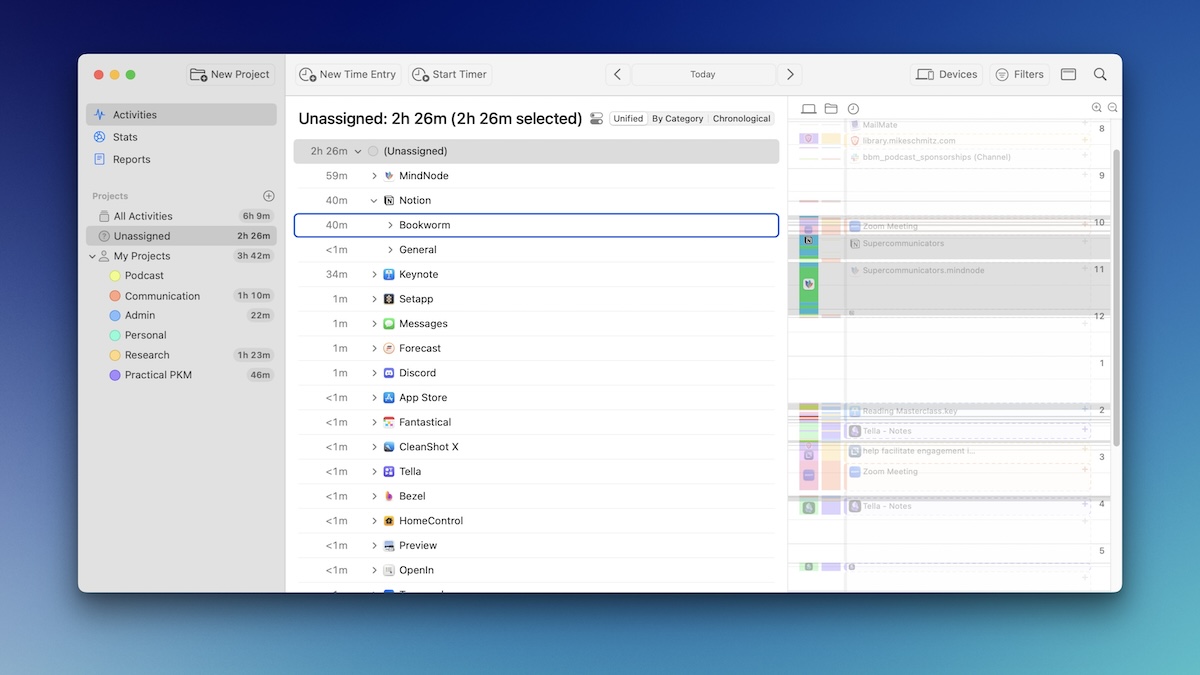
Switch over to the Activities tab and you’ll see all of your computer activity broken down by app. You can even drill down further and see what documents or projects you were working on.
Here’s a screenshot that shows all of my Unassigned activity for the day:

All of this activity hasn’t been connected to a project yet (which is what is causing my Productivity Score to be low in my Stats). For example, you’ll see a Notion entry here where I was adding notes to the Bookworm project for an episode we were getting ready to record. This should really be assigned to the Podcast project (I track time based on modes, not on specific projects 🤷🏼♂️).
We can assign this time to the Podcast project a couple of ways:
- I can right-click on the time entry and assign to a specific project from a drop-down list.
- I can drag the entry onto the Podcast project in the sidebar.
But if you hold the Option key while you drag the entry to the project, you not only assign the time entry but also create a rule so that future time entries get added to that project automatically.
The more rules you set up, the more of your time gets tracked and assigned automatically.
And as your time tracking workflows grow, Timing can grow with you by letting you track time in meetings with call tracking, import iPhone & iPad usage, and record time for calendar events. The cost starts at $9/month, but Timing is also a part of SetApp so if you already have a SetApp subscription there’s no reason not to give it a try.
Design Your Ideal Weekly Schedule
Free → Video Workshop + Productivity Templates

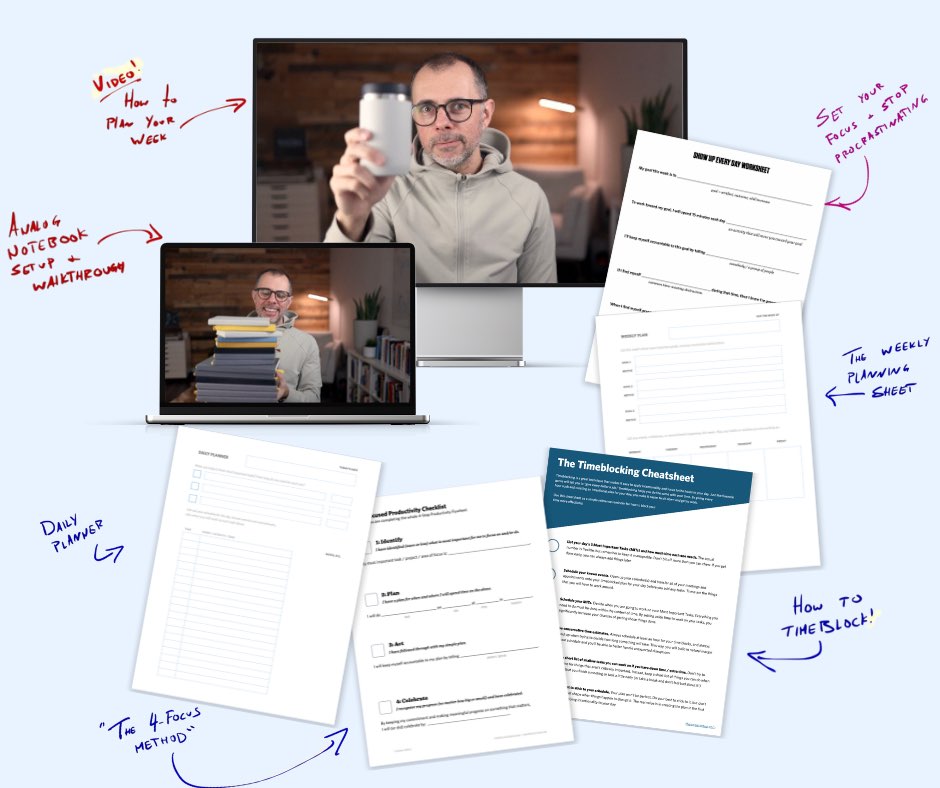
If you want to reduce the busywork and distractions, then sign up here for instant access to a brief video workshop on How to Plan Your Week.
♥️ Quick Note: You’ll get access to the workshop, plus a few additional bonuses to help you overcome procrastination and deal with distractions so you can spend more time on the important work that matters.
