The Microsoft External Number Pad Works Great With MacBooks, With Some Workarounds

Keyboards. Keyboards. Keyboards. The deeper your search goes for the perfect keyboard, the worse the search gets.
This was probably worse when the MacBook Pro had such a crummy keyboard. An external keyboard was basically an essential, so the search had to begin. With a fixed — and perhaps permanently great — 2021 MacBook Pro keyboard, the search for the ultimate keyboard has probably slowed for some.
It has for me, at least.
I’ve zigged and zagged through the external keyboard world. I really like Apple’s older wired keyboard with keypad. I also love Microsoft’s Surface Ergonomic keyboard. I’ve tried others — a variety of Keychron mechanical keyboards, a Vortex ViBE, and the greatest of all 40% keyboards, the Planck EZ — in my search. All these are excellent options for replacing the built-in MacBook Pro keyboard.
But they can’t come with you. There’s nothing really “portable” about an external keyboard (perhaps the Planck EZ qualifies due to its diminutive size, but whipping an external keyboard out of your bag, no matter the size, will draw some ire from passers by).
When I discovered Microsoft’s relatively new external Number Pad, I thought I might be able to morph the great built-in M1 Pro MacBook Pro keyboard with the functionality of a portable number pad that I could take anywhere.
For the most part, this is a great solution. But it has taken some bending and twisting to make the Microsoft Number Pad to work inside macOS and a Windows 11 virtual machine.
Size, Build Quality, and Typing Feel
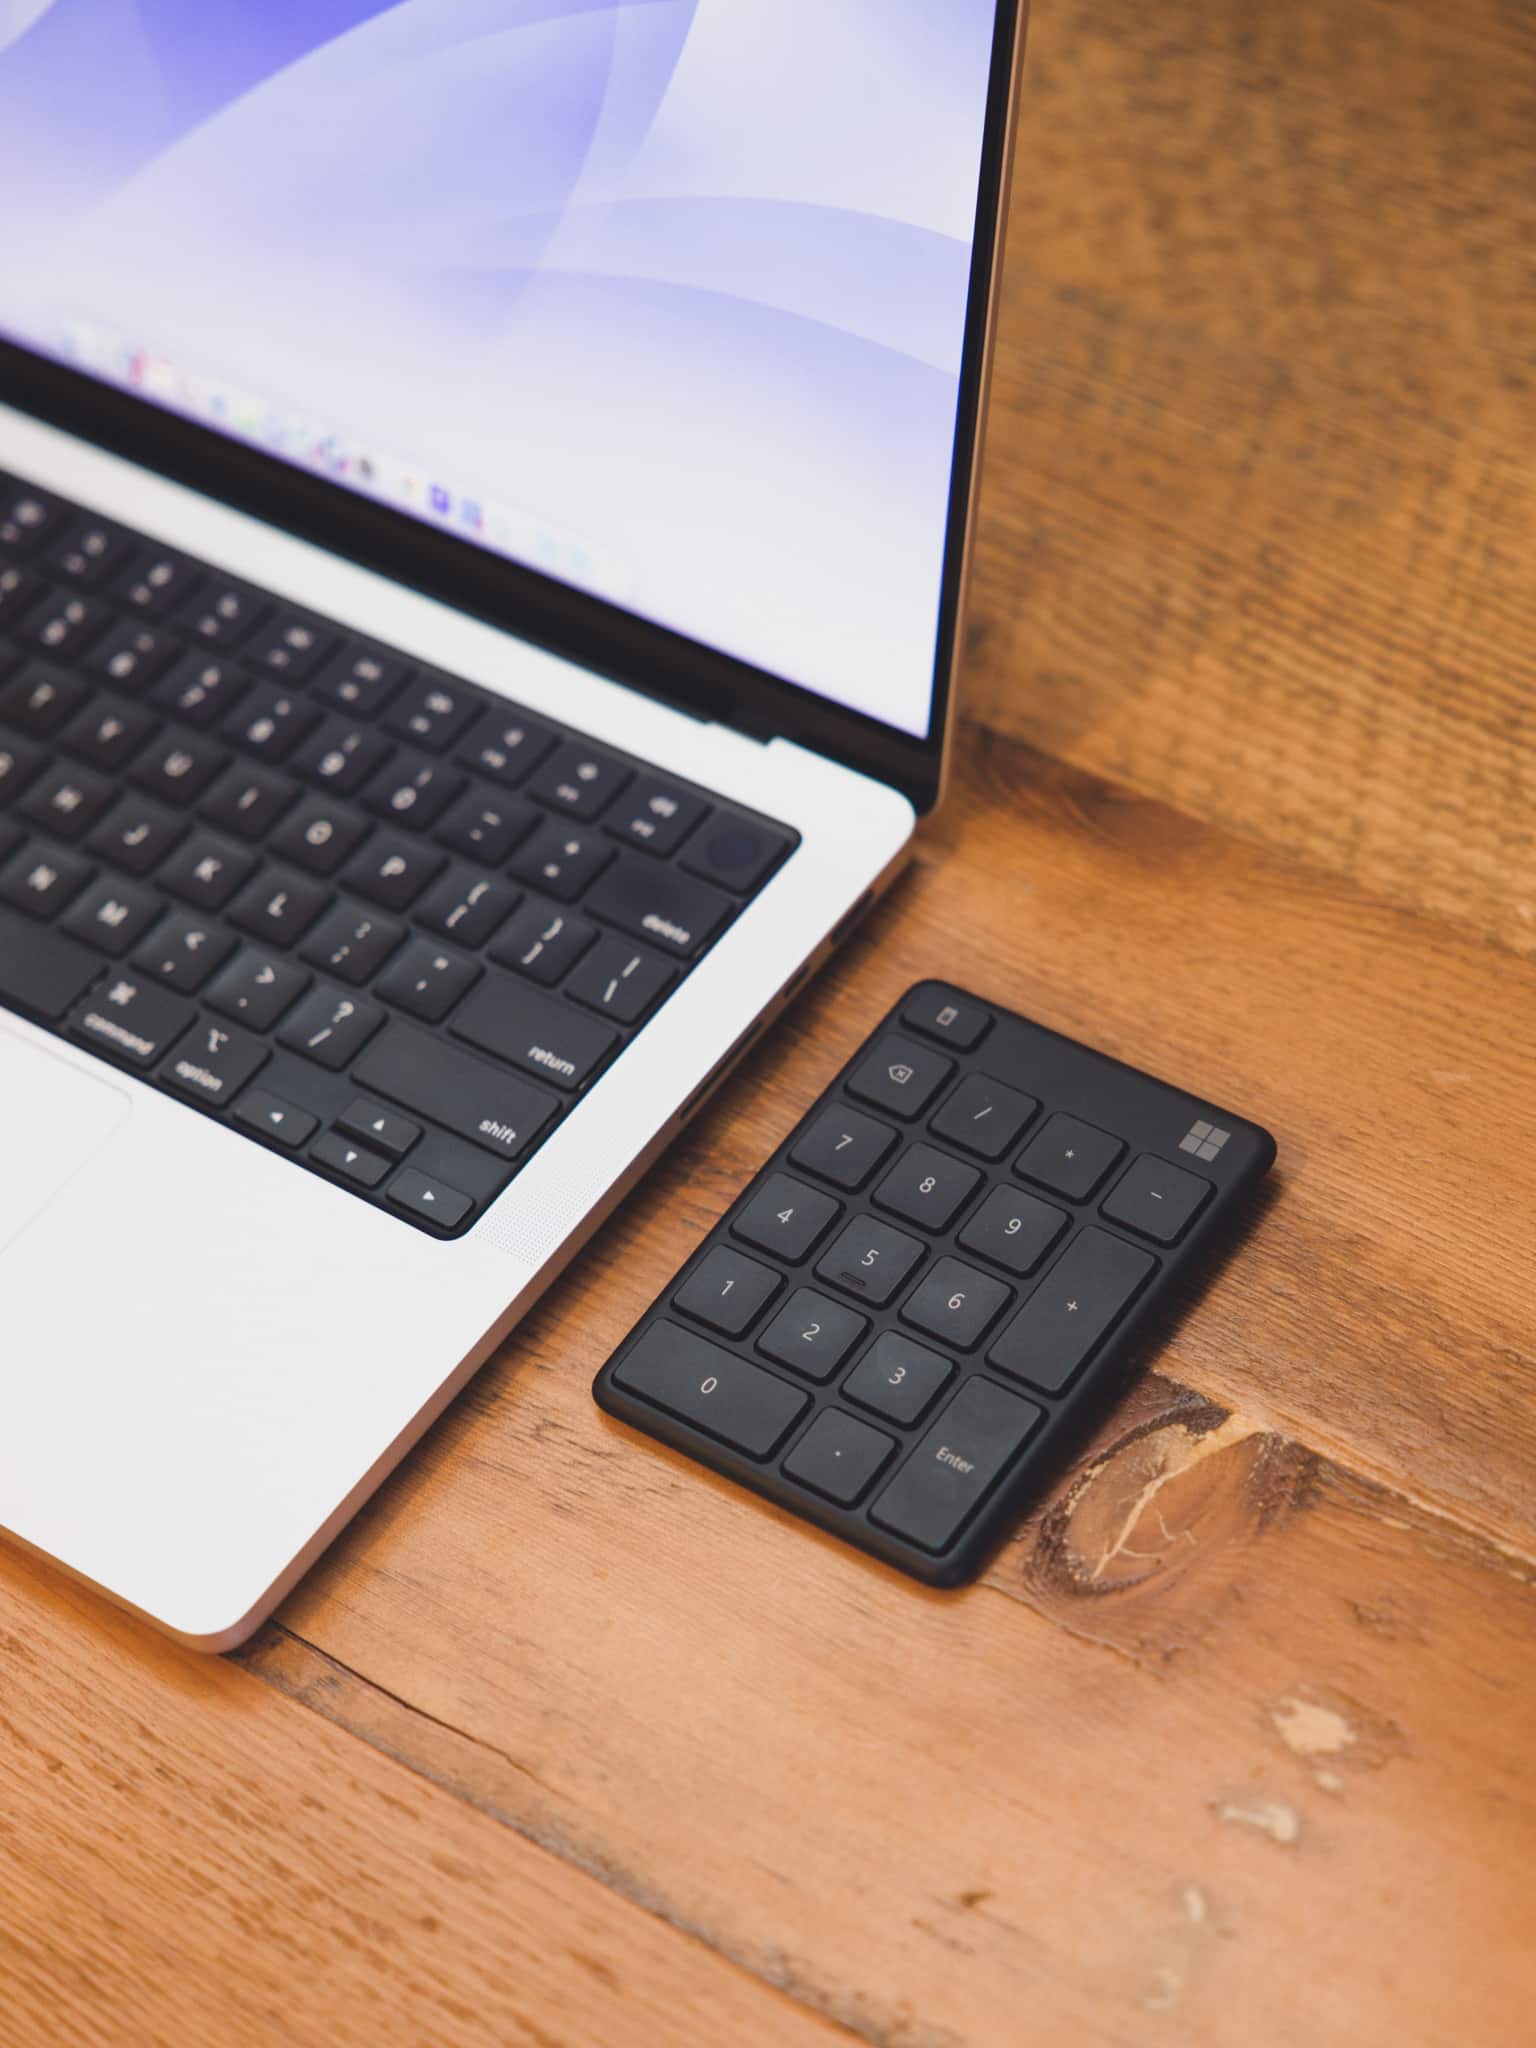
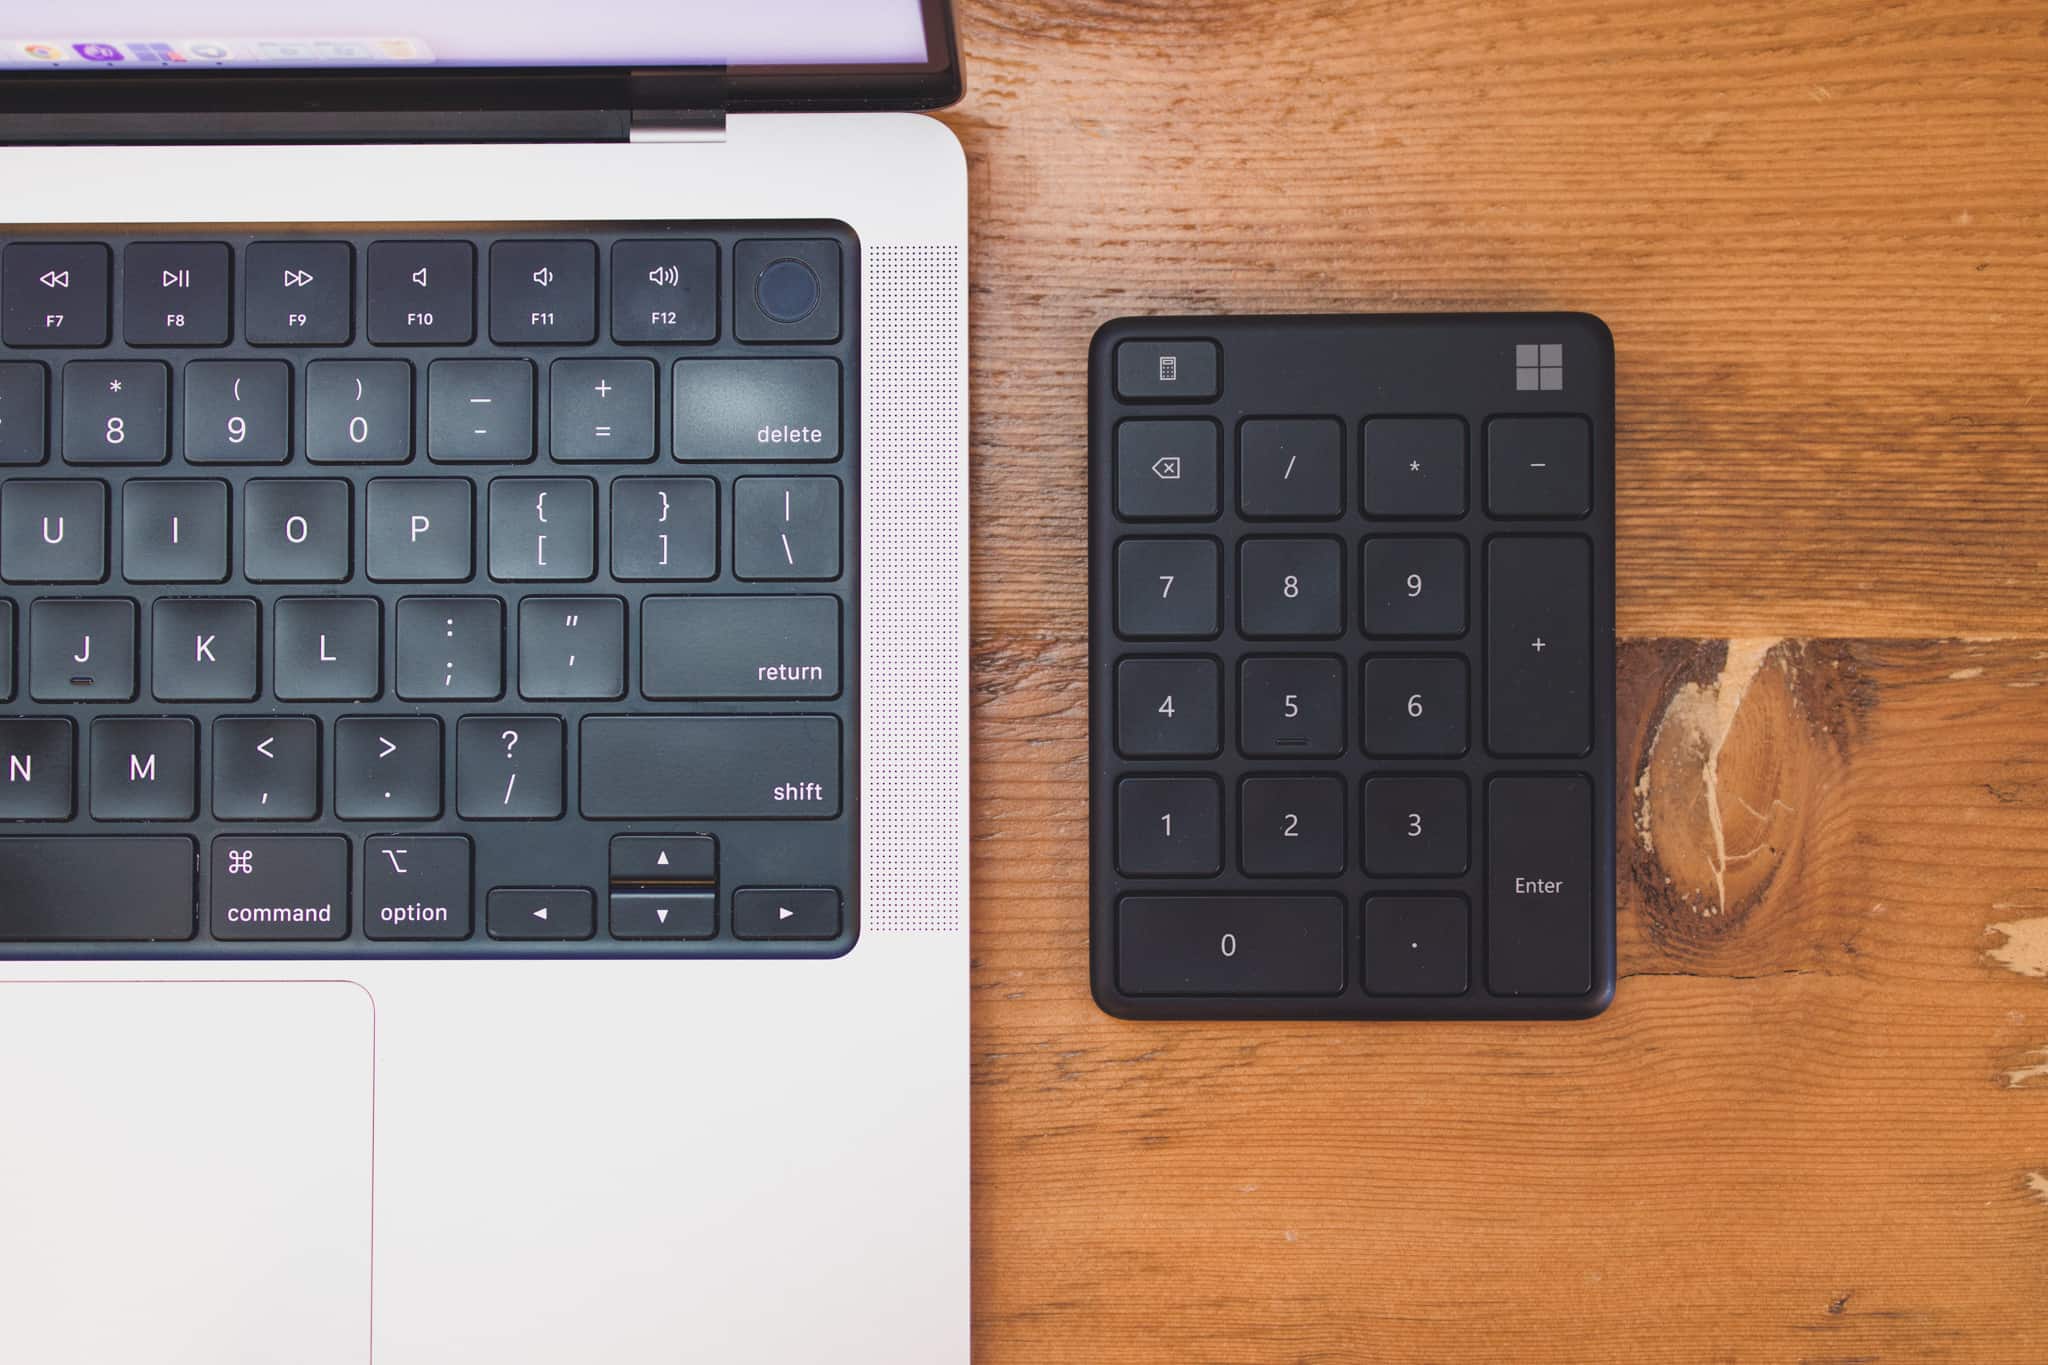
First, I presume it’s sheer happenstance that the Microsoft Number Pad has the same black-on-black design as the new M1 Pro/Max MacBook Pro keyboards. Aside from the font and the Microsoft logo on the corner of the Number Pad, I’d forgive you for thinking the Number Pad was designed specifically for these MacBook Pros.
The keys even have the same overall feel as the MacBook Pro keyboard. There are some minor differences: the Number Pad keys have slightly more travel than the built-in keyboard and, consequently, a slightly higher sounding pitch when the key actuates.
There is no mistaking an actuation on this little Number Pad — aside from the increased key travel, the Number Pad’s build quality ensures you can both feel and hear every key press. By that, I mean that my Number Pad doesn’t sit perfectly flat on the desk, and the hard plastic build quality ensures there is an ever-so-slight rattling each time you actuate a key. Given the price, there’s no dealbreaker here, but I imagine this Number Pad would both feel, sound, and look different if Apple could apply some polish to it.
The Number Pad runs on one CR2032 Lithium coin battery. To access the battery hatch, you need a small paper clip and a little patience. Inside, removing the coin battery is easy and reinstalling a new battery is equally easy. It’d be great if you could recharge the Number Pad via I/O, but utilizing a coin battery ensures the Number Pad maintains a flat profile and can cheaply operate for a long period of time.
The Number Pad has a very aggressive sleep schedule to conserve battery life, mind you. If inactive for about five minutes, the Number Pad goes to sleep. To wake the Number Pad, any key has to be actuated and there is one-to-two second pause before your keystrokes are initiated. This is a lot like the Microsoft Surface Ergonomic keyboard’s behaviour — if you type “123” while the Number Pad is asleep to wake it up, it will insert “123” once it has re-connected to the MacBook Pro.

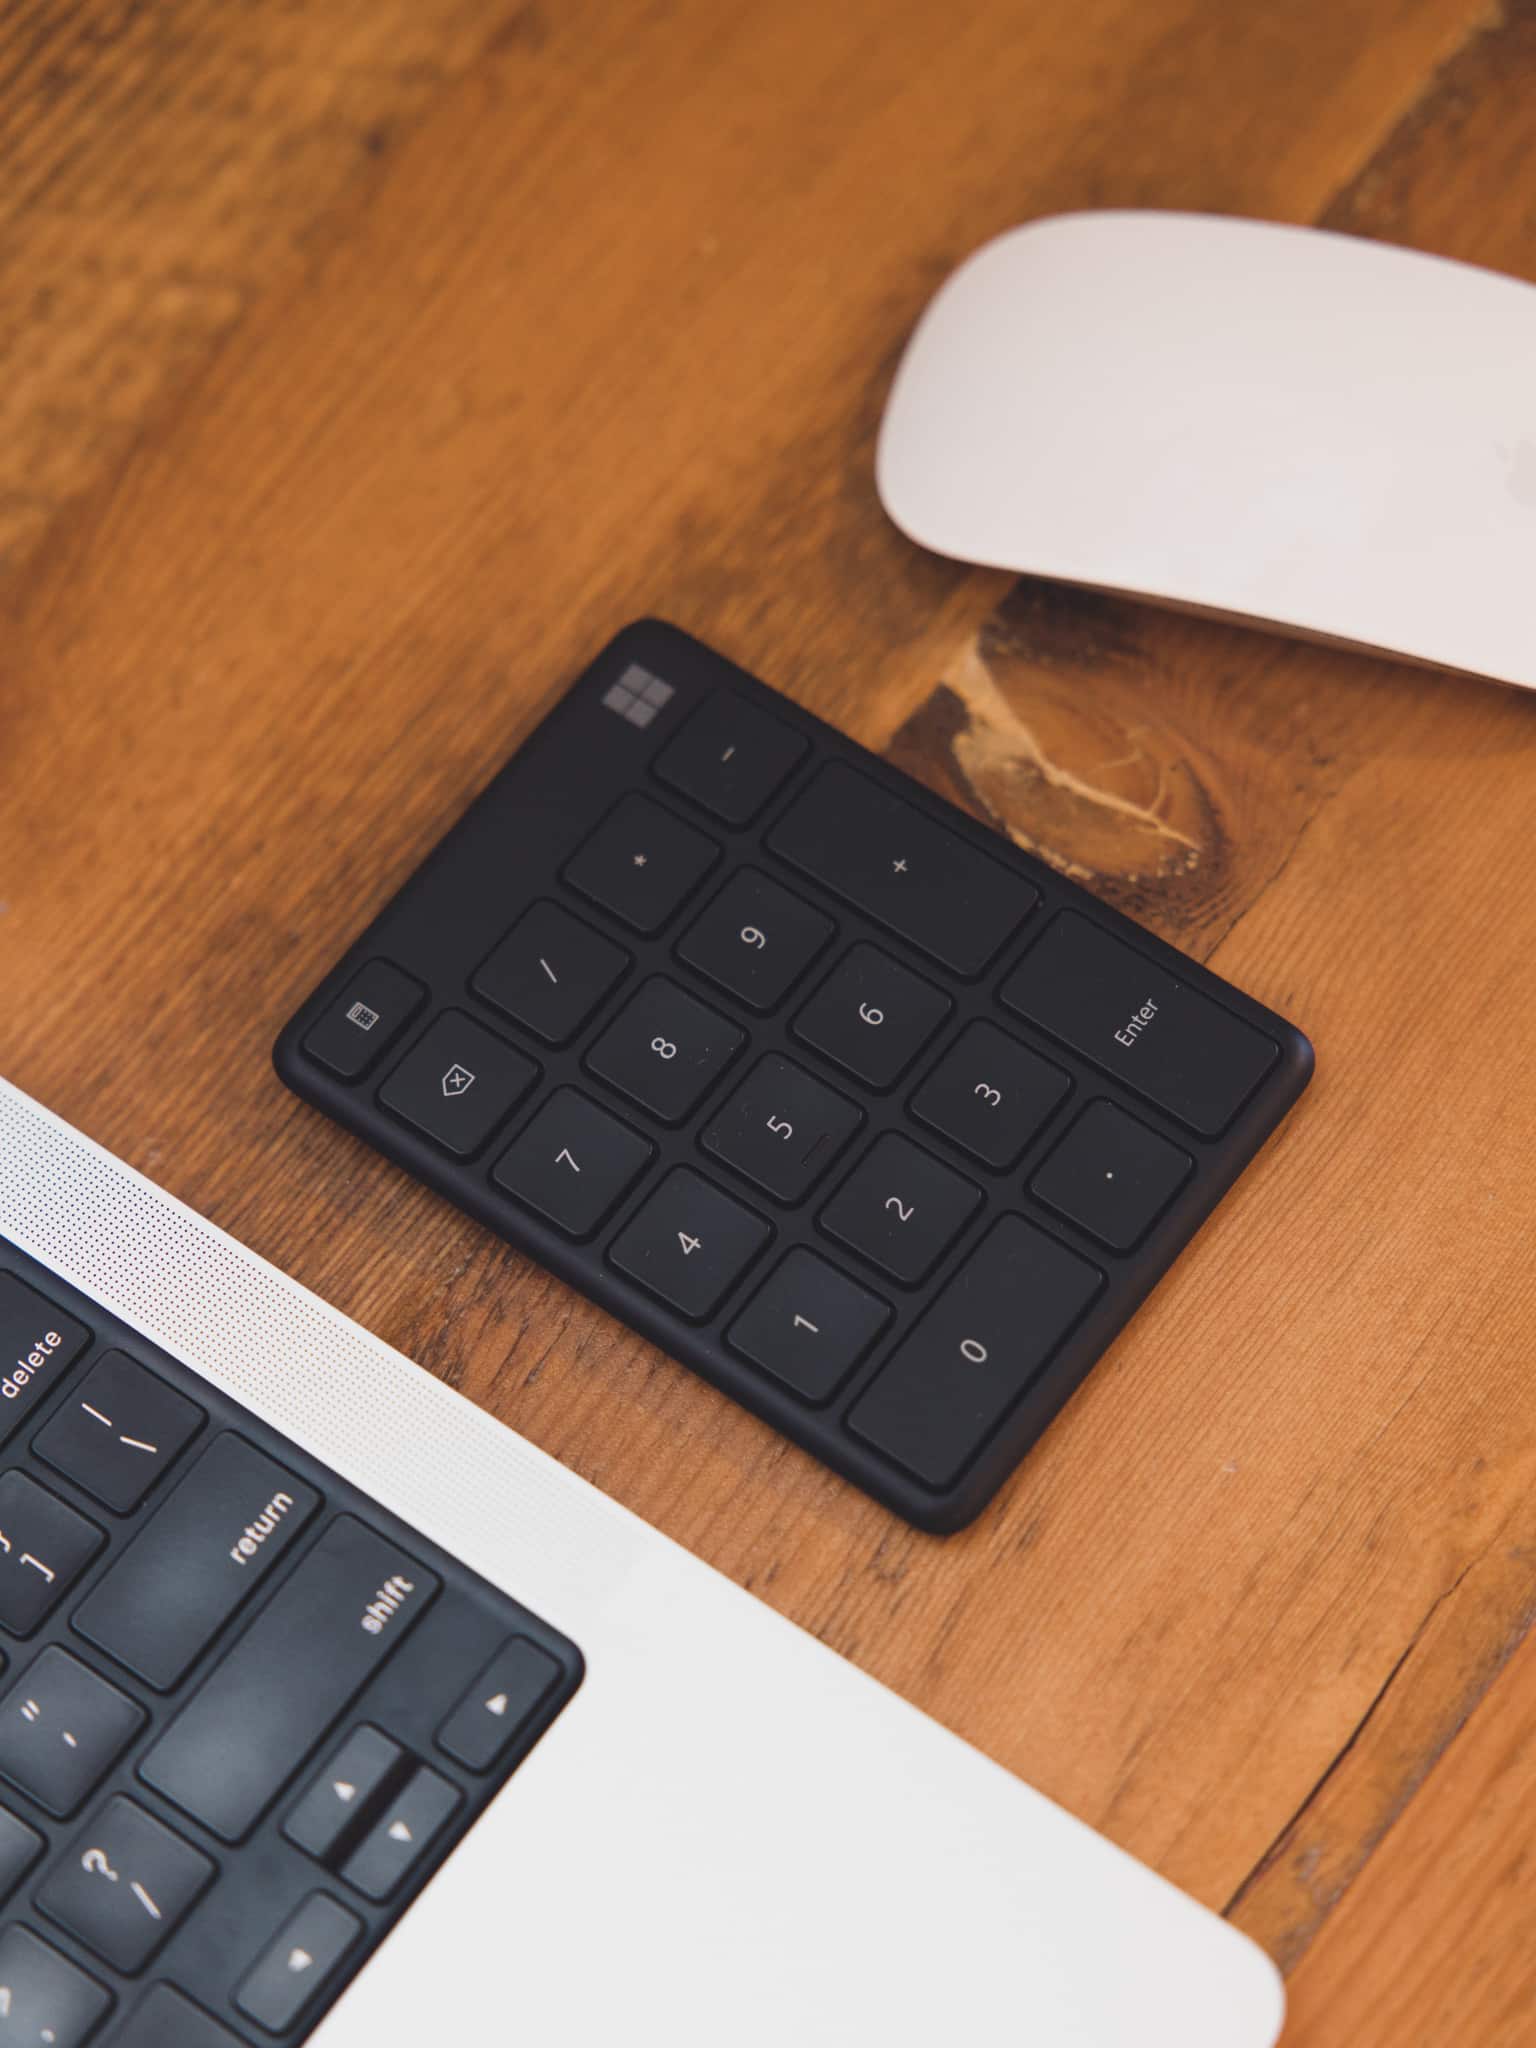
The Number Pad’s 10-key layout has a few minor changes from other numerical keypads I’ve used in the past. Microsoft uses a different 10-key layout than Apple does, with the - and the * taking different layout positions. This Number Pad also places the delete key in the upper left of the grid, while a dedicated calculator-launcher key is situated in the upper left of the device. I’ve long been accustomed to Microsoft’s 10-key layout, but the delete key is in an odd spot and I’m far from accustomed to using it after a month of use.
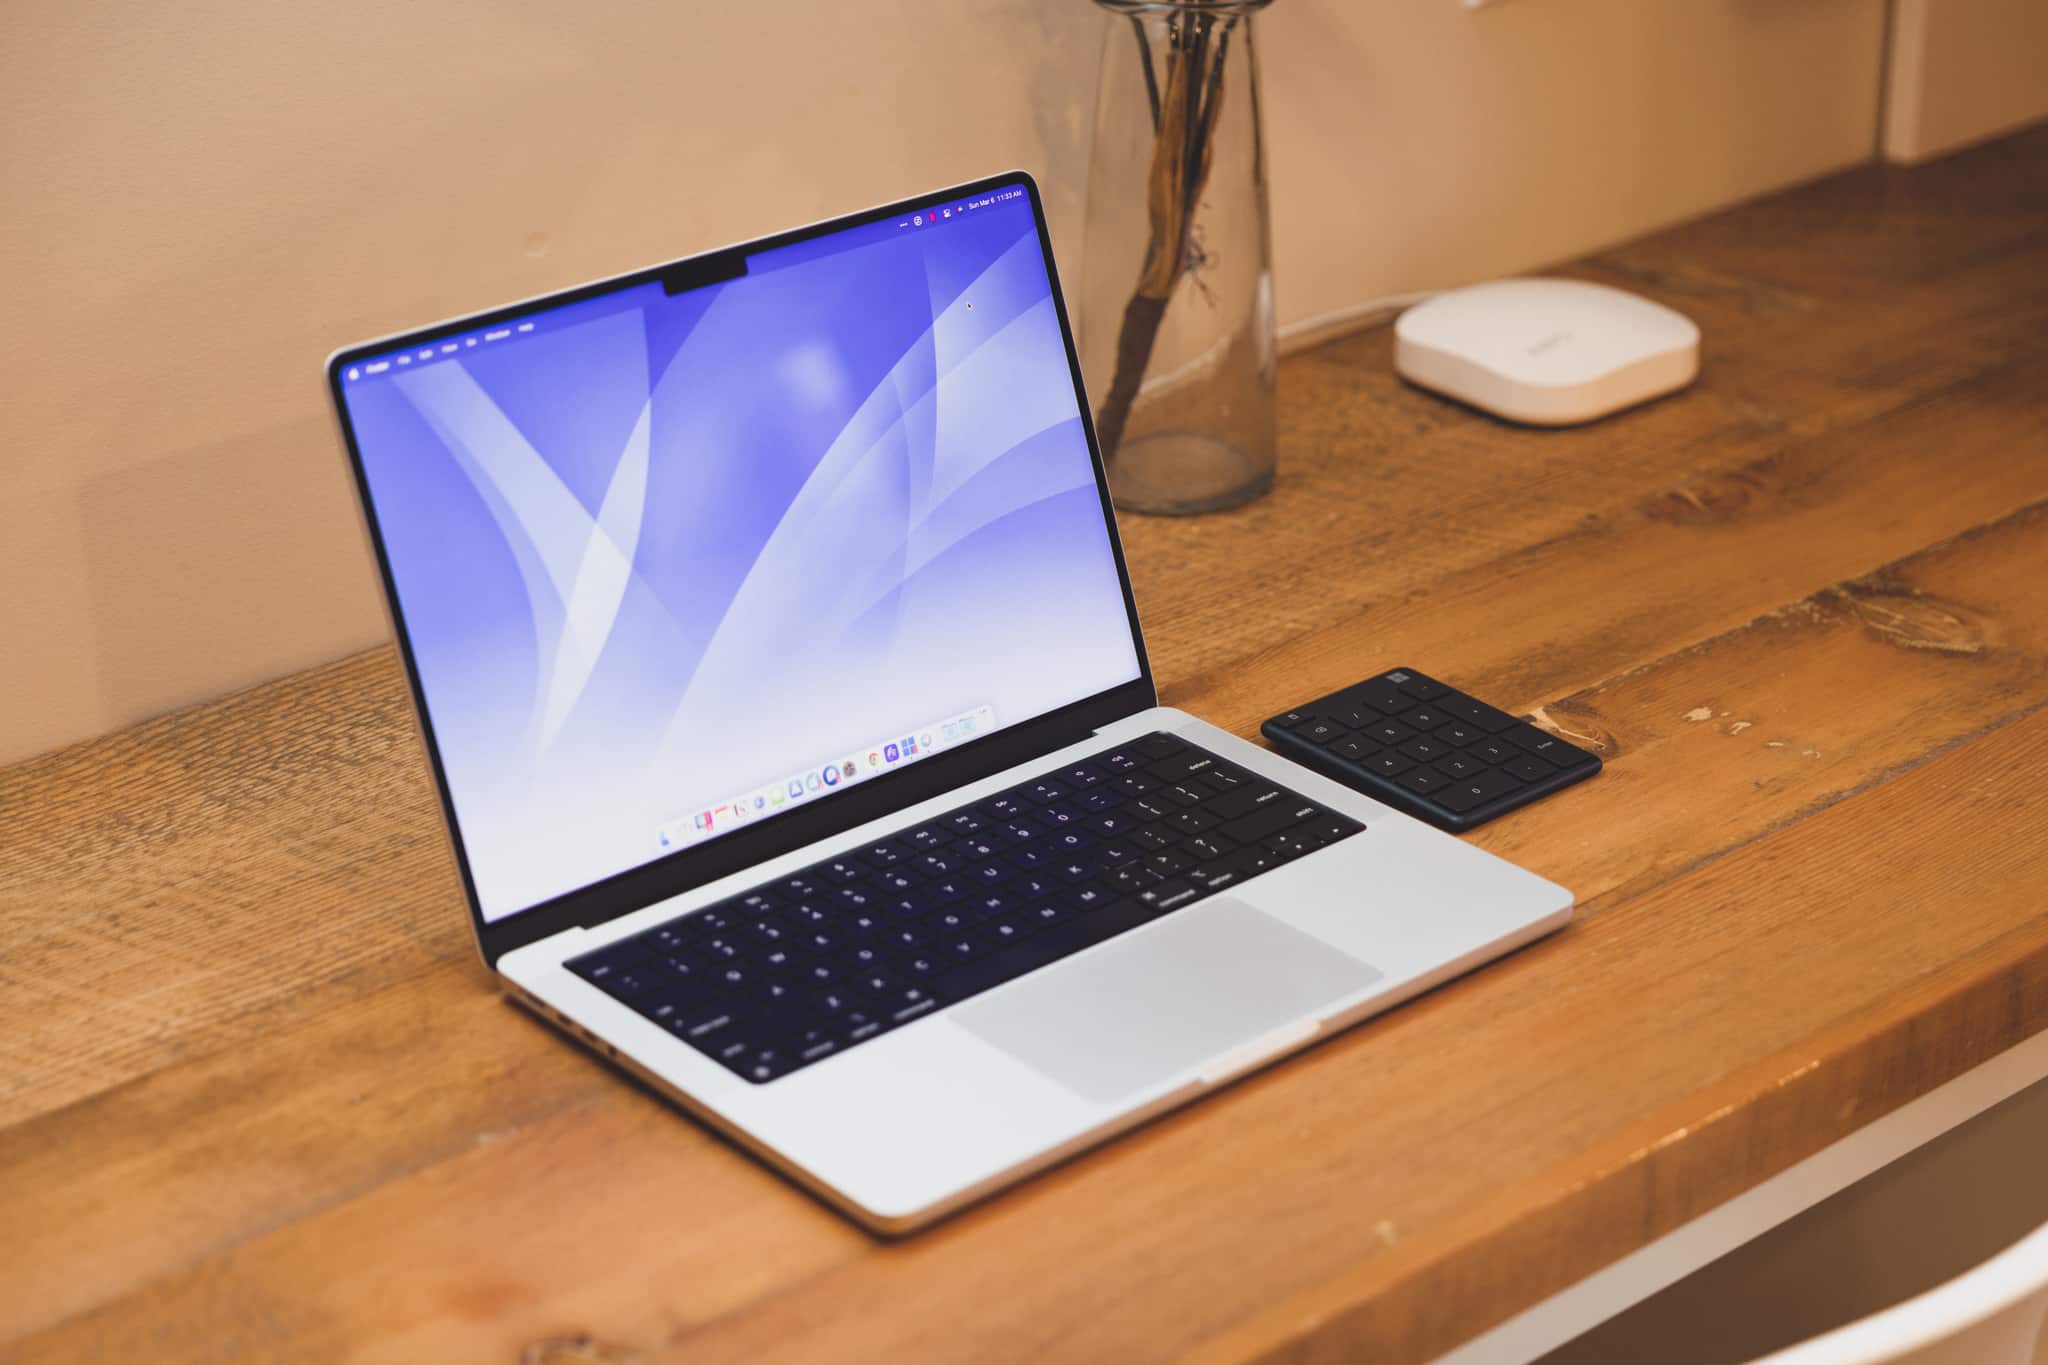
And of course — size. The Microsoft Number Pad is slightly bigger than the palm of your hand. So far, it fits in any small sleeve inside my Bellroy bag with ease, and I’ve transported this little keypad back and forth from the office each day without noticing it. For an all-plastic device, it’s a bit front heavy, ensuring it doesn’t slide across the desk as you’re working with it. Even still, it’s light enough that you won’t notice it in your bag at all.
Connectivity and Setting Up the Microsoft Number Pad
So the Microsoft Number Pad fits the bill for the MacBook Pro, but it’s clear right from the Number Pad’s product page that it’s not exactly meant for macOS. Microsoft explicitly states the Number Pad requires Windows 10 or 11 for setup and is not available for devices running macOS.
At $40 CAD and only $30 USD, I figured it was worth a shot to see if I could side-step Microsoft’s recommended practices. I also run Windows 11 inside Parallels on the M1 Pro MacBook Pro. I thought if I couldn’t get it working through macOS, Windows 11 would be a sure thing.
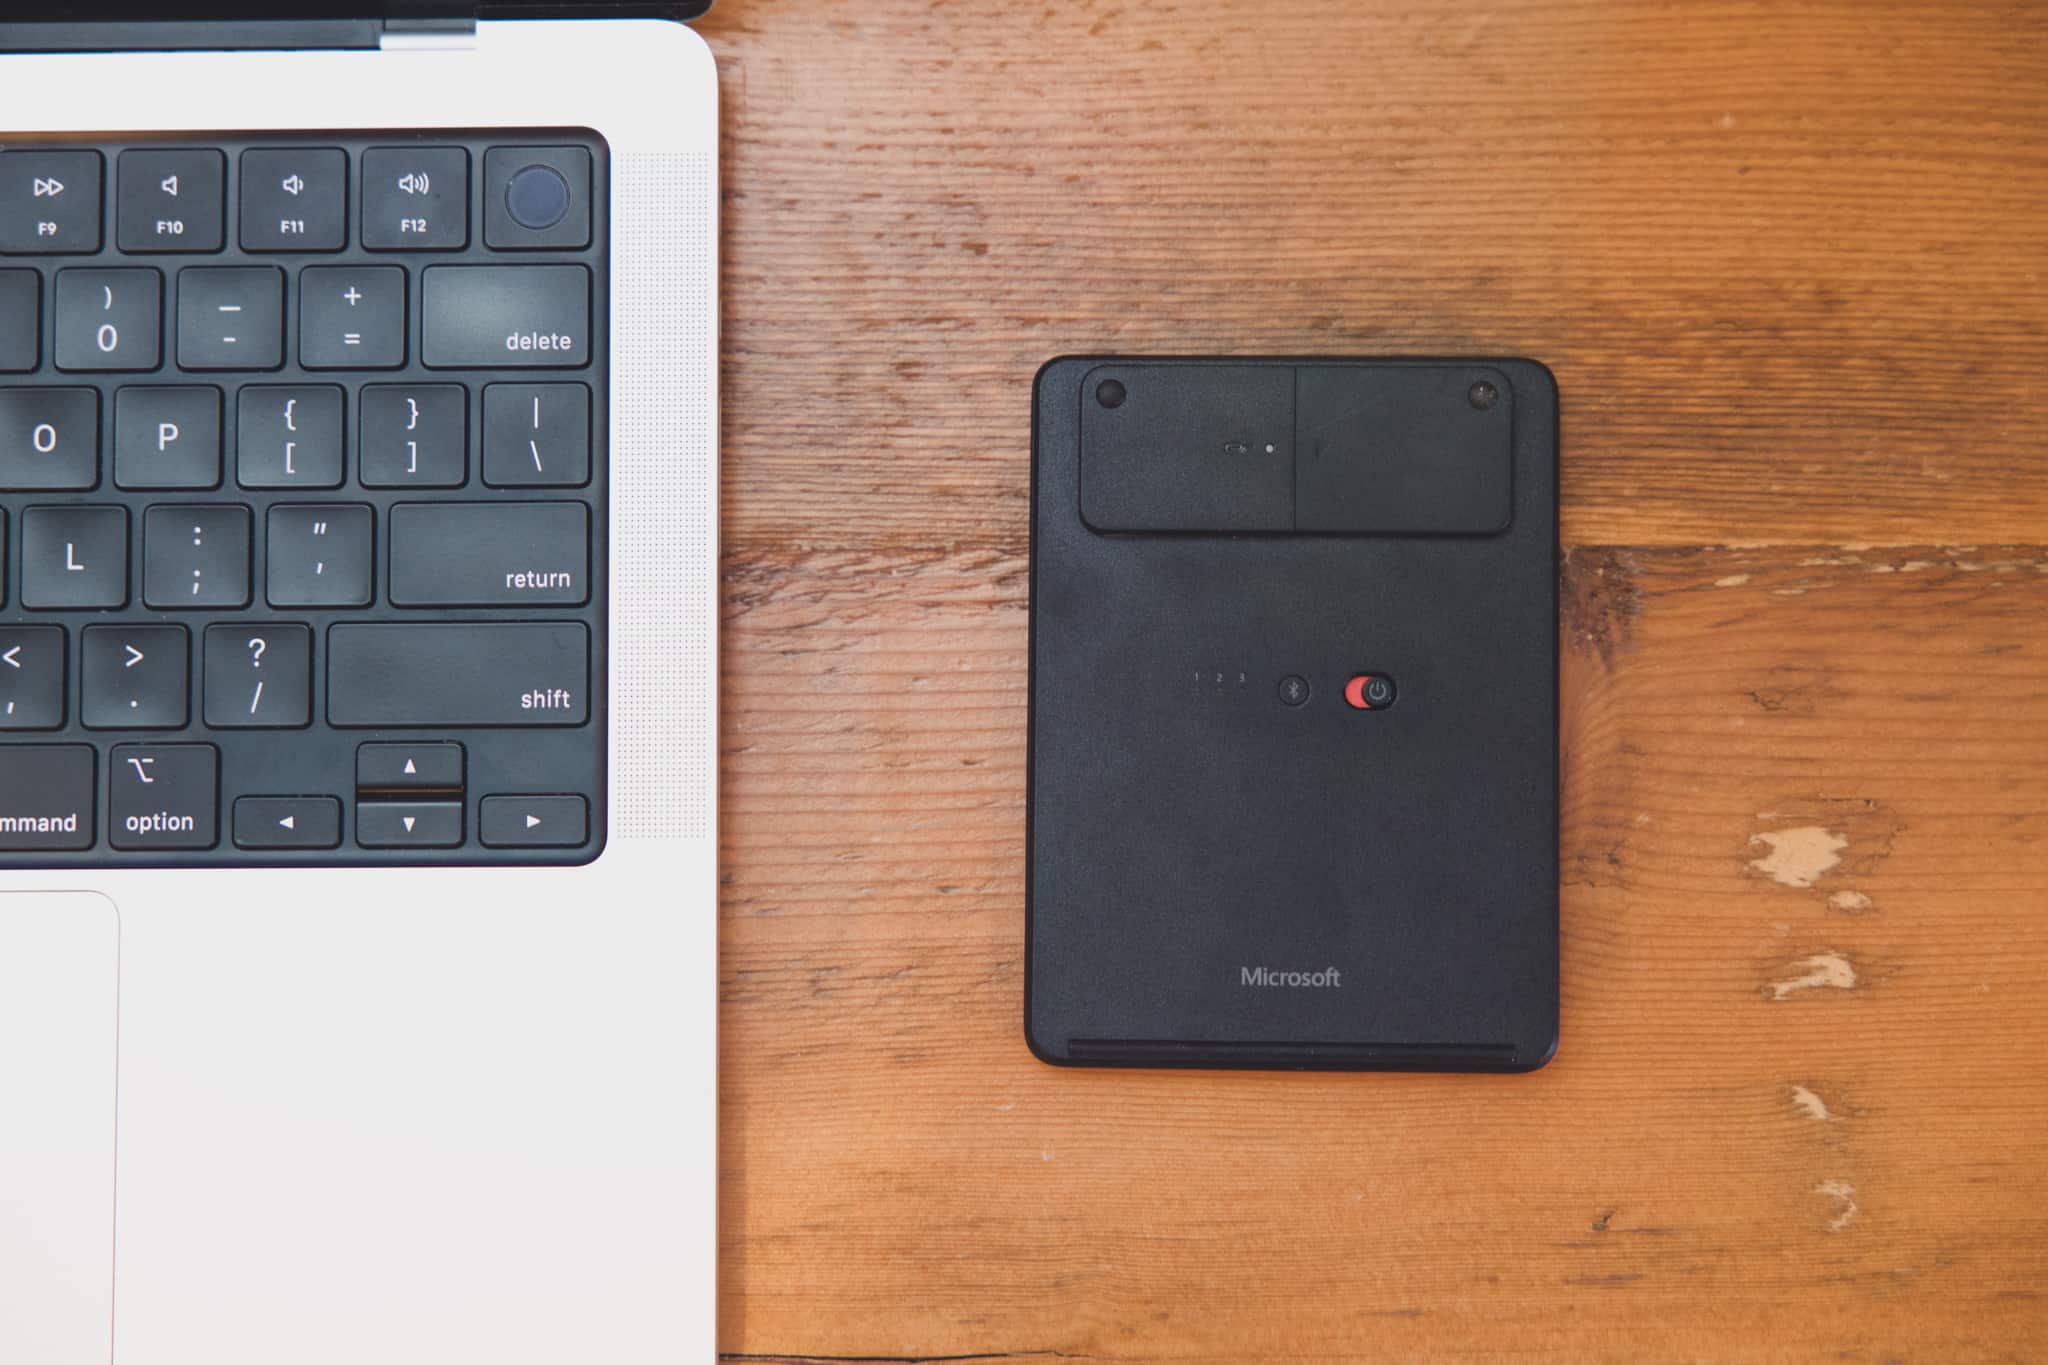
Out of the box, you flip the switch on the back side of the Number Pad and hold down the little Bluetooth button to initiate connection. Once connected, you can open your favorite spreadsheet application to see if the Number Pad is working properly.
Right off the bat, the Number Pad inserts unwanted characters. Hitting Enter doesn’t move down cells in Microsoft Excel. Other issues pop up that make the Number Pad unusable.
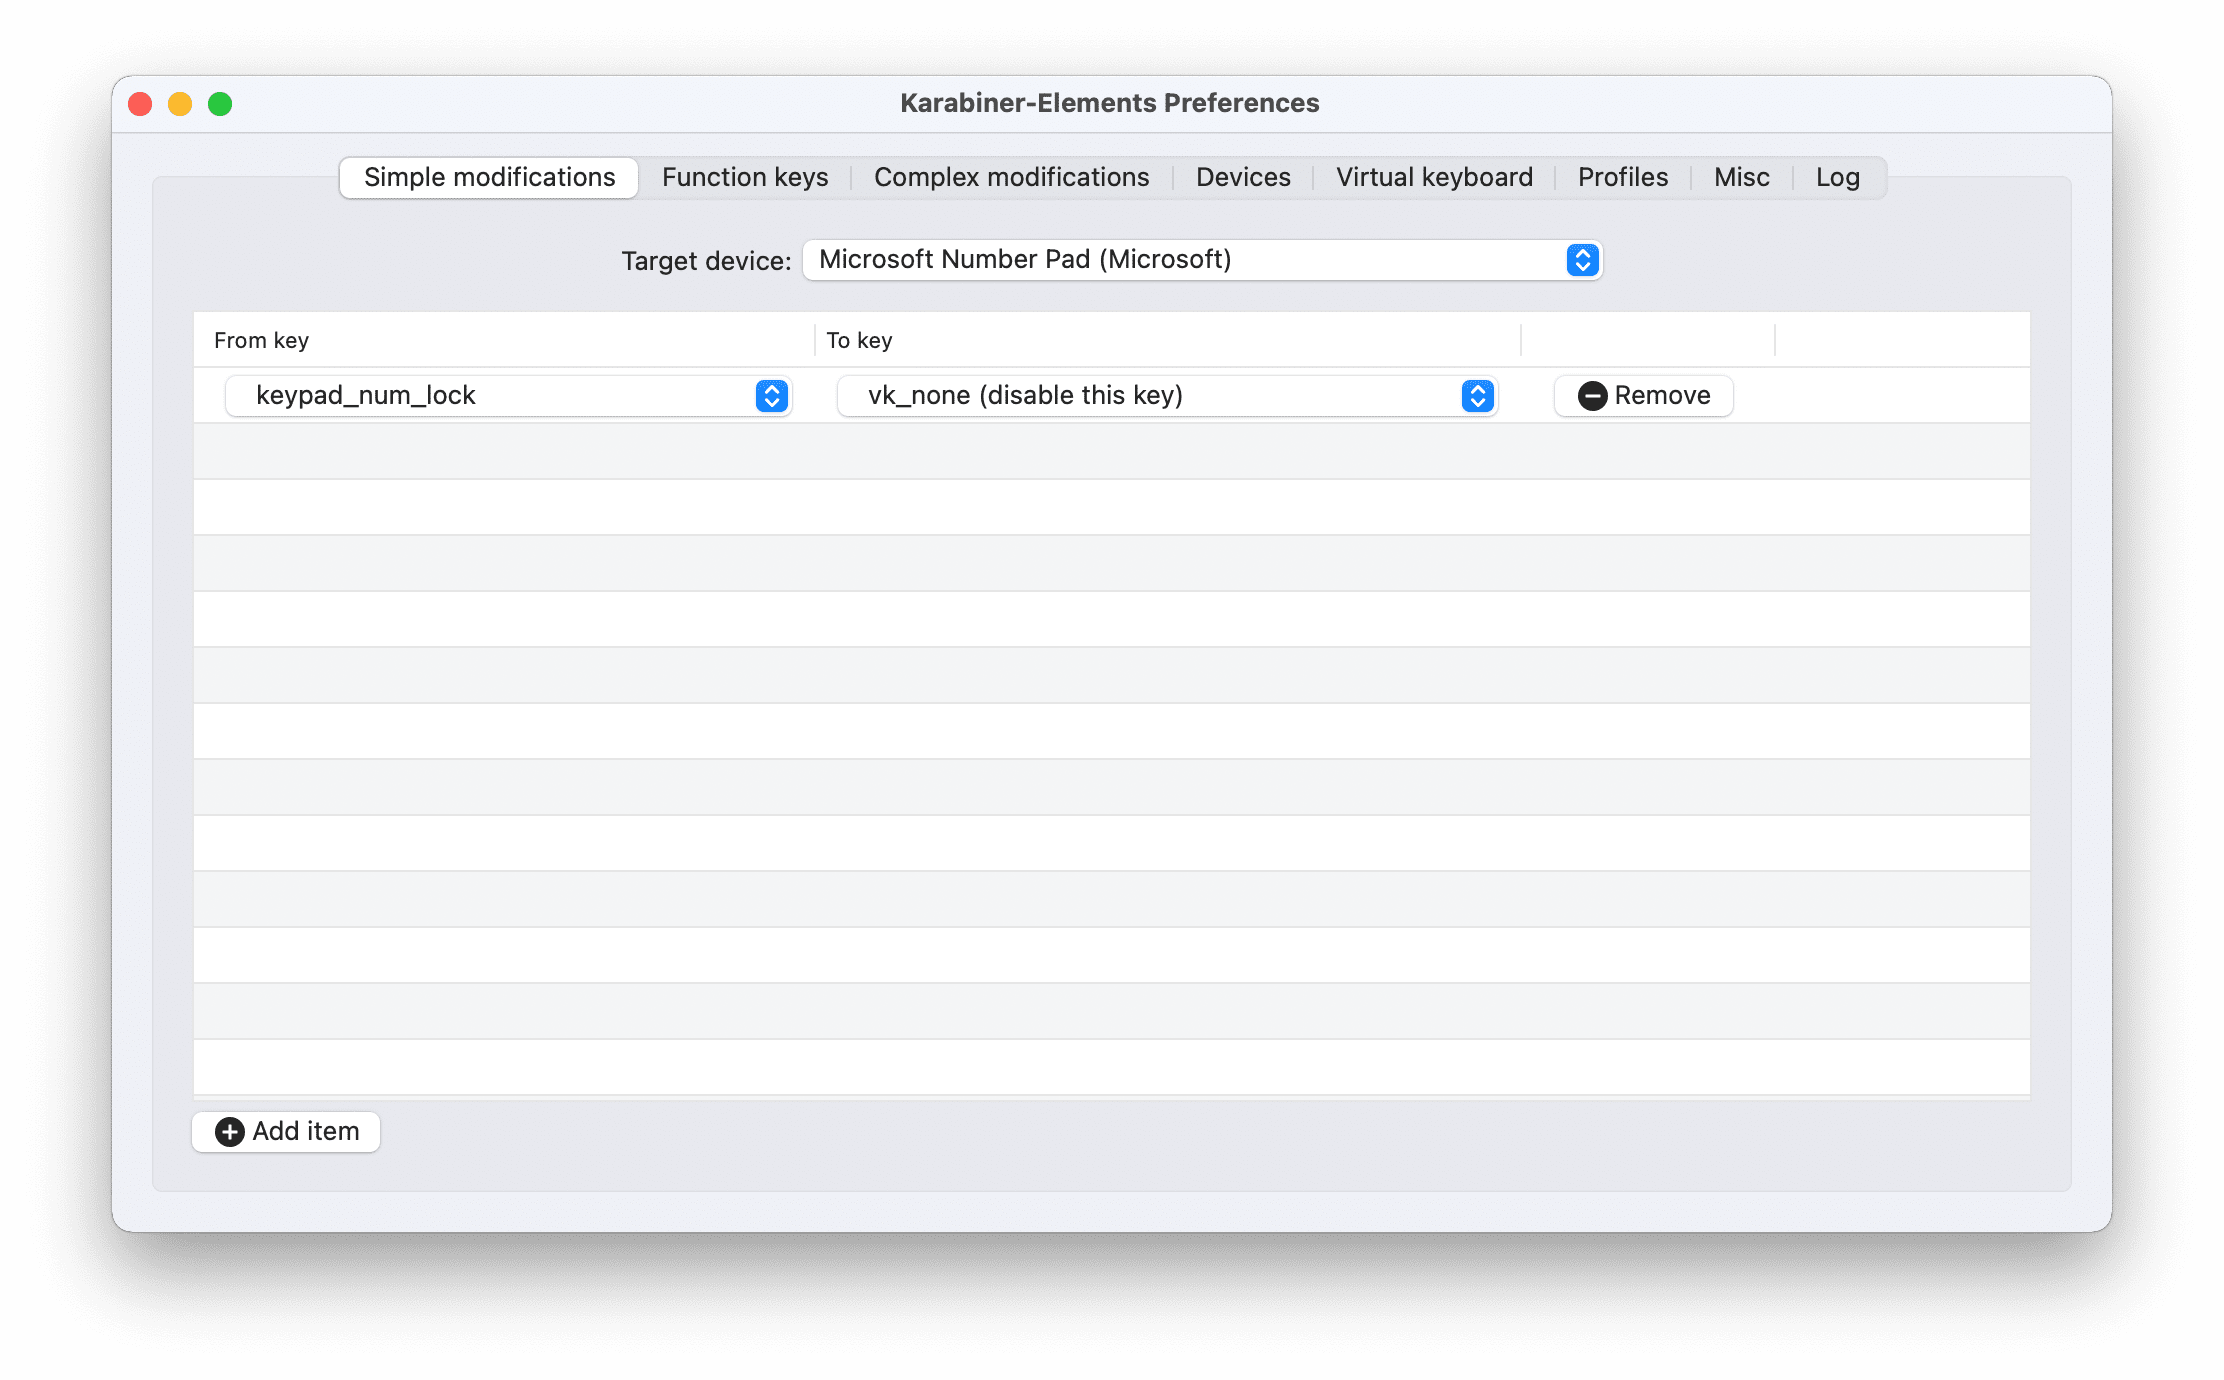
To fix this, you need to download Karabiner Elements — the best app for remapping specific keys in macOS — and create a simple modification for the targeted Microsoft Number Pad. The modification takes the Num Lock button (non-existent on the Number Pad itself, but virtually-existent upon Bluetooth connection) and turns it off: keypad_num_lock becomes vk_none (disable this key).
Once this modification is complete, you should be able to use the Microsoft Number Pad inside your favorite macOS spreadsheet app or anywhere across macOS.
However, if you also use Windows 11 on your MacBook Pro like I do, there’s one additional step to get the Number Pad to work inside Windows 11. By default, the Num Lock key is turned off inside a Windows 11 virtual machine in Parallels — if you press “4” or “6” on the Number Pad, you’ll arrow left or right instead of inserting a “4” or a “6”.
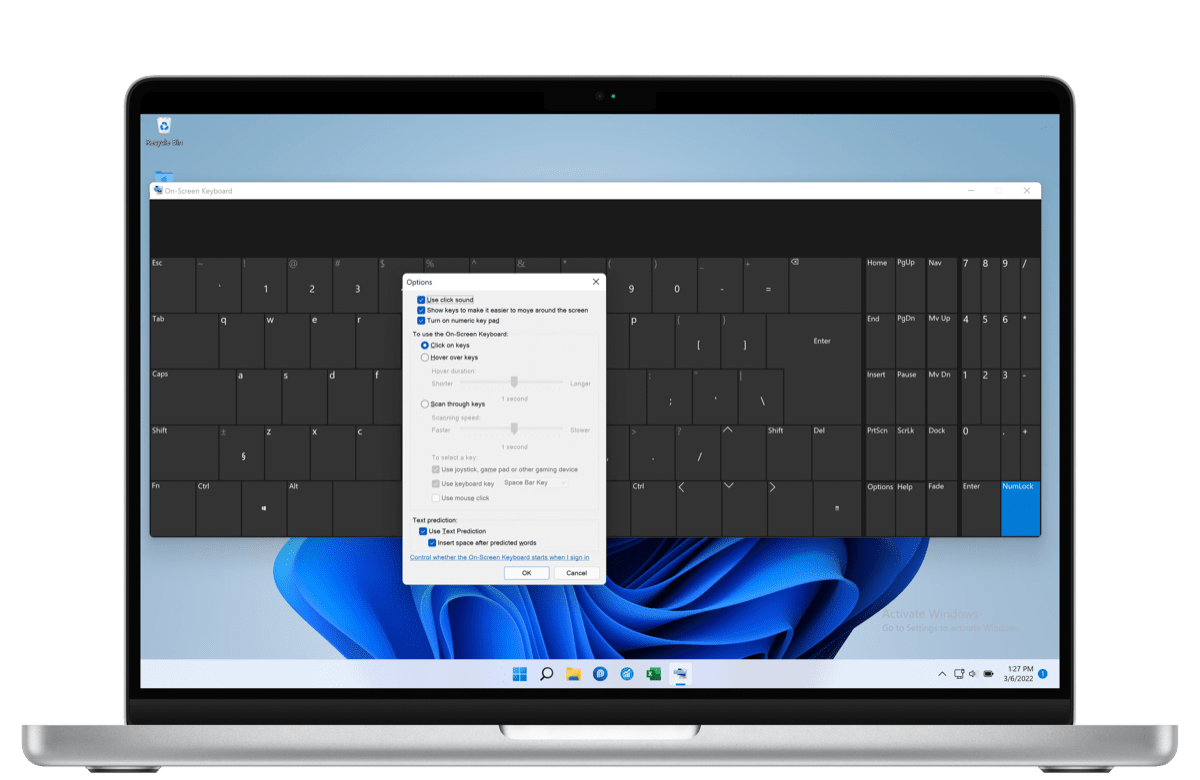
To fix this, open the On-Screen Keyboard app inside Windows 11. Click Options in the bottom right corner and select Turn on numeric keypad and click OK. Finally, ensure the NumLock key is initiated on the on-screen keyboard to enable the numerical layer of the Number Pad.
Clearly, it’s a bit of a workaround — Karabiner Elements ensures the Number Pad works properly with macOS while the On-Screen Keyboard app has to be used to get the Number Pad to work with the Windows 11 virtual machine. Once set up though, it has operated perfectly for me ever since.
The Best of All Keyboard Worlds
My story is one of “There and back again” — I journeyed to the other side of the fence, looking for the ultimate external (mechanical) keyboard to find maximum typing comfort. By the end of it, the built-in MacBook Pro keyboard’s familiarity and feel make it the most productive keyboard for me.
But that didn’t fix my number pad issue. I still don’t know any accountants who get their job done without a 10-key number pad.

At $30 USD ($40 CAD), the Microsoft Number Pad was a really hard opportunity to pass on. This little accessory ensures I can continue to use the built-in MacBook Pro keyboard and have access to 10-key functionality anywhere I go. It fits into every sleeve in my bag, has a good overall typing feel, and even happens to look a lot like the new MacBook Pro’s built-in keyboard.
Sure, it requires some workarounds. But once set up, it works, and it works quite well.
Sometimes I question whether I should teach myself to be proficient on the number row in a 75% keyboard instead of relying on an increasingly-rare 10-key layout. I tried for a few weeks after I ordered this Number Pad from Microsoft.
After it arrived and I set it up, I concluded I don’t need to waste time re-learning how to type numbers. This little Number Pad will be there whenever I need it.