Quick Capture to iCloud (& Obsidian) Using Drafts
Obsidian is great at a lot of things, but quick-capturing text is not one of them. I prefer to quick-capture my text in Drafts and then send it to Obsidian using Drafts Actions.

Unfortunately, if your vault is stored in iCloud Drive, this hasn’t always been possible. But thanks to the Bookmarks feature added in Drafts version 28, you can now store text outside of the Drafts iOS sandbox. In this video, I’ll who you how you set it up.
Setting Up the Bookmark
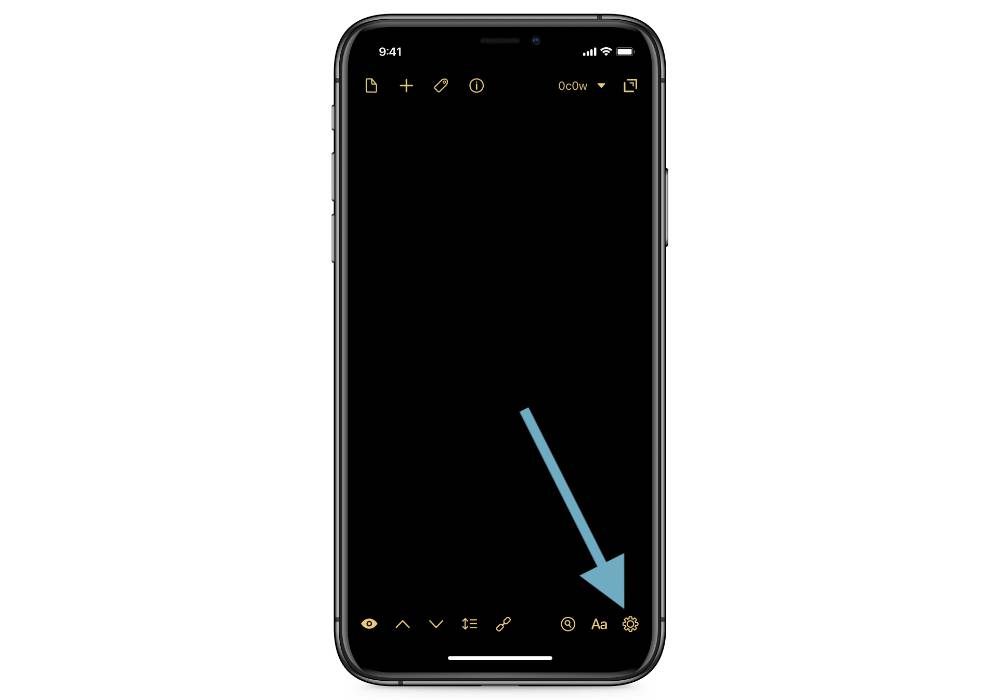
First, tap on the gear icon in the lower right of the Drafts screen to go to the Settings.
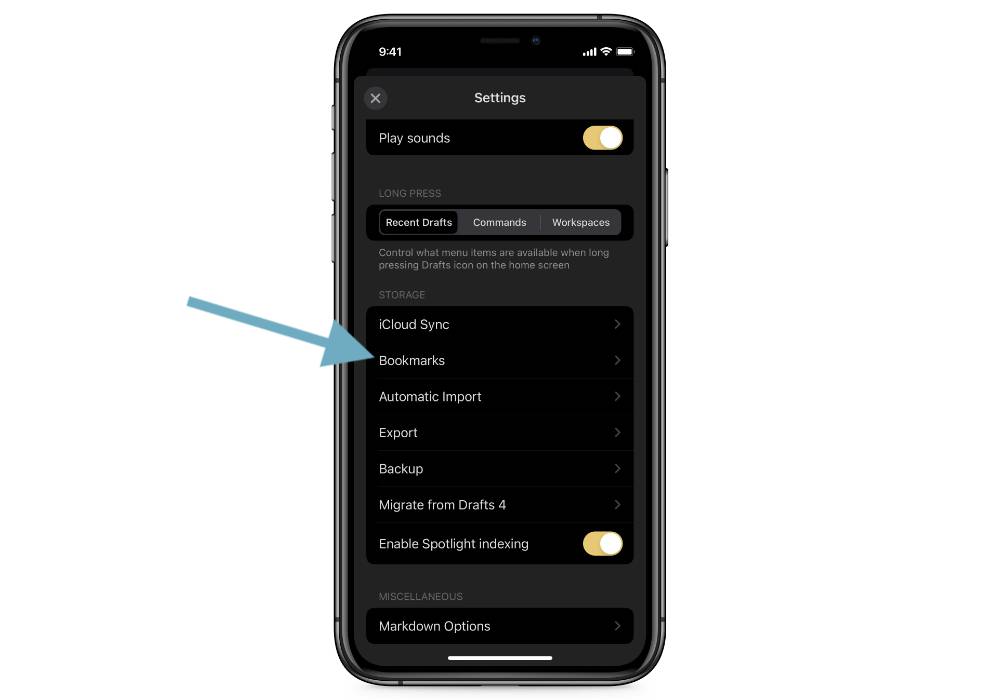
Next, scroll down to the Storage section and tap Bookmarks.
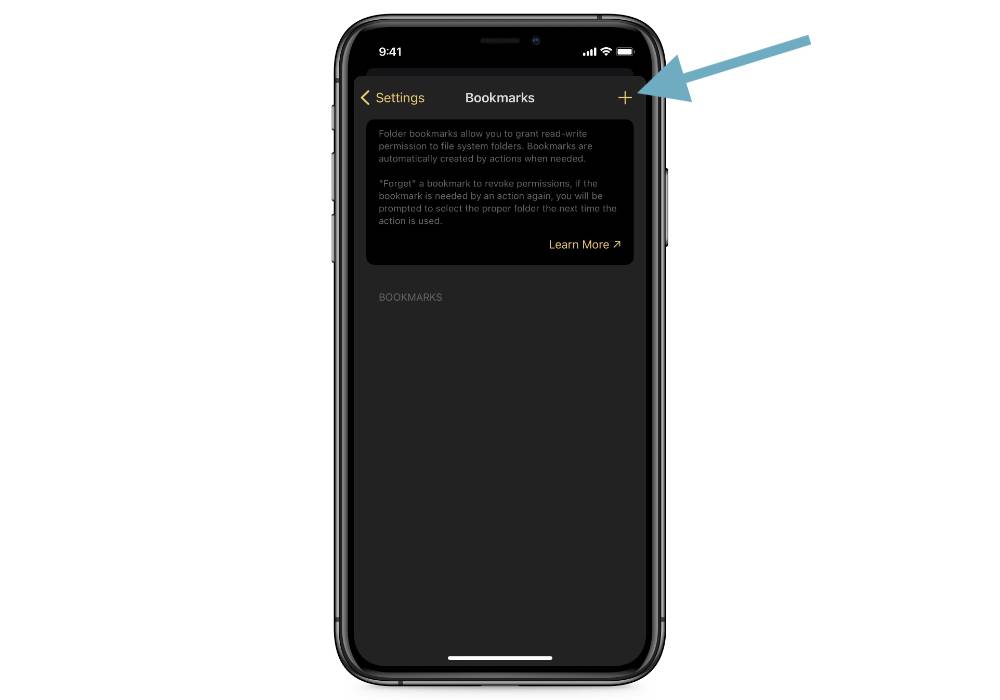
Tap the plus icon in the upper right to add a bookmark.
Give your bookmark a name. I’ll name this one Inbox.
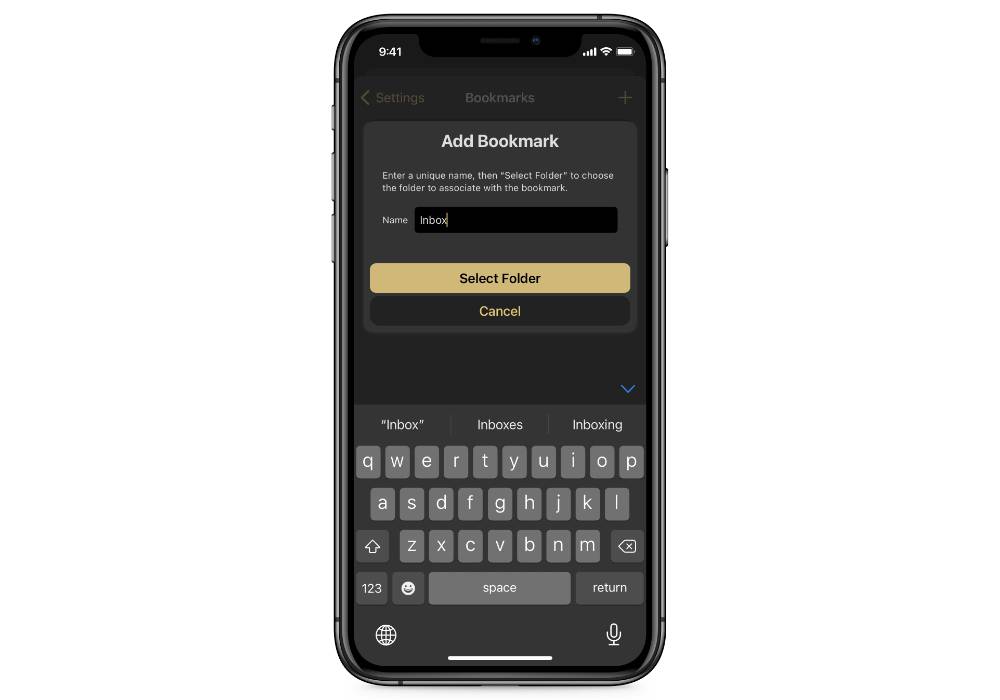
I want to store these text files from Drafts in the Inbox folder inside of my Obsidian vault. So let’s tap on Select Folder, enable bookmark permissions, and then select the appropriate folder.
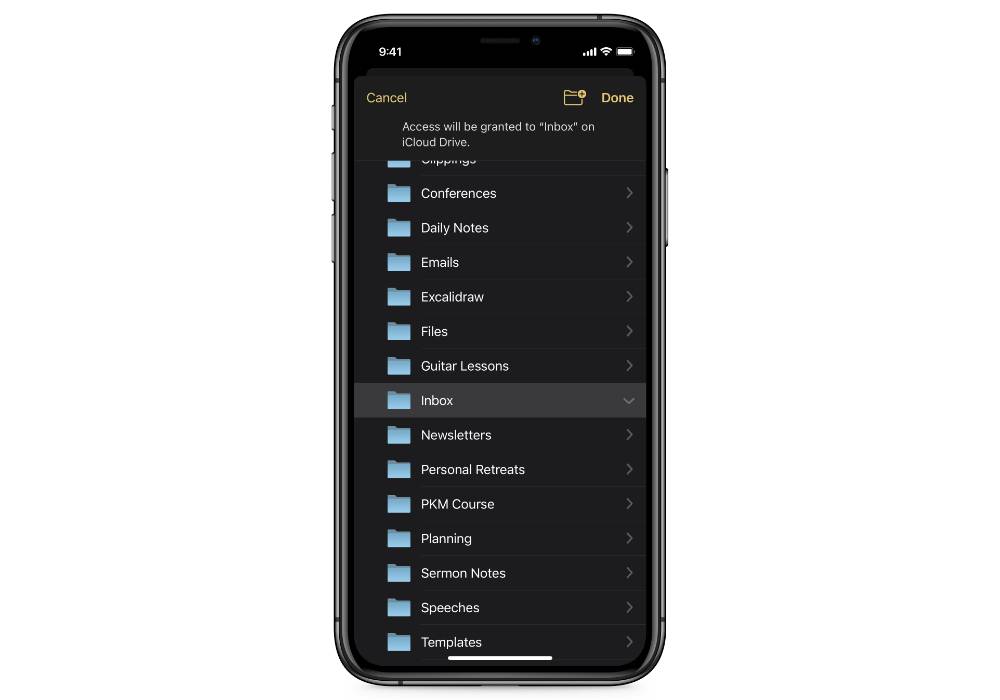
Make sure to select the correct folder and then tap Done, which will create a bookmark to that specific folder.
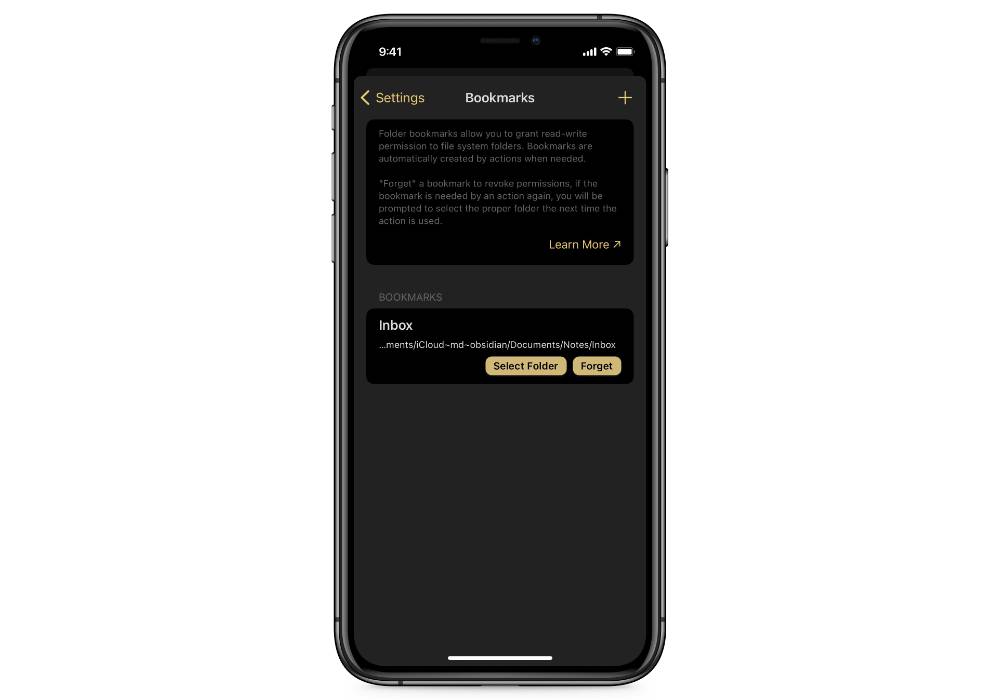
We’re going to use this in the next step when we set up the File Action inside of Drafts.
Creating the Drafts Action
Now that we have the bookmark set up, we can create our Drafts action. The first line of the text in the Draft is the title, and everything else is the body. We can use those tokens when we set up our File Action here in just a second.
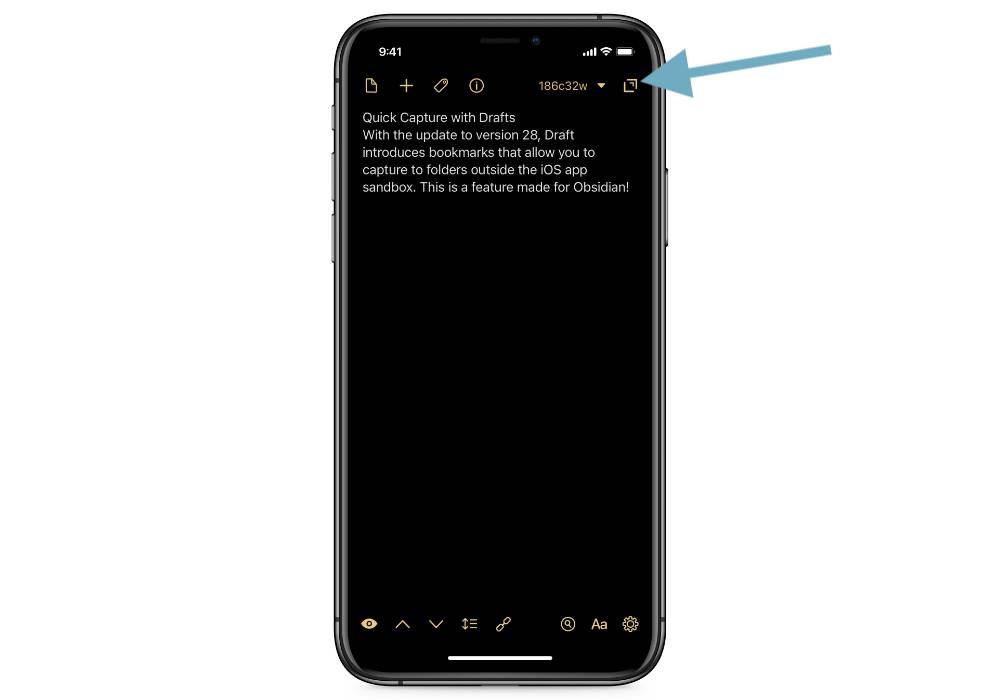
Tap the Drafts icon in the upper right to access the Drafts Actions.
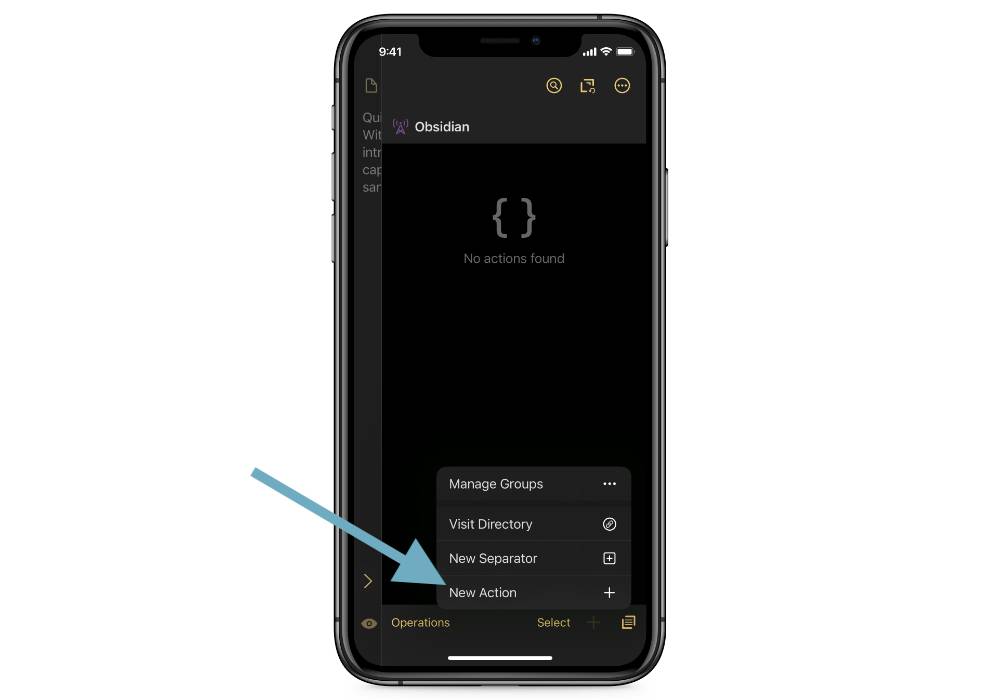
Next, tap the plus button at the bottom and select New Action.
Name this action (once again, I’ll call this Inbox), choose a new icon and color if you’d like, and then select Steps.
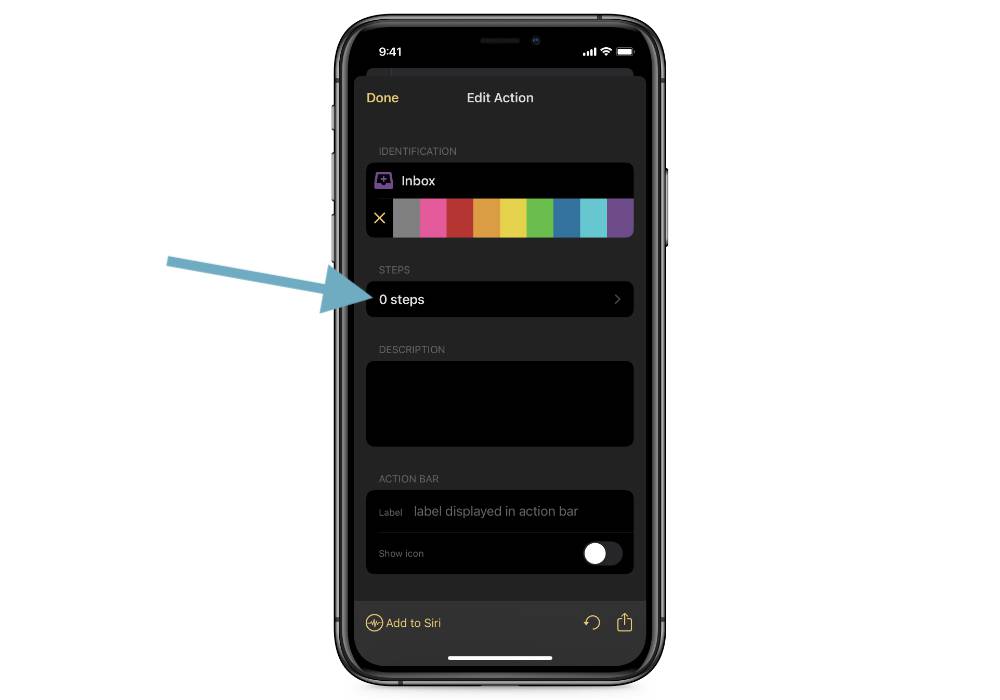
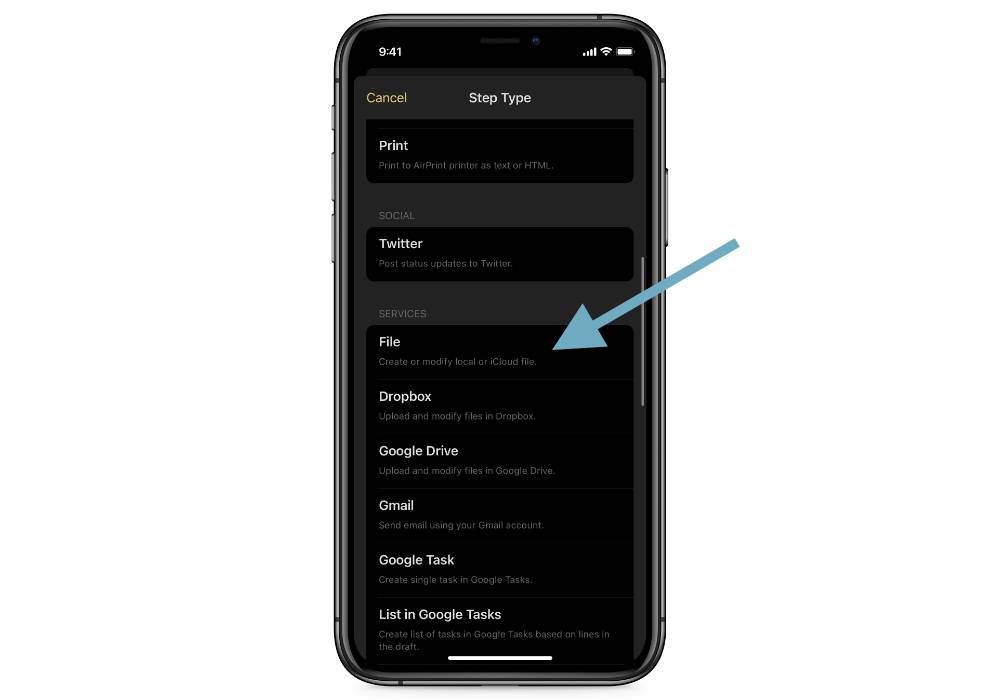
Tap the plus button to add a step and scroll down to select File.
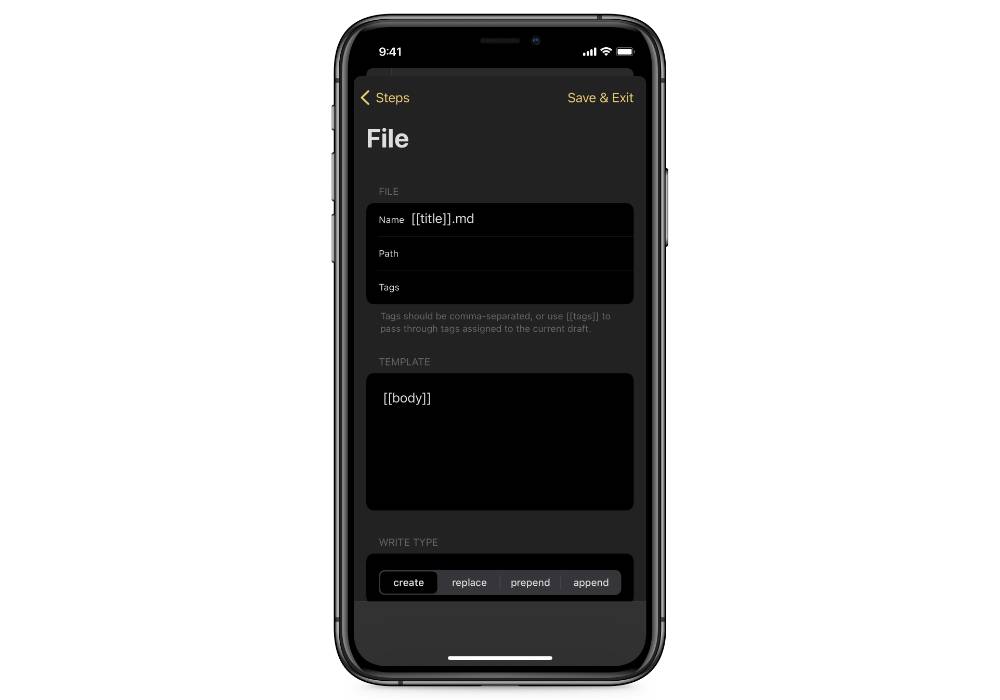
There’s a couple things we need to change in this action. By default, this is going to insert a timestamp for the file name and use a .txt file extension (which is not going to work with Obsidian). So let’s change the extensions to .md and change the time token to title. This will take the first line of my Draft and insert that text as the title for the file.
Next, let’s go to the template and remove the Draft content and put in the body content. So this will put all of the text below the first line into the contents of the text file that we’re creating.
Here’s what it should like so far:
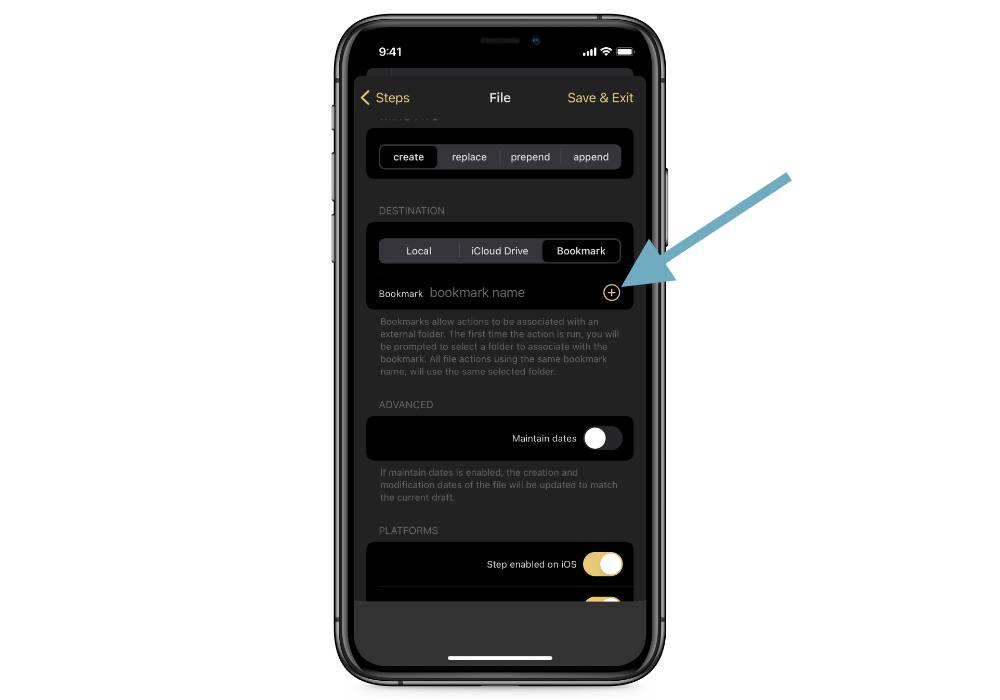
You may have noticed that there’s a path field, but we’re not going to worry about that because further down we can choose the Destination. Choose Bookmark, then tap the plus button and select the bookmark that you created in the Drafts settings.
Once you’re finished, tap Save & Exit to save the Drafts Action.
Using the Action
Now we can trigger this action on the selected Draft. Just tap the button in the upper right and then tap the action that you want to use.
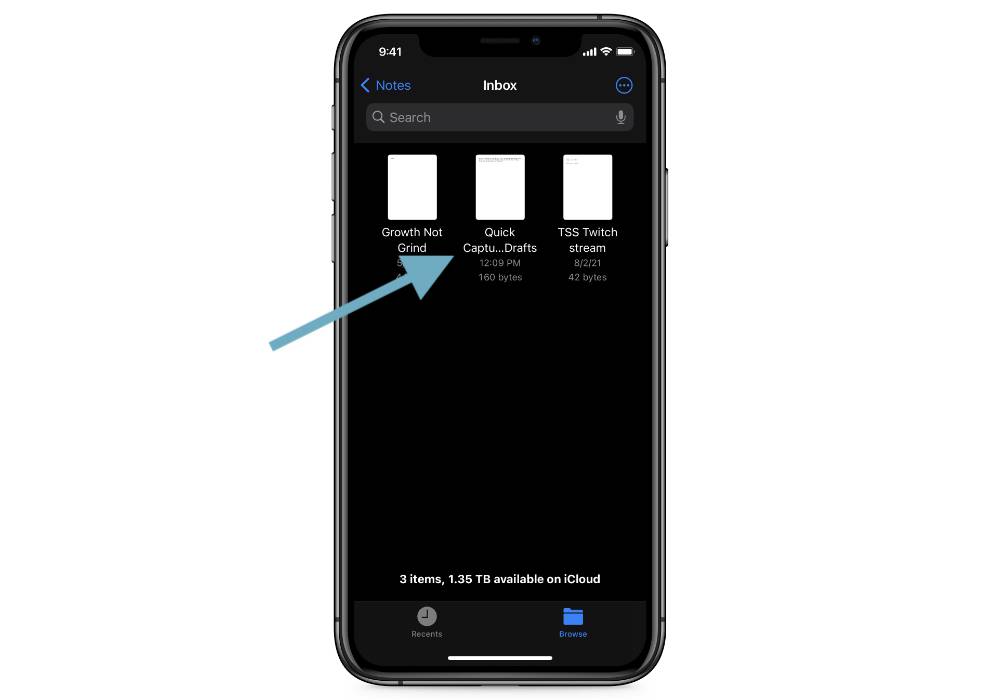
We’ll get a confirmation when the action runs, and can see the file appear in our Files app.
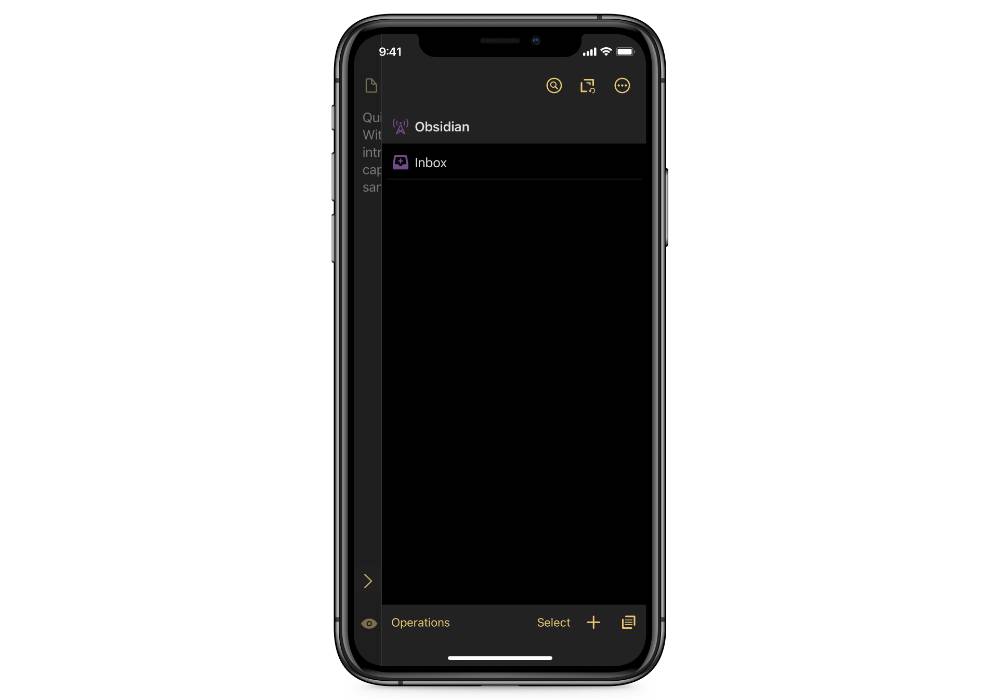
And since our Obsidian vault is looking at that folder, the text is now viewable inside of our Obsidian app.
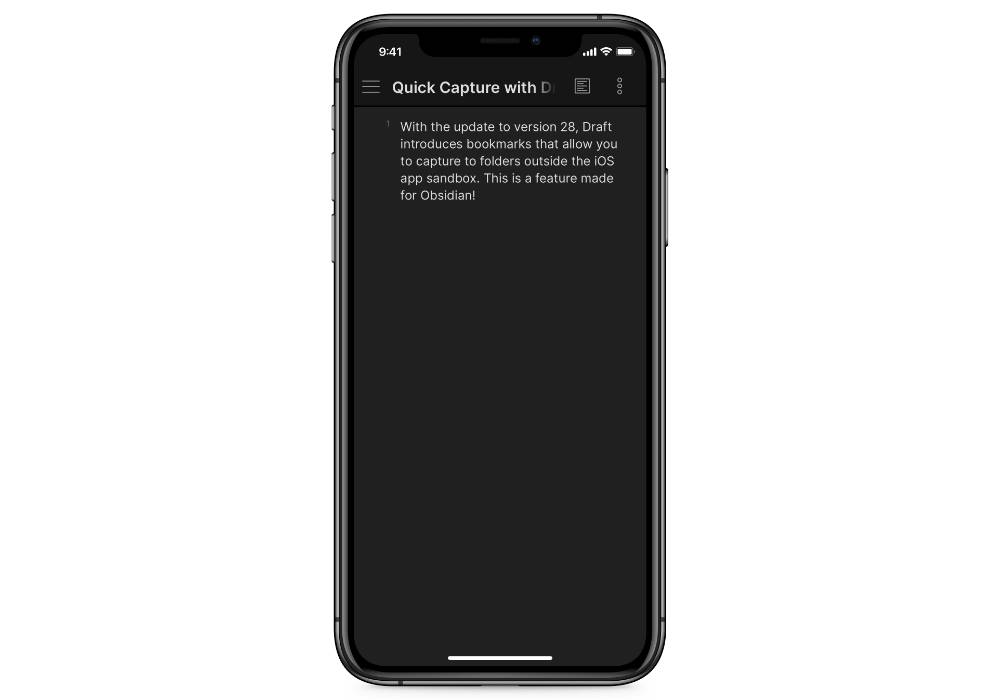
As you can see, the first line of the draft has been inserted as the title and everything below that has been inserted as the body text in the note.