Quick Tip: Outlining in Obsidian

Another powerful use of Obsidian is as an outlining tool, but if you’re used to other outlining tools like Workflowy, or even Roam Research, outlining in Obsidian may feel a bit limited. However, there are a couple of plugins that will allow you to enhance the outline capabilities of Obsidian, and in this article, we’re going to show you how to set those up. And if you prefer to watch a short video instead, we’ve got you covered.
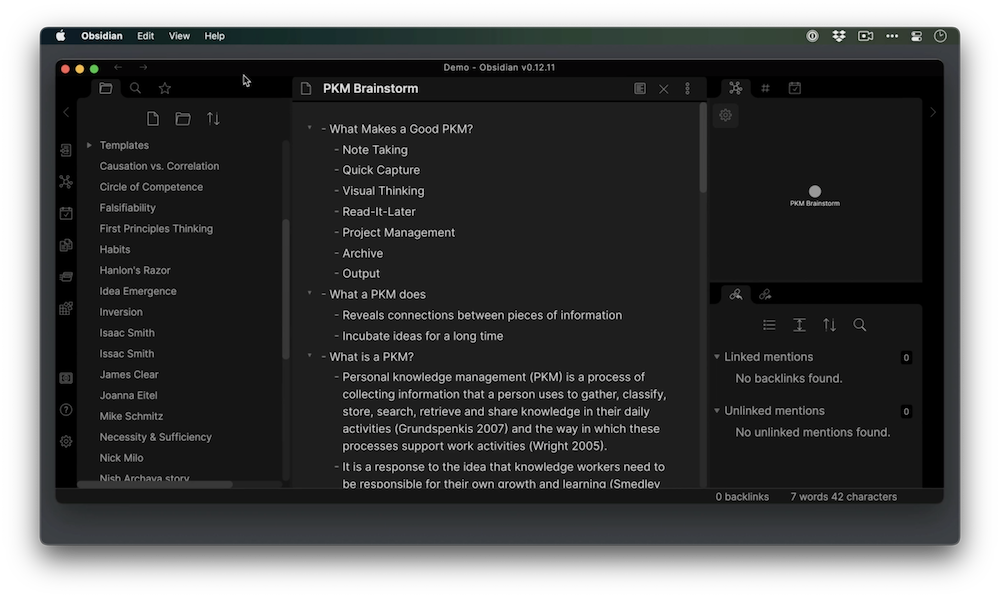
First, here is a PKM Brainstorm note that has a bulleted list of a whole bunch of things that I’ve been thinking about as it pertains to personal knowledge management. This is the note we’re going to use in this example, but first, we need to install a couple of plugins.
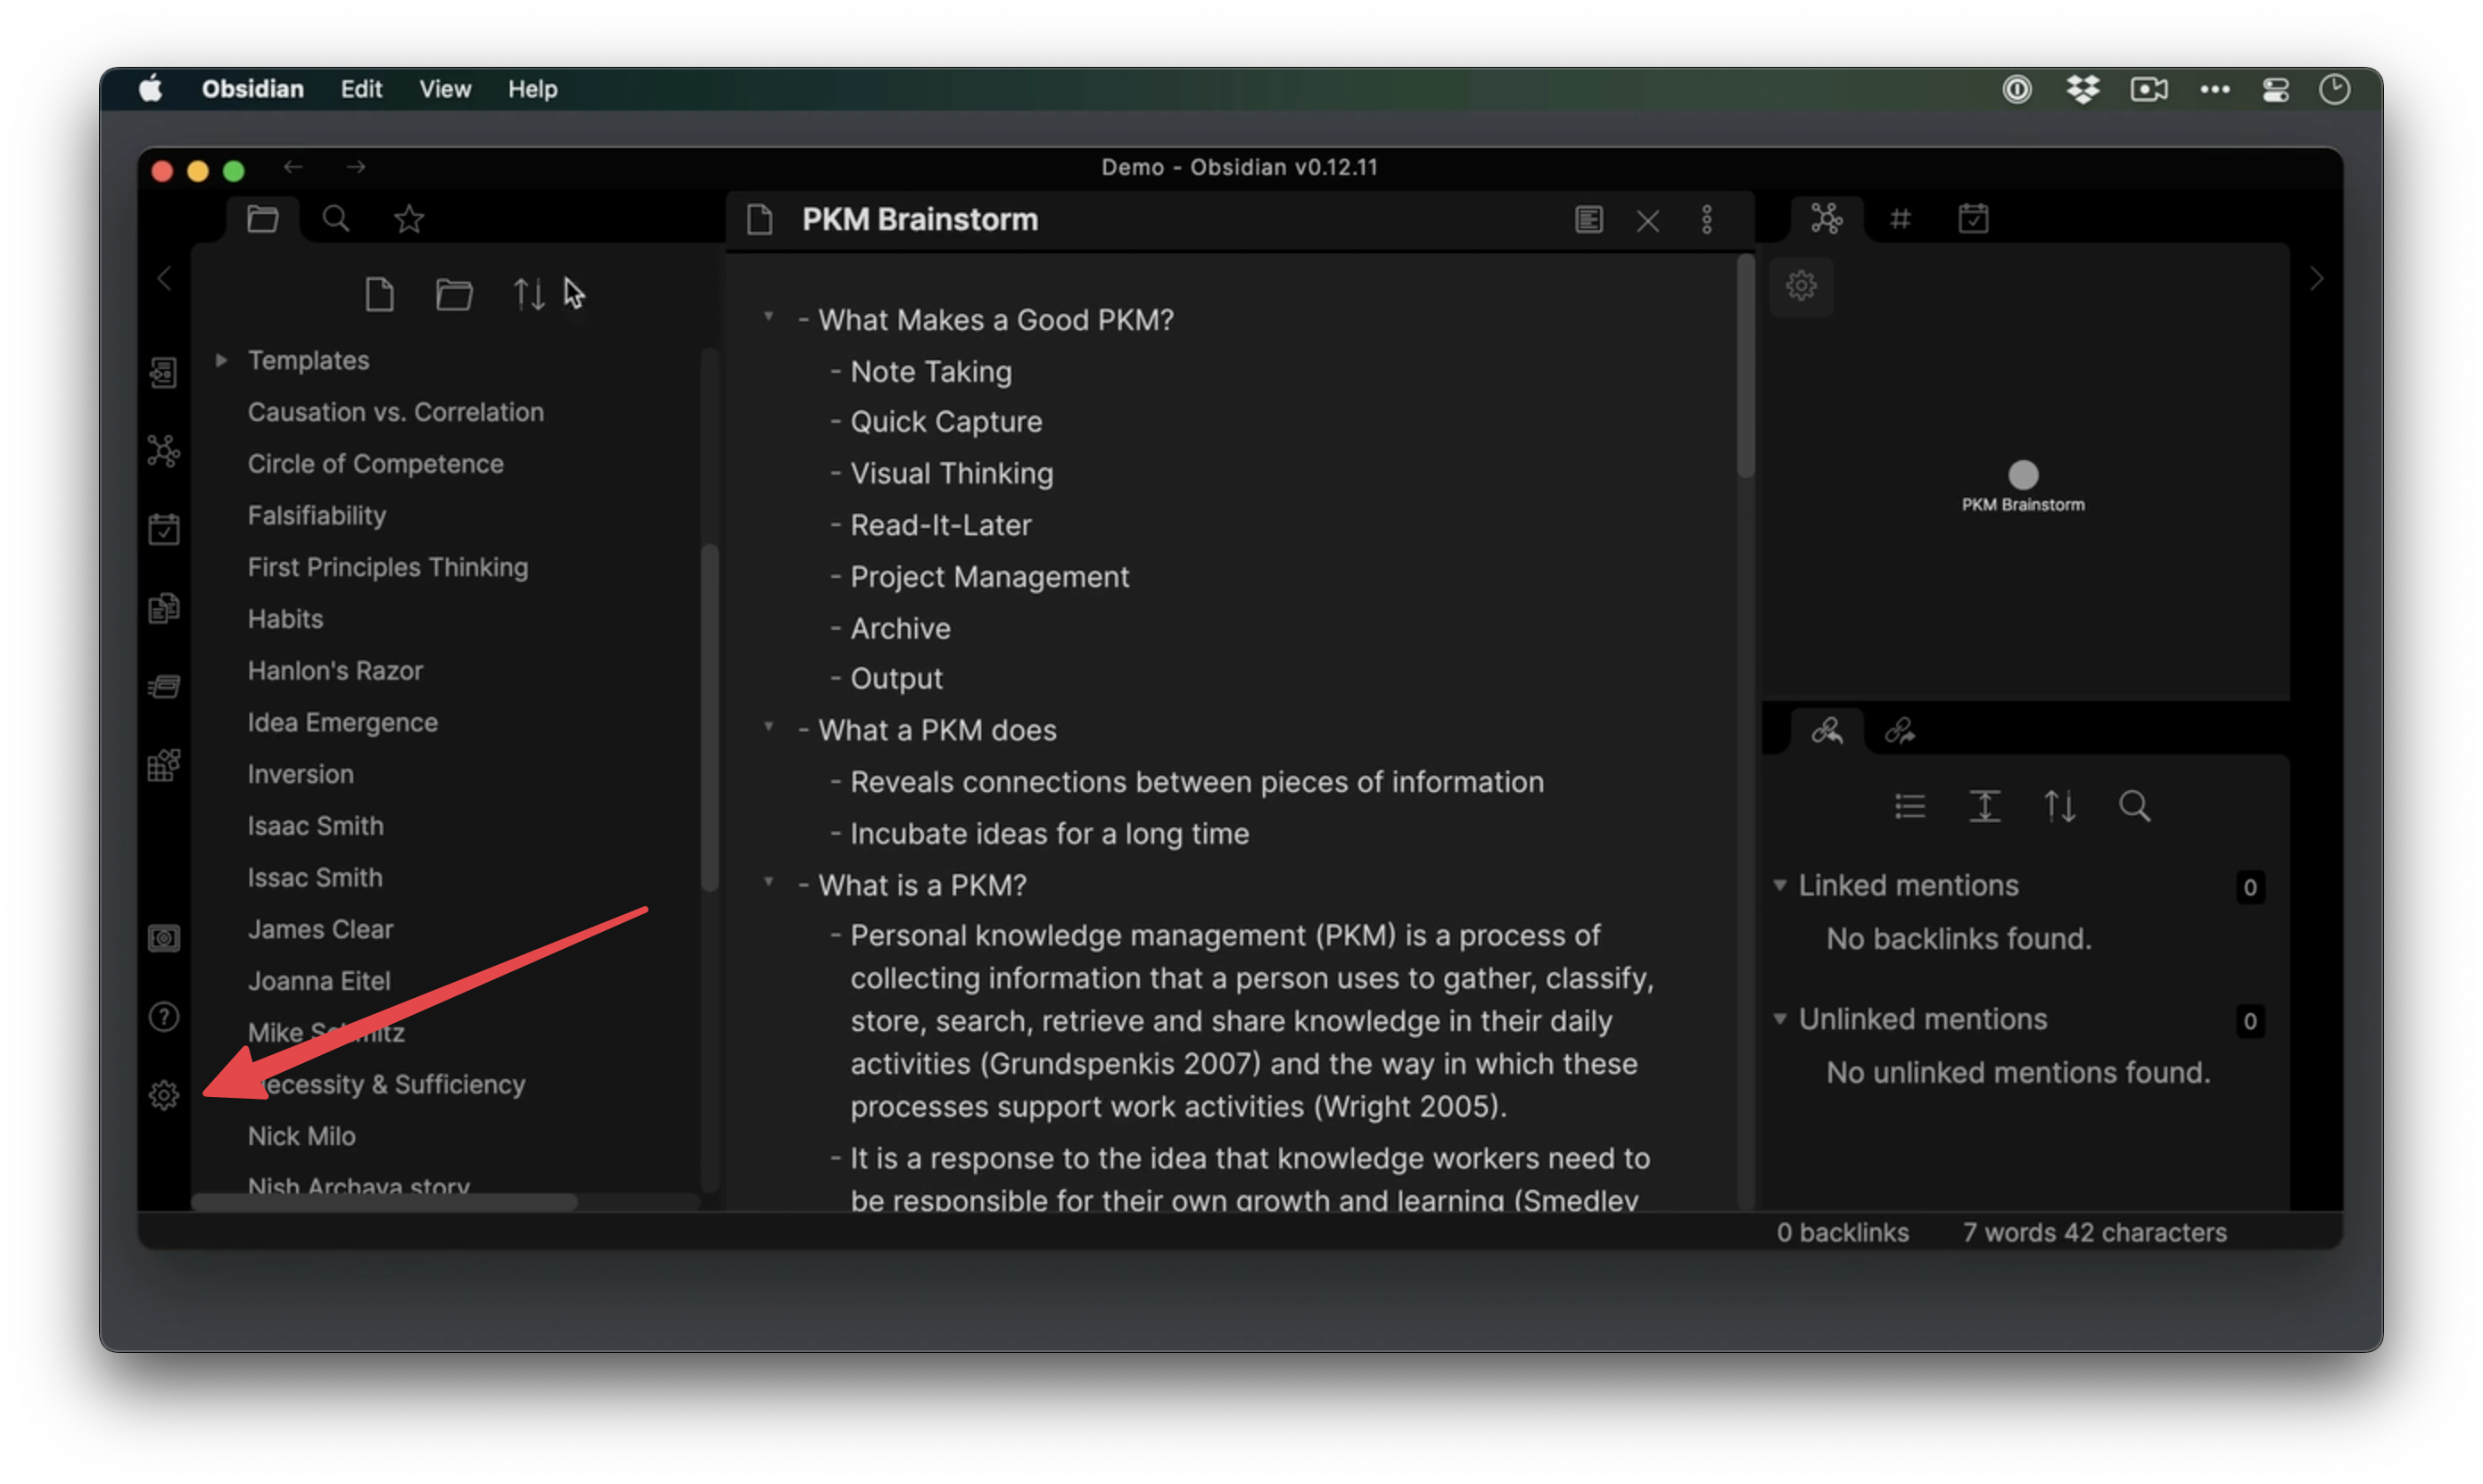
So let’s go to the settings by clicking on the gear icon in the left sidebar, and under Core plugins, there is an Outline plug-in.
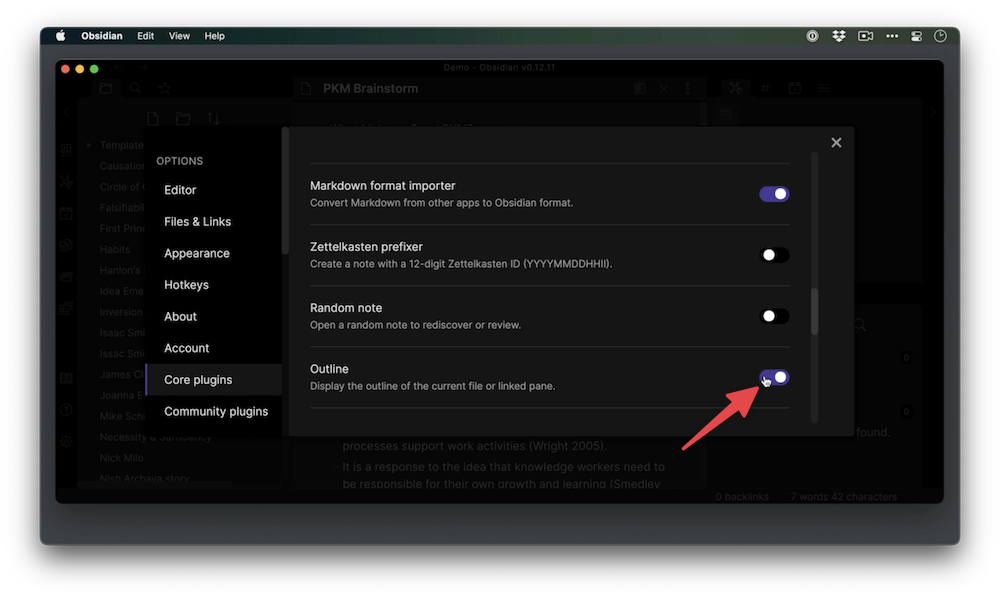
We can toggle this on, but this really isn’t what we’re going for because what this does is it shows the outline of the currently selected note in the right sidebar based on the different level headings that you have. This particular note doesn’t have any level headings, so that’s not going to add anything. But in general, this is a good plugin to leave on.
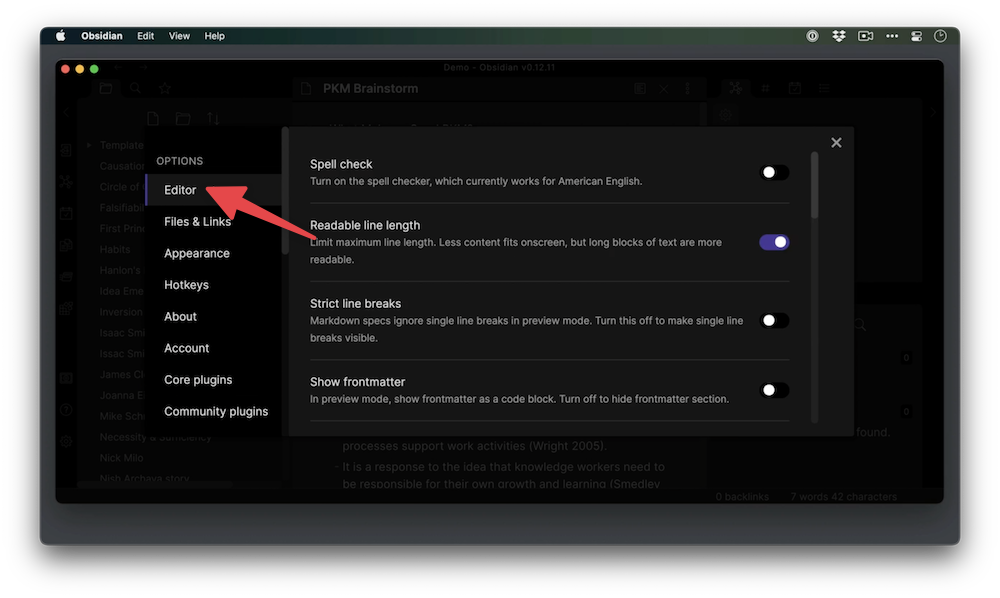
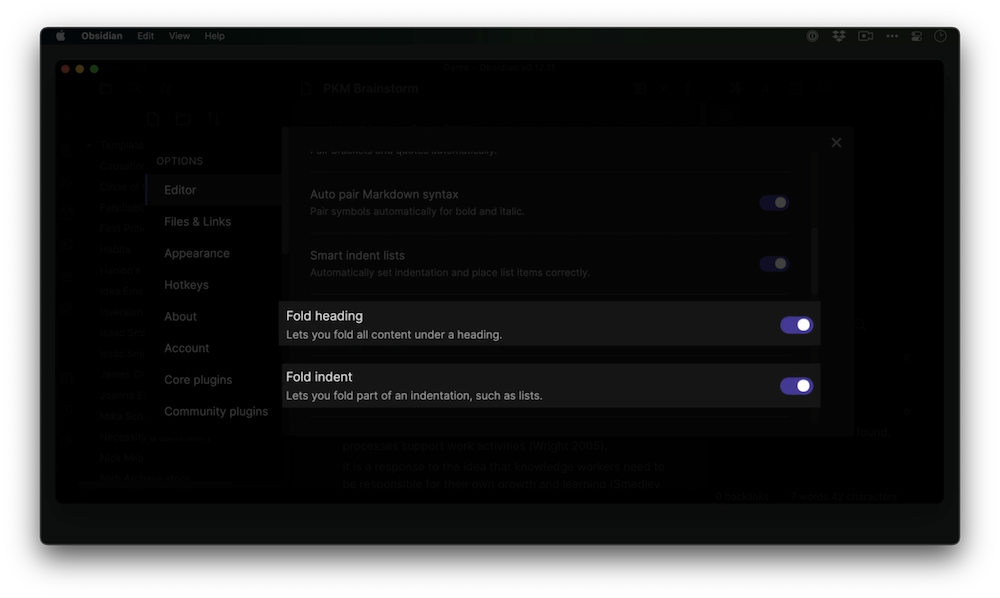
The other thing we need to change though is under the Editor section. We want to make sure that we can fold indents, so make sure that both Fold headings and Fold indents are on. This is going to be important once we install the community plugin next.
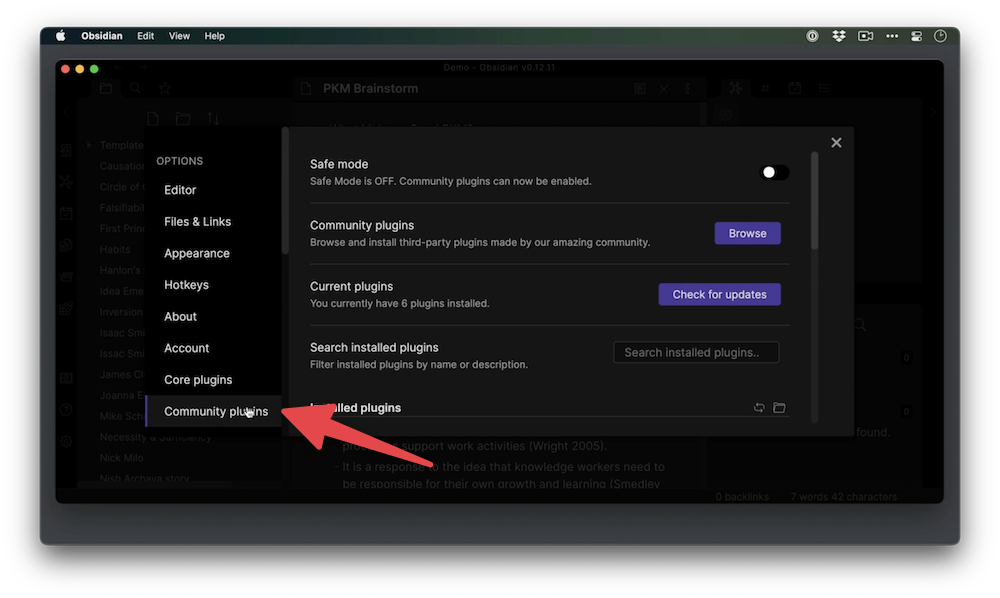
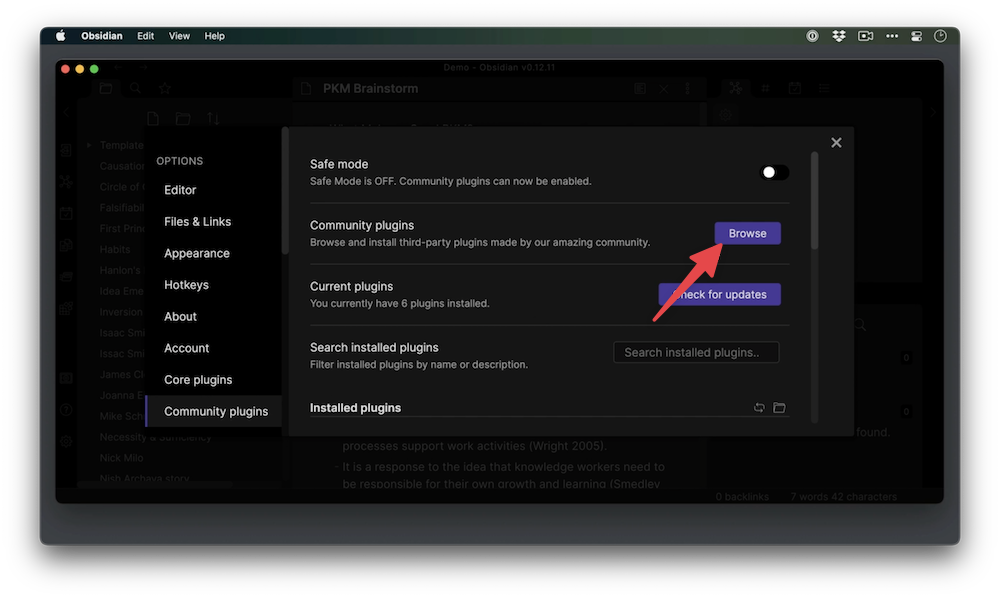
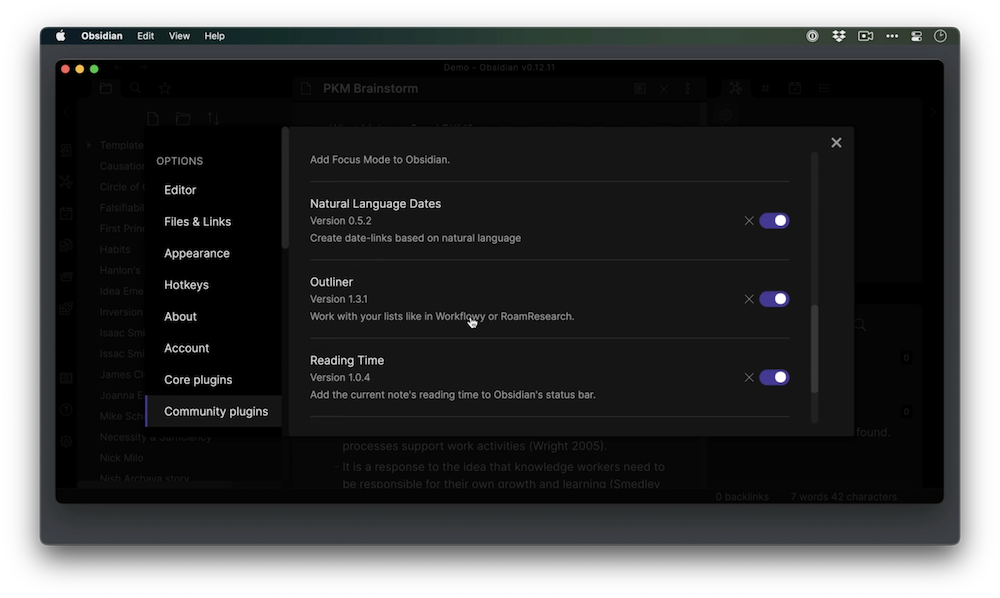
Next let’s navigate to Community plugins. Click Browse and search for Outliner.
This plugin is going to add a whole bunch of extra keyboard functionality, and it’s also going to give us a bunch of options that are important — especially if you’re working on a Mac like I am. So let’s click Install, and then click Enable.
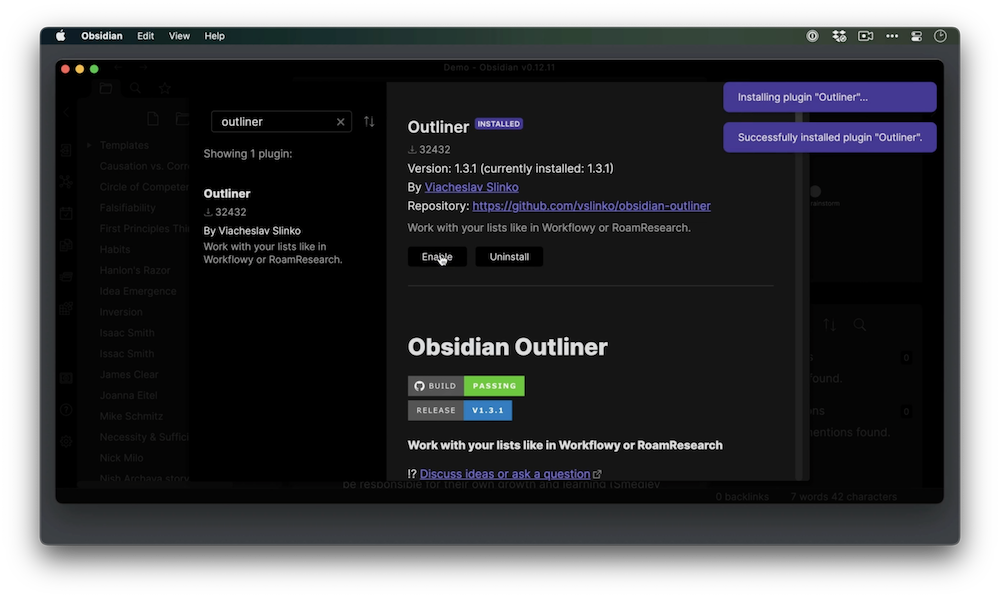
Then, close this and go back to the Community plugin settings. Make sure that Outliner is toggled on.
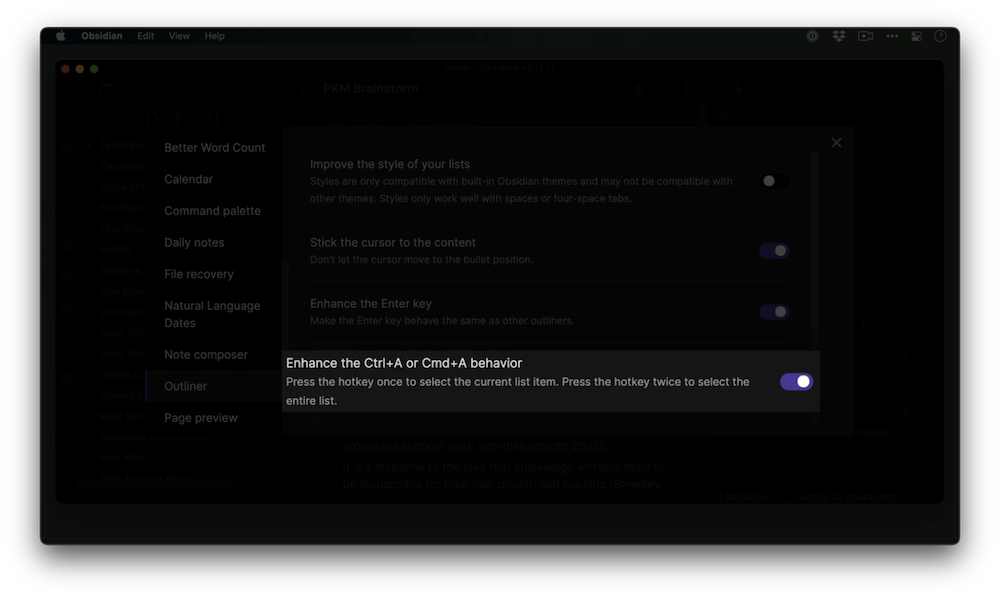
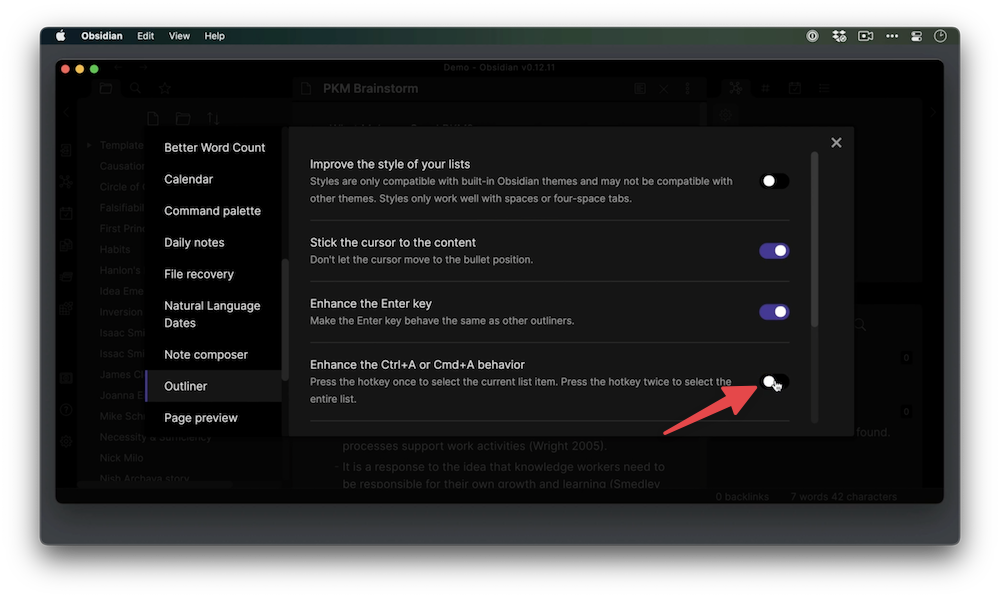
Then, go to the sidebar of the settings and click Outliner to access the settings for this particular plugin.
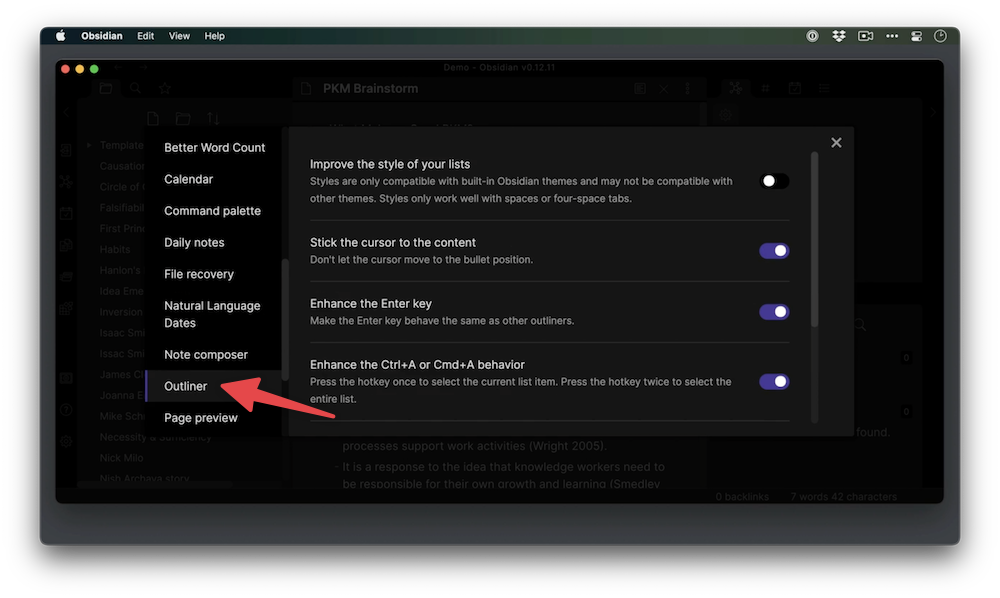
Now there are a bunch of options here. The important one, though, is going to be this Enhance the Ctrl+A or Cmd+A behavior. By default on the Mac, if you hit Shift + Command + A, it will select all of the text in the document. With this option toggled on, however, it will only select a single line. So I’m going to toggle this off since I can also use Shift + Cmd + Left arrow or Right arrow to select the rest of the line.
Now let’s close the settings and go back to our outline. You’ll notice that with this list, I have these little disclosure triangles next to the items that contain sub-items in my bulleted list. So if I wanted to fold up, for example, the What Makes a Good PKM list, I can click on this triangle and fold up the note inside of it. Now there are three dots at the end of the line, which indicates that there’s more content here and I can click on this arrow again to unfold this list item. That is what the full indent option under the editor settings did.
Now we can also, as we’re editing this outline, do a few shortcuts with our keyboard. So if while we were working on this whole section on What Makes a Good PKM and we decided that this isn’t in the right spot for it, we can use a keyboard shortcut to move this to a different section. Just hit Cmd + Shift + Down and we can move this whole list and sub-list down one position.
We can also, without selecting any of the text, hit the Tab key to indent both the list and all of the sub lists. And if we want to outdent it we hold down the Shift key and then hit Tab.
We can also fold and unfold these lists from the keyboard now by hitting Cmd + Up to fold the list and Cmd + Down to unfold the list.
This makes working with my outline extremely easy and my fingers don’t ever have to leave the keyboard.