Notion’s Massive Updates
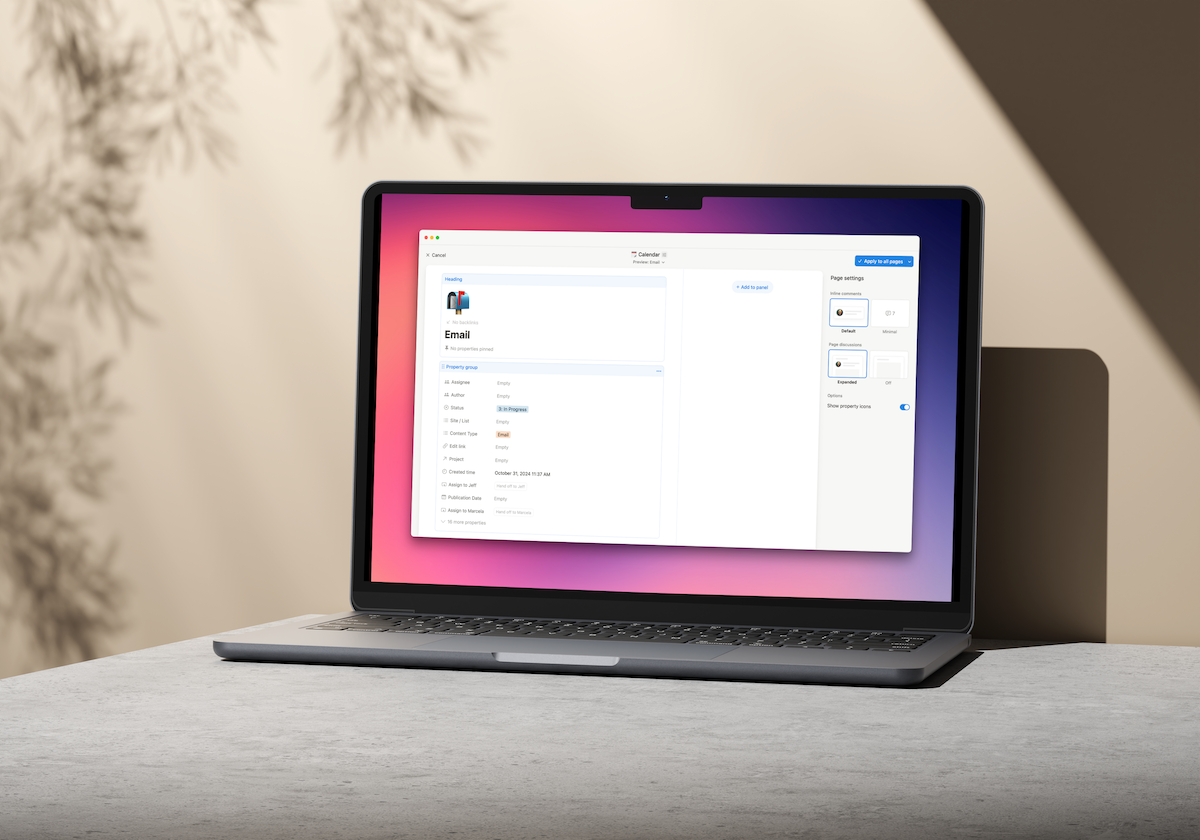
If you are into Notion at all, you’ve probably heard about the latest round of Notion updates. If you are a power user, you are probably losing your mind, because these updates are insane. The release email and recap video made my day.
In this article, I am going to go over three of the biggest updates that Notion released, and mention a few others. The biggest updates (at least to me) are: Notion Layouts, Notion Forms, and updated Automations.
These updates really elevate Notion, making it an even more customizable app. If you fully incorporate these features, you might be able to ditch some of your other paid services and save some serious cash.
Layouts
The first feature that Notion revealed was Layouts. You can now customize the layouts of your database entries. For the entire existence of Notion, the database layout has virtually remained unchanged, the only thing you could really do is hide certain properties. But now you can completely reconfigure the page.
To customize your Notion database page, just open a database entry and hover over the title and select Customize Layout.
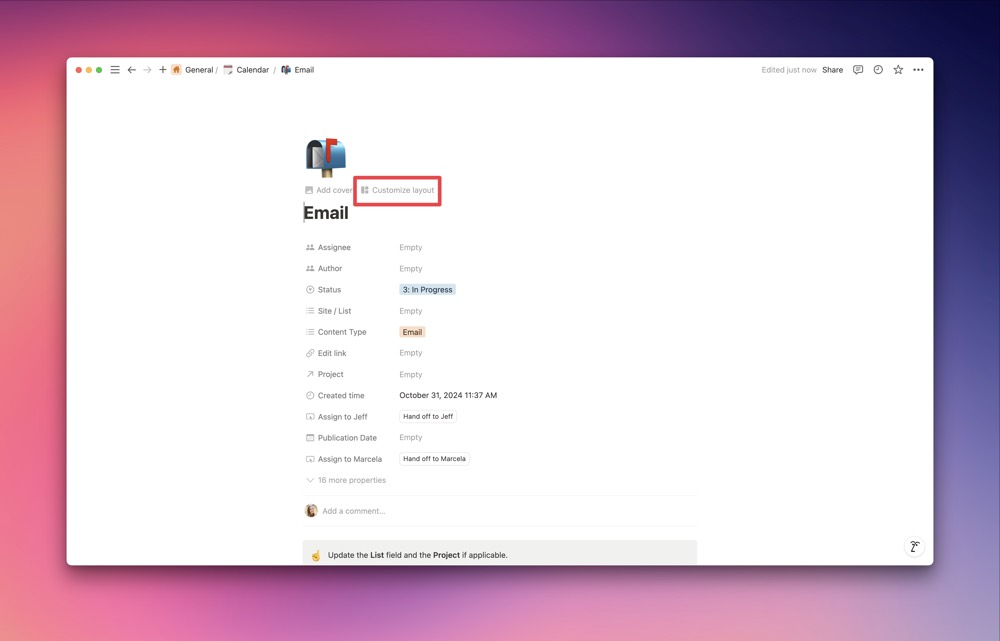
You are presented with a few options and ways to customize.
On the top left of the page, you see the Heading — this is where your page title lives. You can also pin properties to this heading, meaning that they will always be visible on the page.
Then, you have the Property Group, which is where all your properties live. At first glance, it looks similar to how properties are viewed on pages now, but it can be customized a lot.
Next, you have the Side Panel. The side panel can hide any properties you don’t want immediately visible when on the page. If you need to access any of the data, you can open the side panel at the click of a button. This might be one of my favorite Notion updates, I love clean pages and being able to hide properties is golden.
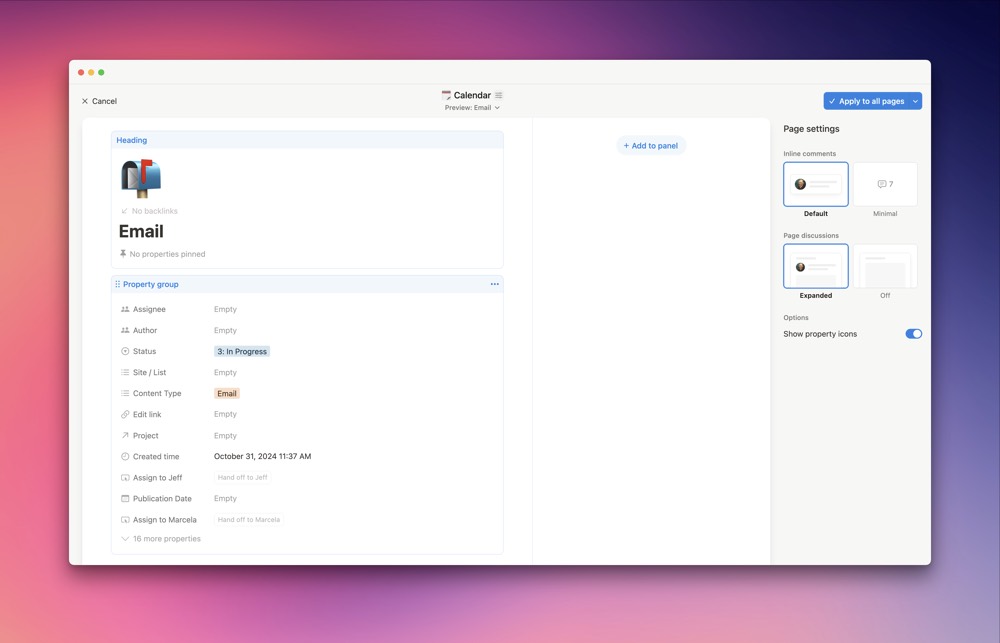
Below the Property Group, there is a big + button. When you click this button, you can add a mini section that features one property big and obvious. It’s a great way to keep important information front and center.
You cannot have the same property in multiple sections. If you add the Status in the heading, you can’t also add it to the side panel.
An important note, once you update your layout you have to click the button in the top right corner Apply to all pages. This means that you can’t have different layouts for different pages inside the same database.
Calendar Database
Our editorial calendar is one of our most important databases in Notion. I am in there everyday. The page does however have about a million properties and sometimes it’s a bit annoying to have to scroll past the properties, so I decided to make it a bit more user friendly.
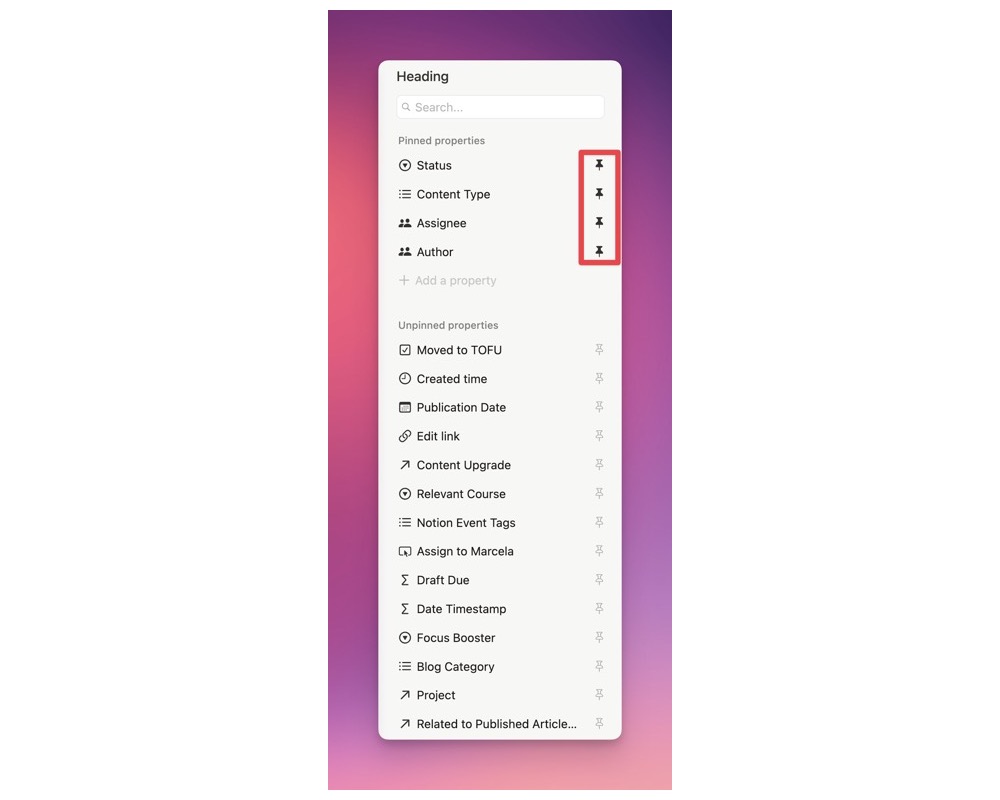
I added our most important properties to the heading by pinning them. To pin a property, just click the pin icon next to the property in the right side panel. I want to be able to see the status, content type, assignee, and author of any entry in the calendar quickly.
Next I am added sections to my property group. Emails, blog posts, and other editorial posts all live in this database. I wanted to add a section to differentiate the properties for each type of post.
To create a section in your property panel, just click the property panel and then click Add section in the top right corner.
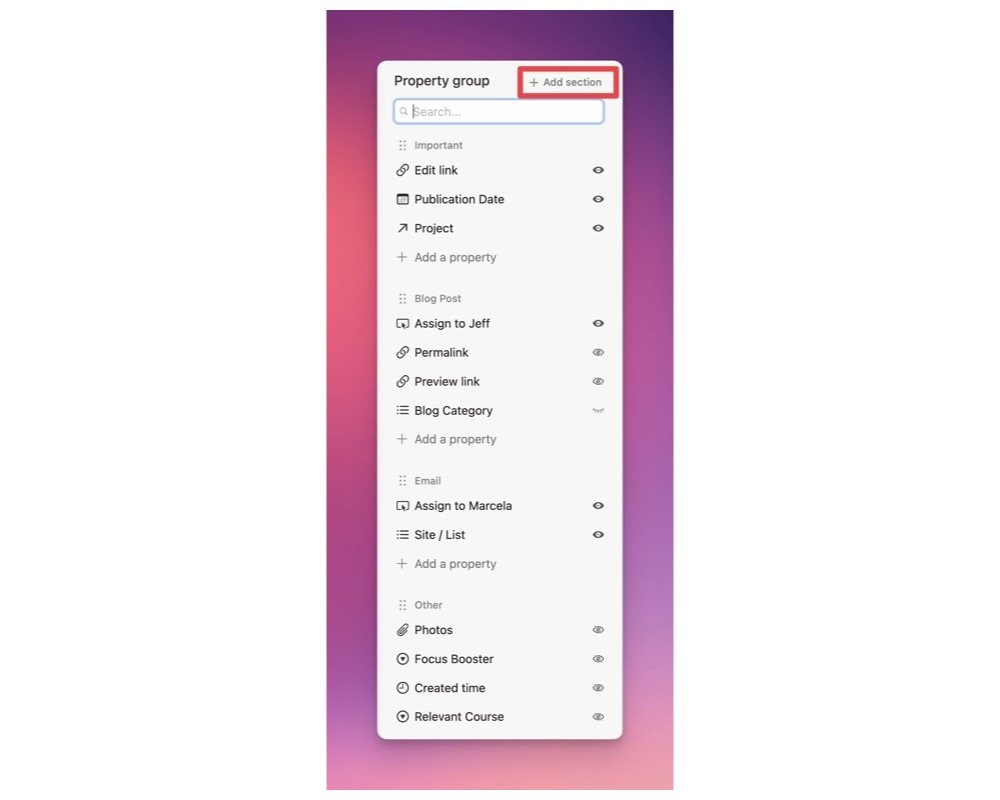
I added three sections:
- Important: These properties apply to both Emails and Blog posts
- Blog Posts: These properties are only for blog posts
- Emails These properties are only for emails
What about the other 15 properties? I added them to the side panel. To add a property to the side panel, you have to click Add to panel from the section on the right.
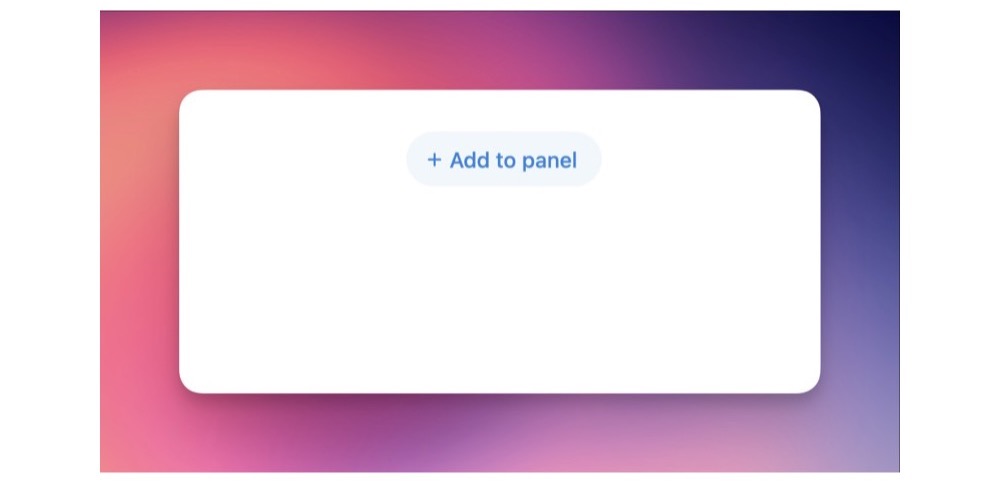
Once you’re created the section, you can add existing properties to it or create new properties.
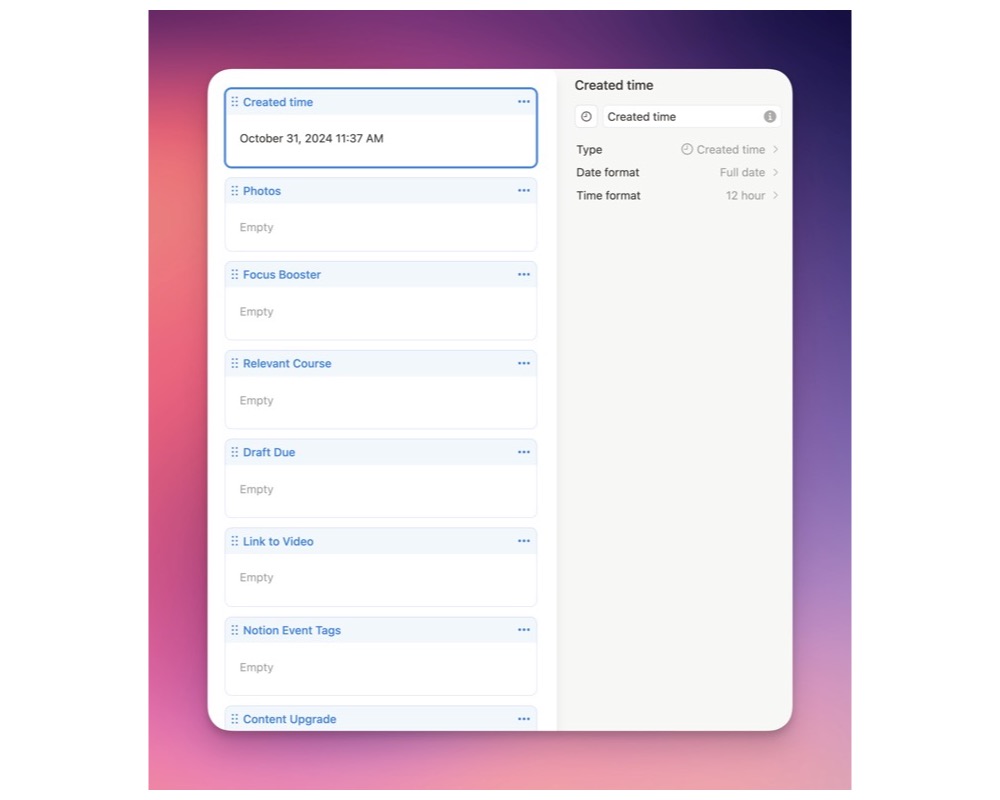
I added all the other properties that I don’t need to see very often. They will now live in the side bar to be accessed when needed.
I could also emphasize one property in specific below the property group if I wanted. If you have a photo property that you use a lot, you can create a section just for that property and it would display the photos front and center.
You can also choose to the put the entire property group in the side panel if you want to.
This is what my calendar page looked like before:
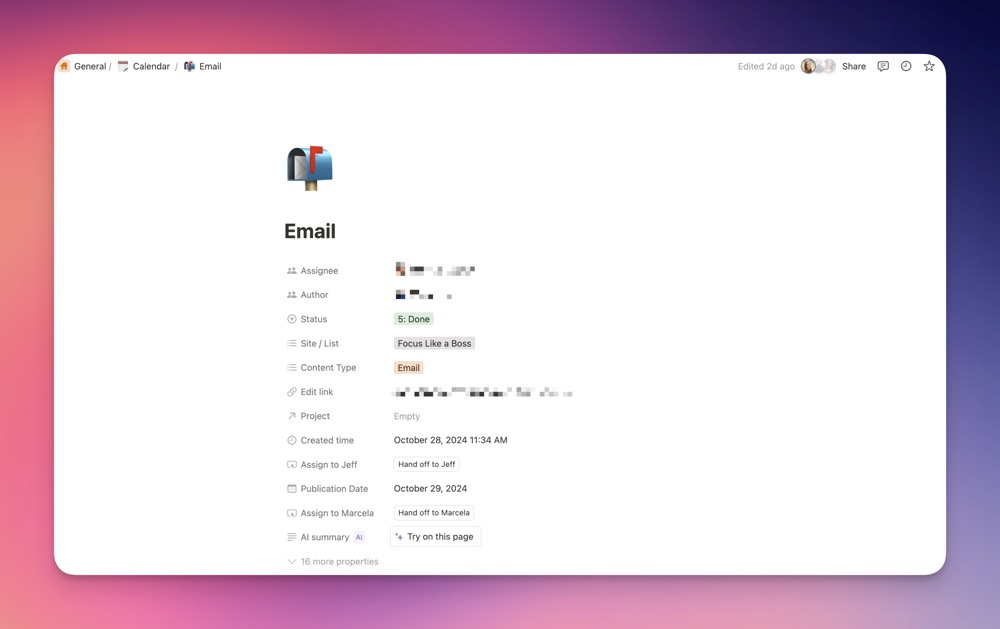
And now with the custom layout:
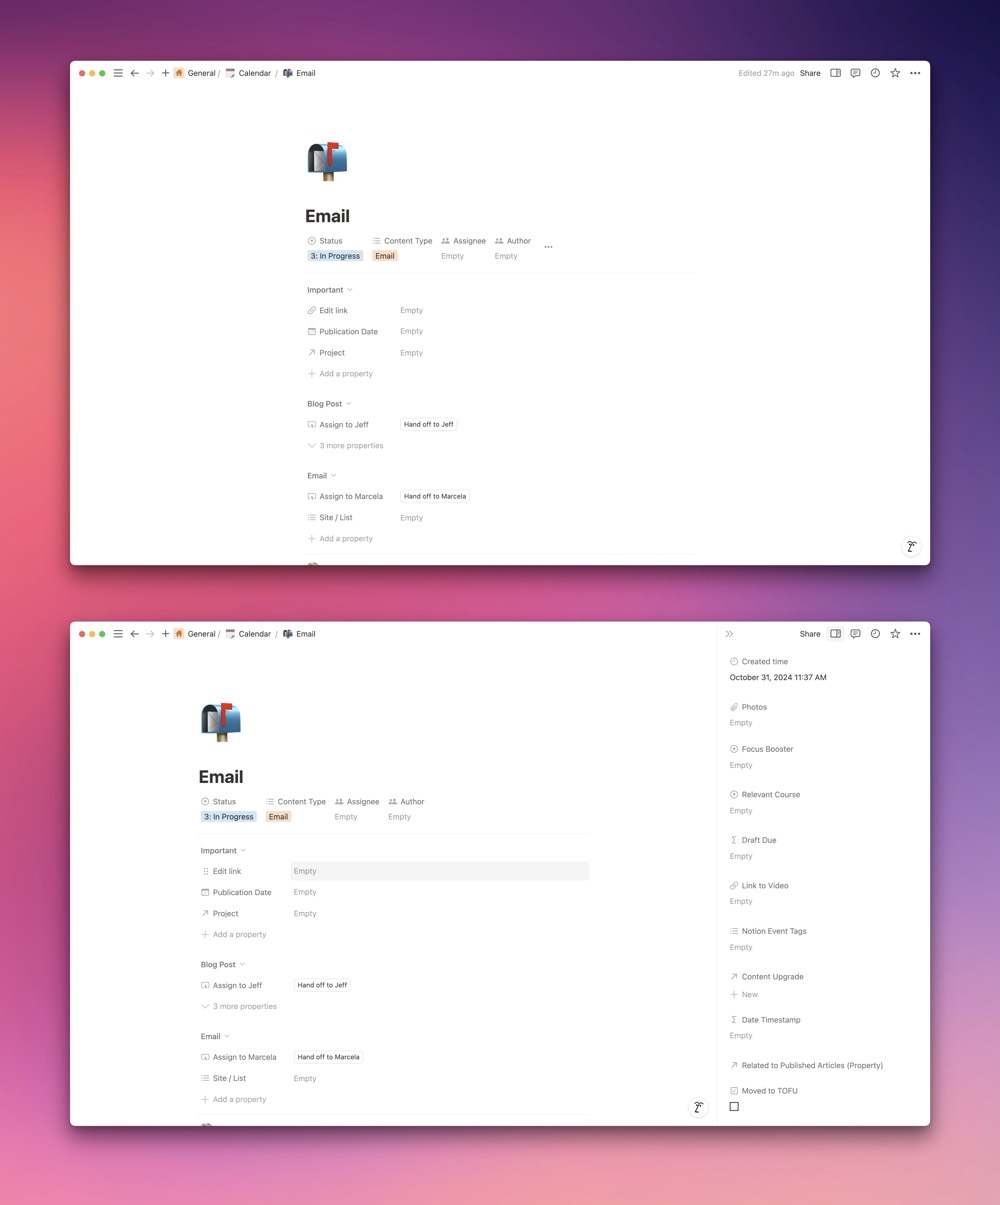
Much cleaner and easier to find the properties I need quickly.
Forms
Next up in the Notion updates, we have Notion Forms. This new addition to the Notion tech stack is great for a few reasons.
- You can potentially get rid of your Typeform account (or whatever other form builder you use) and just use Notion (yay for saving some cheddar)
- The form responses are automatically added to your databases, so you don’t need to use Zapier to bring in form responses
When building a form you have two choices: you can build a new form that creates a corresponding new database OR create a form for an existing database.
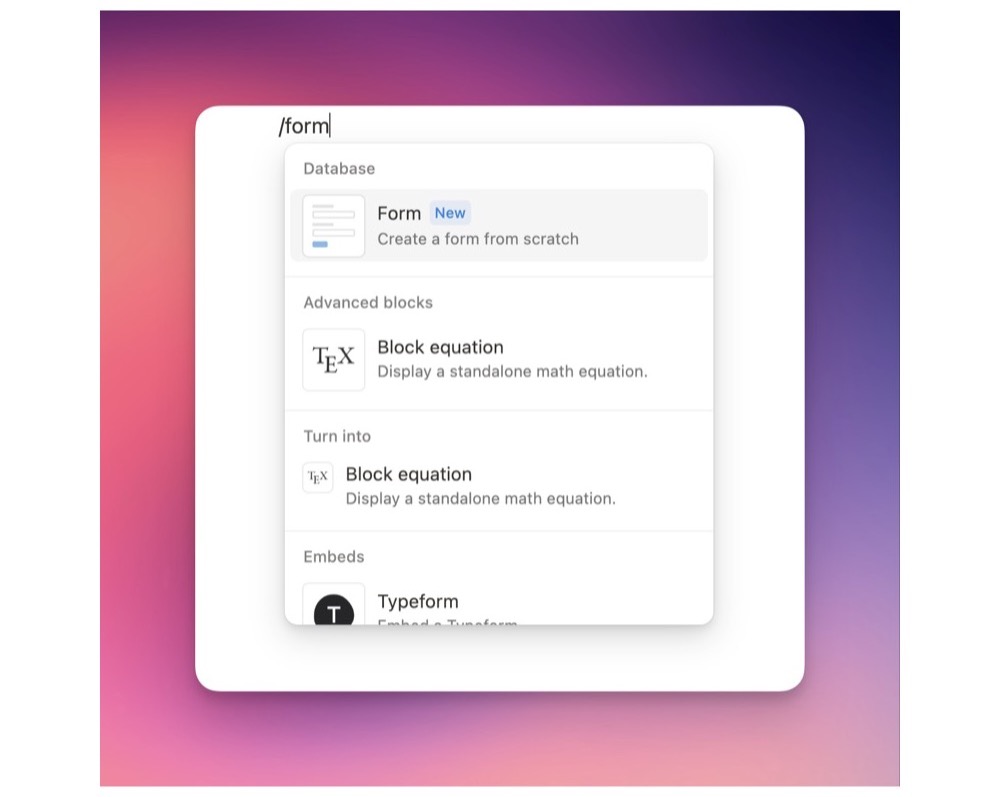
If you are creating a new form, just use the slash command /form on any page.
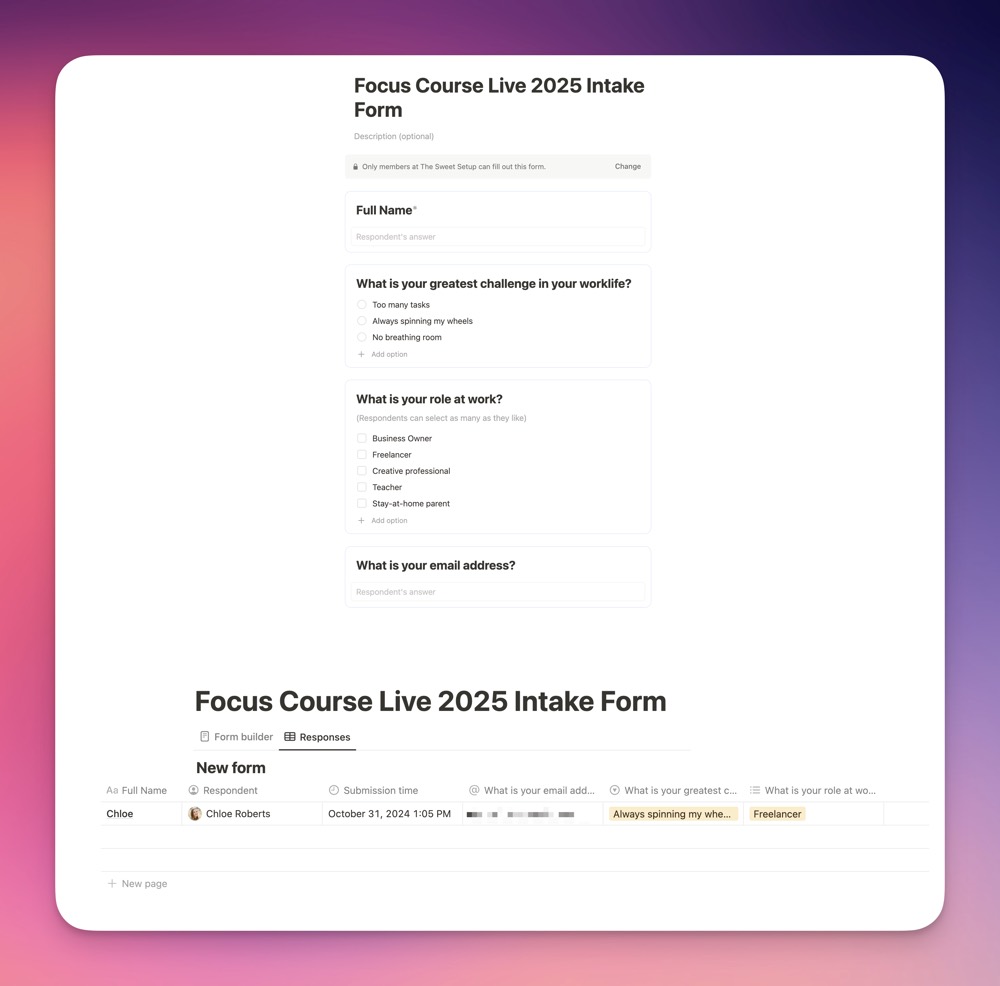
Once you create the form, you’ll see the default form view and a second view for the responses.
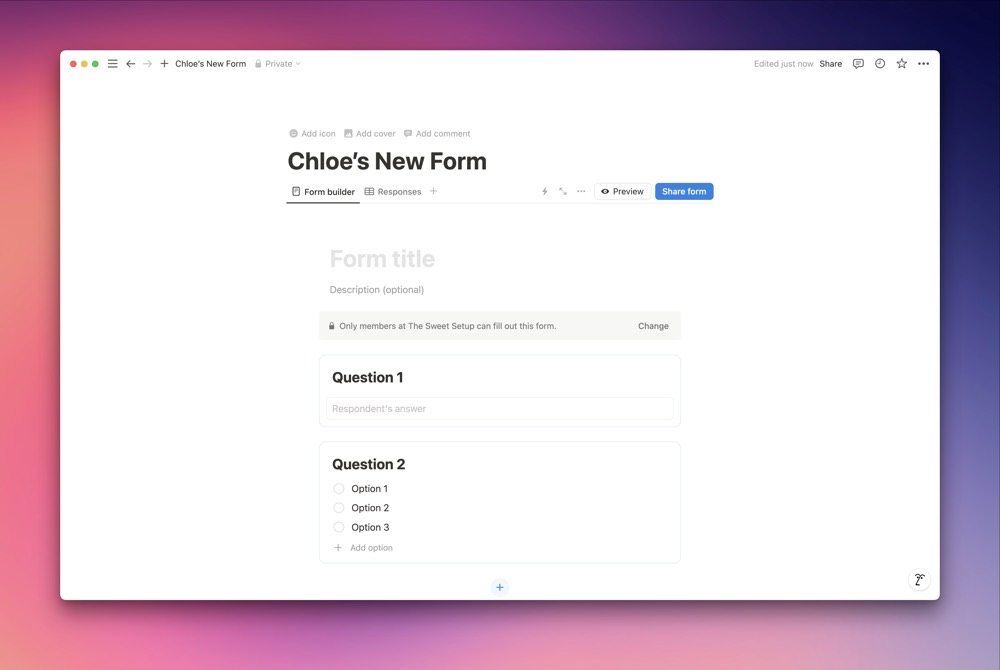
I foresee us using this new feature for a lot of our intake forms and questionnaires.
Much like Typeform or Google Forms, you have several question types to choose from:
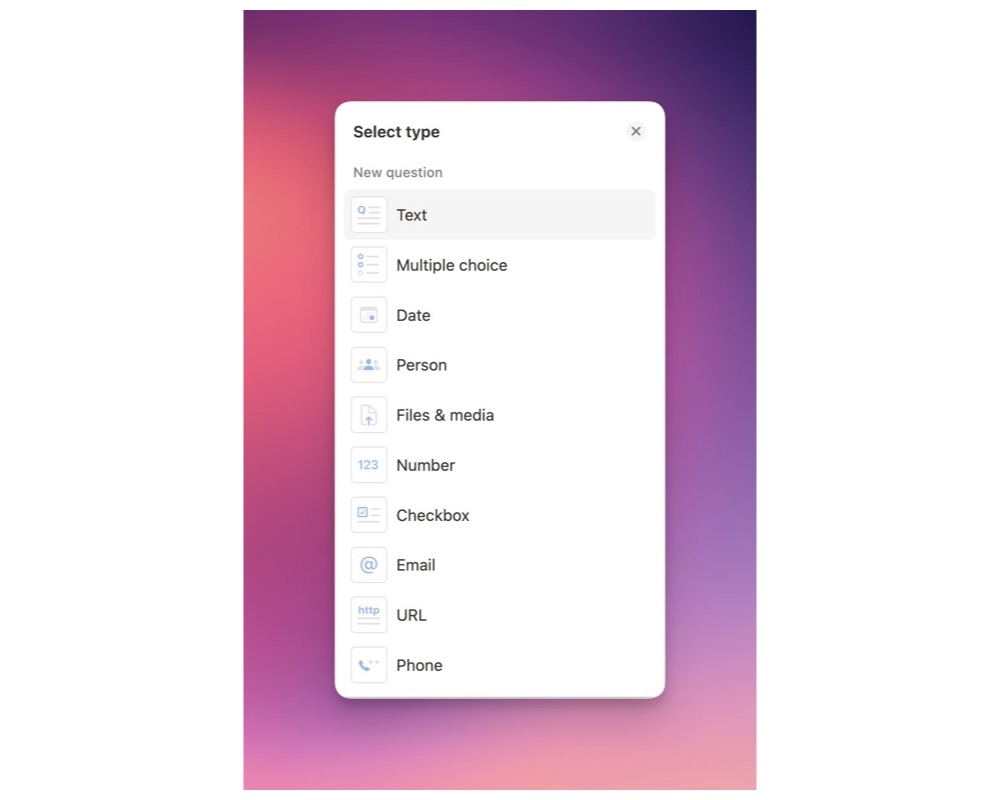
You can also further edit questions to make them required, add a description, etc.
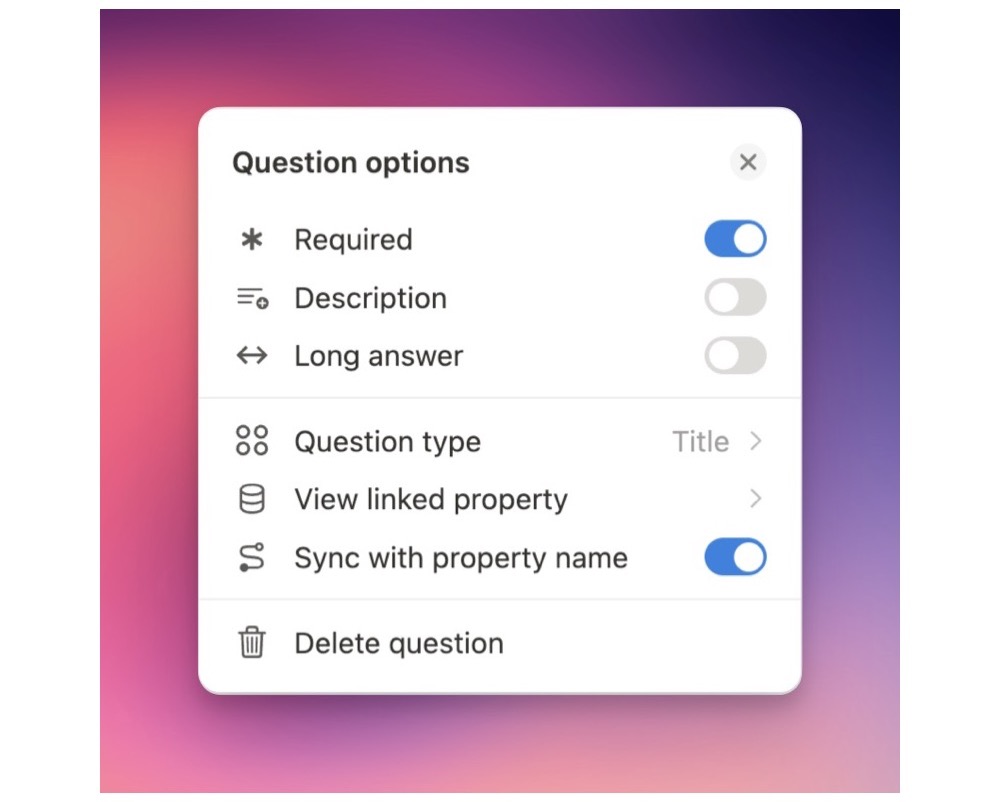
For every question that you create, it is going to correspond to a property in your database. If you are creating a new form, a property will be created for every question you make.
If you are creating a form for an existing database (we’ll get to that in a second), you will have the option to choose to add questions using the existing properties or create new ones.
I created an example intake form from scratch. I created the questions and it automatically created the properties in the database. Note that you can change the database title to something other than the name of the question. For example, the question “What is your role at work?” can be named “Role at work” in the database.
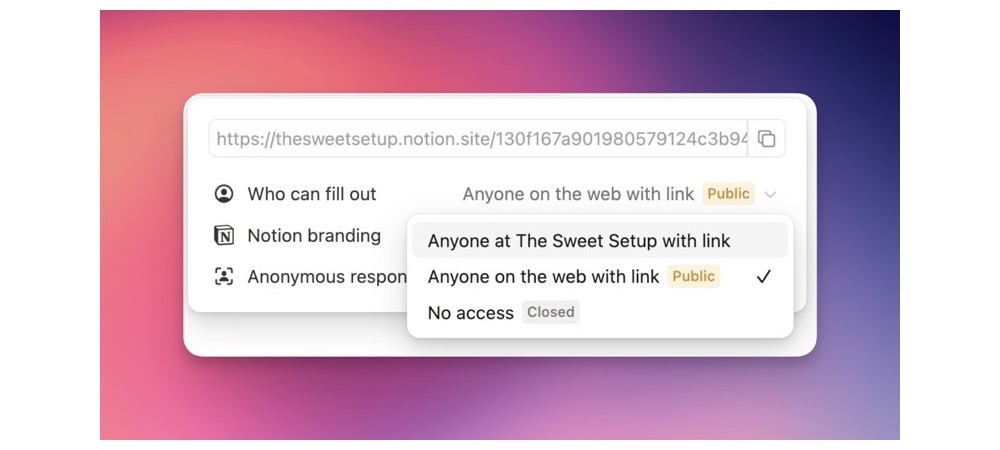
When sharing your form, you have a few options. You can share it only internally, meaning that only people from your workspace can fill out the form. Or, you can also share it to the Web so that anyone with the link, regardless of if they even have a Notion account, can fill out the form.
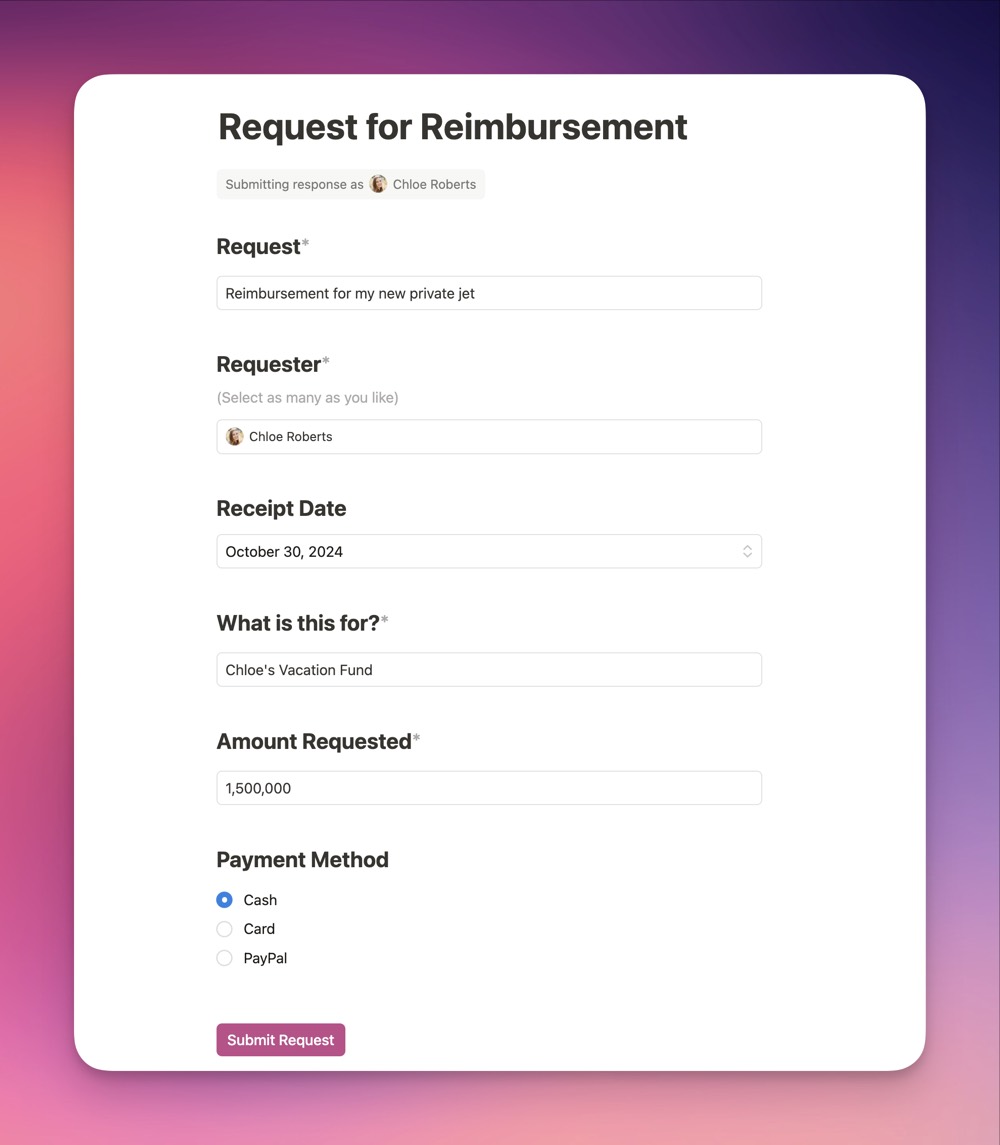
I think Forms are going to be incredibly useful for internal usage. You can create a form to report a software bug, submit a receipt for reimbursement, or fill out an onboarding contact form sheet.
You can create a form, say for the bookkeeper to issue reimbursements, from existing databases very easily.
Just go to the database you want the form to connect to, and hit the + button to create a new view and select Form.
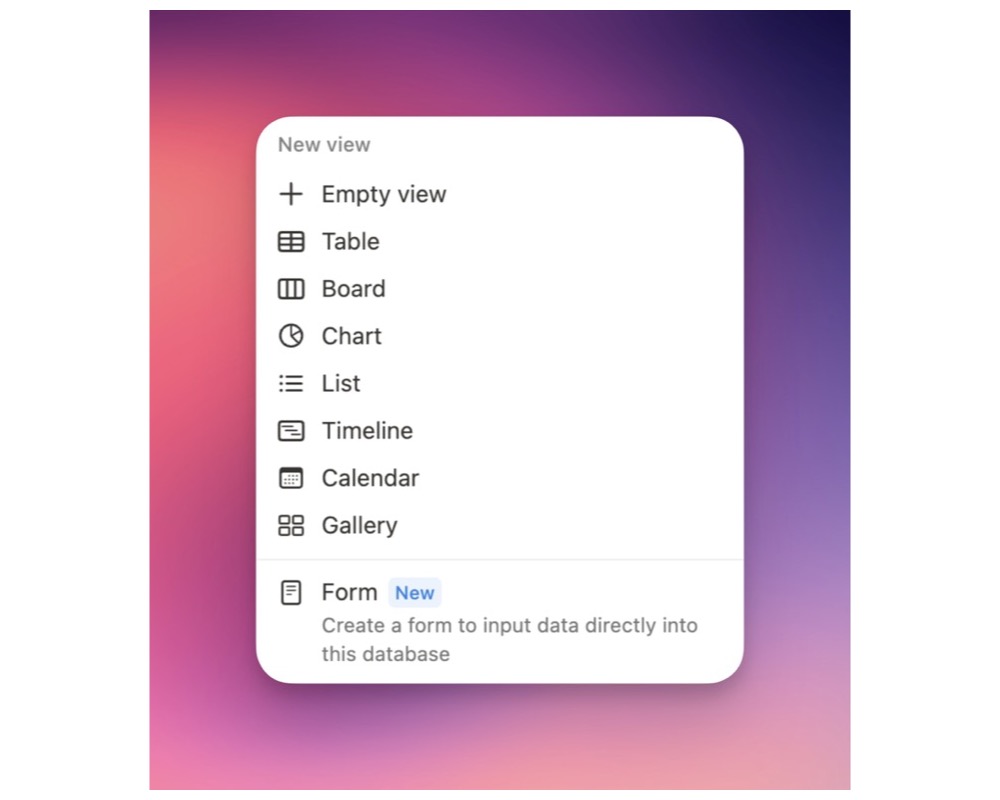
You’ll be asked if you want to automatically create the questions based on the existing properties. This is helpful is you have only a few properties, but not so helpful when you have 30.
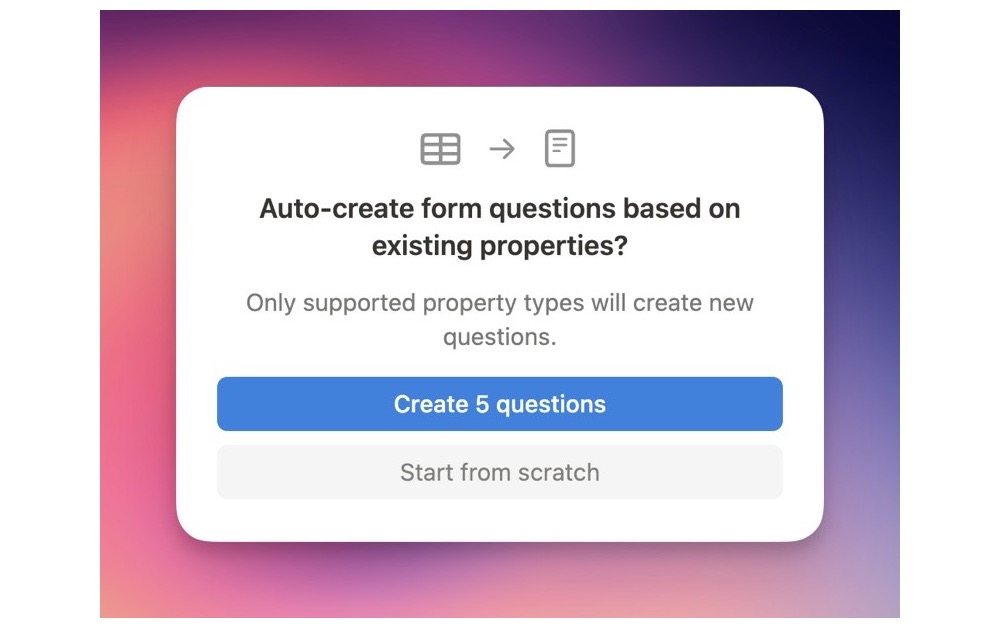
If you choose to auto-create the form, you might need to go through and change the names of the questions to make it a bit more user-friendly. I also recommend making the most important questions required.
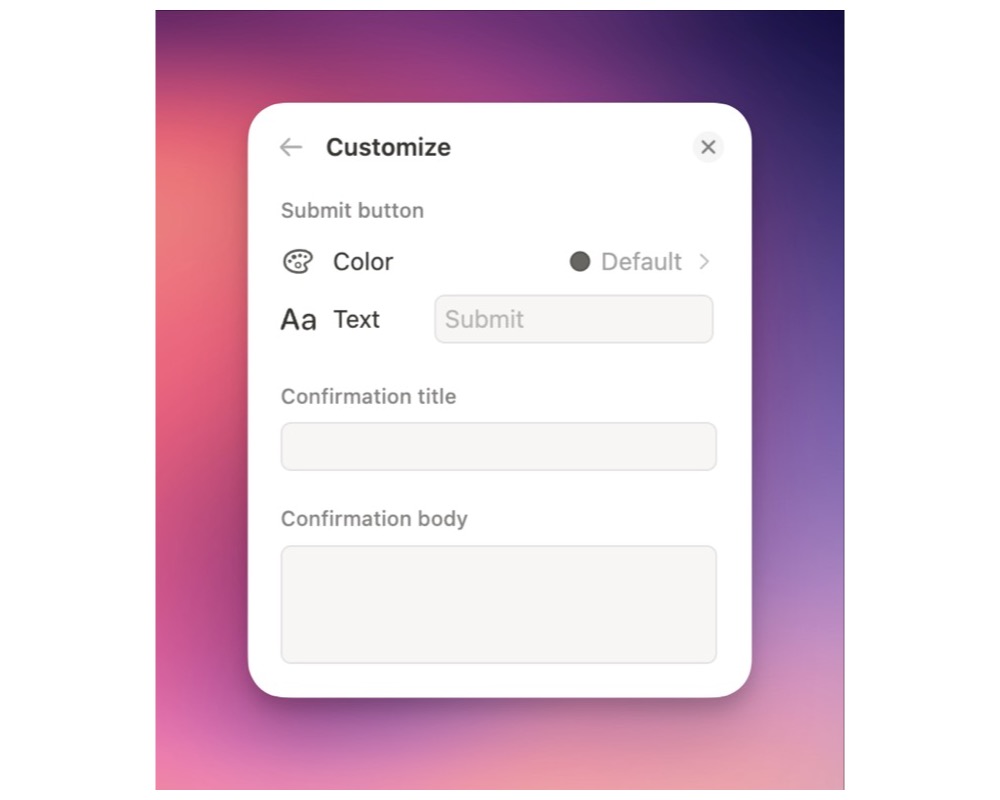
If you have a Notion Plus plan, you are able to further customize the form by changing the color, the confirmation title, and body text.
Here’s an example of a reimbursement form and what the submission looks like:

Can you spy the new icons? You can now upload new emojis, GIFs, and icons and save them to your icon library.
Forms currently does not support any type of logic like Typeform does. Hopefully that will be an new feature some day.
Automations
The final momentous update is the new Automation builder, and it’s pretty great.
Now all I need is an AI Notion assistant builder so I can just tell it what I want an automation to do and it builds it for me. A girl can dream.
In the meantime, I actually have to create the automations.
The key update here is that Notion Automations now include formulas, the ability to use dynamic data, and new actions. Even the actual builder is nicer and easier to use. To create an automation, just click the lightning bolt on your databases menu bar (note that automations are not available in the free plan).
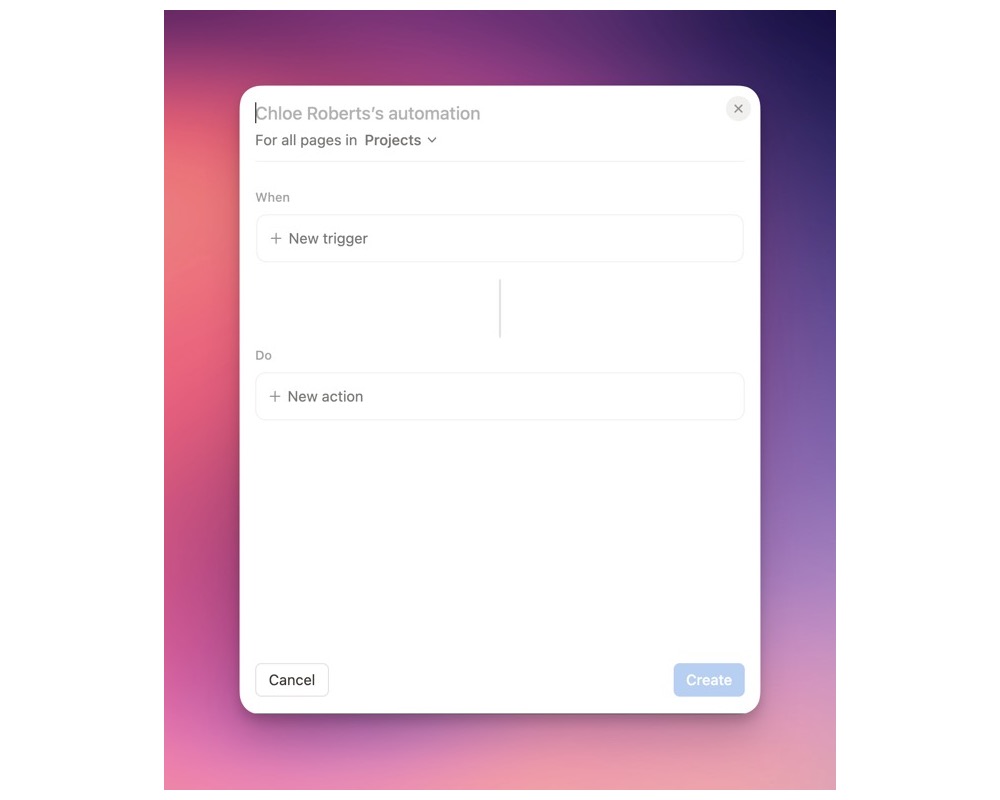
I created an automation to automatically mark all tasks as completed when a project status is changed to Completed.
I set the trigger to be any time that the project status is changed to Completed.
I set the first action to be Define variable, then I set the variable to be the tasks from the trigger page (in this case the project that has been completed).
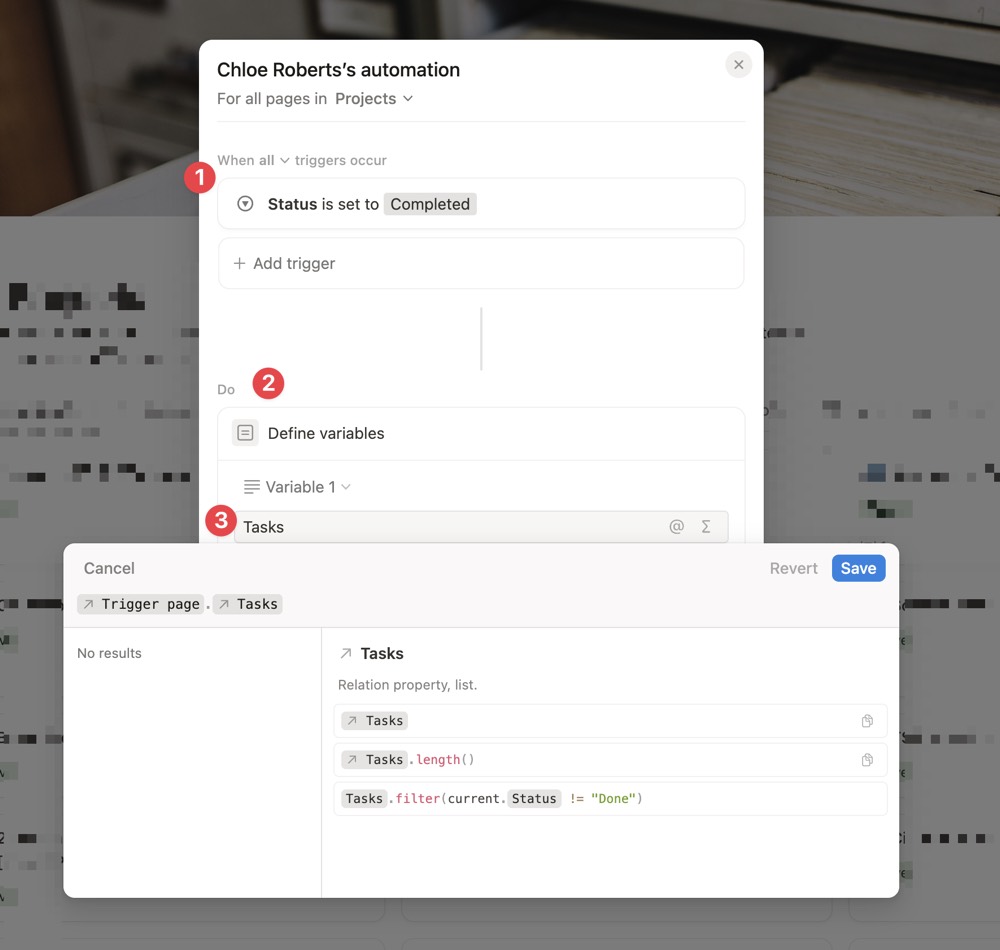
Then, I created a second action to Edit pages in… and chose the variable I just created above: Tasks. This is a new feature and is an easy way to just edit what you need to edit.
I then set those tasks’s status to be changed to completed.
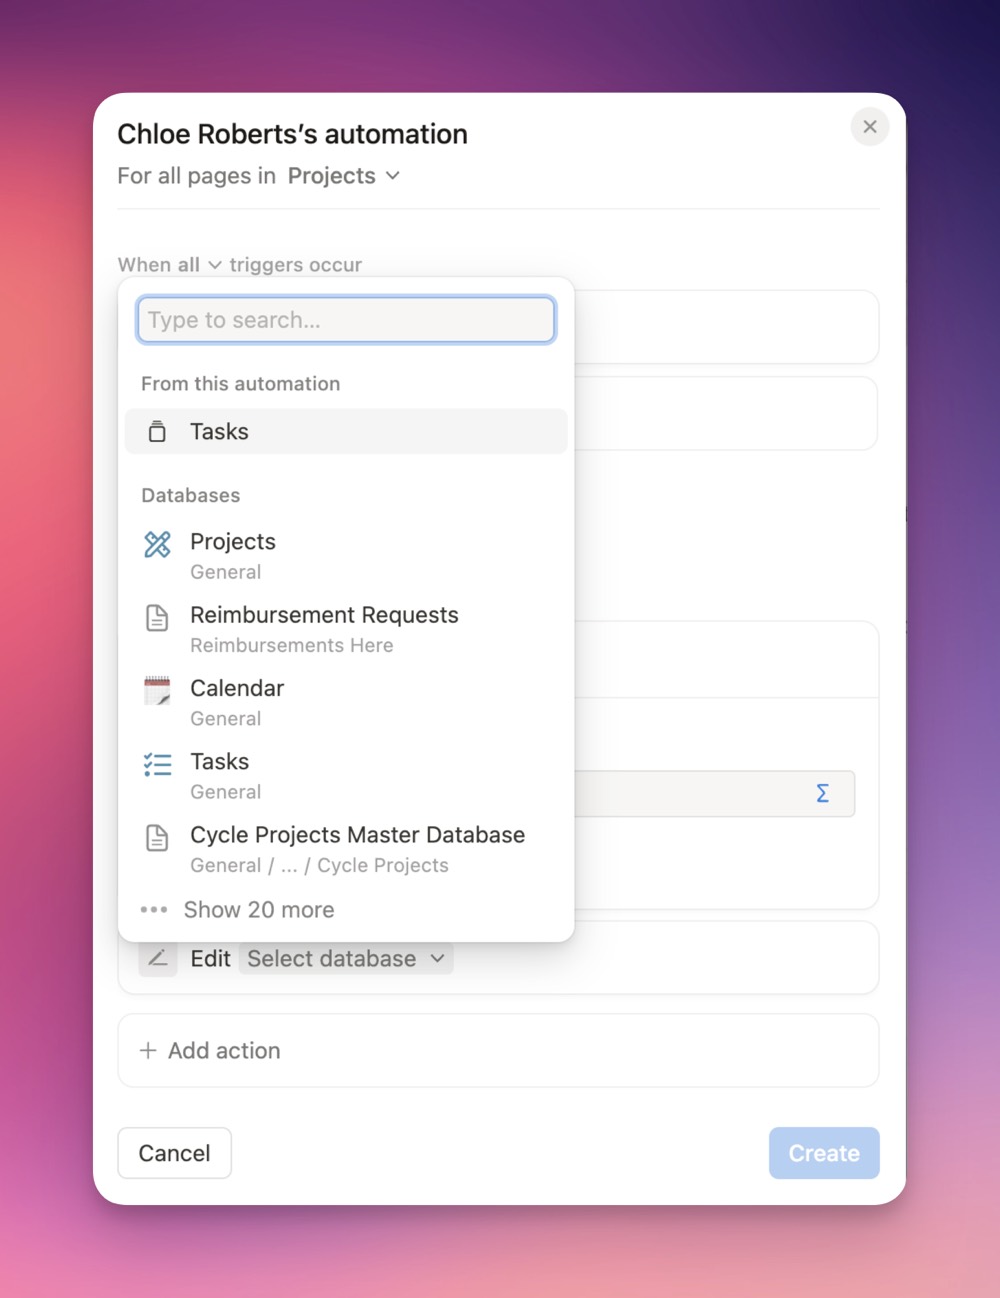
Here is what the finished automation looks like:
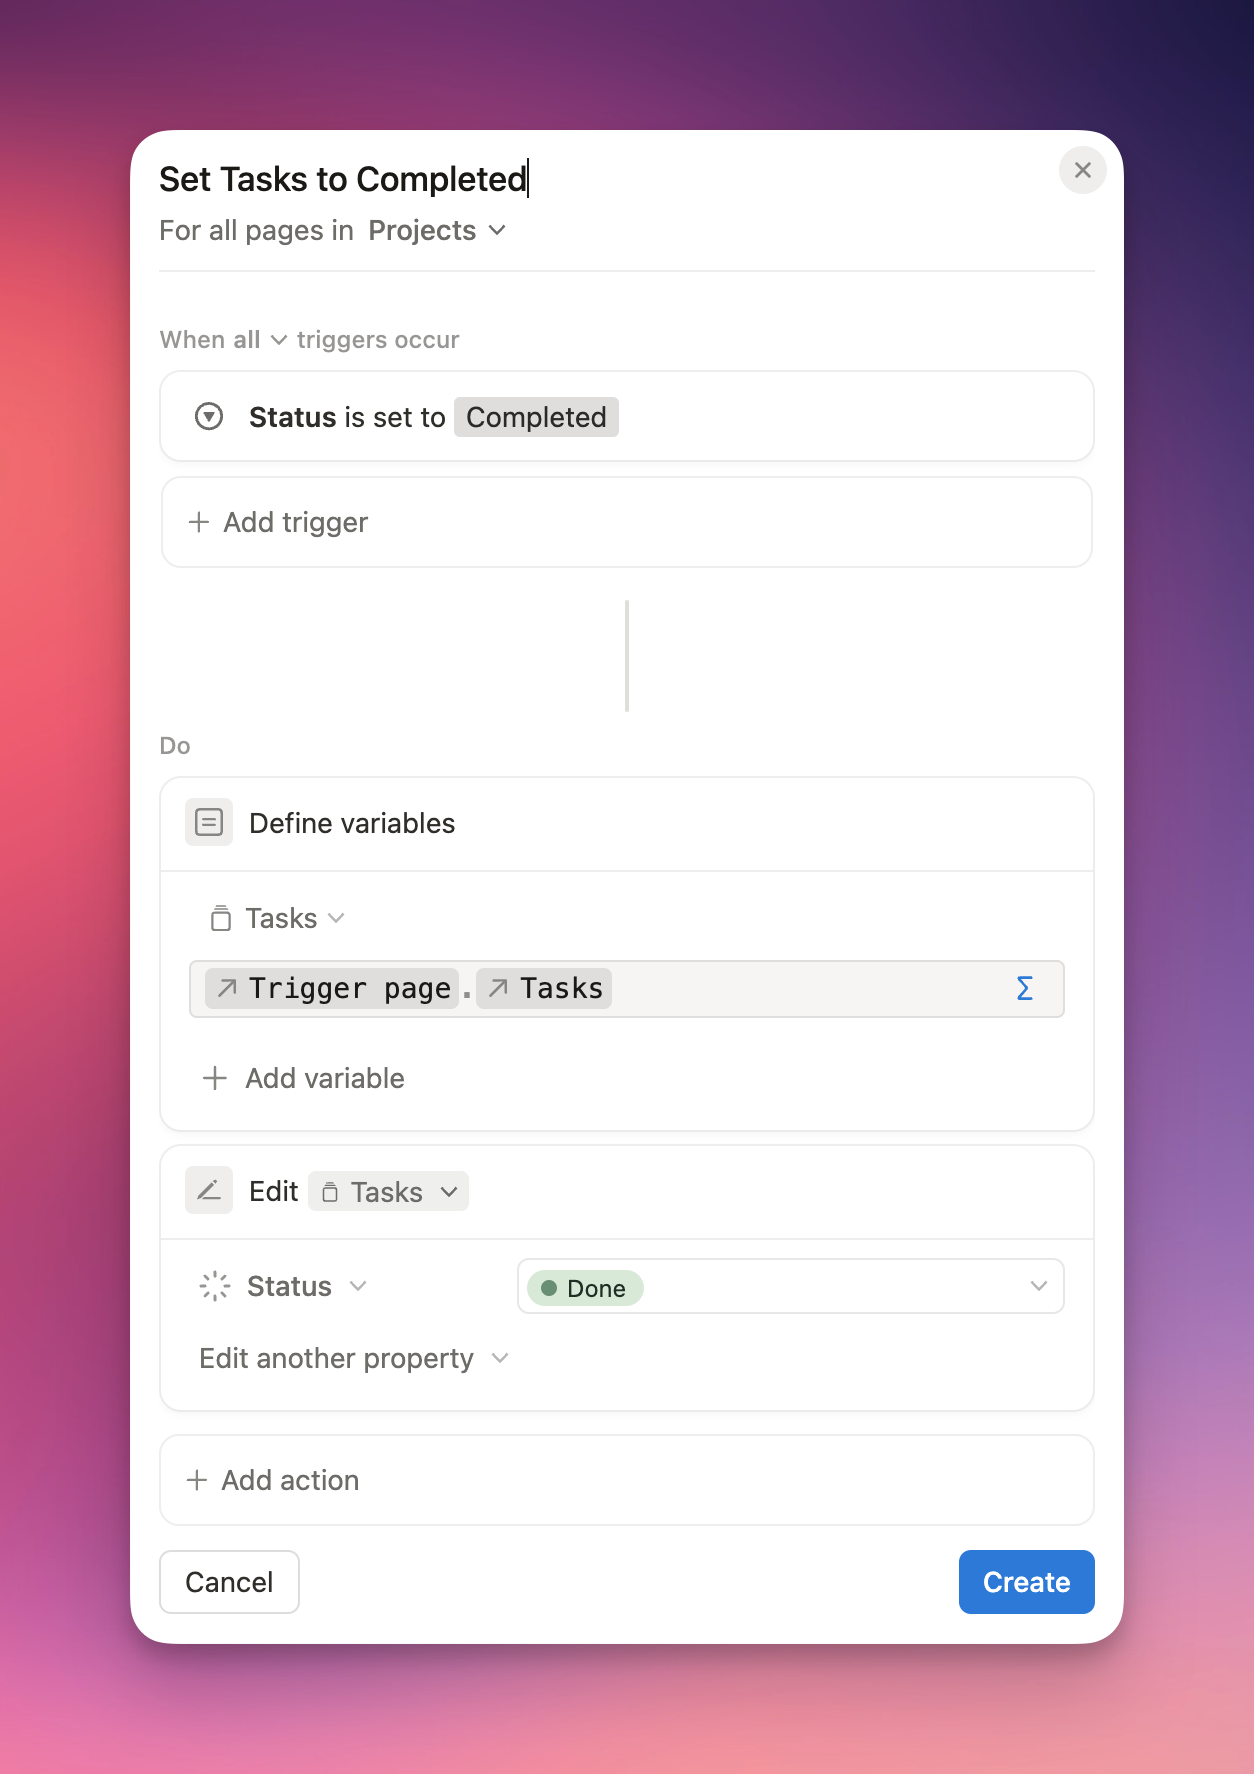
Now anytime a project is completed, all the leftover tasks will get set to completed as well.
This is a very simple use case for the new automation builder. You can do quite a lot with it, and you can see a few examples here. One really exciting action you can do now is to send an email from any Gmail account. I’m looking forward to utilizing this more with our customer rosters.
Other Updates
Notion also released Marketplace. You can now buy and sell Notion templates inside of Notion. This will be a huge game changer for Notion creators who sell templates. It has better template protection and even processes payments.
They also announced that in early 2025 they will release Mail, a Notion email app. I am beyond stoked for this. All the previews look amazing.
Wrap up
Notion continues to impress me with their constant iteration and updates. It’s become clear that they are wanting to become the one-stop-shop for a lot of companies and power users.
With the introduction of Forms, people can save money by getting rid of their other form builders, and marketplace will help creators make more money while protecting their IP.
Pretty great day to be a Notion user.
