My Obsidian-Based Kanban Writing Workflow
I’ve been using Obsidian as my writing app for the past several months, and I absolutely love it. In addition to giving me a great Markdown writing environment, the community plugins allow me to craft my ideal system for tracking my writing tasks well. In this article, I walk through my system and the plugins I use to manage writing projects in Obsidian.
Here’s a video from our upcoming PKM and Obsidian course that walks through my entire process for using Kanban cards inside Obsidian.
How to set up your own Kanban Workflow in Obsidian
There are two specific plugins that make this work:
- The Kanban plugin
- The Dataview plugin
The Kanban Plugin
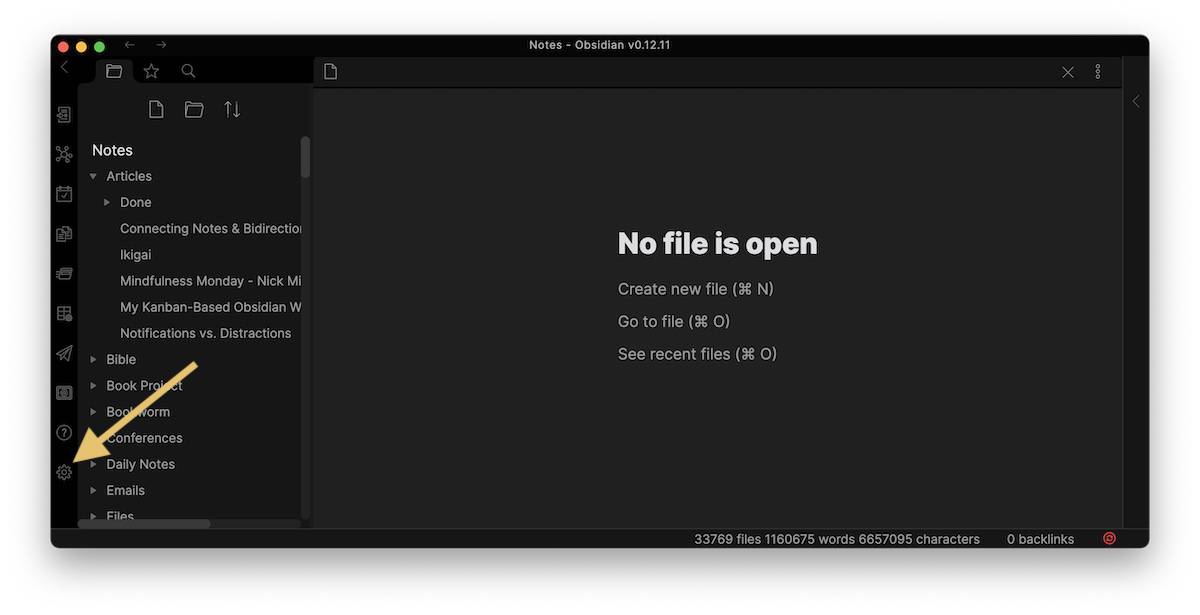
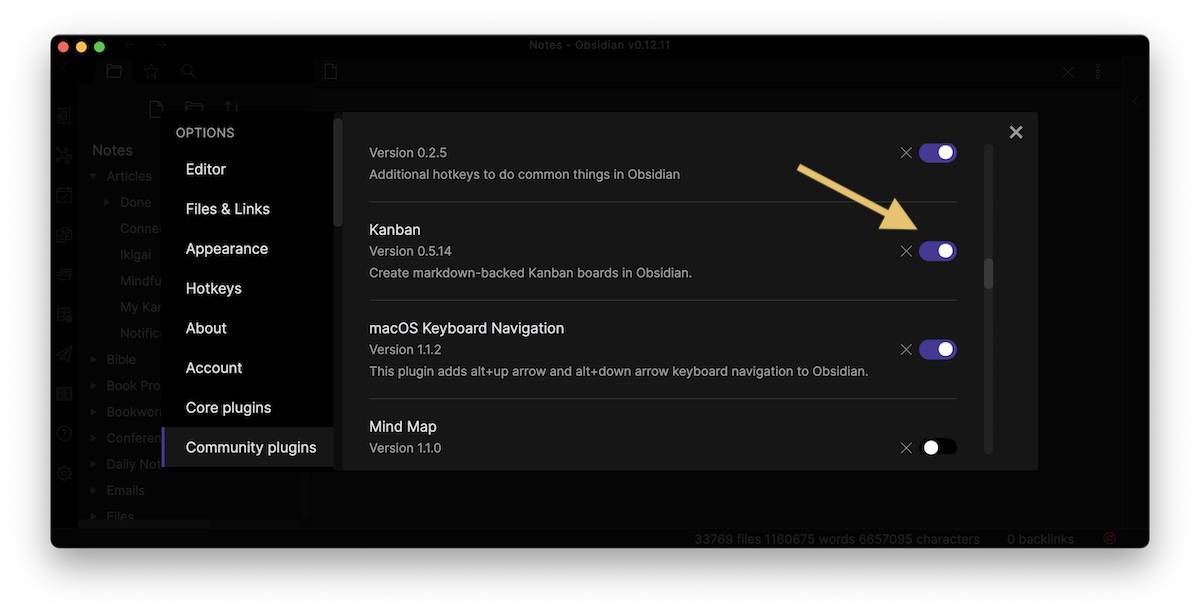
To install the kanban plugin, first click the Settings button in the left sidebar.
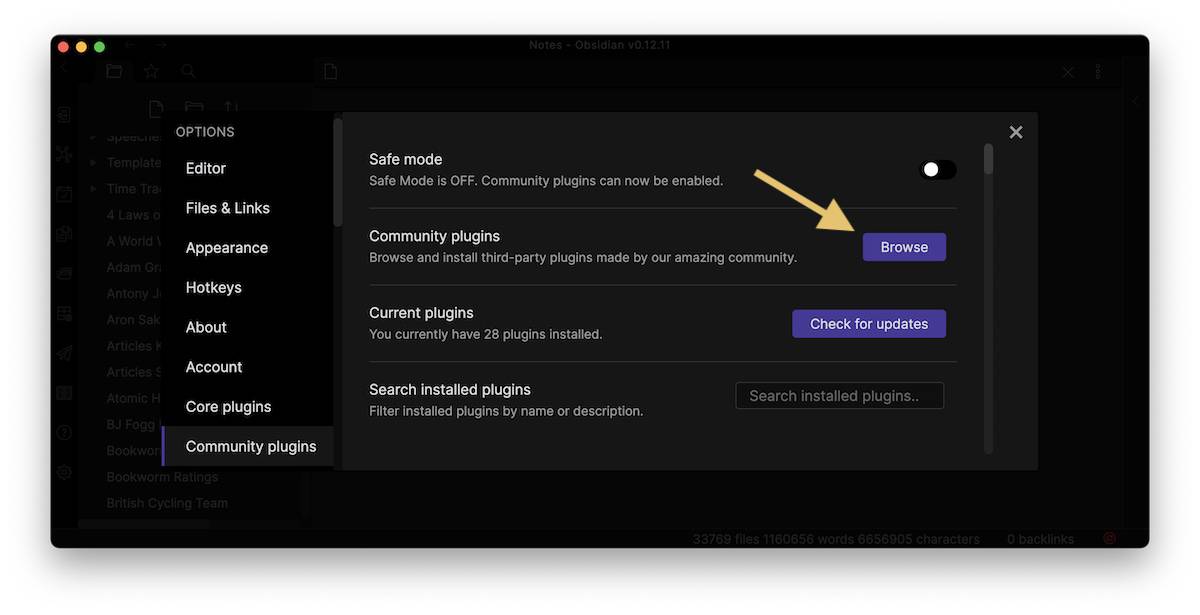
Next, click Community Plugins and click Browse.
Search for the Kanban plugin. Click the Install button, then click Enable.
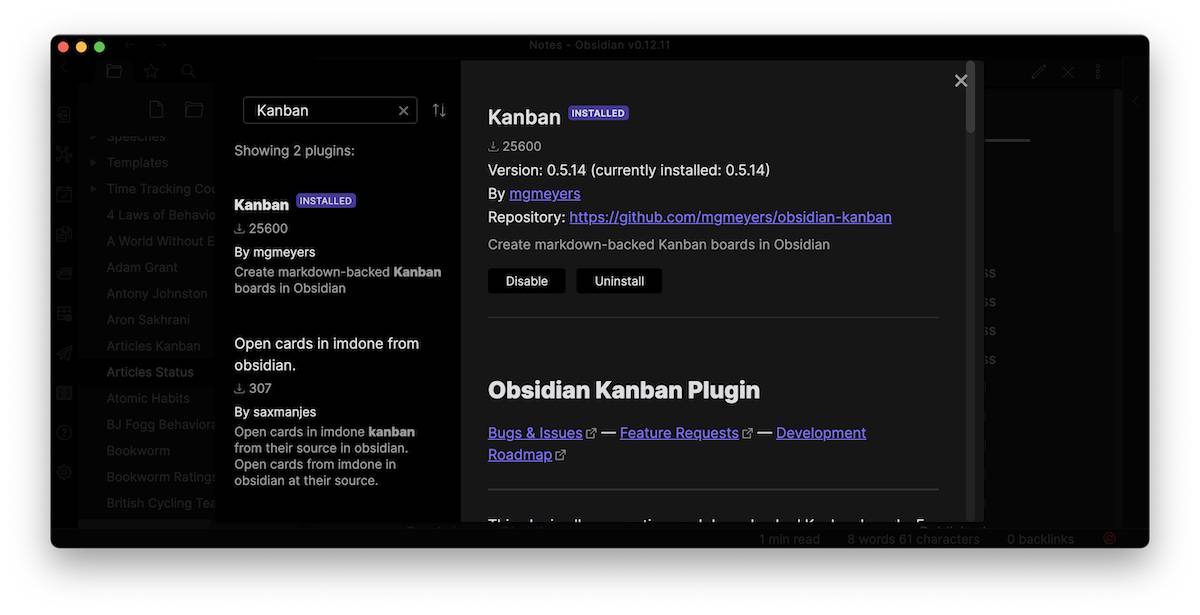
Make sure that the plugin is toggled on by going back to the Community Plugins section in the settings.
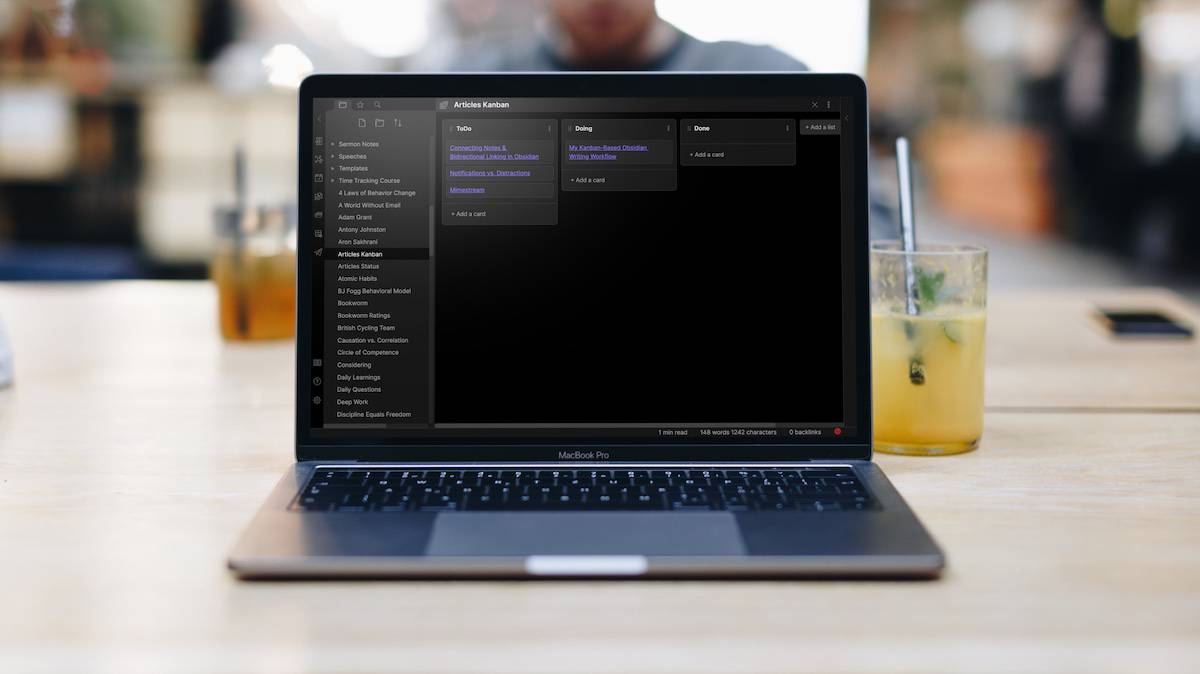
Next, you need to create your kanban board. To create a new Kanban board view, all you need to do is right-click in a folder and then select New Kanban board.
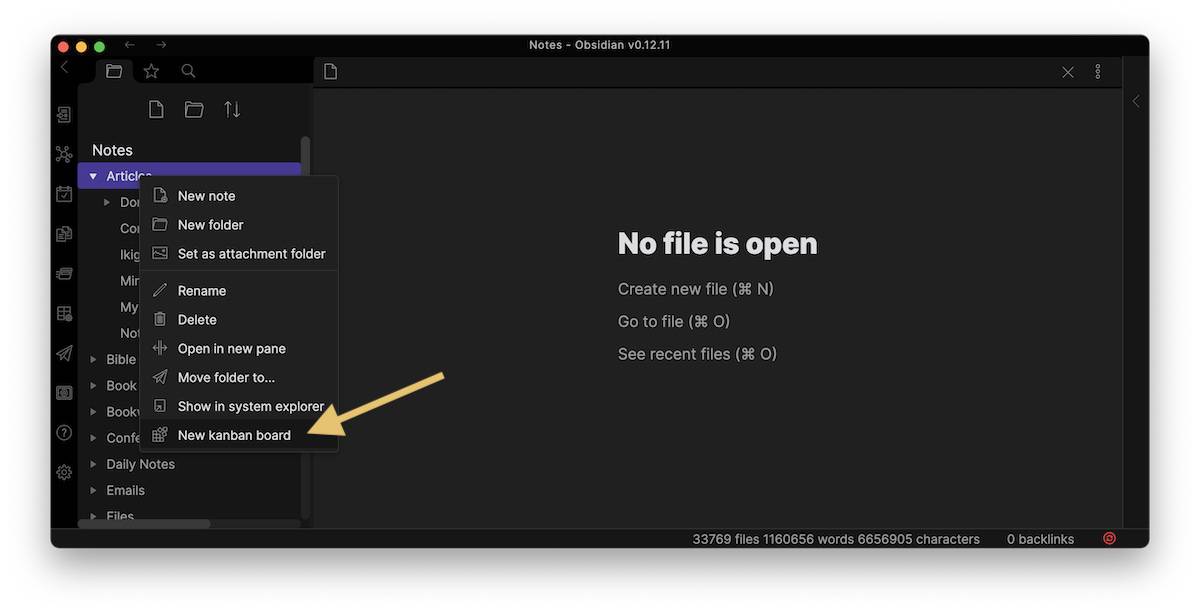
(I actually keep my kanban board in my root folder, but a case could be made for keeping it in a subfolder as well.)
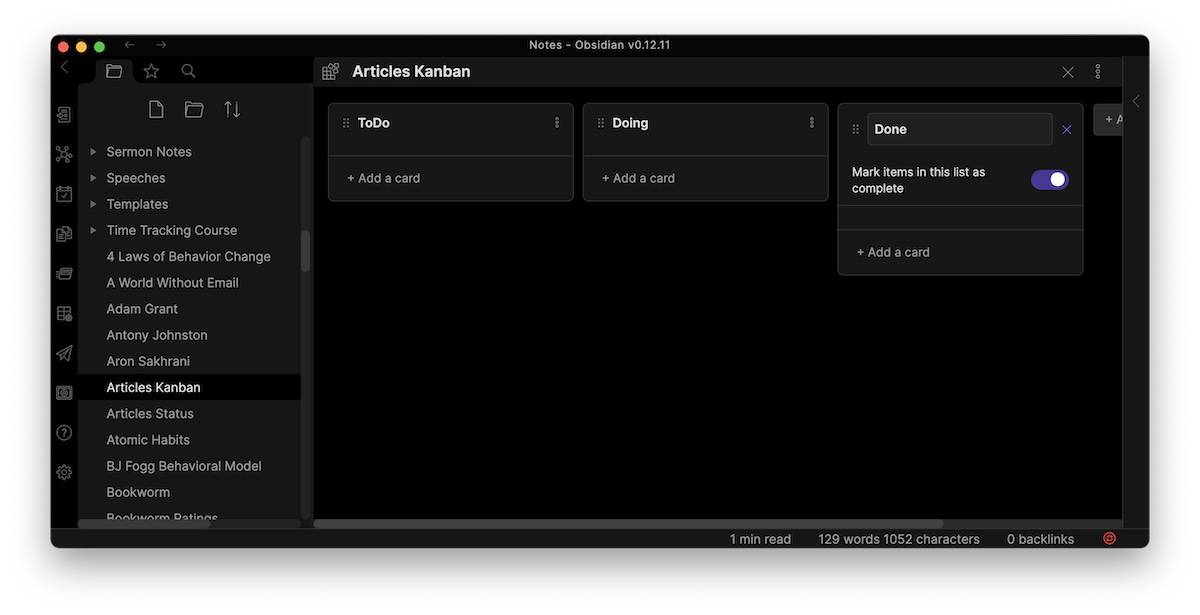
Once you have the board set up, you need to add some categories. Click the Add a list button to create a new swim lane and give it a name.

I use three separate lists: ToDo, Doing, and Done. I also toggle on the option to Mark items in this list as complete for the Done column.
Next I add cards for the articles I’m working on. Click Add a card to create a new todo in that column, and give the card a name. I always create the blank note first in my Articles folder and link to the note using double brackets.
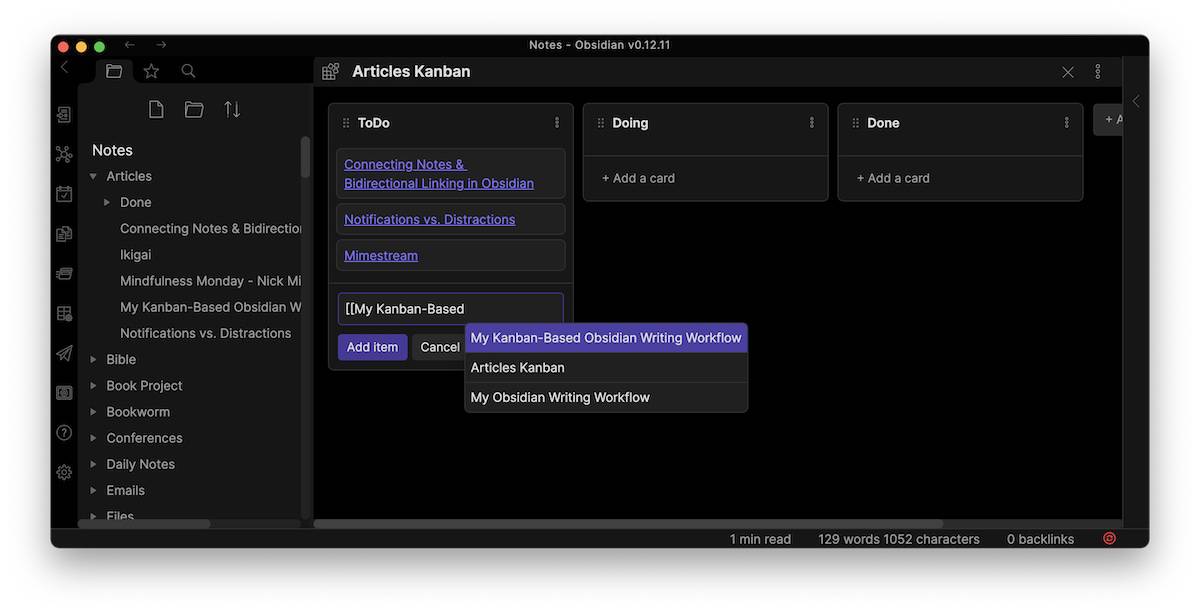
Then I can move the card from left to right by dragging it to the appropriate column. Behind it all is a simple Markdown-formatted text file.

There’s a lot more you can do with this plugin, like using the @ symbol to open a date picker and linking those dates to your Daily Notes. But I prefer to keep it simple.
Dataview
I also add some YAML metadata to the top of every article that includes the status and document tags. I’m currently playing around with different ways to use the status, but one thing I like is the ability to use a status and filter everything in my Articles folder by that status using the Dataview plugin.
Just like the Kanban plugin, Dataview is a third-party plugin. So click the Settings button, go to Community Plugins, and search for Dataview.
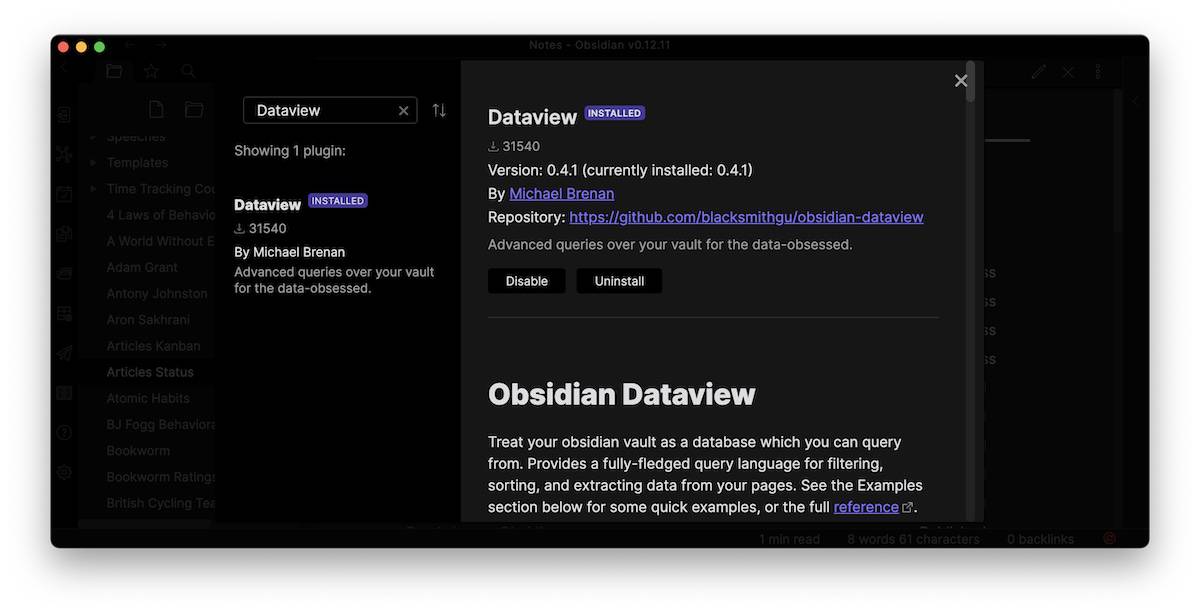
Install and enable the plugin, and you’re ready to go.
For example, I have a note in my library called Articles Status. It’s a blank note that filters all the notes in my Articles and displays them in a list view by status in the YAML metadata.
Here’s the code I use:
```dataview

table Status

from "Articles"

```
Here’s what this code is doing:
- The first line tells Obsidian to use the Dataview plugin
- The second line tells it to make a table with a Status column
- The third line tells it to look in the Articles folder
- The last line closes the code block
When I click Preview, here’s what it looks like:
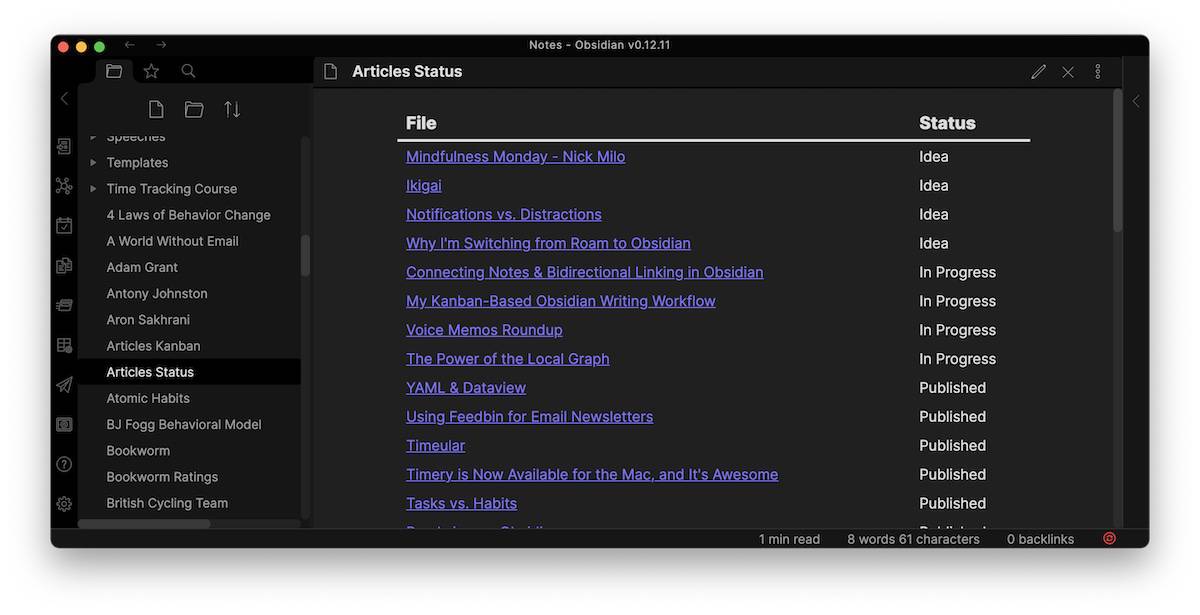
I have the names of all of the articles that are currently in my articles folder on the left, which are links that I can use to jump straight to those articles. And I have the status fields, indicated by those things that I marked in the YAML frontmatter, but aren’t actually part of the article. Dataview is taking those and sorting them in reverse alphabetical order, which allows me to see very quickly which articles I’ve completed, which ones I’ve not started, and which ones are in progress. And if I wanted, I could add more to this to sort these in a specific order.
This is a simple example, and you can extend this a lot further if you want to include due dates and things like that. But Dataview is a great way to query everything that you want to look at in a specific location, and then give you all sorts of information based on that.