Journaling Workflow for Appending to Daily Notes with QuickAdd (VIDEO)
Obsidian is a great place to do your digital journaling, thanks to the Daily Notes core plugin. But with the addition of the QuickAdd Community plugin, you can quickly capture journal entries into specific categories using the Command Palette. In this video, I walk you through how to set everything up and use it for daily journaling.
If you prefer the written version, read on.
Setting Up the Daily Notes
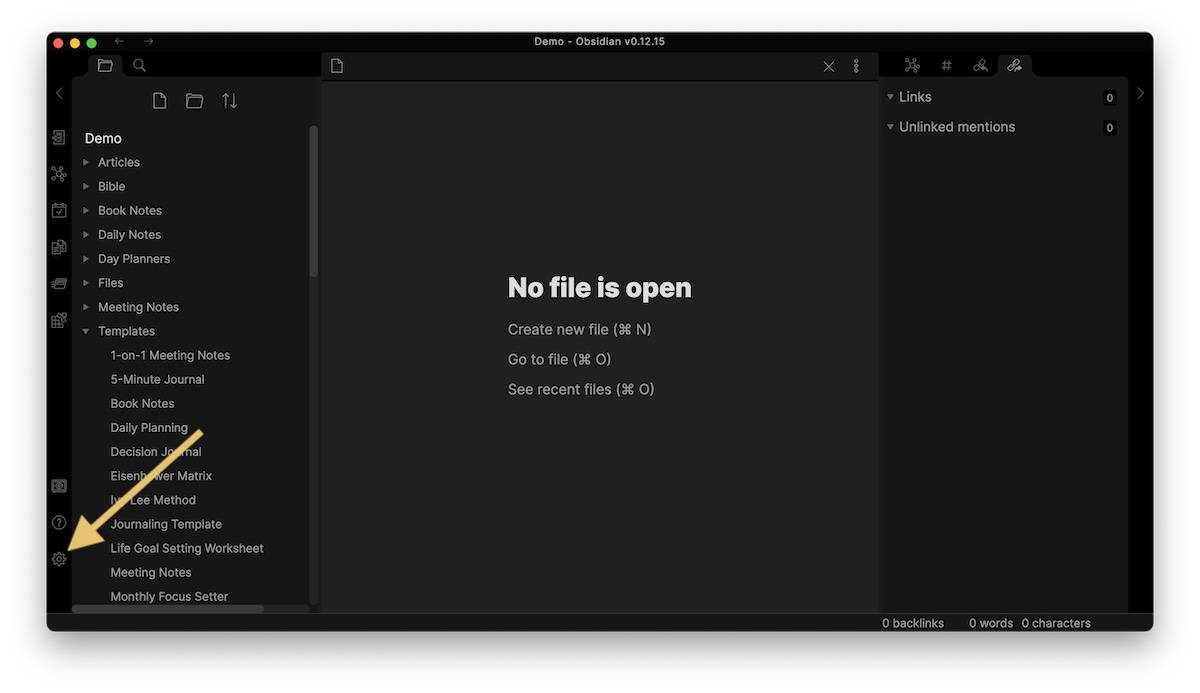
First, we need to make sure that Daily Notes core plugin is in fact toggled on. To access the Settings, click on the gear icon in the lower left.
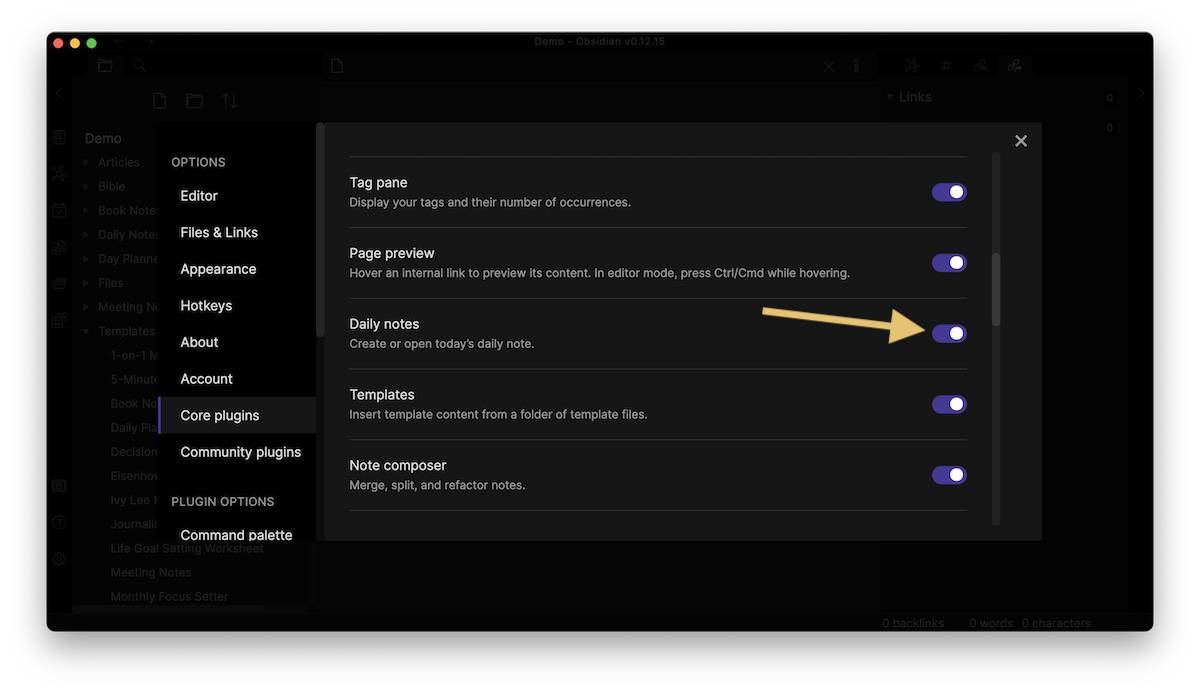
Next, click Core Plugins and make sure that the Daily Notes plugin is toggled on.
Next, go to the sidebar of the settings and scroll down to the Daily Notes section. Here you can configure the new file location that tells Obsidian where to store the new Daily Notes files and the location of your template file.
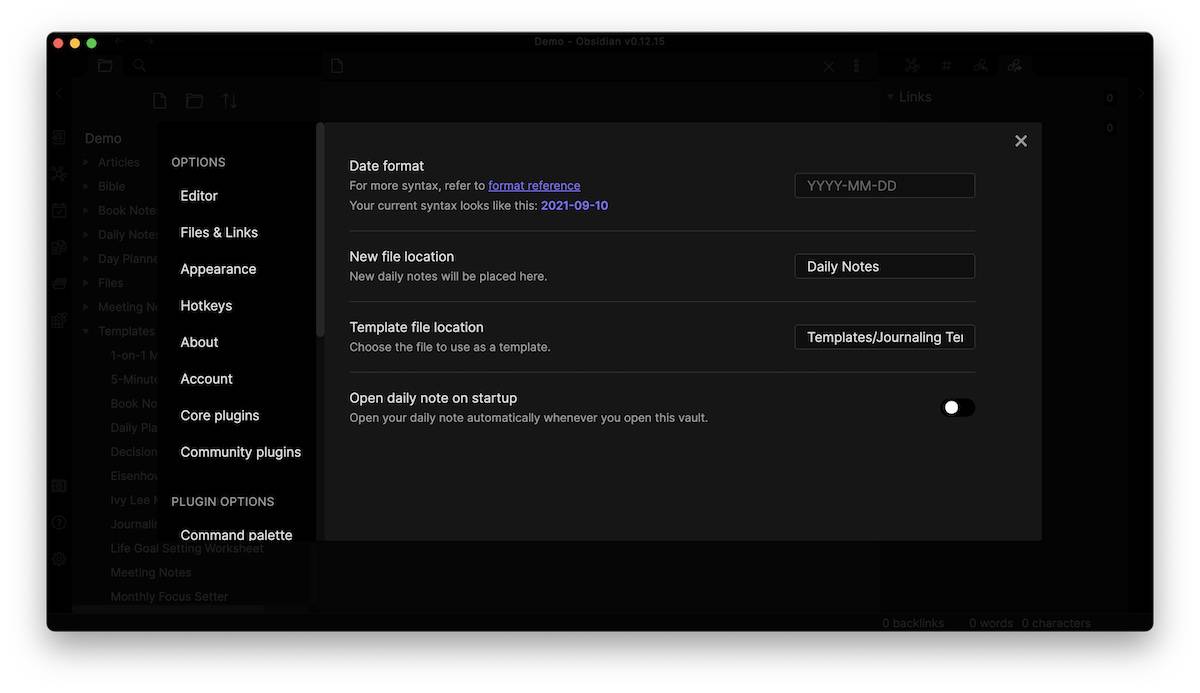
I have this set to capture new Daily Notes to a Daily Notes folder using my Journaling template inside of my Templates directory. This will take the contents of that file and insert it into the new Daily Note when I create it. So let’s close our settings, and take a look at our journaling template.

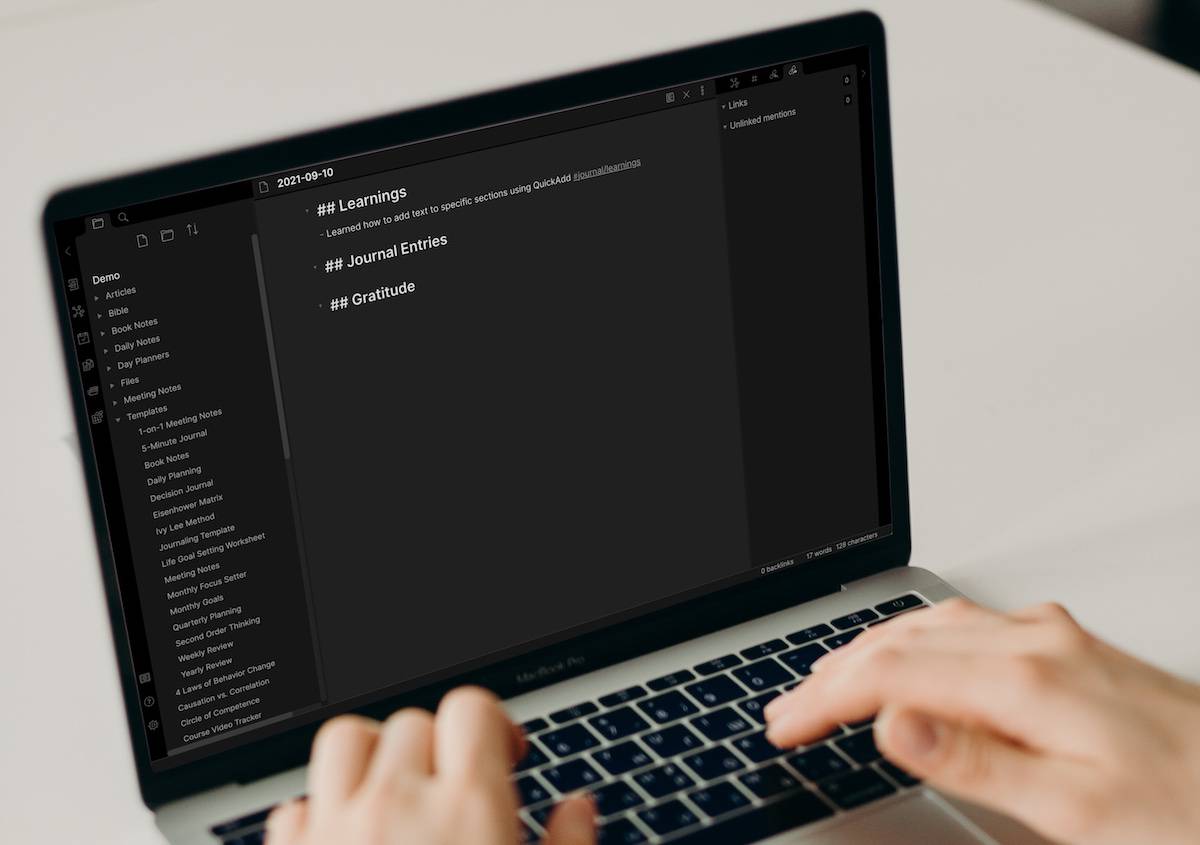
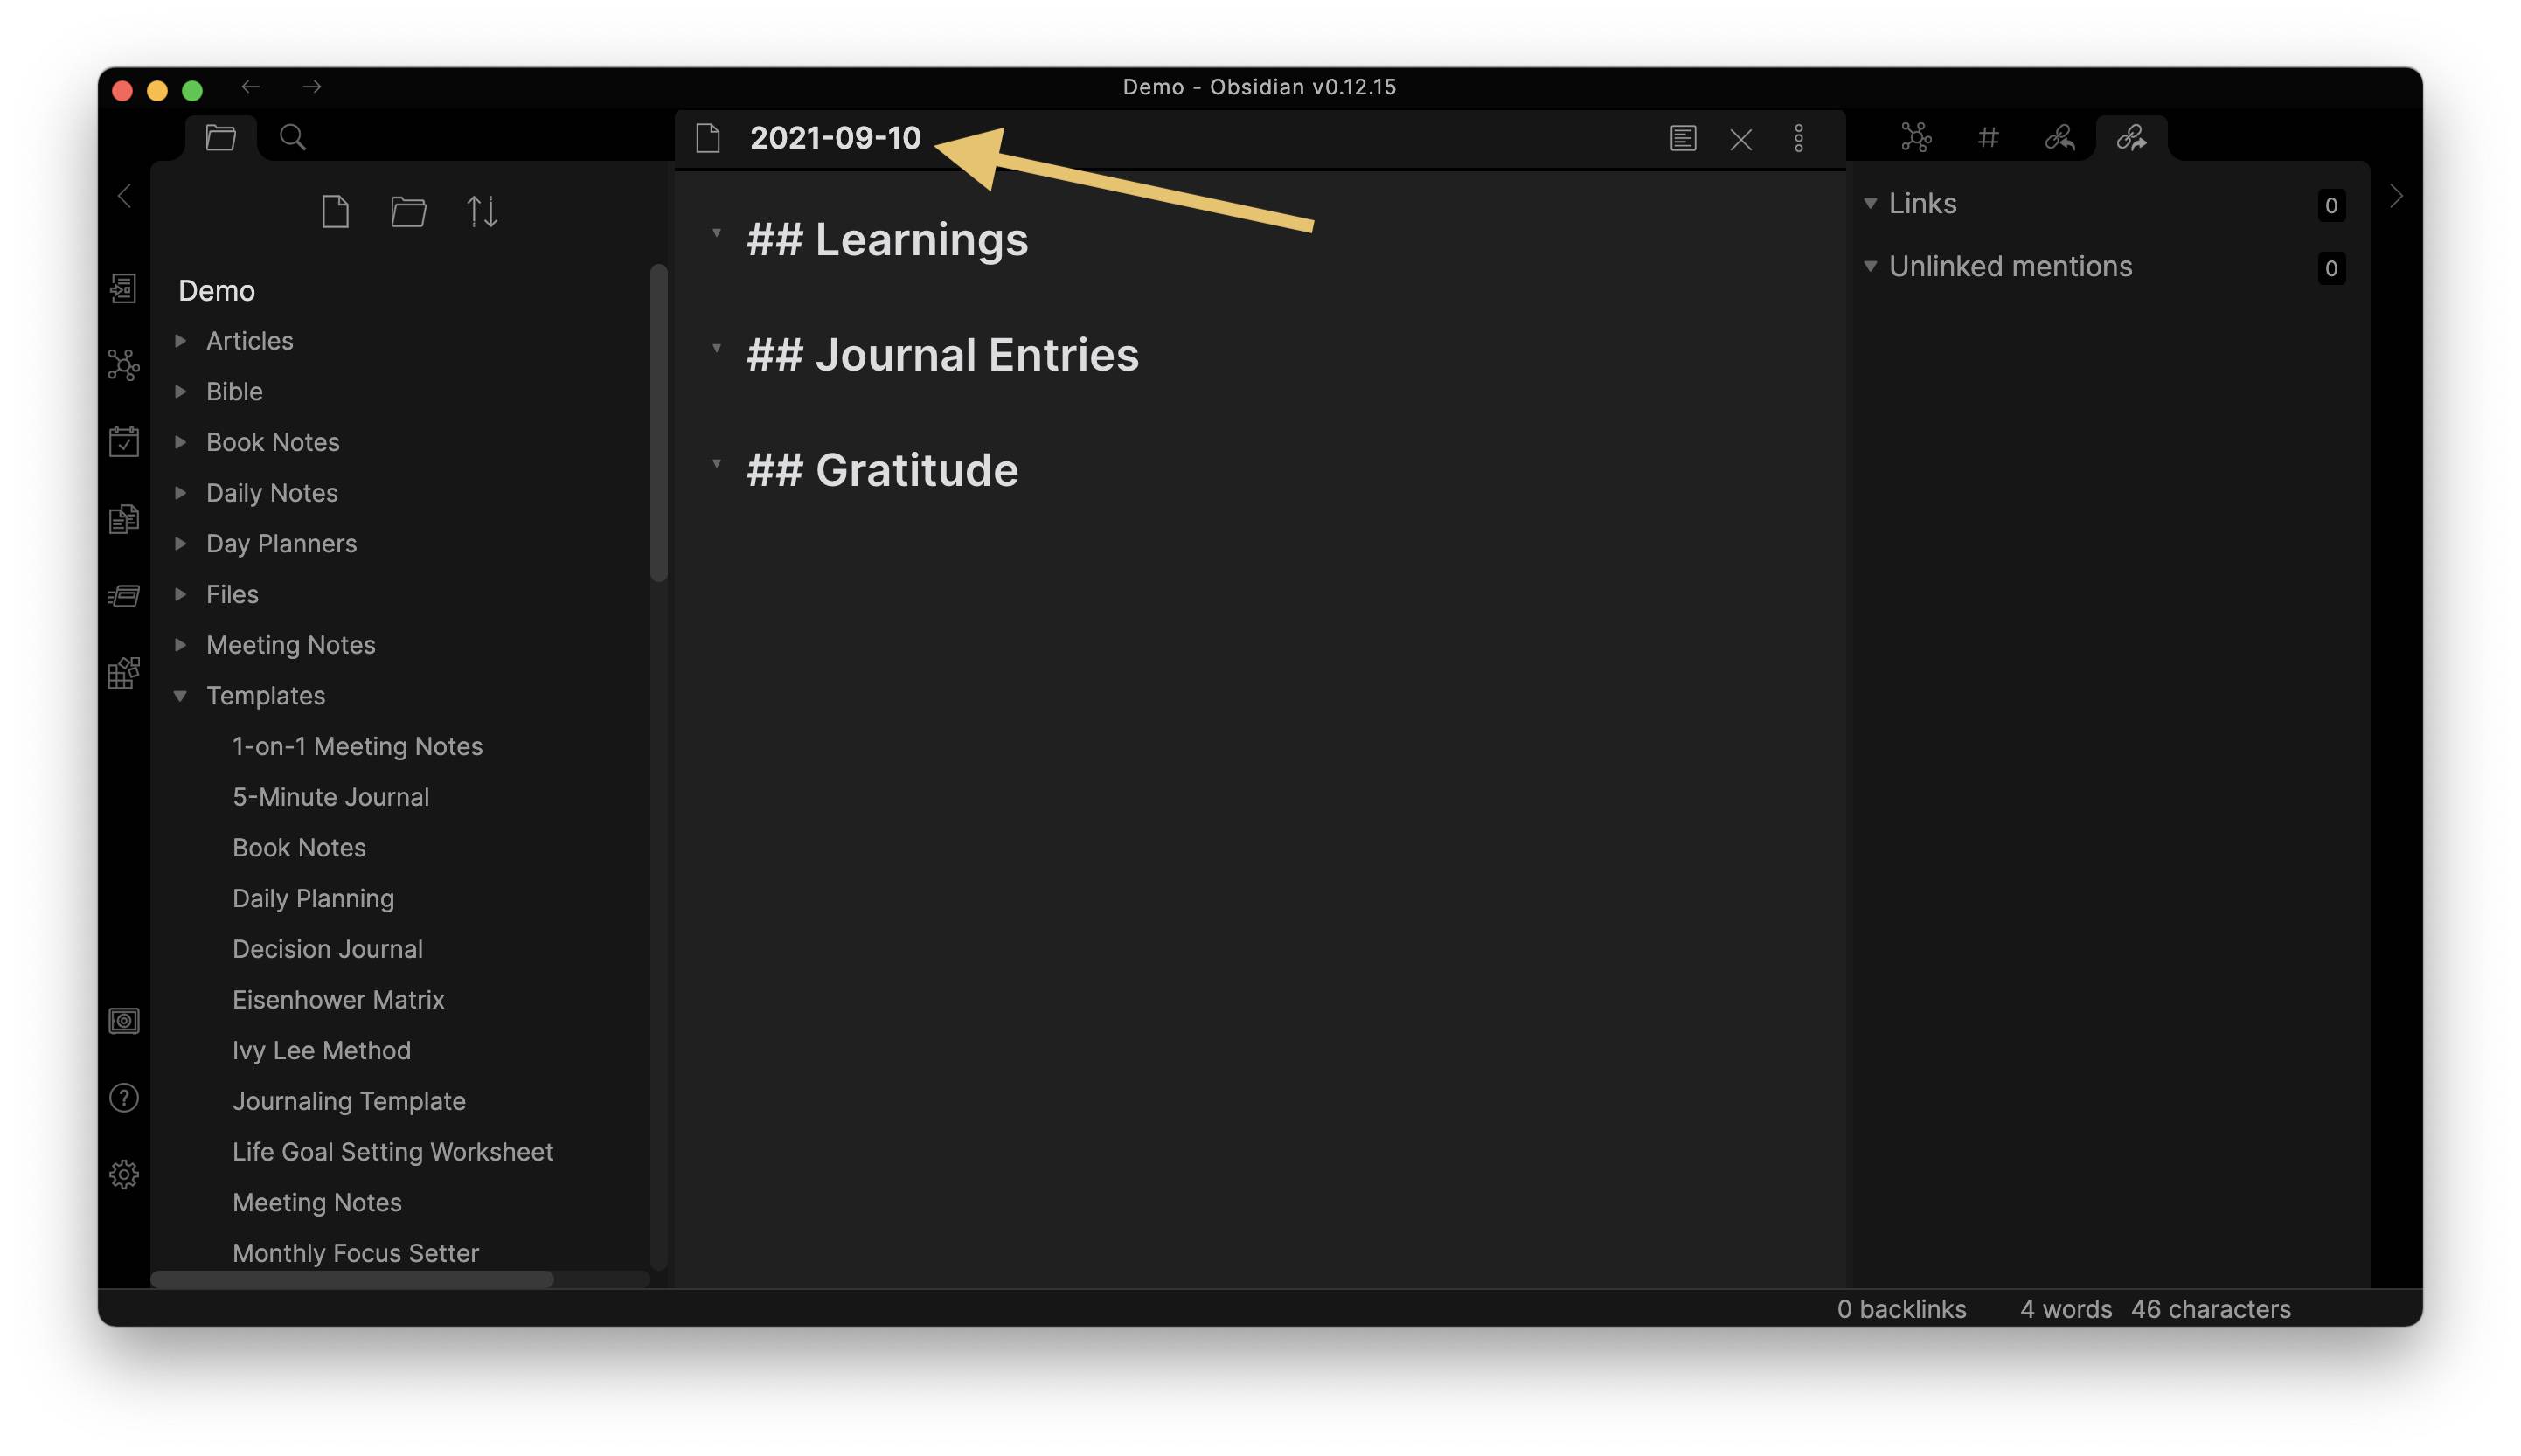
I have three different sections here:
- one for learnings,
- one for journal entries, and
- one for gratitude.
So when I click on the new Daily Notes button over here on the left, those three sections will automatically be added to today’s Daily Note.
Once we have our Daily Notes configured, we’re ready to set up the QuickAdd plugin.
Setting Up the QuickAdd Plugin
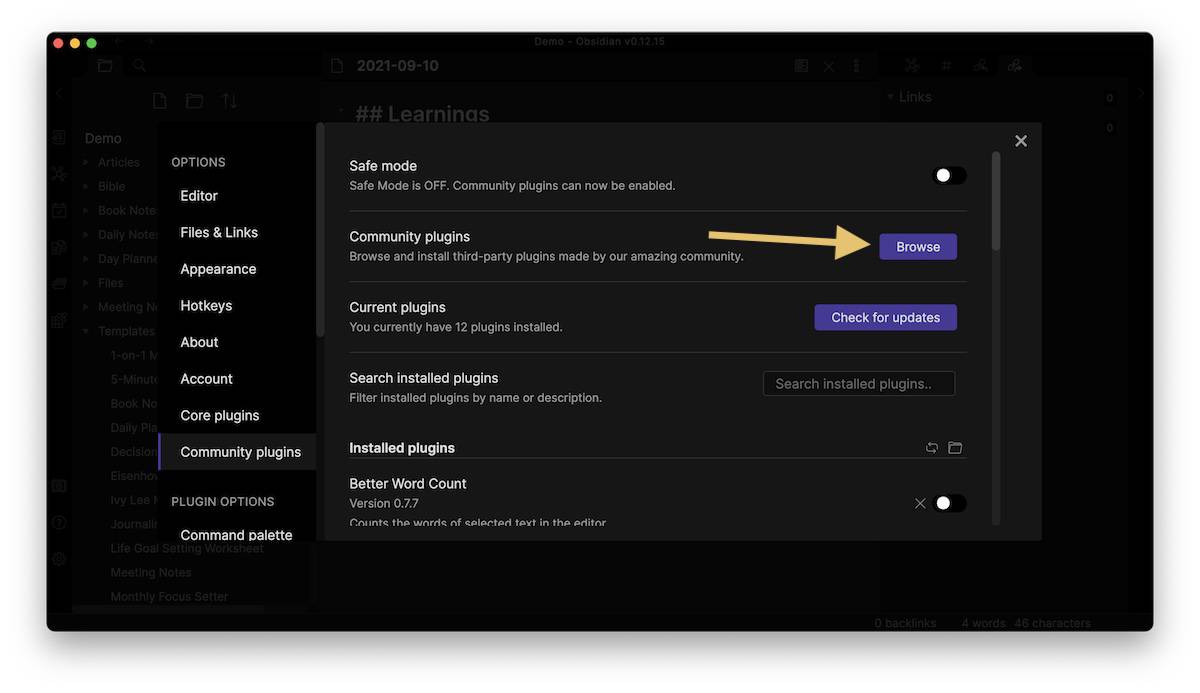
Go back to the Settings, select Community plugins, and click Browse.
Next, search for QuickAdd.
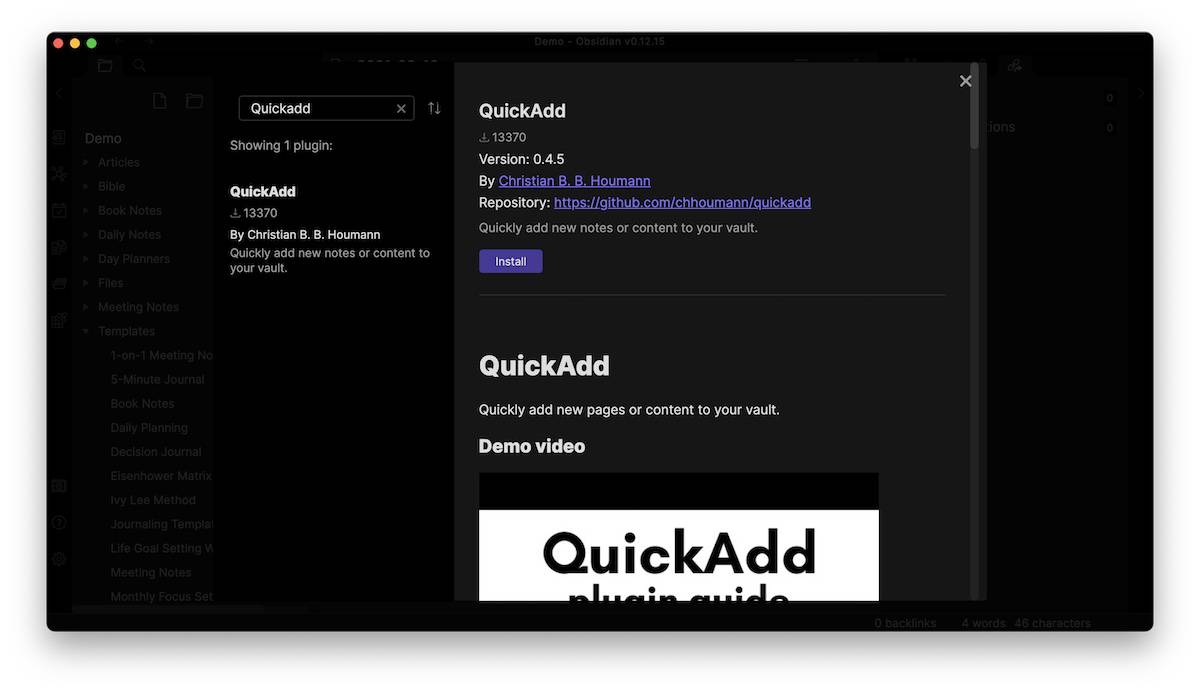
Click Install, then click Enable.
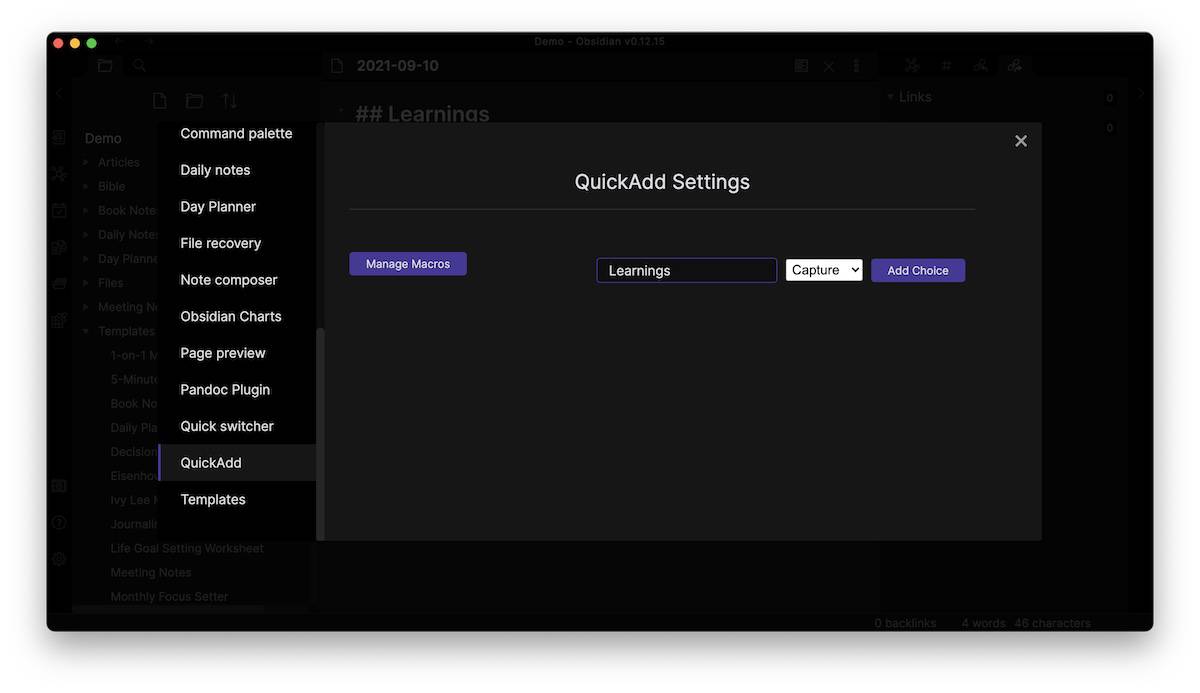
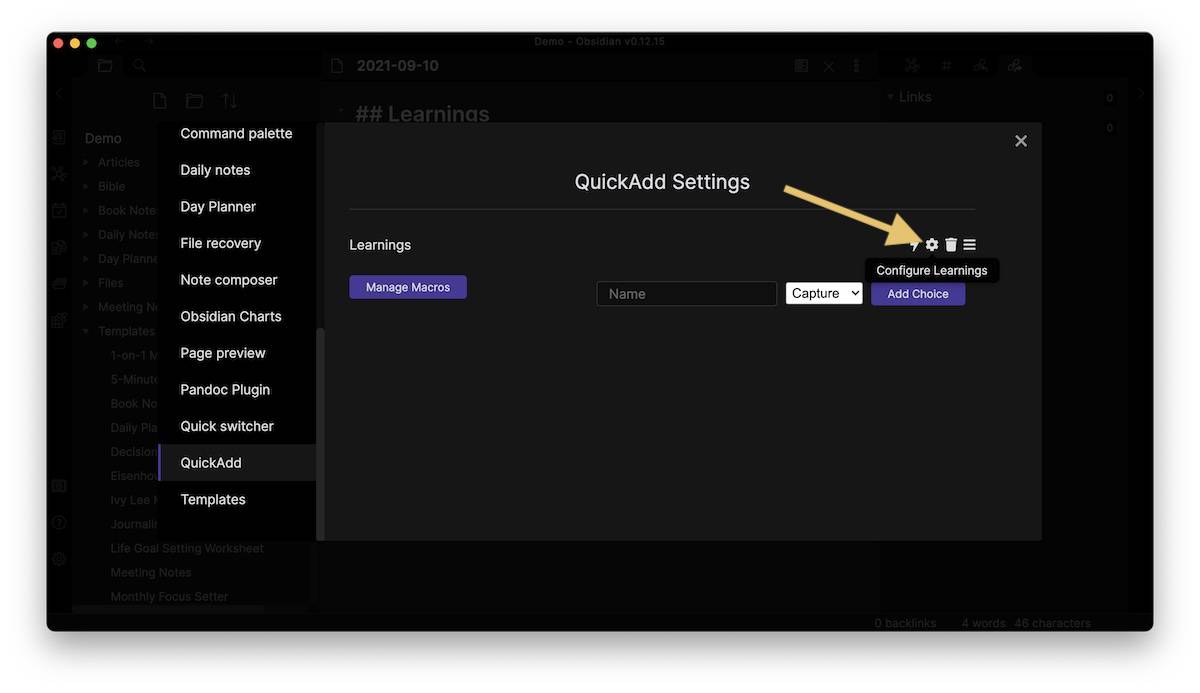
Once we’ve installed and enabled the plug in, go over to the left and scroll down to the QuickAdd settings. QuickAdd can do a lot of different things, but we’re going to be using it to quickly capture text that we want to add to specific sections in our journal. So let’s create a section here for Learnings. And instead of a template, we’re going to select Capture, and then click Add choice.
Now click on the gear icon for the Learnings action that we just created and configure the settings.
First, we can set what file we want to capture this information to, and then we can choose either the active file or a specific file. Capturing to a specific file allows us to capture to the file from anywhere in Obsidian, so that’s what we’ll use (Daily Notes/{{DATE:gggg-MM-DD}}.md).
This selects the Daily Notes folder, uses a date token to insert today’s date, and adds a .md for the file extension.
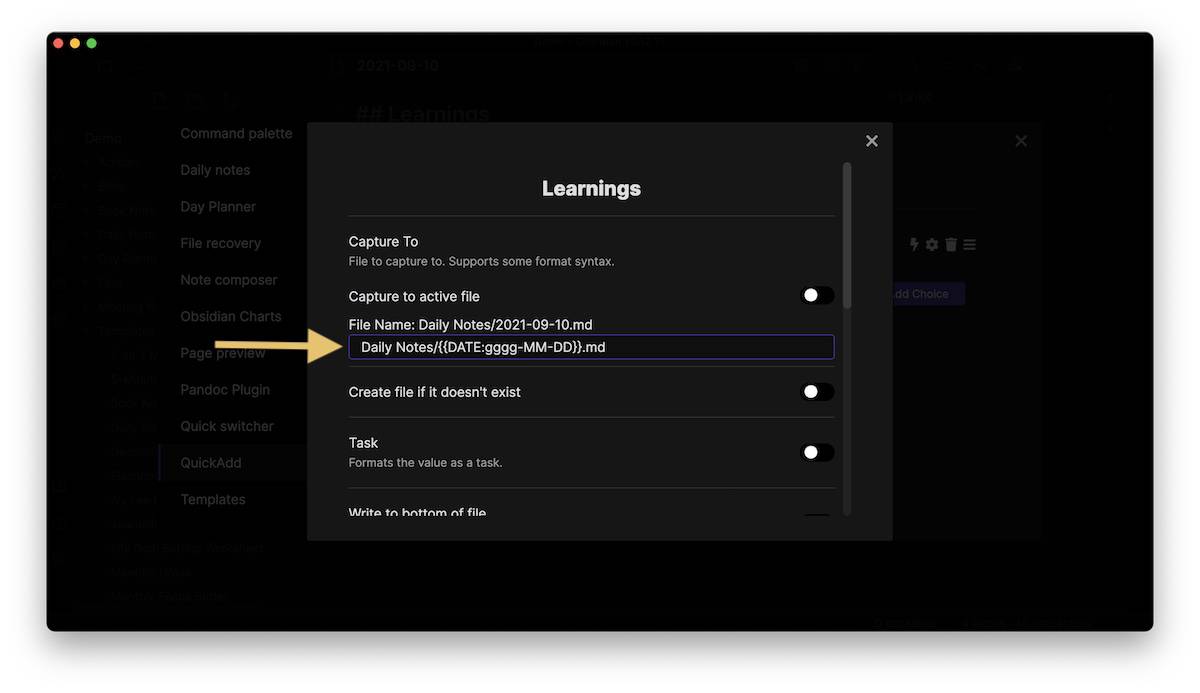
This will translate to the same date format we use for our Daily Note.
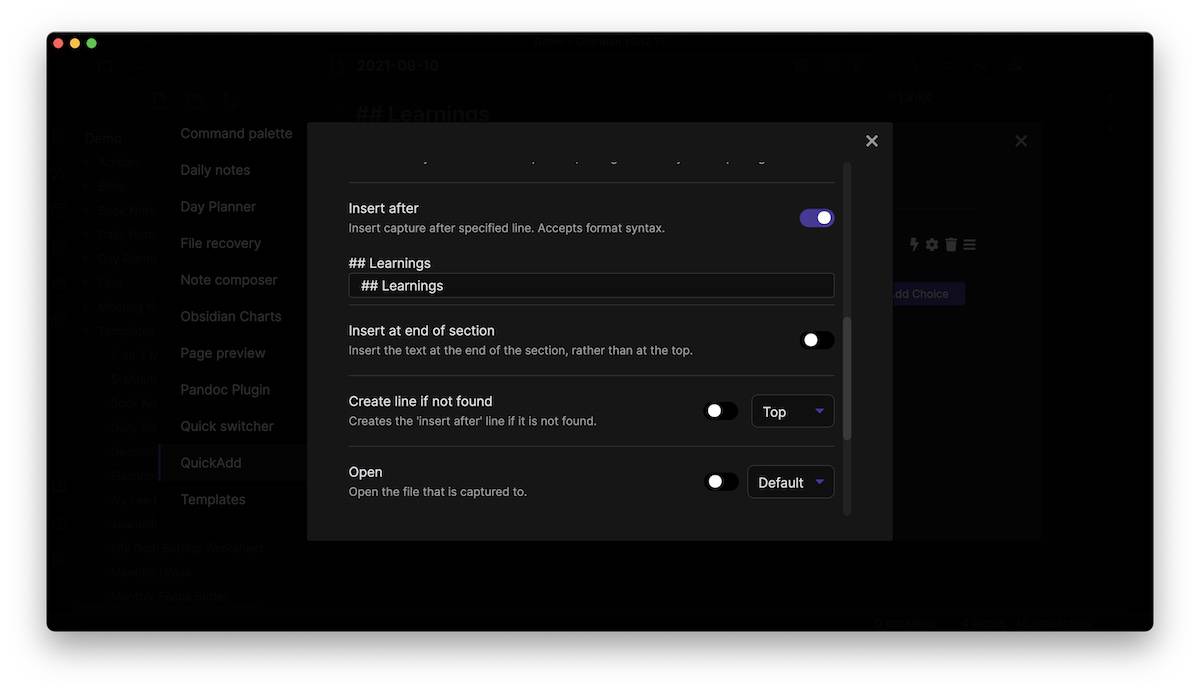
Next, scroll down and select Insert after and add ## Learnings to insert our added text after the second level header for Learnings.
Next, we need to put in the value for what we want to capture, so toggle on Capture format and then use - {{VALUE}} #journal/learnings \n.
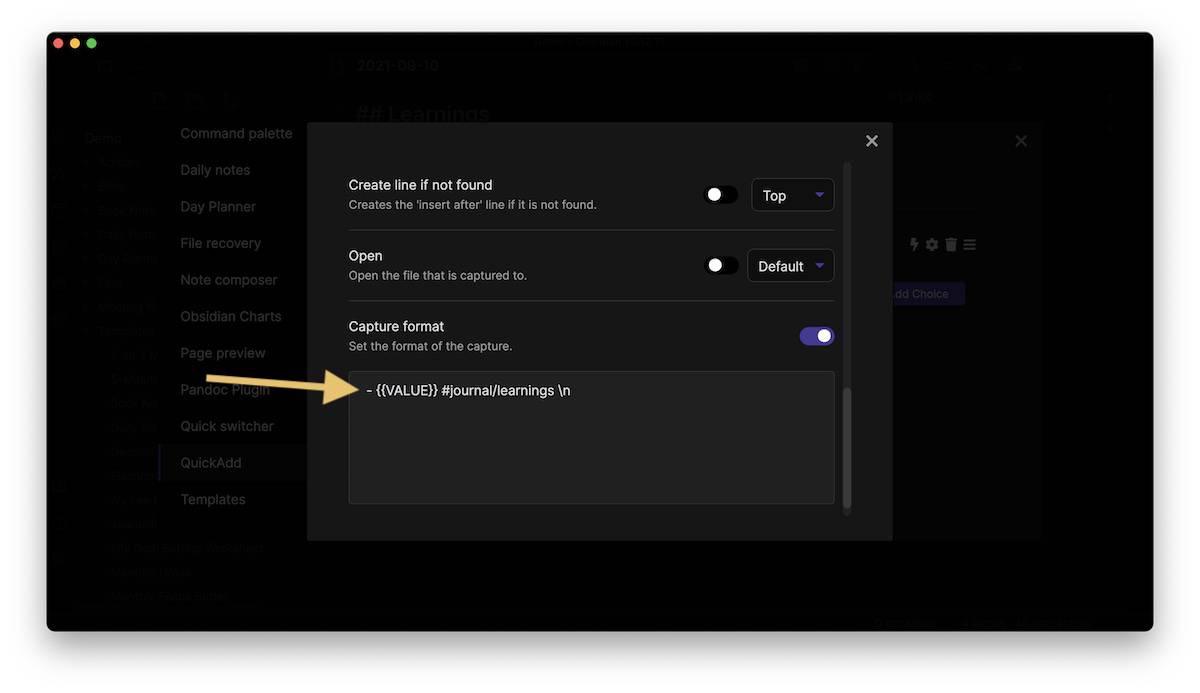
This will create a bullet point with the captured text, then automatically add the tag journal/learnings and then create a new line.
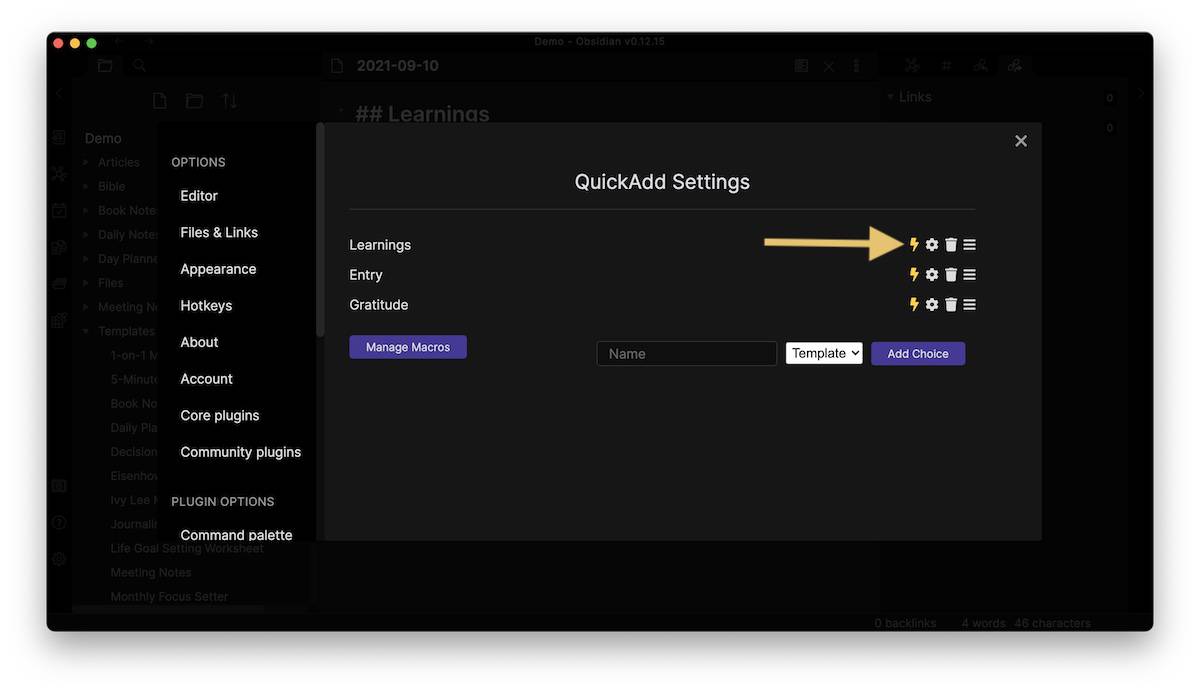
We can repeat this process for the other sections, resulting in three different QuickAdd entries. And we can enable these directly from the Command Palette (without having to launch QuickAdd first) by clicking on the lightning bolt icon and selecting the choices we want to enable.
Using QuickAdd
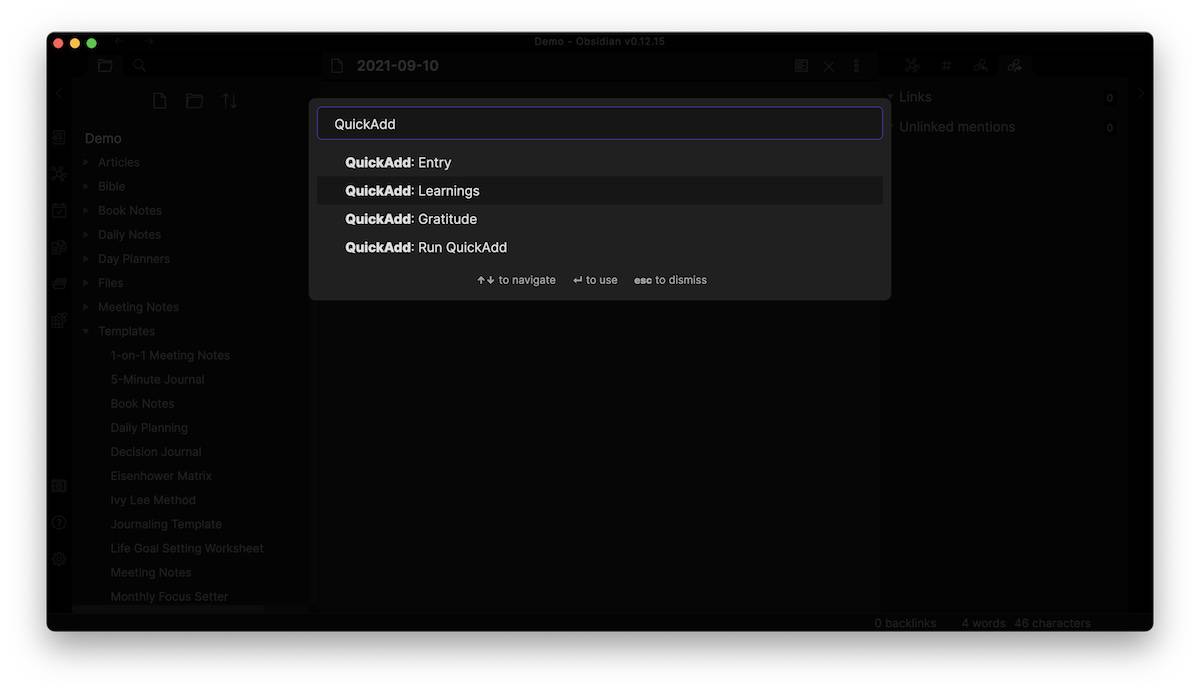
Now from anywhere in Obsidian, we can hit Command - P to invoke the Command Palette, search for QuickAdd, and then select the one that we want to use (i.e. Entry).
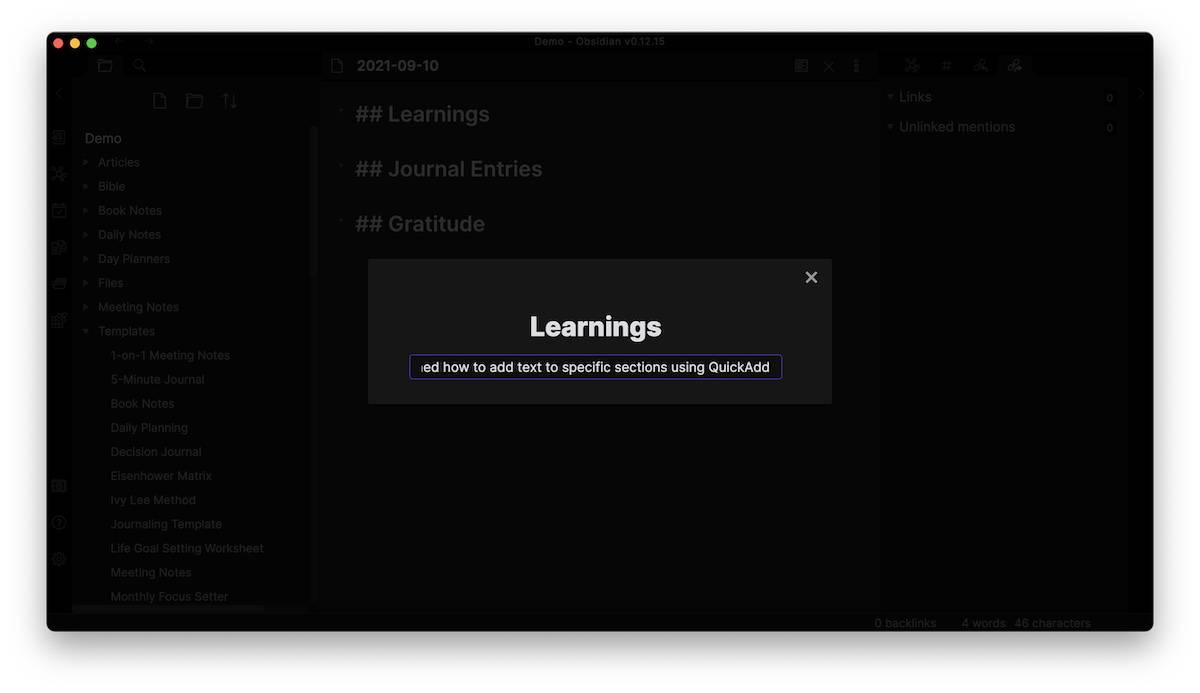
Then we just type out our text, hit Enter, and the text that we just typed gets pasted into the appropriate section in our Daily Note.
QuickAdd also works on the mobile version of Obsidian, which is great way to journal from my iPhone at the end of the day.