How to Use the iPad for Study and Deep Learning

I’ve been going to school for a long time.
Looking back, this story is one of those “walked to school in 4 feet of snow, uphill, both ways” sort of stories.
The post-secondary landscape in 2009 was very, very different than it is today. The iPhone had just been introduced and wasn’t available in Canada. The iPad didn’t exist. Blackberries were the rage.
For school, digital textbooks didn’t exist. I vividly remember heading into the university two days before the semester started to purchase textbooks. Normally, you’d opt for used textbooks, both for the prior owner’s highlights and to save money. But of course, most professors insisted on you purchasing the latest edition (likely because they had a hand in authoring the textbook).
(Eventually, textbook publishers and authors gained some wisdom and started including a digital code in the back of new textbooks that was required for the “full” textbook edition. Once that code was redeemed, the used textbook was largely useless.)
Those textbooks cost thousands of dollars each year. Tuition, usually, was the smaller chunk to pay.
And you had to carry those textbooks with you everywhere you went. I didn’t need a fitness regiment in 2009 — I just needed to fill my backpack with my textbooks for the walk to school.
In the 11 years since, everything has changed. I haven’t walked the streets of a university in a few years, but all my courses over the last five years have been offered digitally, with digital textbooks and online delivery of lectures and webinars. Learners now write exams on a computer. Google is an acceptable form of finding sources for research (though of course the source still needs to be reputable; there was a time when I was not allowed to use Google to find external sources for any research). Access to professors and facilitators has moved to a digital format — most respond to emails within 24 hours and no longer require booking a meeting to meet with them in their messy offices, and most are accessible by video calls these days.
In hindsight, the hoops we jumped through seem hysterical, but they only seem hysterical because of how easy everything is today.
In hindsight, the iPad has undergone the most evolution and has been the most consequential tool of my post-secondary career. From the start when the iPad was a myth to a finish line where the iPad can facilitate every aspect of the educational cycle, the past 11 years have seen technological evolution at a backbreaking pace.
With this hindsight in mind, I want to reflect and provide some guidance on how I transitioned my entire post-secondary schooling to the iPad. It’s this experience that has led me to believe the iPad is the world’s greatest learning tool. Ever. In the history of humanity. The iPad is humankind’s greatest educational achievement.
Why the iPad is the Best Educational Tool
This is a very straightforward answer:
The iPad is the best educational tool because of its ability to adapt to any input method.
The iPad provides the same ability to read, write, and compute like a MacBook Air or a Windows PC, but the iPad’s secret weapon is the Apple Pencil. Handwriting is still the most optimal input method for learning and comprehending material for the long-term.
The Pen(cil) is mightier than the sword.
Modern iPads have a desktop-class browser, enabling the iPad to provide access to video seminars and other modern delivery methods. Modern iPads have great apps, like iBooks, or Notability, or PDF Expert to process educational problems.
Lastly, the iPad Magic Keyboard (or Smart Keyboard, if you don’t need the trackpad) is also a worthy tool for any iPad-toting student. In an instant, you can flip from handwriting-ready iPad mode to typing and cursor iPad mode, diminishing the hiccup times between input methods. And thanks to the iPad’s incredible battery life, you can flip between modes all day long. When you’re in the learning zone, the last thing you need is a disconnect when transitioning from typing to handwriting.
I expect future iPads to only double-down on this core strength — future iPads are likely to support external displays in new and improved ways, the Apple Pencil is likely to become even more responsive and adaptive, and iPadOS software is likely to continue evolving to meet the needs of modern tablet users.
Thanks to hindsight, it’s clear the iPad is a tool worthy of investment and is sure to meet most student needs for their post-secondary careers.
The Five Steps of My Learning
Over time, I’ve taken between 60 and 70 courses and written about 60 to 70 exams. In that time, I’ve noticed five specific “modules” or “stages” I find myself working though from start to finish:
- Intake and Research
- Synthesis and Connection
- Response Formulation
- Examination Study
- Long-Term Knowledge Preservation
You can likely visualize the stages in much the same way as a course calendar.
First, you read your textbook, attend lectures or webinars, and discuss new technical material with other students.
Second, you take your findings and new technical material and process everything with the most powerful computer in the world: your brain. This step entails finding new connections in the material and improving your breadth and depth of the subject matter.
Third, you generally have to submit assignments throughout a course, requiring you to showcase your Stage 2 connections in the form of a written response or quiz. Transitioning from synthesis and connection to written response is a critical step in the learning process.
Fourth, you generally have to study for a single examination at the end of a course. This examination usually tests all of the subject matter within the course and requires a broader array of general study and intense practice of concepts and technical material.
Fifth, it’s imperative to ensure long-term comprehension of what you’ve learned through the course. It’s very easy to cram for an exam, brain dump when under exam pressure, and forget everything you studied in the week after the exam. But in order to ensure you’ve learned the skills offered within the course, you must ensure you store the knowledge in some way for long-term use.
All the requirements for each of these stages can be met with an iPad, an external keyboard, an Apple Pencil, and the appropriate app choices. Some people will like specific apps more than others, and other people will have a tighter or looser budget to enable more app choices. Though there is no definitive “best” choice for any of these stages, there are apps that work better than others, and I’ll attempt to highlight them accordingly.
With the right tool choices, you can efficiently absorb the material, connect your thoughts, write and submit responses, study using the most effective methods, and store your learning for the long run.
Let’s dive in.
The Sweet Setup Staff Picks for 2022
We spend an inordinate amount of time sorting through hundreds of apps to find the very best. Our team here at The Sweet Setup put together a short list of our must-have, most-used apps in 2022.
Intake and Research
Educational delivery today may be comprised of entirely different elements than what I’ve experienced over my 11 years, but there have been three major ways to discover and learn new material that I’ve come across:
- Lectures and webinars
- Textbooks and technical material
- Prior learning
Lectures and Webinars
Lectures consist of the standard in-person sitting where you listen to an accomplished professor or facilitator discuss a topic. Webinars are, in my experience, the exact same thing as a lecture, just delivered in a remote format.
Lectures and webinars can be absorbed in a number of different ways, and each person will find methods that work best for them. No matter your preferences, the iPad and the App Store have tools to help you learn.
For lectures and webinars, I prefer to type my notes. Most people can type faster than they can hand write, allowing you to move back and forth between note-taking to listening as fast as possible. After all, the best facilitators provide commentary that supplements your textbooks, so it’s essential to listen to their commentary.
I have found great success in using either Craft Notes, Notion, or Roam Research for this type of intake. Any note-taking app that works in Split View alongside your textbooks or technical material will do, but Craft, Notion, or Roam Research provide extra features for synthesis, study, and long-term preservation that note-taking apps like Drafts or Ulysses are unable to provide.
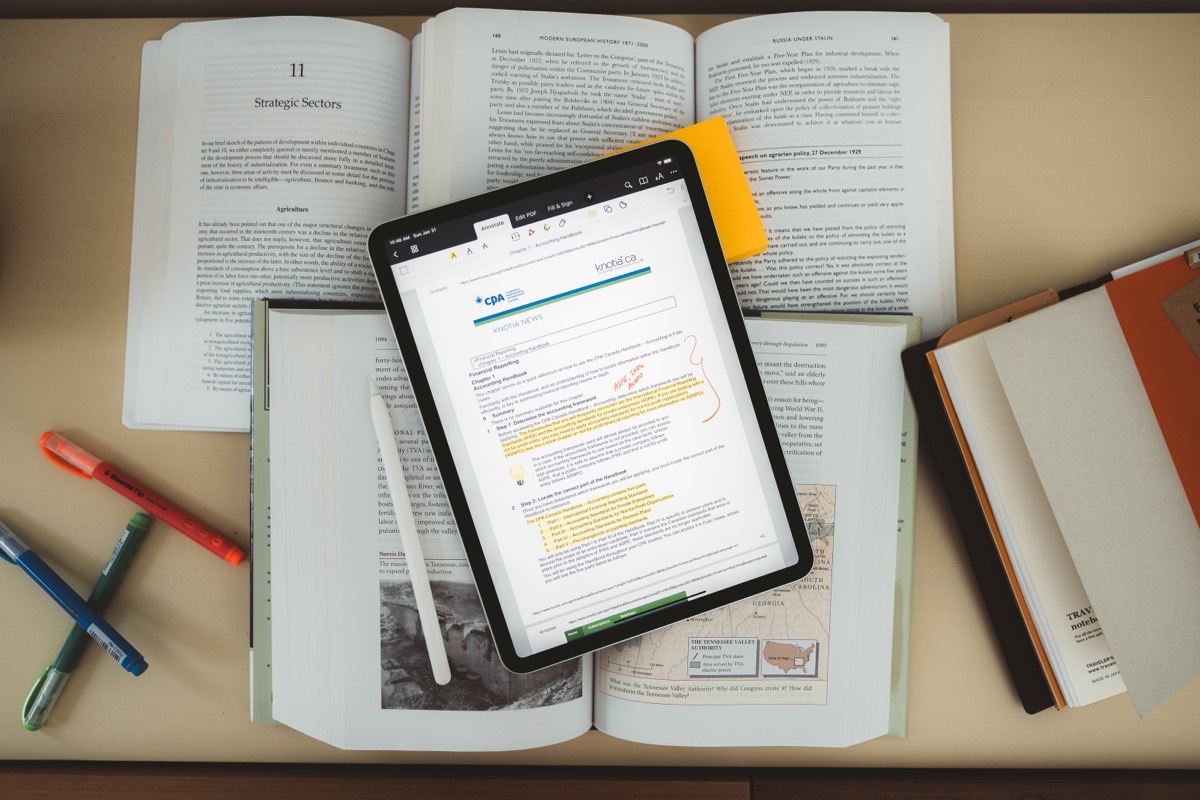
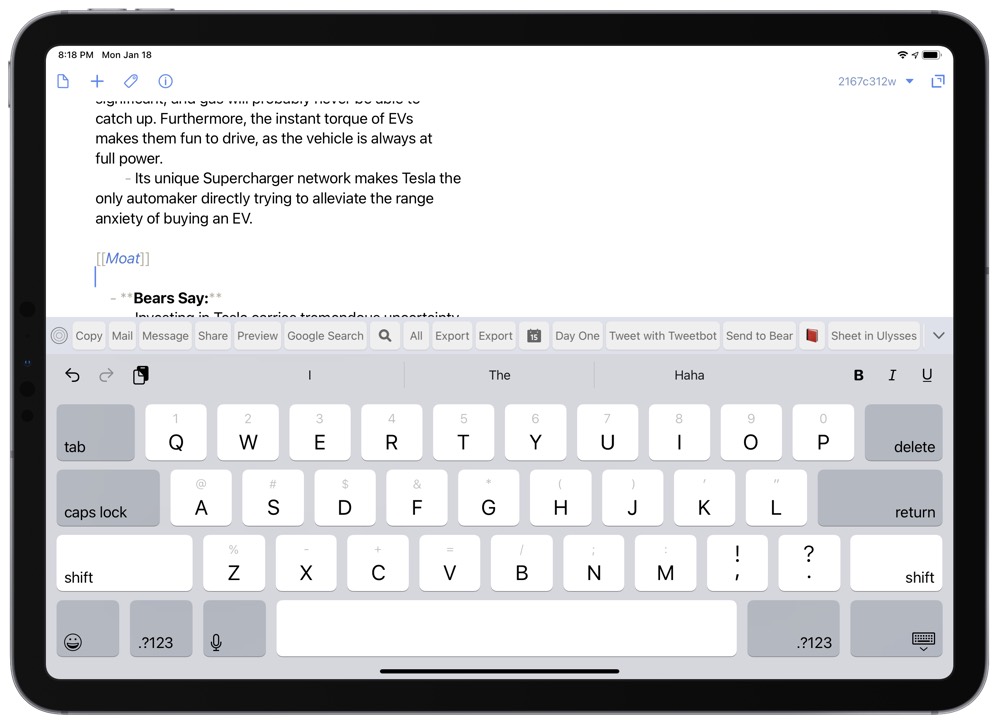
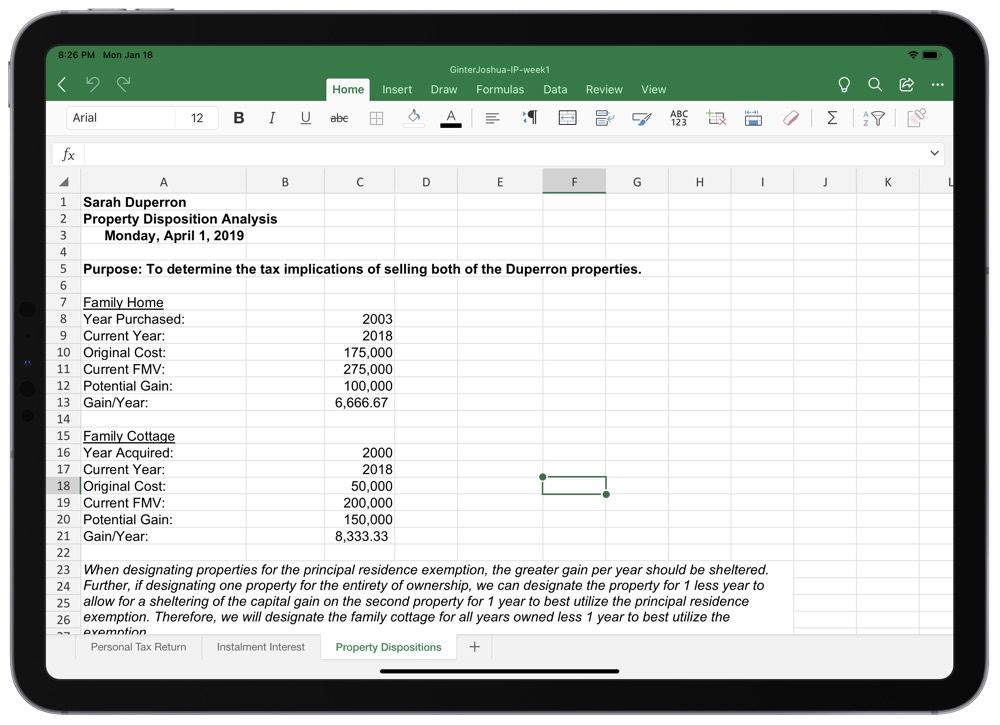
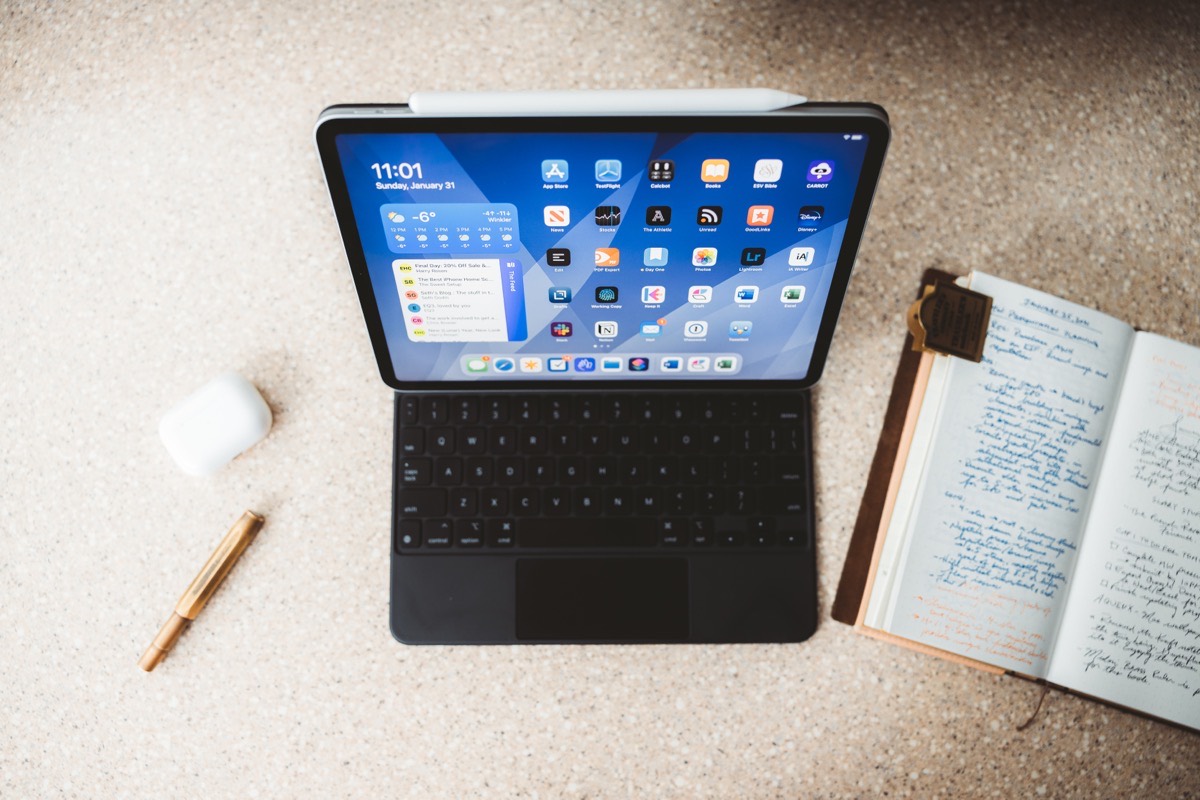
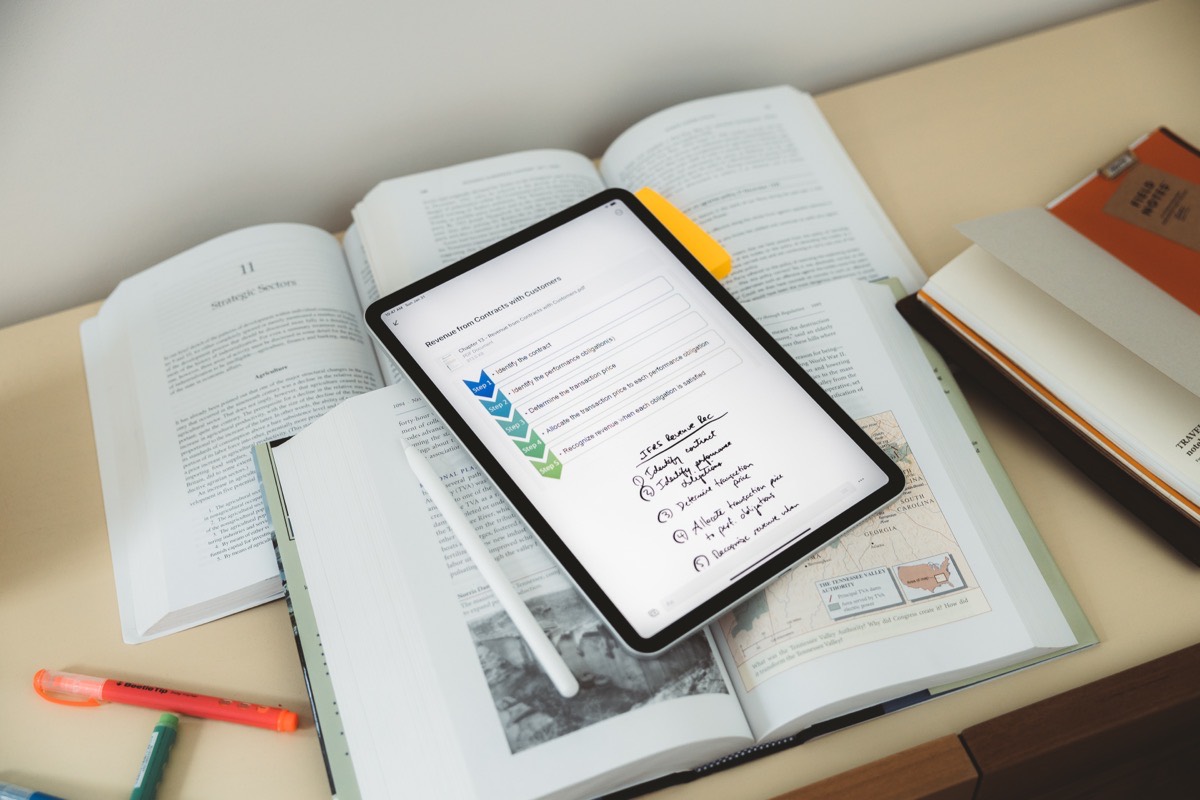
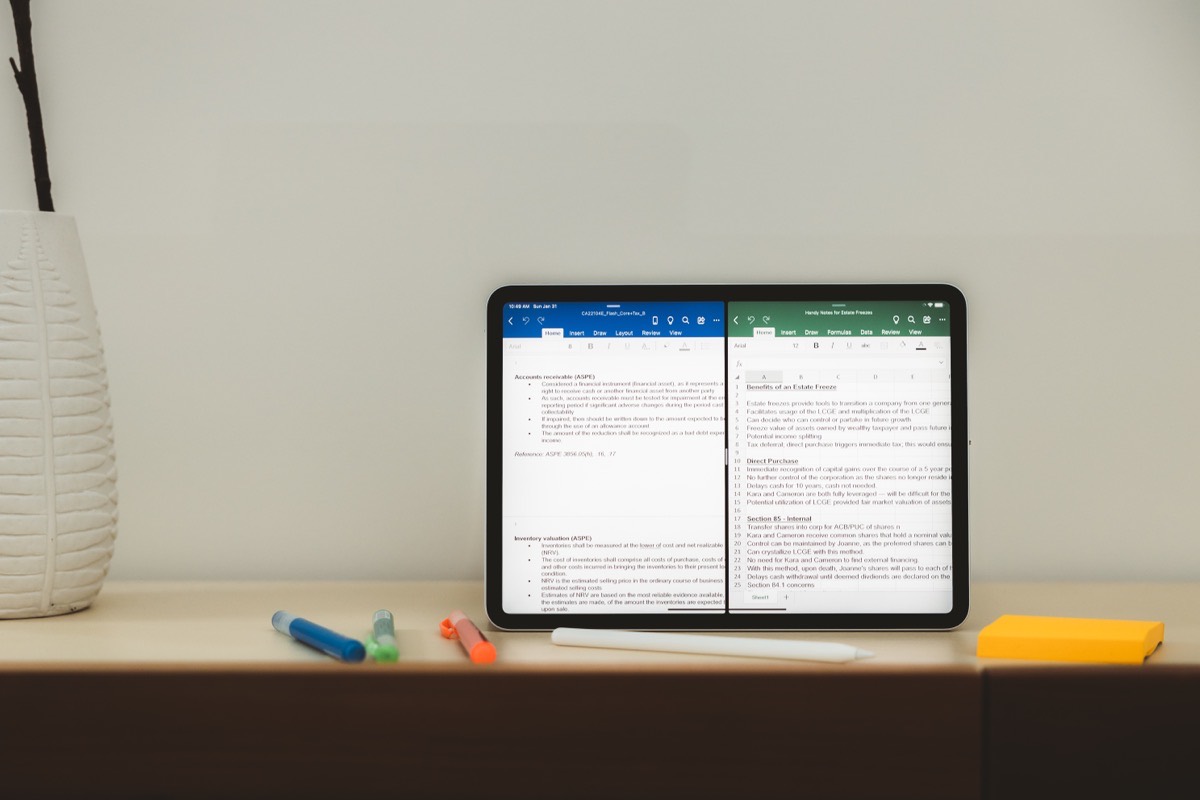
My iPad generally looks something like this when attending an in-person lecture or webinar:
Having your typed notes available quickly alongside technical material that can supplement the professor or facilitator’s commentary will greatly improve your initial comprehension when discovering new topics and material.
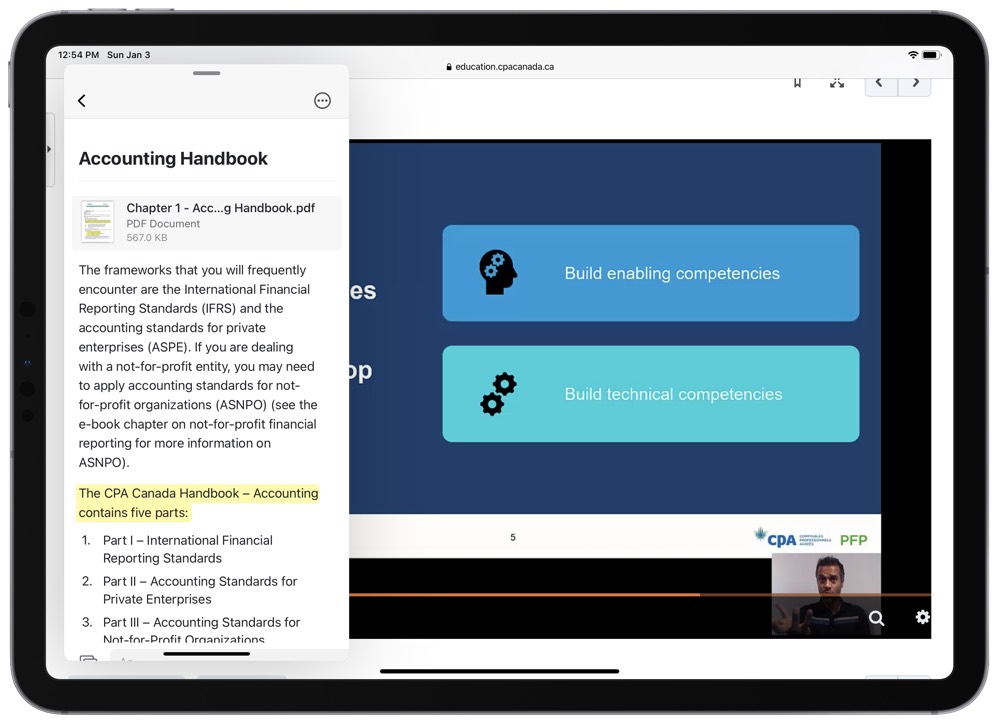
And thanks to the iPad’s desktop-class Safari, you can now properly watch a webinar on the iPad while taking notes in either Split View or Slide Over.
For those students who find research to be a fundamental core to learning or for formulating responses, I recommend Roam Research. Roam’s connective-thinking features are far superior to apps like Notion and Craft at this point and are likely to unearth new connections later on in the synthesis and research phase of learning. Arts degrees (my first degree was an Arts degree with a major in History) are likely to greatly benefit from an app like Roam Research. My accountancy studies (a bit more technical in nature and less reliant on connective thinking) have tended more towards block-based apps like Notion or Craft.
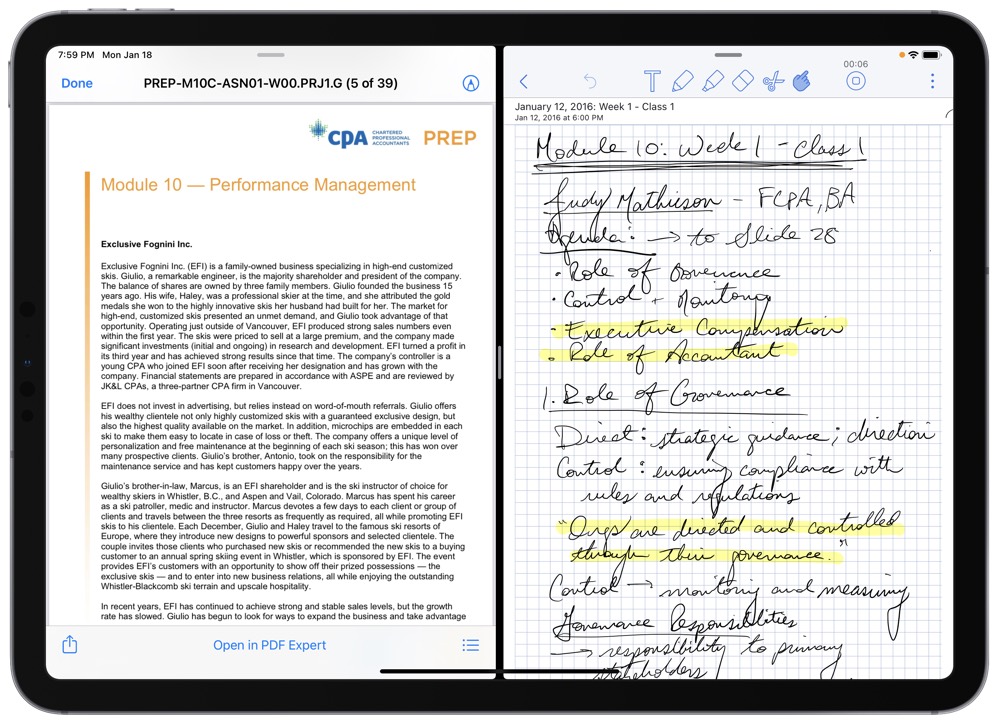
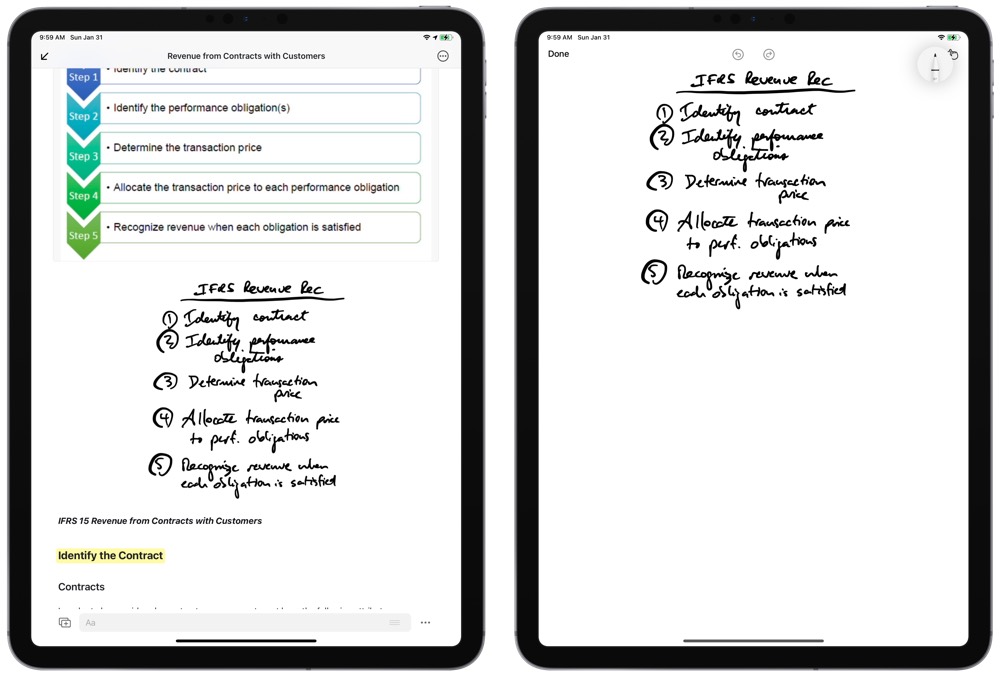
Of course, you can also take handwritten notes and capture audio snippets of the lecture, if you prefer. For this, I recommend Notability. Although our favorite app for taking handwritten notes on the iPad is GoodNotes, Notability combines a great canvas for handwriting with a handy audio capture functionality to link audio snippets to your handwritten notes. Combine this with PDF Expert or Files.app in Split View and you can capture all sorts of notes at the same time.
Textbooks and Technical Material
My textbooks have been PDF-specific for five years now, so I can only speak in this regard. If at all possible, I recommend attaining a digital copy of your technical materials and textbooks — this will save an immense amount of scanning time and, most importantly, will provide the ability to search your technical materials from a simple search field.
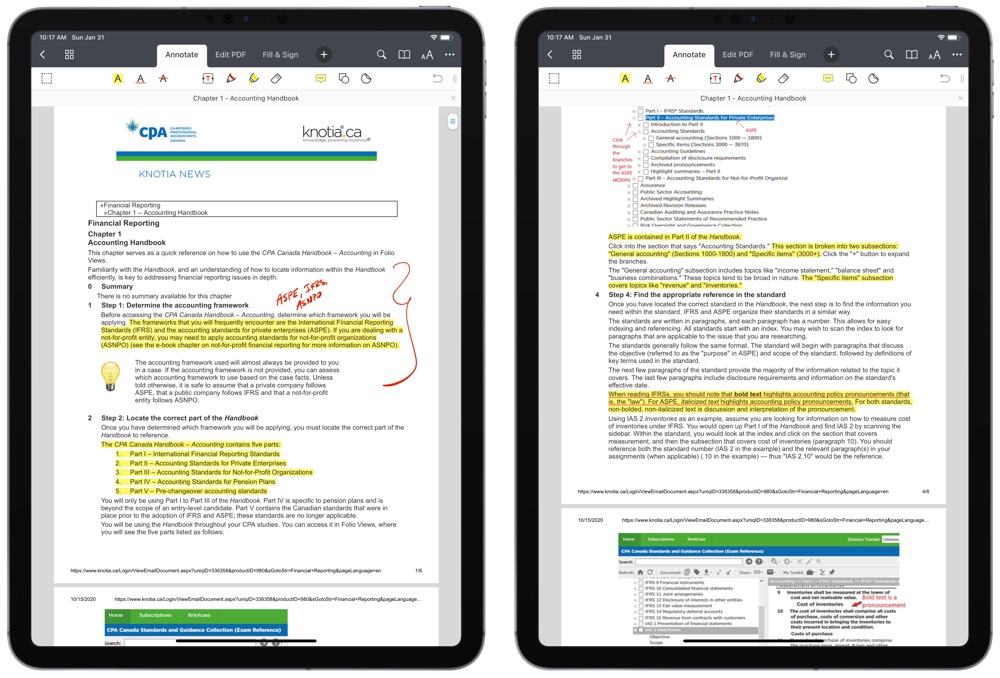
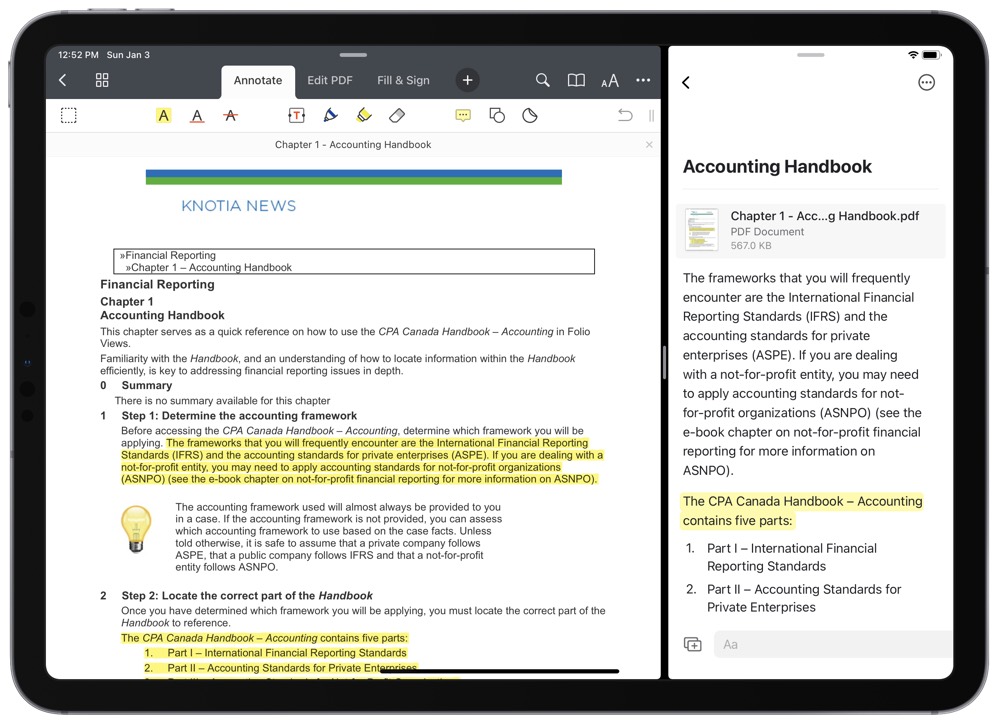
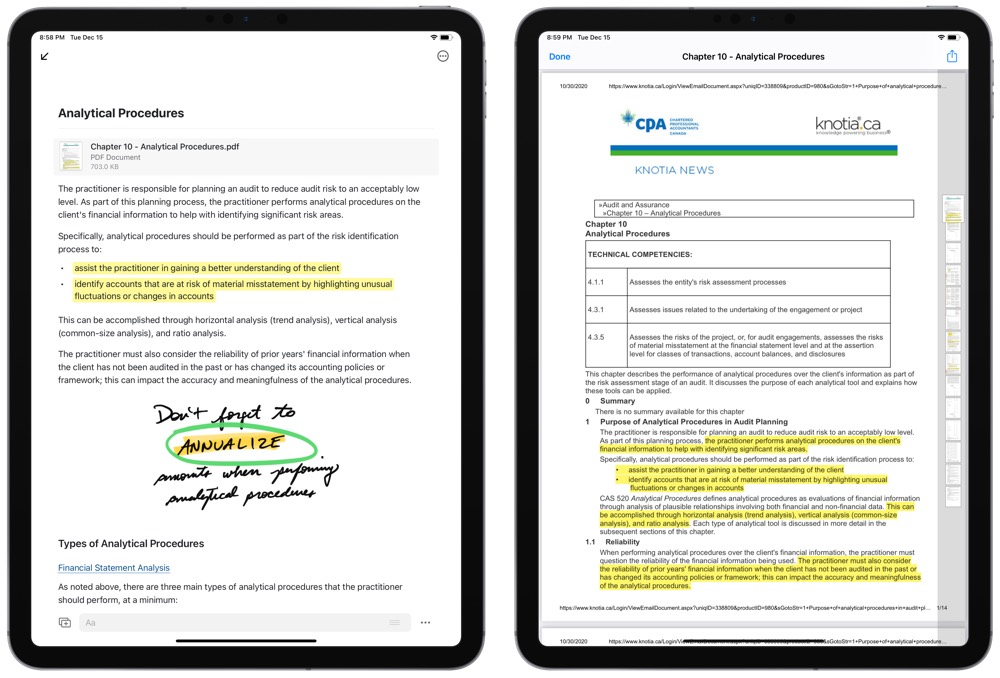
Regarding PDFs, I have found no better app than PDF Expert on iPad. PDF Expert is free on the iPad if you make minor edits (like underlines, handwritten annotations, and highlights) and you can pay an annual subscription fee if you need to edit PDFs further than that. In my experience, I’ve never once felt a need for something more than PDF Expert’s free tier.
For me, the two fundamental features required for any PDF app for iPad are Apple Pencil support and the ability to highlight text. The faster I can highlight text with the Pencil, the better the app. PDF Expert is the king at underlining and highlighting text, and the app’s Apple Pencil support allows for quick highlighting of entire paragraphs if needed.
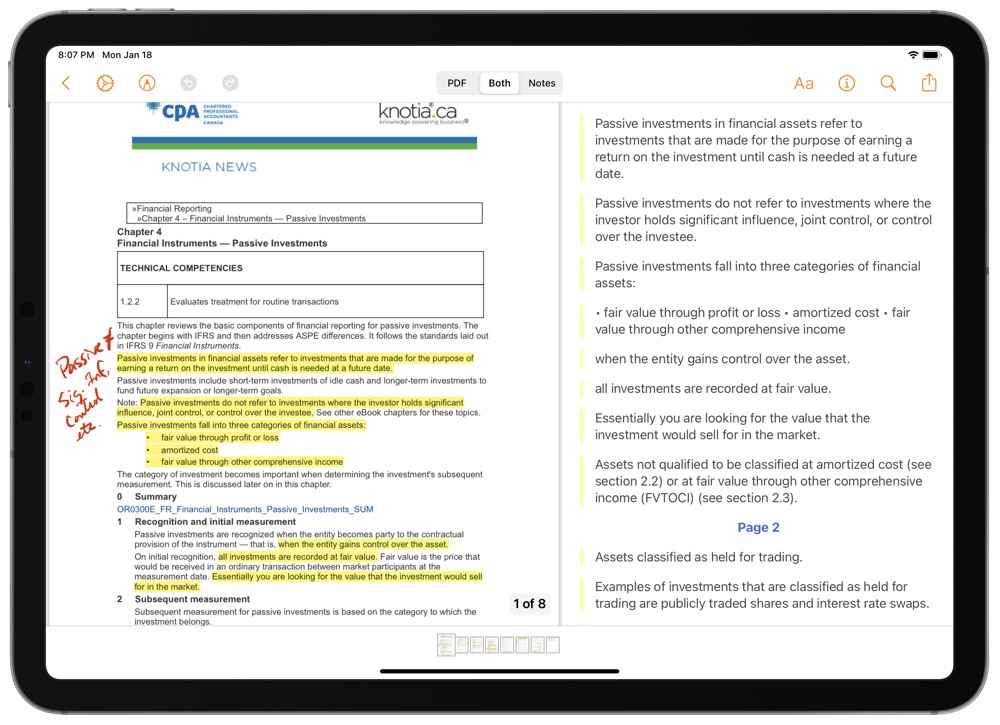
You could also consider Highlights, a PDF app for iPad that showcases all your highlights in a view beside the actual PDF. My issue with Highlights is the speed at which you can highlight text — there are a few extra steps and confirmations before you can highlight text. This hiccup puts PDF Expert at the top of the list for me.
Prior Learning
In your early study days, “prior learning” may be limited or even non-existent. Rest assured, an appropriate workflow right from the start will ensure you have any and all of your prior learning and work ready and available at a moment’s notice.
After 10 years of doing this, I return to old work a lot. Having quick access to those old assignments, old notes, and old studies has been fundamental to cutting down time on current notes, assignments, and studies.

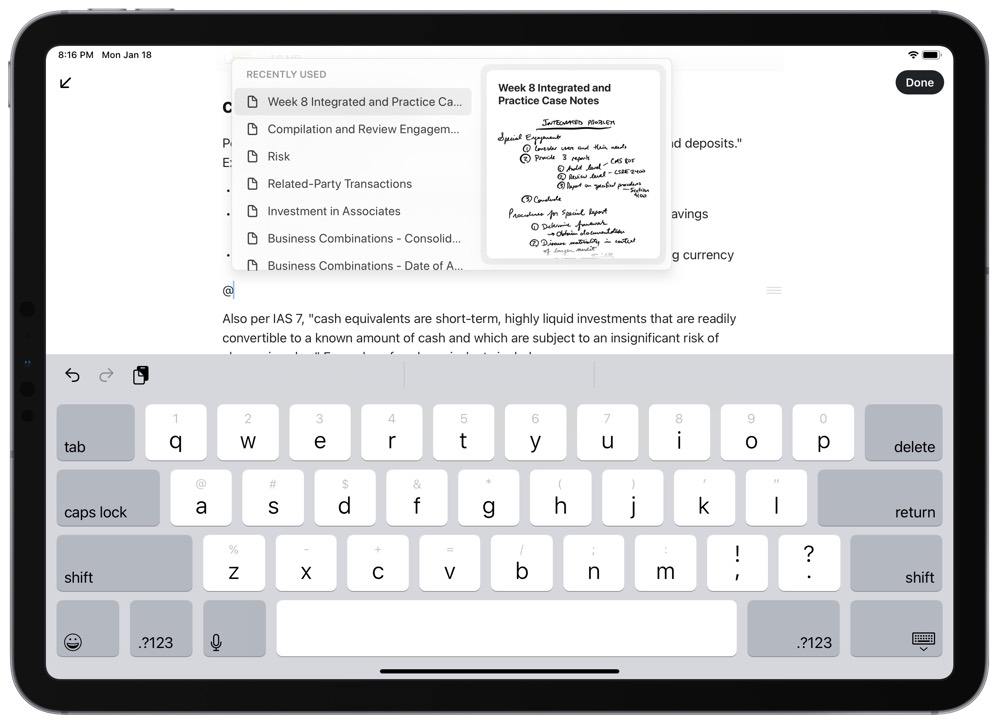
Having your prior learning in a searchable format is fundamental to quick access. Relatively recent iOS improvements like the Files app will enable reasonably fast access to past learning that can be searched right within iPadOS’s Universal Search bar. A quick search for the file name or file folder can quickly open you up to that particular spot in Files, at which point you can dive into a PDF app or other note-taking app from there.
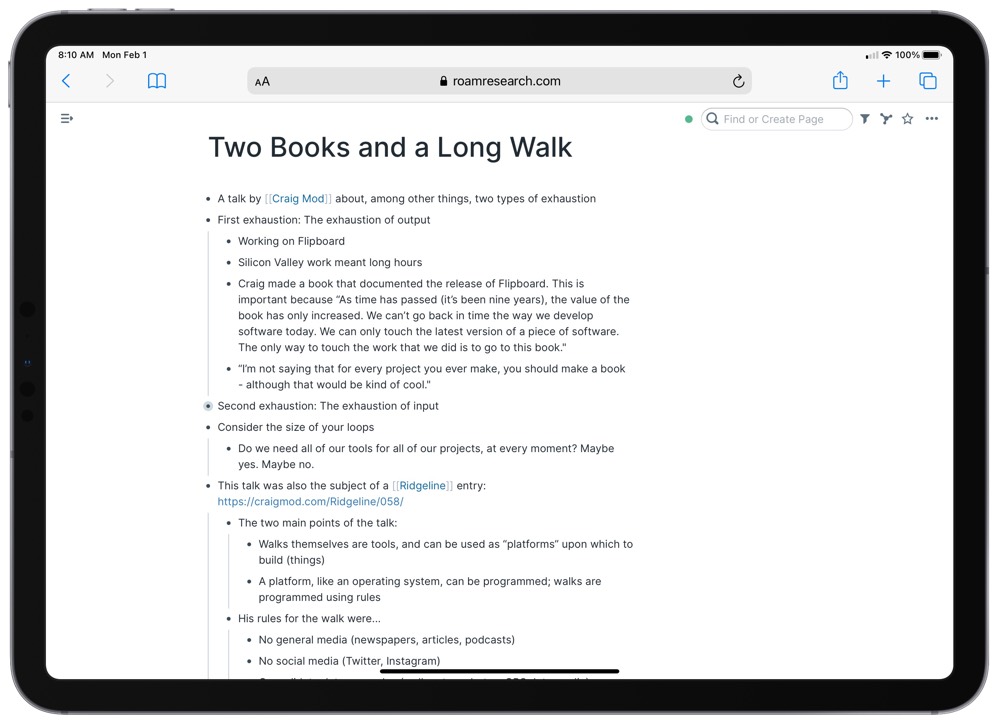
Better yet, if you start your studying workflow with an iPad and specific apps, you can turbocharge your searching. If you house your notes in Roam Research, a quick search query for any term within any note in the search bar will surface results from anywhere in your database. Searching inside Craft is, in my experience, a little less reliable than searching inside Roam Research, but search results are generally useful after an alteration to my search query. Unless you’re under a time limit, searching is extra powerful if you keep all your learning in one spot.
The Sweet Setup Staff Picks for 2022
We spend an inordinate amount of time sorting through hundreds of apps to find the very best. Our team here at The Sweet Setup put together a short list of our must-have, most-used apps in 2022.
Intake and Research — A Summary
An oft-cited quote that never goes wrong:
Those who fail to plan, plan to fail.
Intake of technical material and commentary from professors and facilitators is the first step along a long and winding educational process. Ensuring you take your materials in consistent, searchable, efficient, and effective structures will be key to efficiently working through the rest of the workflow.
The iPad is capable of capturing, storing, and unearthing all sorts of media and data. Using the right apps, you can capture audio commentary from a professor while taking handwritten notes and while having the technical textbook available on screen. Only the iPad can do this and maintain the ultimate level of portability to keep your backpack at bay.
I personally think the “Intake and Research” step is the most fundamental to this entire studying workflow. As long as you have your notes and material in the right spots, you can put them to good use later on.
Synthesis and Connection
After you’ve attended a lecture or have worked through your textbook readings, it’s time to start making connections, synthesizing information, and coming to a comprehensive level of learning. This is best done by decreasing the amount of time it takes to unearth connective information and to increase the amounts of information you can connect.
Put another way, you can alleviate a lot of this synthesizing and connective thought by putting lots of the grunt work onto the software and allowing your brain to do the really hard work.
Connective Thinking and Note-Taking
Connective thinking, to me, is a deeper, more comprehensive level of knowledge. Technical knowledge of a topic would suggest you know that the sun will rise in the morning, or that A-squared plus B-squared equals C-squared. Comprehensive knowledge is knowing how sunshine impacts life on planet earth, or how right triangles can form strong structures when used in tandem.
Comprehensive knowledge should be the goal in all your learning, and understanding deep connections between topics is the key to comprehensive learning.
There has been a recent phenomenon in connective note-taking apps. The rise (rebirth?) of backlinks has been tremendously powerful for connective thinking and deep learning, allowing you to use the power of a computer to offload connection-finding from your brain. Roam Research is the major app that comes to mind when it comes to connective note-taking and backlinks, but backlinks are available in a variety of apps on the iPad these days.
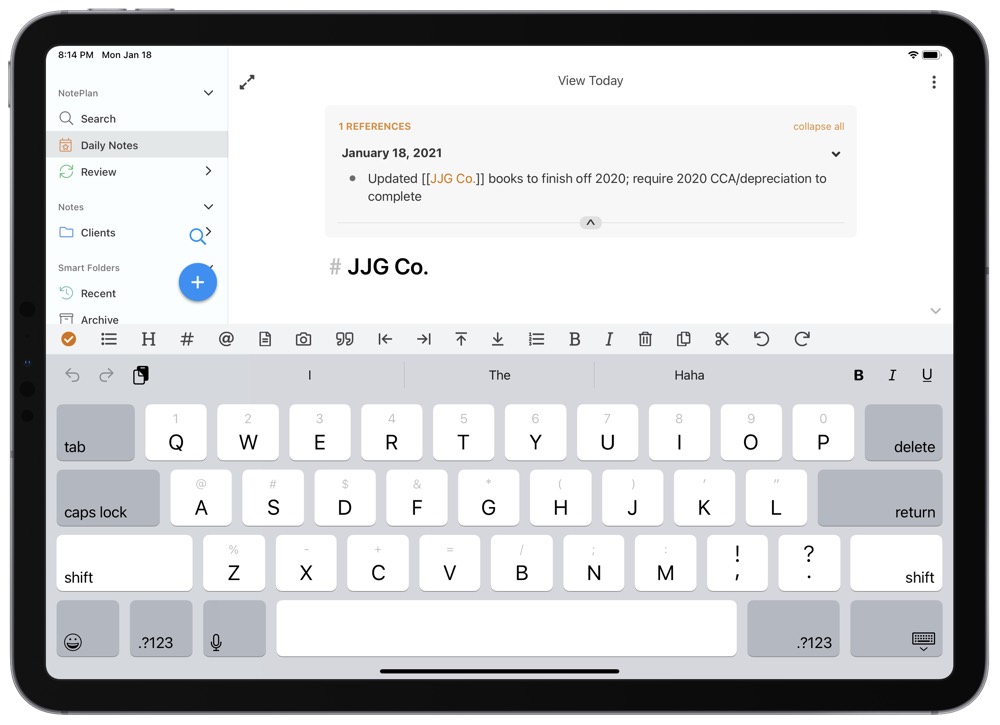
Apps like NotePlan 3, Craft, Notion, Drafts, and others provide back-linking capabilities to ease the ability to jump from connected topic to connected topic and allow your brain to reach new levels of thinking.
This synthesis and connection building step is fundamental to the learning process and is a key factor as to why I suggested any of the apps above to house your notes and learning right from the start. If you start taking your notes in an app like Roam Research, Craft, or NotePlan, you can harness the power of multiple input types (like drawings, or PDFs, or screenshots, or typed text) and have connective thinking features for further down the learning workflow.
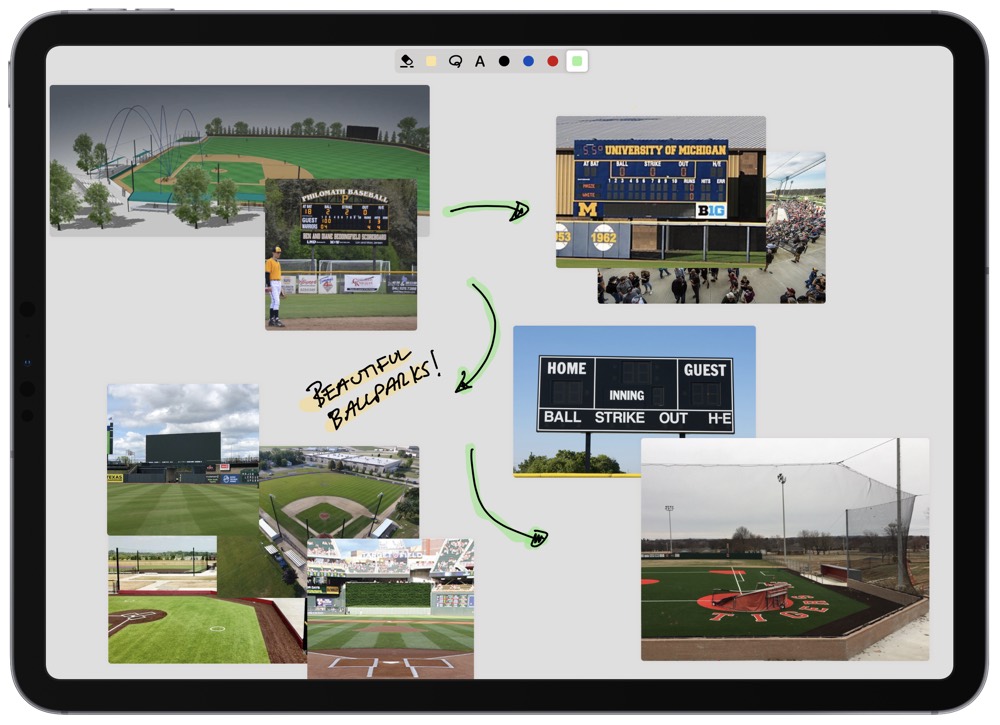
There are visual and mapping apps to help synthesize learning as well. I’ve grown to enjoy Muse, an app built on cards that can be moved around, manipulated, and written on with the Apple Pencil. Once you’ve completed your mind map in Muse, you can export the entire canvas as a PDF that can be inserted inside your knowledge repository like Roam Research, Notion, or Craft.
Synthesis and Connection — A Summary
Despite all the powerful computers in the world, the one inside your head is still the most powerful. Unfortunately, the computer inside your head only has so much capacity and bandwidth before it needs to rest. To most efficiently use that brain of yours, it seems natural to offload other, less processor-intensive tasks to other computers.
All the apps mentioned above, like Roam Research, Craft, Notion, NotePlan 3, Drafts, and Muse provide an avenue for you to offload elements of the connective thinking and comprehensive learning step. The more these apps can do, the more you can exercise your noggin and find the deepest connections between the topics you’re studying.
Response Formulation
To prove your profound and new way of thinking and learning, professors and facilitators provide assignments to test your knowledge. The process of formulating a response to a question and the subsequent receipt of feedback afterwards are the most important part of any learning career. You can read Wikipedia or listen to podcasts all you want — the deepest forms of learning coincide with responding to an assignment, receiving and processing feedback, and teaching others the topic at hand.
Fortunately, the iPad can handle every one of these tasks as well.
Microsoft Office
For at least my entire post-secondary life, the community of Mac and iPad lovers have loved to hate on Microsoft Word and Microsoft Excel. There’s been some reason for this — Microsoft apps haven’t always played well with Apple hardware and Word and Excel have long carried significant bloat from yesteryear. (I myself lost an entire week’s worth of work when using Microsoft Word on the iPad a few years ago. There’s nothing quite like hammering out a week’s worth of work in three hours to meet a deadline.)
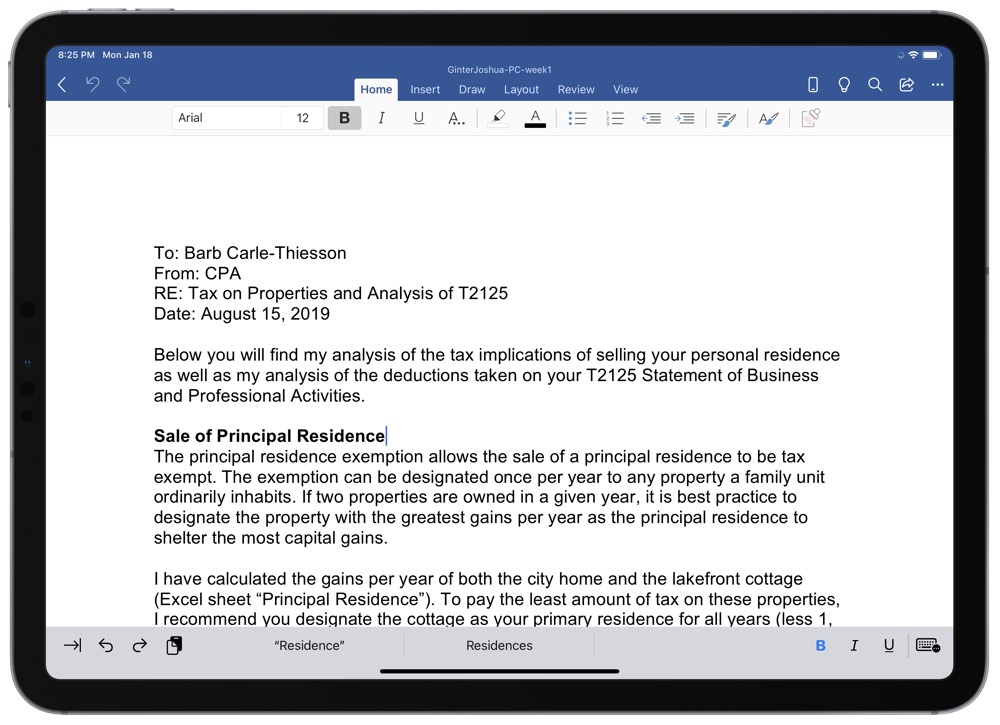
But those days are generally behind us, and Microsoft Word and Excel on the iPad are worthy apps with a healthy following.
In general, the post-secondary world still lives inside that old enterprise software environment. Written responses are always due in Word format, while quantitative analysis inside spreadsheets are always due in an Excel format.
You can choose to fight the Microsoft Office reality, or you can choose to get along with it. Given the amount of stress you’ll find yourself under with actual studying, I recommend giving in, using Microsoft Word and Excel for the iPad, and dealing with the inevitable hiccups along the way. In my experience, there are more hiccups trying to bend other apps to the will of the Word or Excel format than it is to just use Word and Excel in the first place.

Upon completion of your response but before submission of your response for feedback, I recommend exporting your assignment into a PDF format or other accessible format for inclusion in your general note-taking app of choice. Assignments and responses are not end-game pieces — they need to be included in your learning and knowledge system so you can build on what you’ve learned in the future. Exporting as a PDF and importing the document into your knowledge system housed in Roam, Notion, or Craft will enable you to search old assignments in a flash.
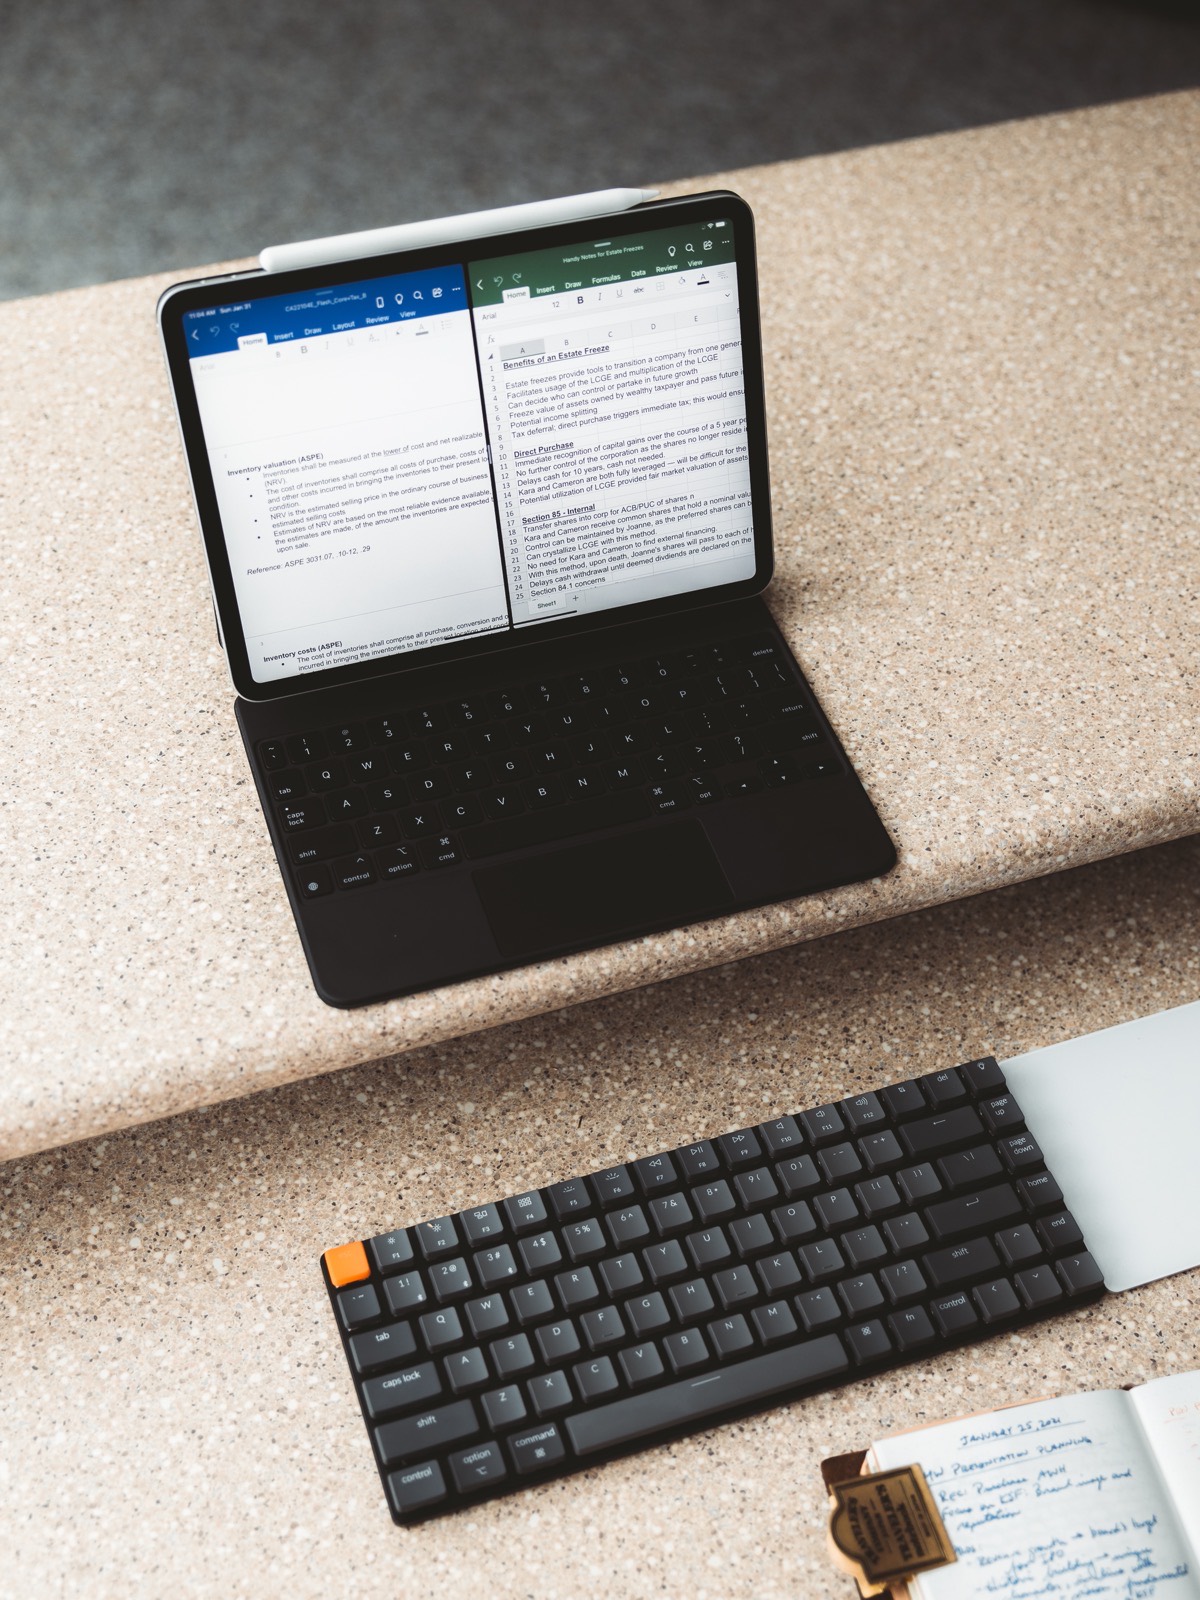
Split View, Multi-Window, and Multitasking on iPad
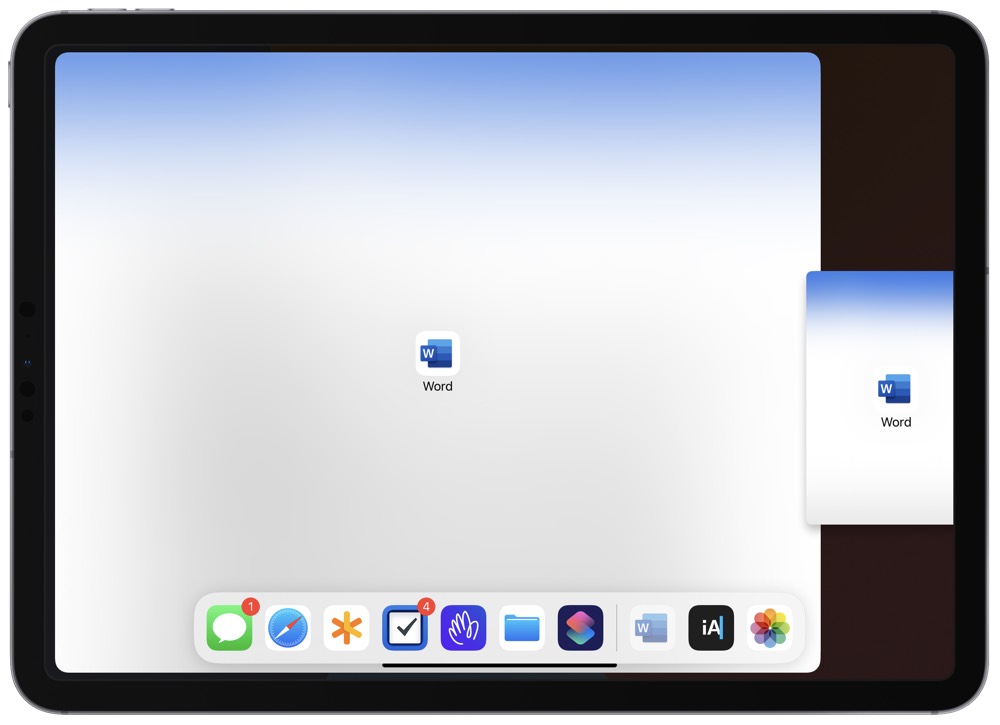
Split View on the iPad marked a major, major step forward in the ability to use the iPad for study and responding. You’ve long been able to use a hardware keyboard and CMD + Tab to jump between apps, but the ability to have two apps on-screen at once quickly eliminated that extra screen-flipping distraction.
For experienced iPad users, Split View will be baked into the workflow. But for new students who have little experience with the iPad, Split View should become one of the first iPadOS features you acquaint yourself with. Dragging an app out of Universal Search/Spotlight (or out of the dock) to the right or left edge of the display will quickly open your studied technical material alongside your response in Microsoft Word.
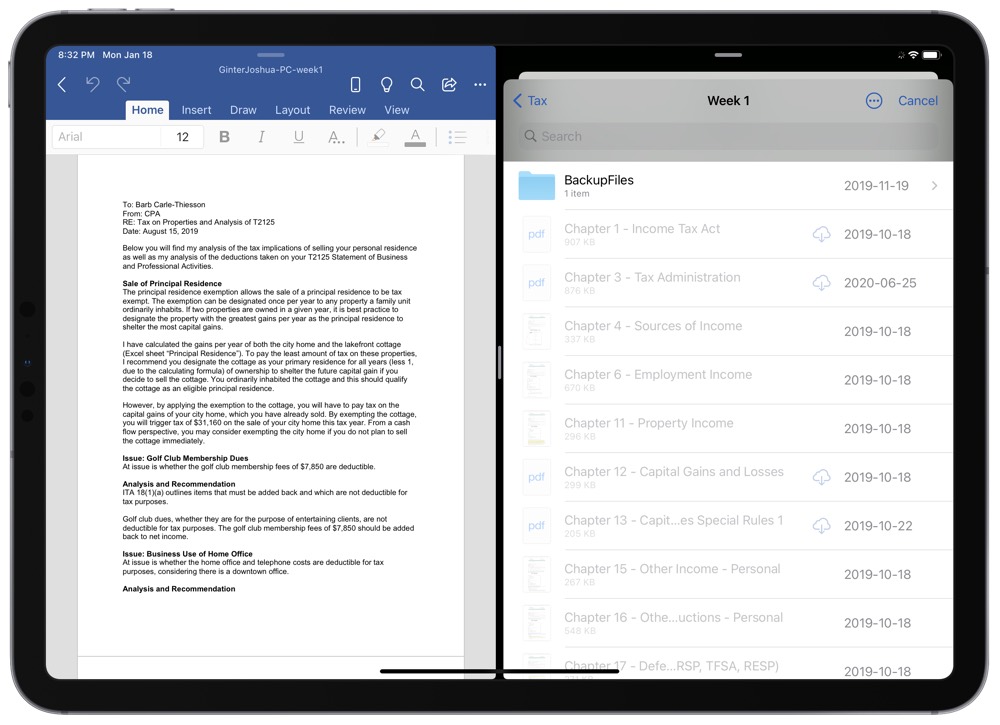
Multi-Window features in iPadOS 13 and beyond have eliminated any impediments to the Split View workflow that I’ve run into. Long ago, I kept my typed notes from each lecture in a Word document. Pre-Multi-Window days, my typed notes in Word couldn’t be displayed alongside a second Word document for an assignment response.

Those days are over as well — you can work on two Word documents, side-by-side, on the iPad.
Using the Files App to Save and Upload Assignments
Another advent of the modern iPadOS operating system is the combination of the Files app and the desktop-class Safari browser.
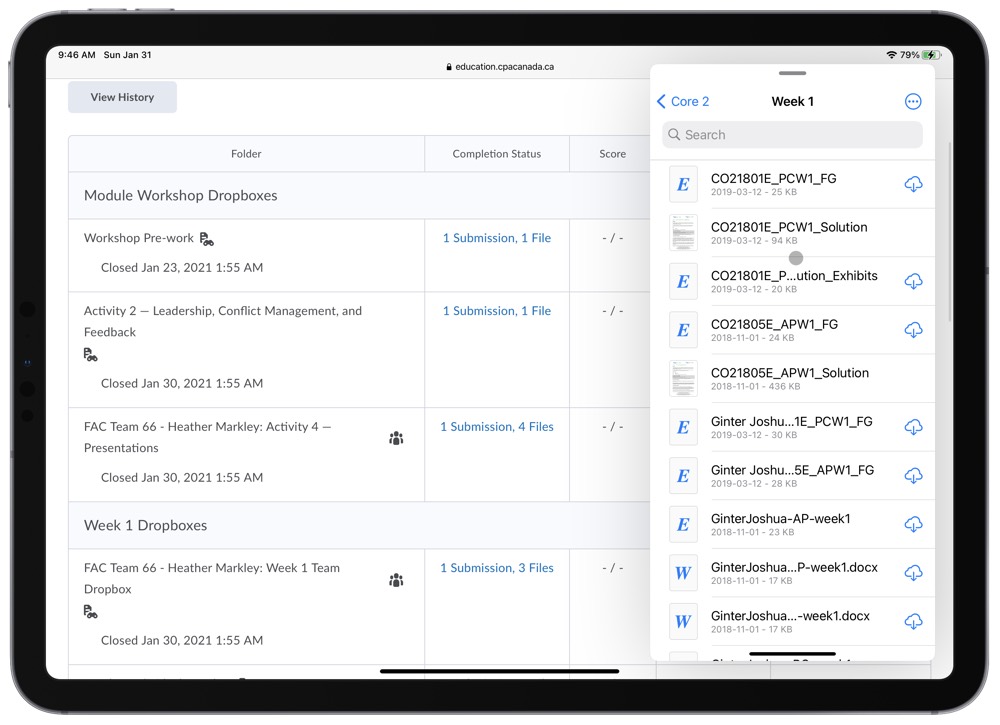
Files behaves much like Finder or Windows Explorer on a PC — you can save your documents, images, videos, and other media in a folder-based structure right on your iPad, or you can save them to a cloud service like iCloud Drive, Dropbox, or Microsoft OneDrive and use the Files app to access your cloud storage structure. Files is very much an iOS-specific version of Finder.
There was a point not long ago where you could not submit assignments from the iPad to the educational institution’s online submission portal. Very often, I’d find myself completing all my work on an iPad only to require someone else’s Mac to upload the final response for feedback.
This is, once again, a thing of the past — using Files to save and subsequently upload files through the improved Safari browser on iPad works much like any Finder-to-Safari workflow on the Mac.
The Sweet Setup Staff Picks for 2022
We spend an inordinate amount of time sorting through hundreds of apps to find the very best. Our team here at The Sweet Setup put together a short list of our must-have, most-used apps in 2022.
Hardware Keyboards and Accessories
I simply don’t recommend writing 10-page responses on the iPad’s software keyboard with your neck cranked in the least ergonomic position possible. I’ve tried and it utterly sucks.
There are a few great accessories that I have to recommend to any iPad-toting student. I mentioned a few earlier, but here they are again:
- iPad Air/iPad Pro — For all your computing and processing. Don’t worry too much about storage capacity (32GB, 128GB, 256GB, etc.) — digital textbooks don’t eat up too much storage space.
- Apple Pencil — For handwriting and drawing diagrams.
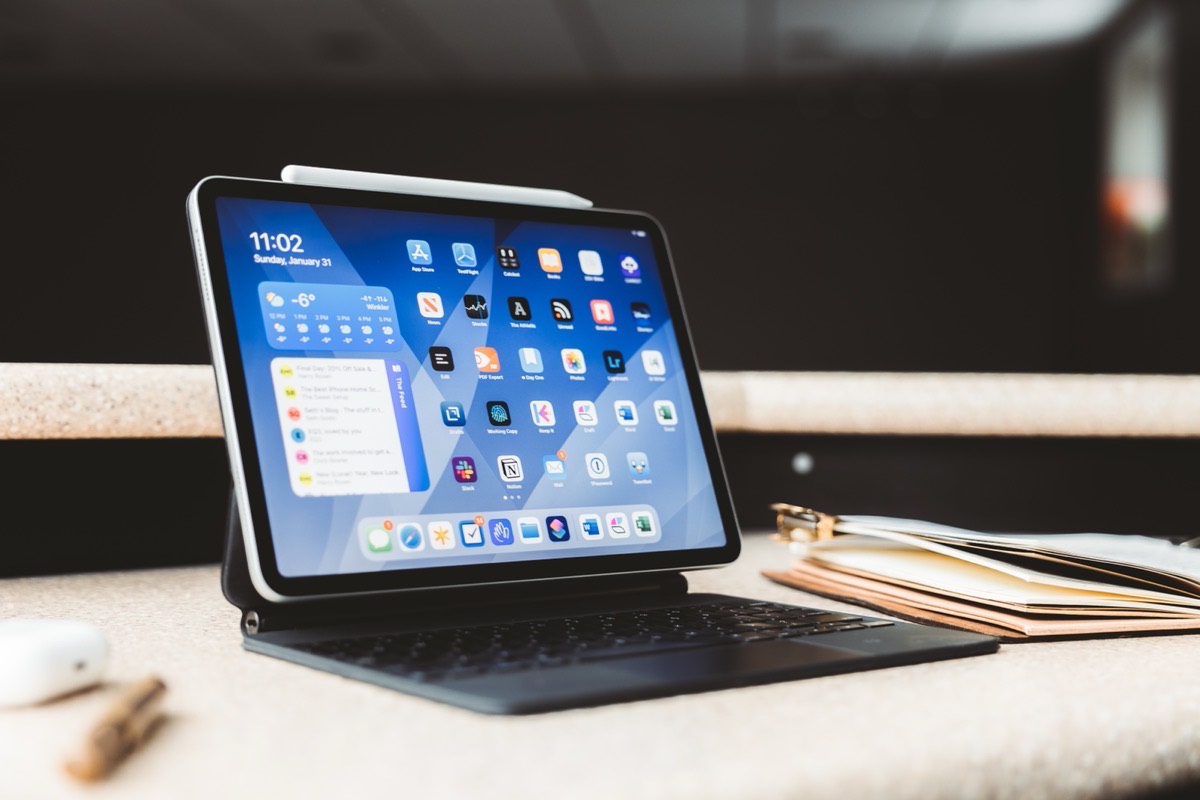
- iPad Magic Keyboard — For typing and using the iPad’s next generation cursor support (though any external keyboard or mouse would do).
- A USB-C display — For improving ergonomics and putting the iPad display up in front of you rather than down in front of you.
- A USB-C hub — For connecting USB-A thumb drives, Ethernet connections, and perhaps the odd USB-A-to-Optical drive adapter.
The iPad is a fantastic writing device thanks to its focused one-or-two-apps-at-a-time user experience, but a hardware keyboard will greatly improve how quickly and efficiently you can write your notes and responses.
Response Formulation — A Summary
I think it’s important to understand that completing assignments and writing exams are not the final step of the journey towards comprehensive learning. It’s not like you need to house all sorts of knowledge to complete an assignment or exam and you can immediately discard that knowledge after you’re done — you need to retain what you’ve learned and connect it to deeper topics to further your learning.
Microsoft Word and Excel are not the end-game apps in this post-secondary workflow. They are tools to help you build your responses for submission. They are tools for exporting your work into a format you can process inside your knowledge management system in Roam, Notion, or Craft. You don’t need to live in them long, but you will need to live in them for at least a little while.
Formulating a response for an assignment is put into place for a reason — responding to a question forces you to learn the technical material, to make connections, and to deepen your comprehensive learning. So where Intake and Research involved putting knowledge into your brain, Synthesis and Connection and Response Formulation build connections and practice retrieval of that information.
It’s this “information retrieval” that is so vital to exam preparation and exam writing. The more information you can retrieve from your brain under pressure, the more likely you are to succeed in an exam setting.
So long story short, use your assignments wisely — they are designed to provide practice opportunities for information retrieval, not as a way to fill time, and make sure a course lasts the entirety of a semester.
Examination Study
If we took the complete time and effort exerted by a student throughout a course, I’d be willing to wager an average of 75% of that effort would be dedicated to exam studying. Preparing for an exam seems to be the topic for students (any quick YouTube search will prove my point; and is also likely due to the weight put onto examinations these days).
Yet it doesn’t need to be.
With proper learning structures, knowledge management systems, and effective efforts exerted leading up to the exam, exam preparation itself doesn’t need to be a coffee-overloaded binge the night before.
Further, this type of last-minute cram studying doesn’t set you up properly for the timeframe after the exam — the time where you need to take your learned skills and use them in the market to earn a living.
Exam preparation is an important step, to be sure — it entrenches connections learned throughout the course and helps fill gaps where you have weaknesses. If done properly, it also transitions you nicely into the long-term, continuous learning stage.
It doesn’t need to be stressful or crammed.
An Introduction to Active Retrieval
One of my favorite videos on the concept of “Active Retrieval” is from Ali Abdaal. In his video “How to Study for Exams”, he discusses how highlighting, summarizing, making notes, and re-reading technical material is far less effective for exam preparation than “Active Retrieval” (or Active Recall).
“Active Retrieval” is defined as:
the method of looking at some information and then testing yourself (either through free-recall or guided recall) to see how much you can remember.
In short, the key to succeeding in an exam setting while under time constraints and under pressure is to practice your ability to retrieve information from your brain. Or as Ali puts it, exams are about taking information out of your brain, not about putting information into your brain.
Watch Ali’s video to understand the evidence behind the effectiveness of Active Retrieval. The results are stunning and point immediately to ensuring our study efforts are focused on information retrieval and not information consumption.
How to Practice Rather than Study
At this point in the learning cycle, you’ve likely taken notes from lectures, highlighted text in your textbooks, saved audio snippets from lectures or YouTube videos, written responses for assignments, and scanned in the feedback you’ve received from your facilitators. You’ve consumed, processed, responded, and consumed some more.
Now it’s time to practice getting that information out of your head.
There are numerous pieces of software available on the iPad to help you practice, if your course material doesn’t provide avenues already. Any method that forces you to recall information will work, but the App Store always has superior ways to handle a task.
Flashcards: Flashcards are a tried and true way for all forms of information retrieval. On the App Store, you can use apps like AnkiApp Flashcards to build out decks of materials to consistently quiz yourself throughout the semester. AnkiApp tracks your performance and algorithmically provides the topics you need to work on. You can add a variety of information to your decks, including formatted and stylized text (in HTML and CSS!) and even photos from your iPhone.
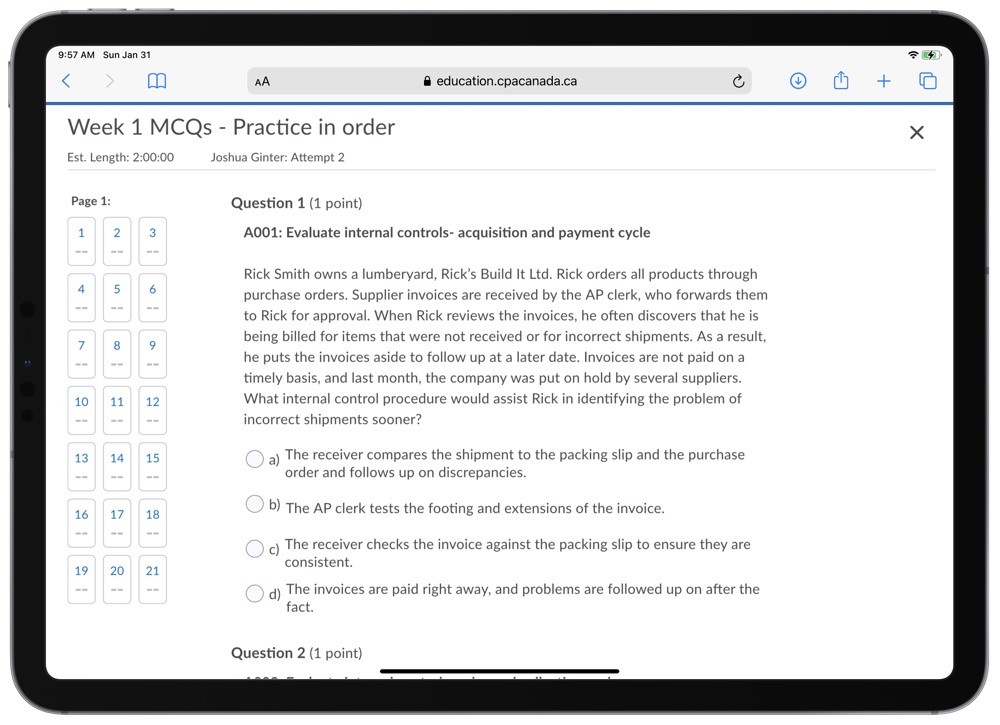
Retake quizzes and utilize all practice exams: If you have access to practice assignments or practice quizzes and exams, utilize these opportunities as fully as possible. Put your iPad into Do Not Disturb mode, put the practice assignment and your Word or Excel sheet into Split View, and work through the problems without jumping into your notes and technical material. If required, ask a friend or family member to put a Screen Time app limit on the apps that house all your technical material so you can only focus on the practice exam or practice quiz. When you’re done, take the feedback provided on your practice effort, put it into your knowledge management system, and continue the process.
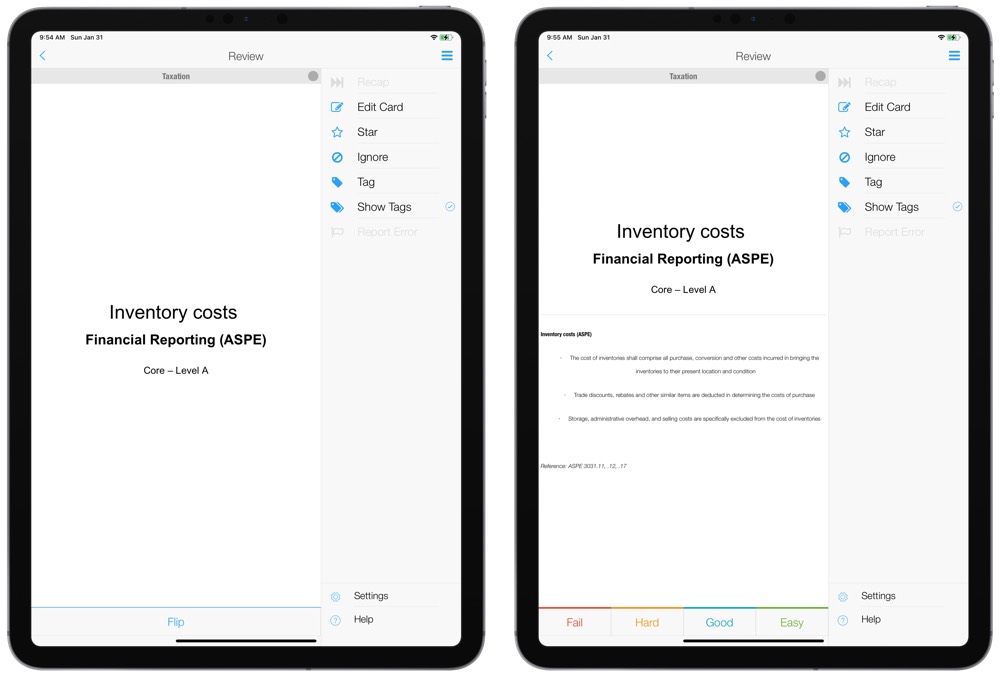
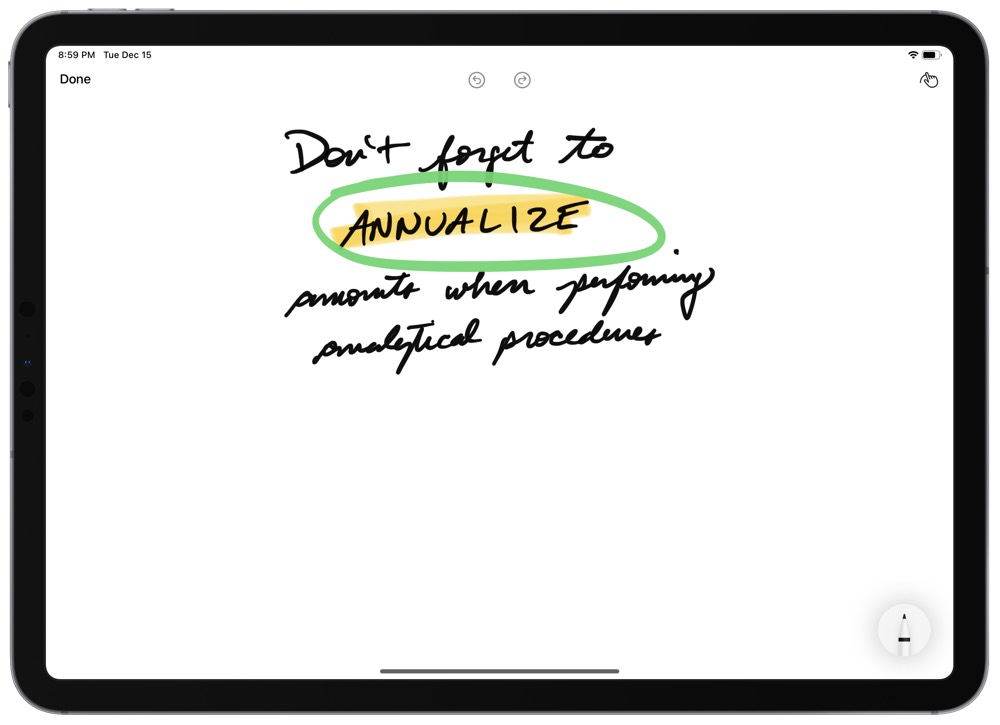
Make notes with the book closed: This is perhaps my preferred method, specifically thanks to block-based apps like Craft, Notion, and Roam Research. In Craft, you can add a drawing block below the material and bring up iPadOS 14’s default Apple Pencil input view. This eliminates all distractions, puts the technical material in a place you can’t view it, and provides an endless scroll of paper on which to write. Once you’re done summarizing the notes with the Apple Pencil in the drawing block, you can save the block and quickly compare your written notes to the technical material block above it. Plus, Craft ensures the handwritten block is formatted beautifully alongside the rest of your typed blocks, ensuring your notes never look haphazard or cluttered.
Exam Preparation — A Summary
It’s fascinating to learn how many people prepare for exams the wrong way, by re-reading, re-highlighting, and re-summarizing the same topic they’ve already consumed once or twice before.
There’s nothing to say that re-reading and highlighting your textbook materials isn’t a good practice. I tend to view them as necessary consumption techniques that provide “triggers” in your brain. When it comes time to recall information, there often needs to be a trigger somewhere in your brain to help you find where you’ve compartmentalized the information. Some people are color-coded people, for instance, and so yellow highlighted text may act as a trigger for a specific topic, while blue highlighted text may act as a different kind of trigger. There’s a certain amount of subjective “you-know-yourself” at play here, all of which shouldn’t disregard the practice of re-reading and highlighting.
But when it comes time to actually prepare for an examination, it becomes time to learn and practice how to recall information.
Consuming information is Step 1. Synthesizing and processing information is Step 2. Recalling information is Step 3.
And of course, once you’ve mastered the material and fully recall any and all information at the drop of a hat, it’s time to ensure you have strong long-term knowledge practices in place to ensure your continued learning.
Long-Term Knowledge Preservation
The fifth and final step — or perhaps the fifth and final circular bubble in the continuous cycle of learning — is the preservation and access to your knowledge base for the long-term. Once you’ve gone through all the work of first consuming, then processing, and then proving your knowledge in an examination, you need to ensure you have what you’ve learned close at hand should you need it.
I find myself accessing old notes and assignments at least a few times each week right now. I’ve quickly noticed how much more useful my old notes and assignments are if I can:
- Find the pertinent information quickly;
- Translate or apply my previous understanding of the concept to the current task at hand; and
- Update my old notes with new information, new standards, or new lessons so I can have the best information available to my future self when I search for the content again.
Finding information quickly will boost your productivity, as you can cut out minutes or hours of extra research work by knowing where to look, what to search for, and have your entire knowledge base at your disposal.
Updating your old notes is fundamental to ensuring the continued learning cycle and to show yourself your long-term growth in the future. I generally get a good giggle at how I thought about things 9 or 10 years ago, but sometimes it’s important to know where you’ve been to better understand where you’re going.
With those two or three major criteria in place, you’ll quickly understand why I prefer Craft these days for consuming, processing, formulating, studying, and, ultimately, preserving knowledge.
Using Craft to Preserve Long-Term Knowledge

I’ve already written here on The Sweet Setup on why I’ve settled on Craft as my app of choice for preserving knowledge. Though there are other apps (Roam Research, in particular) that would likely provide superior and more efficient means at finding information, Craft provides a few other features that make it my app of choice.
First, as of the time of writing, Craft’s harnessing of the Apple Pencil as a strong input tool catapult it to the top of my list. I try to handwrite as much as possible — I tend to remember things I’ve written down at least twice as much as if I’ve typed them. Craft’s block-based format and drawing blocks are ideal for this study method.
Second, though most apps that can highlight text, find connections, etc. also offer great exporting options, Craft’s exporting options are very flexible and provide some added foundation for the long run. First, Craft can export to PDF, Markdown, TextBundle, or Word, the last of which is helpful given the enterprise world’s reliance on Microsoft products. Second, Craft maintains links to external media you’ve inserted in a document. So if you have PDFs saved to your Craft document, the exported PDF of that Craft document will maintain a link to that inserted PDF, ensuring you don’t lose any of your data along the way.
Third, Craft has unique collaborative and sharing features that allow those who don’t even have a Craft account to view and comment on your material inside the app. Once you’ve completed your exams and entered your career, the value others provide to your career becomes immeasurable. Having the ability for others to add to and comment on your knowledge base help put Craft above its competitors in this category.
Fourth, Craft is a native iPhone, iPad, and Mac app, ensuring it takes best advantage of the hardware features of each device. There are new features coming to web apps that take advantage of the iPhone and iPad each day, but Craft being native provides a leg up on competitors in this regard.
These are the main reasons why I have chosen Craft as the app I use for study and preserving knowledge. Craft is a pretty new app and I can’t pretend I’ve been using the app all this time — I’ve opted to move as much of my past studies as possible into the app, and it’s the app I spend most of my time in now that I’m in the last stages of study for a major examination.
Other Apps to Consider
Undoubtedly though, there are other ways to use your iPad and preserve long-term knowledge. I’ve discussed Roam Research and Notion frequently already, though I don’t think Roam’s exporting options (should you need them) are particularly strong.
Other options could include:
Day One: Day One is a journaling app at heart, but there’s nothing stopping you from using the app to house your study material. Day One accepts all sorts of media types, like audio snippets (transcribed audio snippets work very, very well), videos, photos, and scanned documents. And the app has fantastic exporting options, specifically in the fact you could choose to print all your knowledge in a hard or soft cover book. Searching for specific terms and information inside Day One is also a breeze, meaning you could use the app in a flash to bring up some old knowledge for a current task. Day One doesn’t have specific connective note-taking or back-linking features however, which may be a dealbreaker for some.
Bear, Drafts, or NotePlan 3: Each of these represent different takes on note-taking for the iPhone, iPad, and Mac, and each of their own respective all-star features:
- I really like Bear’s tagging functionality, allowing you to whiz through organization of all your notes.
- Drafts is the king of automation on iOS, providing options for you to manipulate your notes quickly and efficiently in your workflows.
- NotePlan 3 does a tremendous job in linking notes to dates, providing you an easy way to bullet journal or track your notes and learning over time.
Each of these apps also has their pitfalls, at least when it comes to this long-term studying workflow:
- Bear doesn’t offer as strong Apple Pencil support as other note-taking apps available.
- Drafts is largely a text-first app, making it hard or impossible to capture non-textual forms of media like audio or video.
- NotePlan 3 doesn’t handle inserted attachments (like photos or PDFs) particularly well, nor are there great exporting options that would work within other systems.
Ulysses: Like Day One, Ulysses could handle a lot of this study workflow. Ulysses excels in its backdoor automation and workflow features, allowing you to quickly capture information from across iOS, iPadOS, and macOS. It’s also a great writing environment and exports to Microsoft Word with relative ease. Again though, I’d like to see improved Apple Pencil support provide handwriting access to my study notes.
Keep It and DEVONThink: I use Keep It regularly to store all my doodads and trinkets of interesting information and I’ve read a lot about DEVONThink on the Mac and iPad. Both of these apps are great for storing information, files, URLs and web links, PDFs, notes, and more. Keep It has a great web clipper, allowing you to quickly create a PDF of any web URL in a flash.
These apps, in my mind, are more geared towards storing information instead of processing information. I could see using Keep It or DEVONThink alongside an app like Craft or Roam Research, as you use the first to store anything and everything and you use the latter to process and formulate the information you’ve stored.
DEVONThink also doesn’t have a great iPad app, somewhat limiting its ability to be a one-stop-shop studying app on the iPad.
Wrap Up
I purchased the first, second, and third generation iPads as they debuted year after year, hoping each year would result in more of my post-secondary studies being transformed. If 2021 Josh told 2011 Josh it would take the better part of 10 years before the iPad reached a stage where I could perform everything on the iPad, I’m sure I would have been astounded.
In ways, it’s frustrating it took so long to achieve this obvious end-game.
In other ways though, Apple has introduced features and accessories that were never part of my initial outlook. I never dreamt of the Apple Pencil, for instance, and how it would combine the ability to hand-write and type on the same device. I never dreamt of apps that could so harmoniously showcase screenshots, highlights, videos, audio snippets, and drawings in one view.
(I also never dreamt it would take me this long to finish my studies. But here we are.)
If I could give new students one single piece of advice, it would be to purchase an iPad, an Apple Pencil, and a Magic Keyboard. Together, this iPad package has eliminated heavy textbooks, kissed chargers goodbye, introduced audio and video recording to otherwise static lectures, debuted digital handwriting to future-proof your handwritten notes, and provided artificial intelligence to help you efficiently study for exams.
The iPad is simultaneously the world’s most powerful educational tool, the most powerful textbook, the most powerful spiral-bound notebook, and the most powerful flash card deck.
Kids don’t know how good they’ve got it these days.
The Sweet Setup Staff Picks for 2022
We spend an inordinate amount of time sorting through hundreds of apps to find the very best. Our team here at The Sweet Setup put together a short list of our must-have, most-used apps in 2022.