How to Use Notion as Your Public Wishlist
I’m gonna be honest. The idea for this article came purely from my own selfishness. My birthday is coming up, and I wanted a better and easier way to tell people what I wanted for my birthday. Because presents are life.
And let’s be honest, Amazon wishlists are great, but they’re not enough. I want things from stores besides amazon.
I’ve come up with a few other solutions in the past — like a shared note in the Notes app — but it had a lot of limitations, and I wanted to take my wishlist to the next level. So after seeing someone share their resume as a public Notion page, my wheels started turning about how I could make an easy to access, organized wishlist. Because again, presents are life. And I want to make it as easy as possible for people to buy me stuff.
In this article, I am going to go over how to create a wishlist and how to share it with others, which can be a bit more complicated and nuanced than you would think.
Let’s dig in.
The Bones of my wishlist page
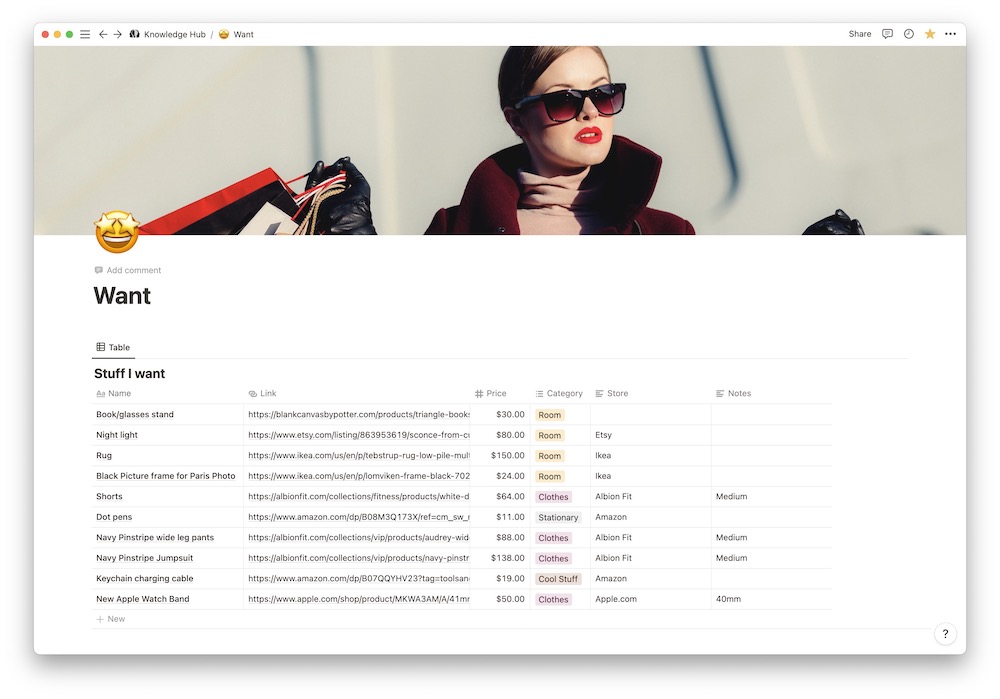
A couple of months ago, I created a page in my workspace called Want. The goal was to create an easy place to keep track of things I wanted to buy. From big ticket items to little things like pens and sticky notes.
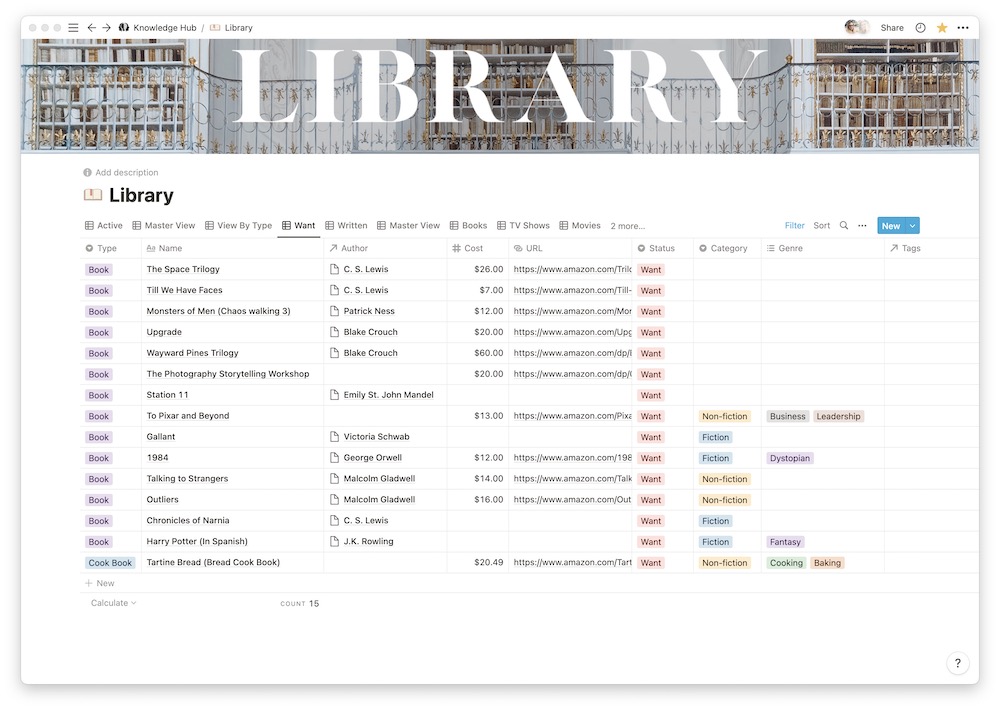
I also have a database called Library where I can keep track of my books and other learning resources, but I also have a view where I see books that I want, but haven’t bought yet.
For my wishlist, I am going to bring those two views into one page that I will make public.
Having pre-existing databases is not necessary to build out this page. You can create a brand-new database or just a simple table. It’s up to you.
I like bringing in my wishlist from my Want page and Library database because I can filter out things that I don’t want on my public wishlist. For example, I can filter out the picture frame from IKEA that I need to get or the random $3 adapters or books I want to get myself.
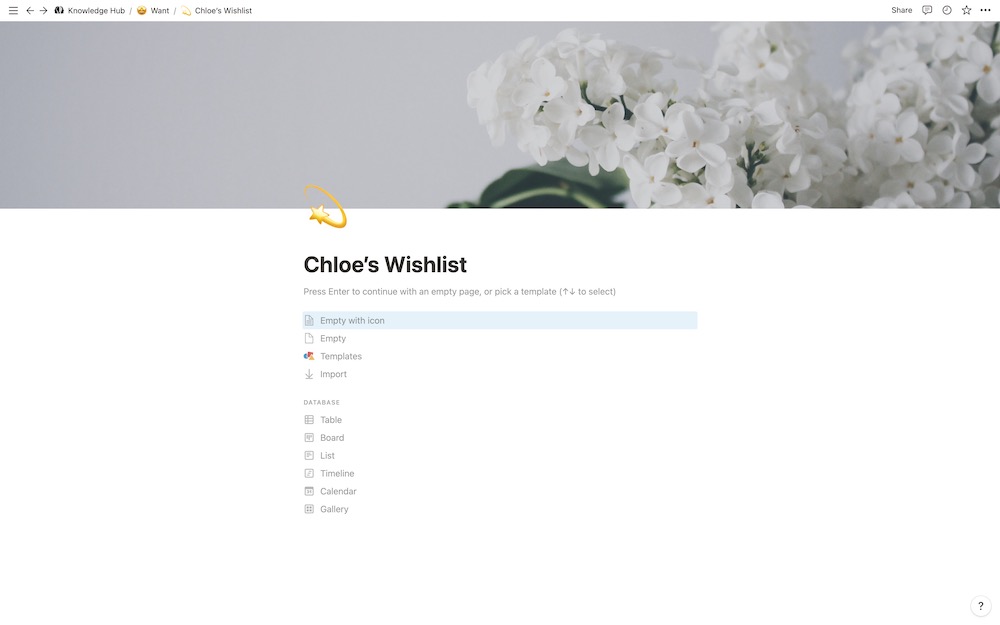
To build your wishlist, you need to create a new page. You can choose where this page should live. I linked mine at the bottom of my pre-existing Want page.
Reminder: to create a new page, you can type /page or press Command + N.
How to build the wishlist page
Once you’ve created the page, give it a name. I called mine Chloe’s Wishlist. Remember the goal of this page is to make it public, so putting a descriptive title with your name on it will make it easier for people to figure out what’s going on.
I added a good icon and cover image. You can always add custom icons and images if you want to make it more personalized.
I added a callout box to add some explanation to the page and make it as simple as possible for those looking at the page to understand what’s going on.
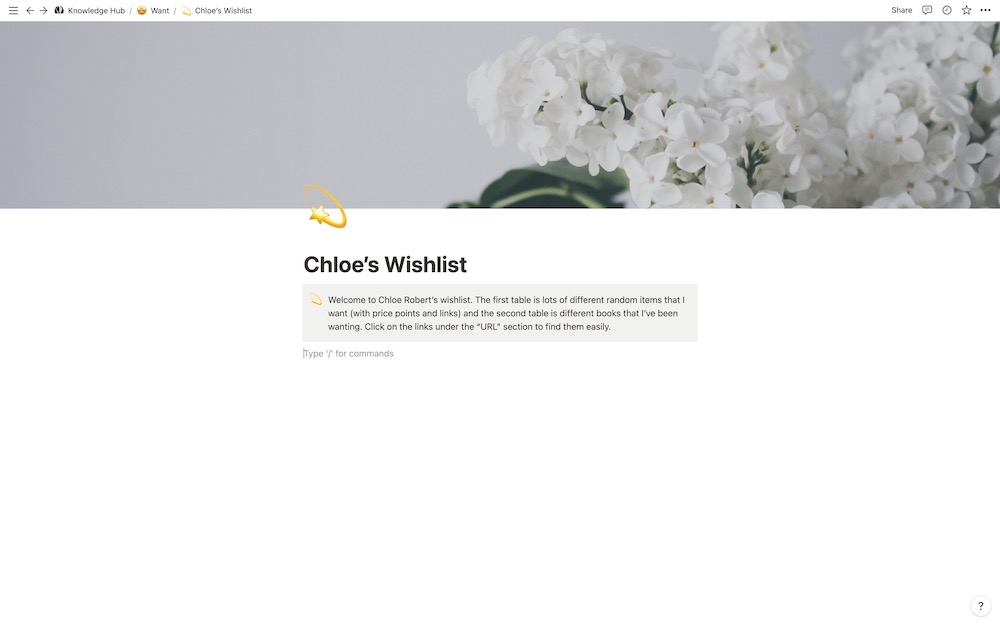
I might (probably will) change the text in the callout box since it’s a bit on the nose, but it’s a good start and you get the point.
Next, I am going to bring in my different databases. Remember, you can create databases from scratch if you don’t already have some. You can also add as much or as little information as you want.
To bring in an existing database, type /create and search for the database you are looking for.
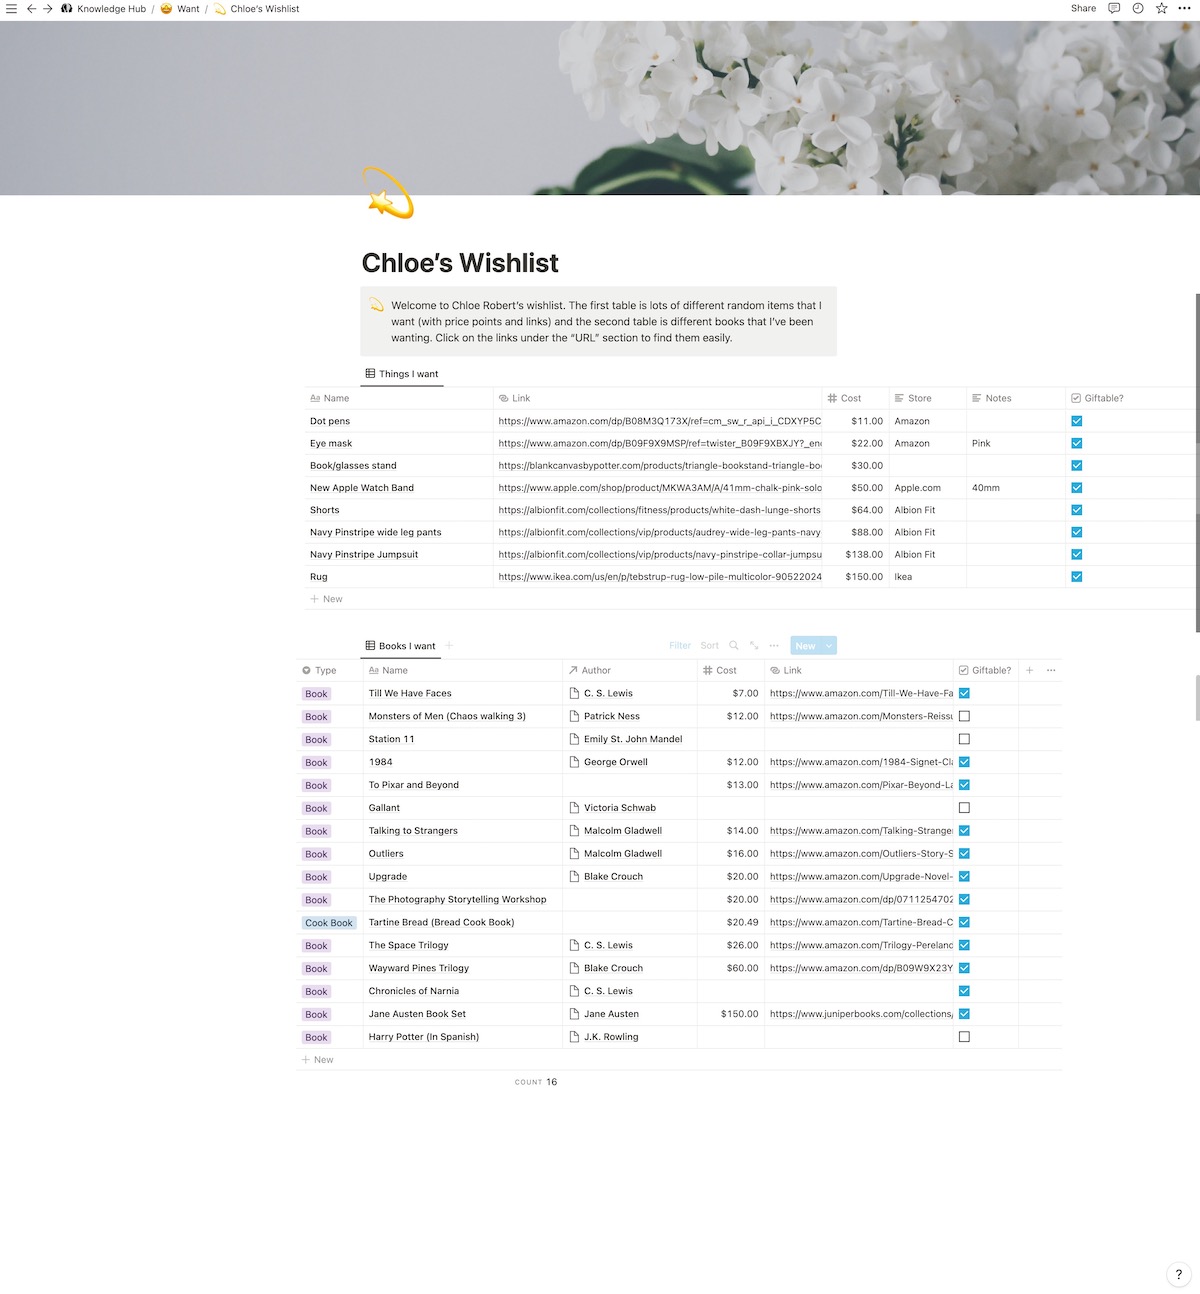
Here’s the basic information I included in each entry:
- The name of the item/book
- The link to buy it (if applicable)
- The price
- Where to buy it
- Any notes (like size or specific color)
- The author (for the book table)
As you can see below, I also have a checkbox called “giftable” (totally stole this idea from Matt Birchler when I read his article on how he manages his life in Notion). This is the property we are going to use to filter the databases.
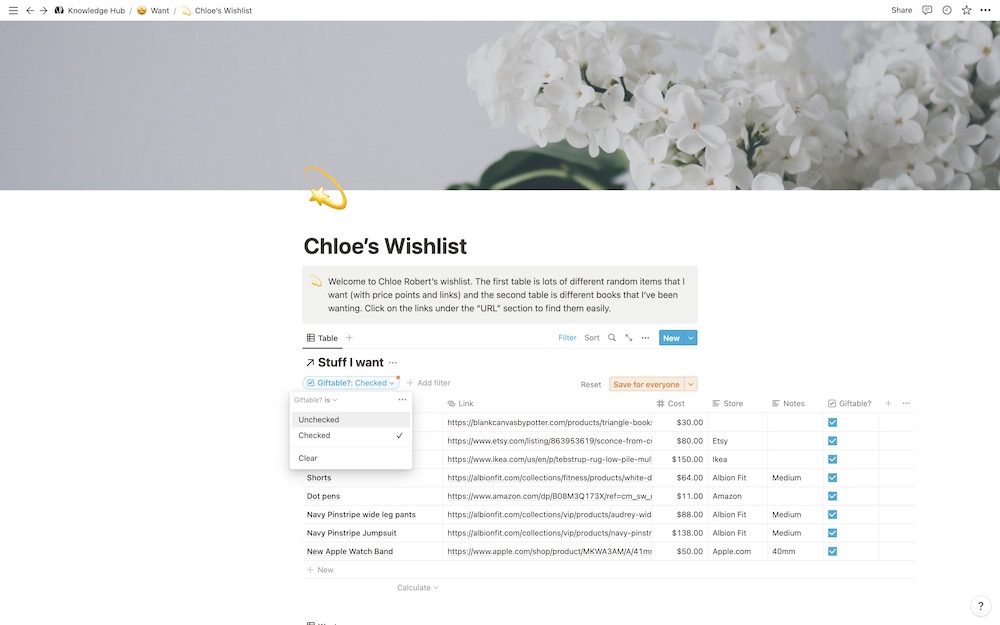
I check the box for all the items or books that I deem worthy to be gifts. To filter all the other things out, just click the filter, choose giftable, click checked, and then Save for everyone. This will now show only the things that you’ve checked as giftable. I added the same filter to my Library database.
Cleaning it all up
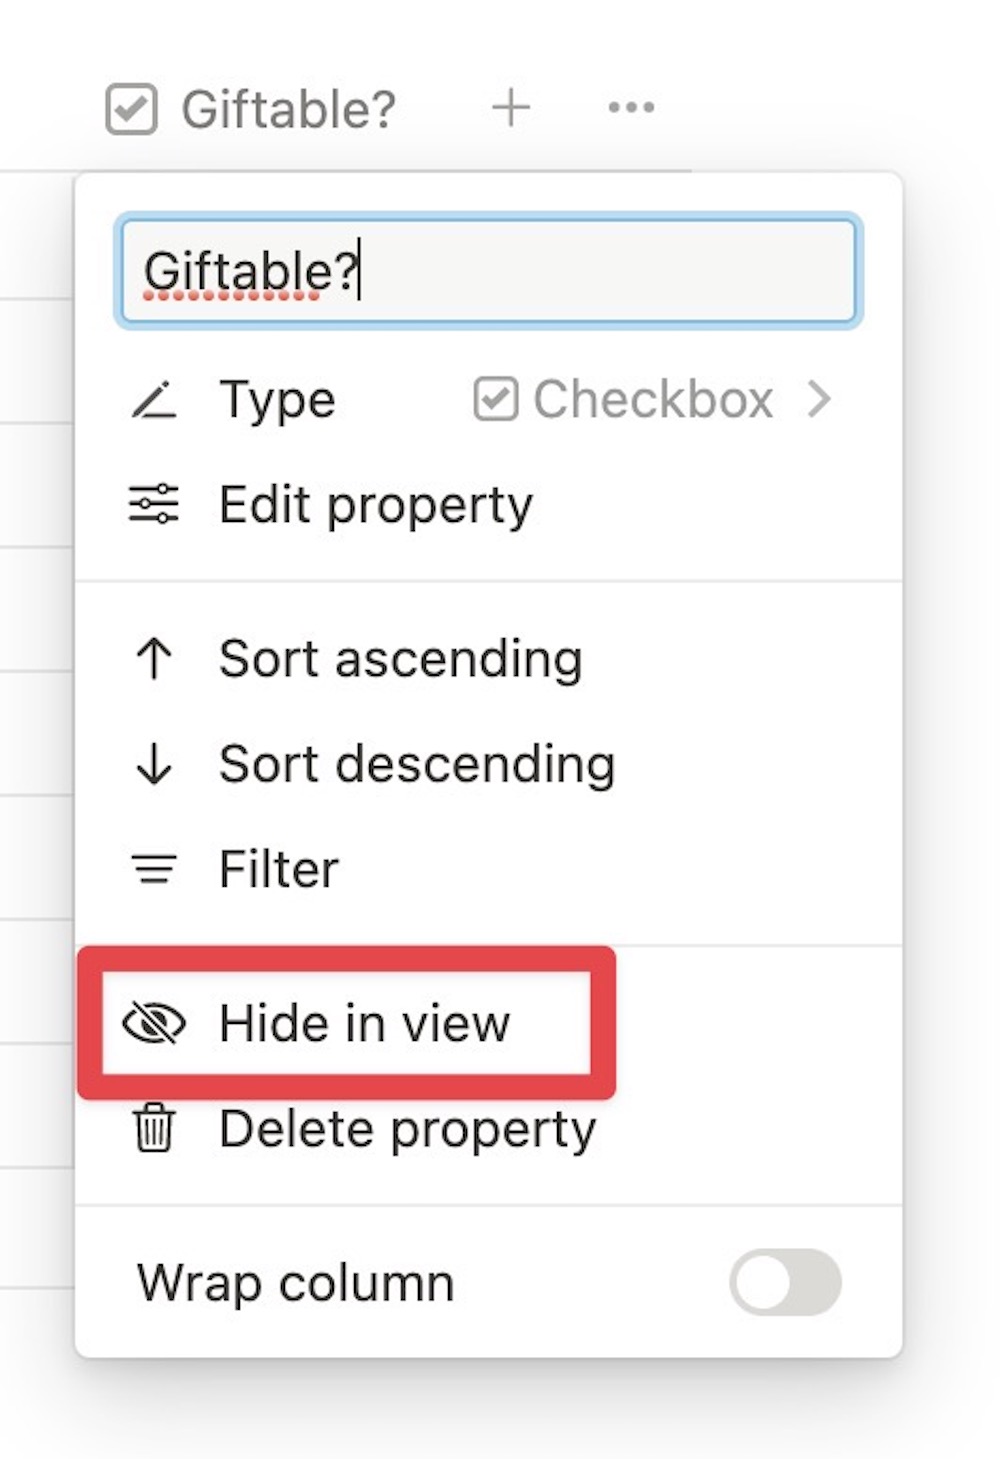
I think it’s a bit tacky to have a property showing on this page called “Giftable,” so let’s hide this property from this view. To hide a property, just click on said property and click Hide in view.
I’m also gonna go ahead and clean up a few other things, like shortening the width of certain properties to eliminate wasted space (because I’m obnoxiously nit-picky).
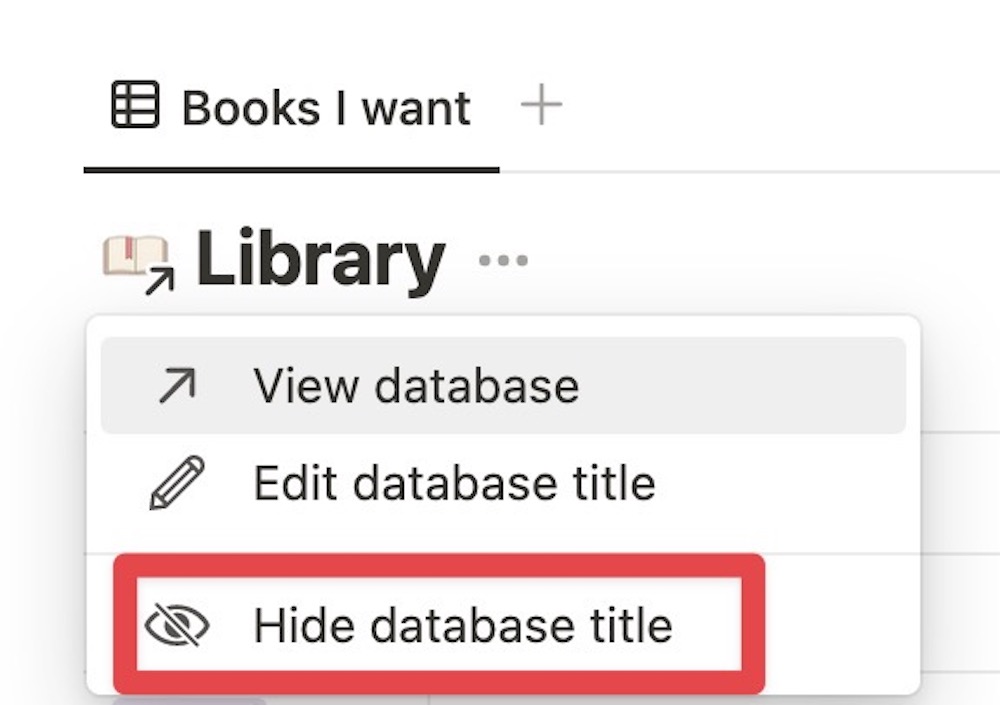
I am also hiding the name of the databases (this is a fantastic new Notion feature). Just click on the three dots next to the database title, and click Hide database title.
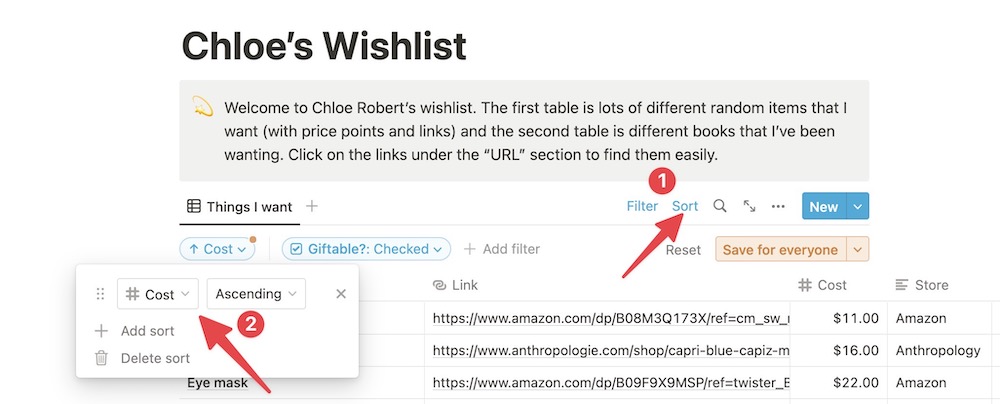
You can also sort the items based on alphabetical order or cost, or by any other property you want. Just click on sort, choose the property you want to sort by and how you want to sort it, and voila, your list is sorted (I sorted mine by cost, the cheapest items are at the top and the most expensive ones are at the bottom).
This is a great time to add any other items to your list before you make it public. You can check your Amazon wishlist and bring those items to your new wishlist (or you know, an Anthropologie candle, a bow and arrow, and an eye mask…)
You can add any finishing details you want to your page to make it your own.
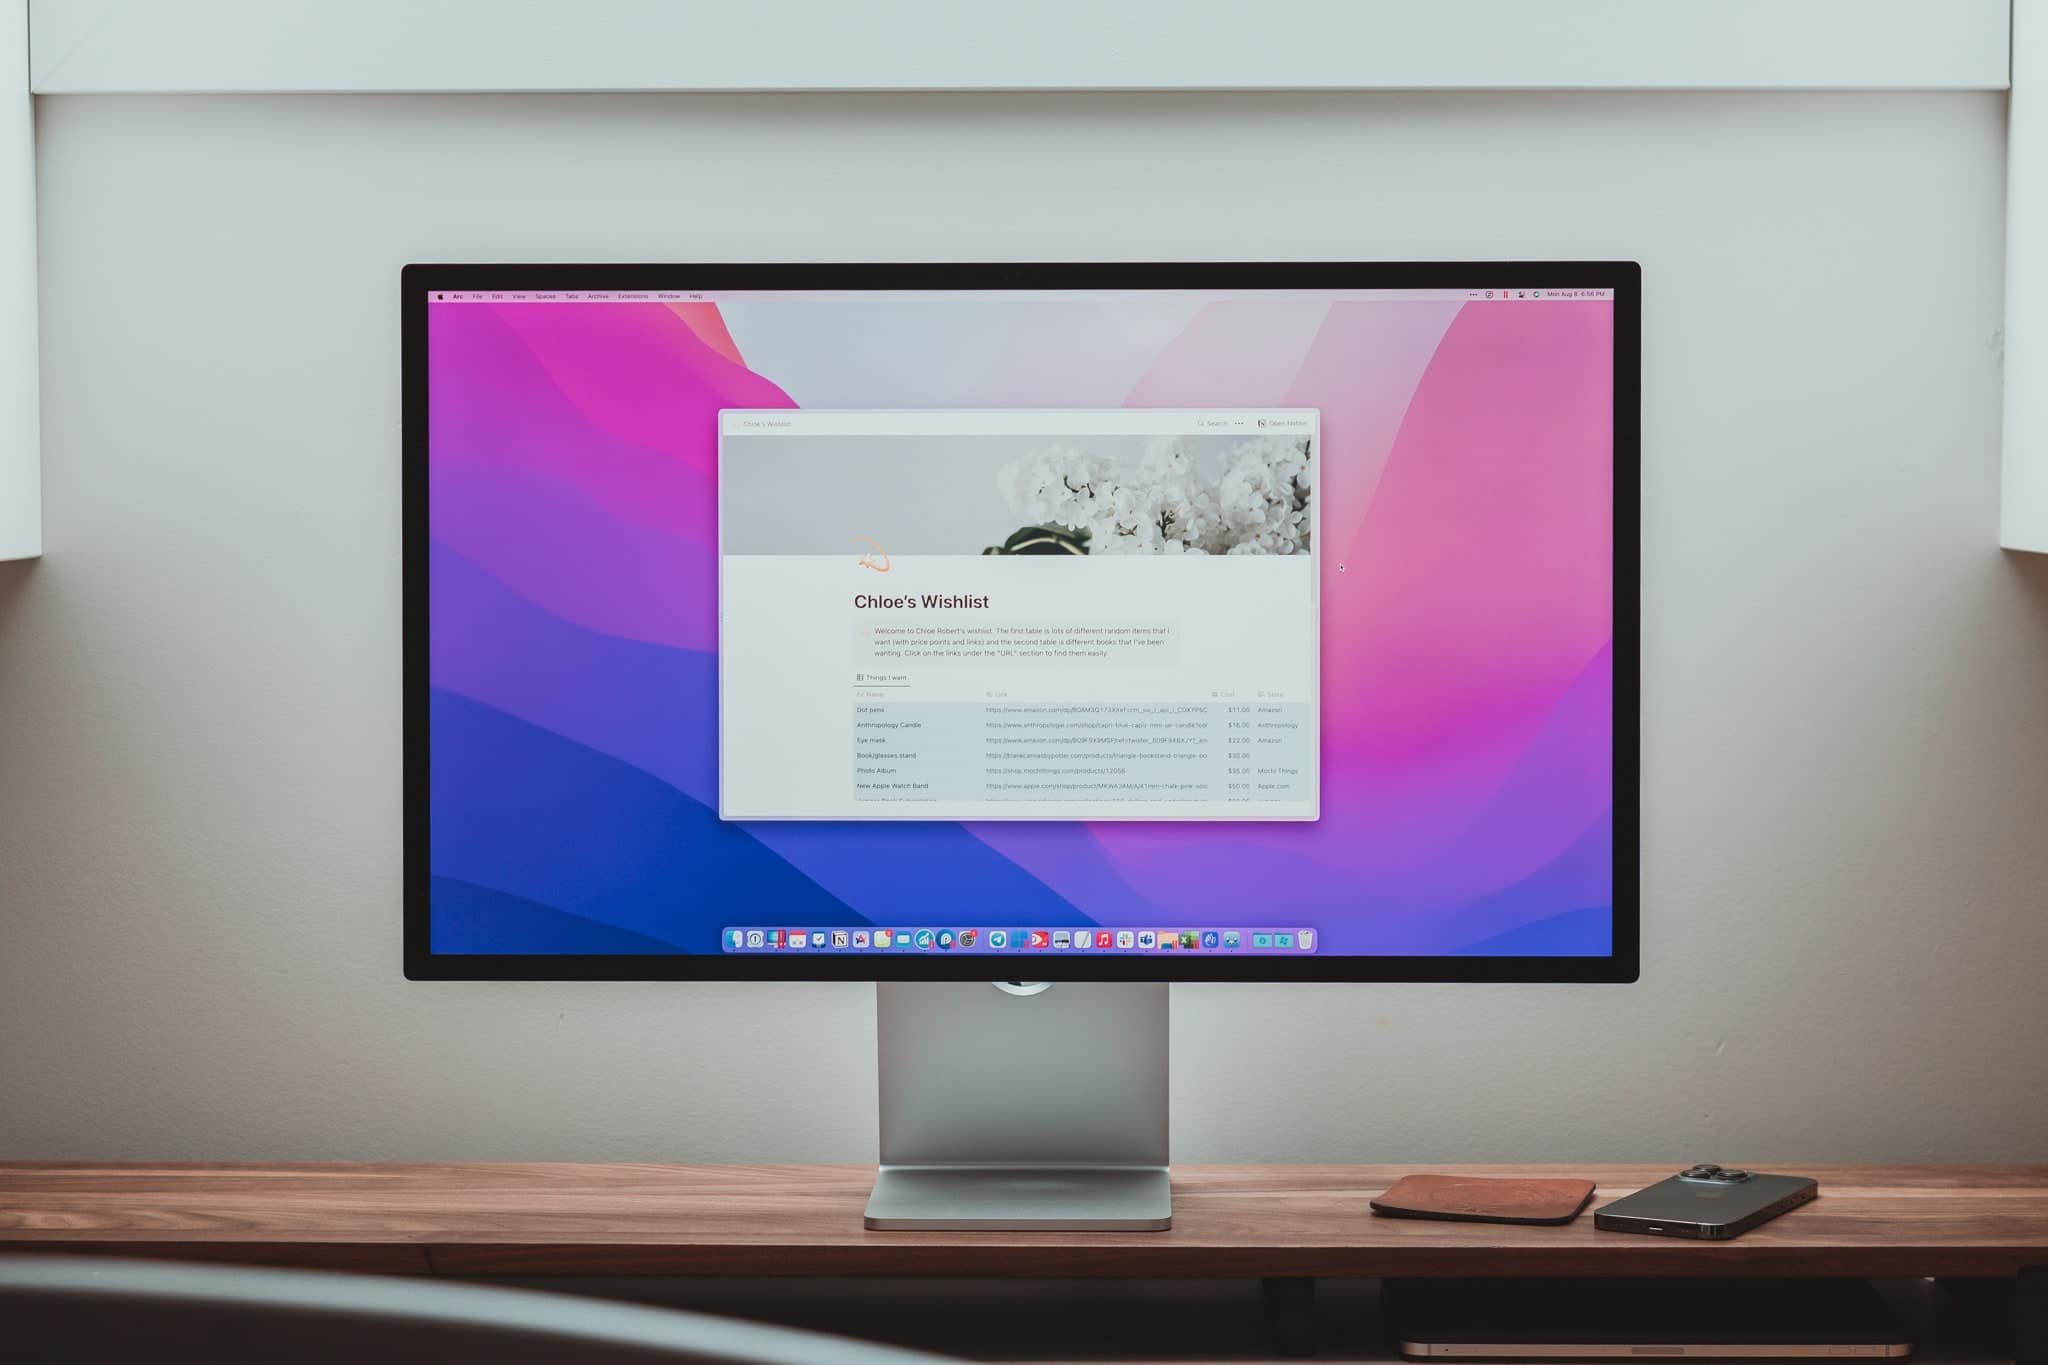
But it should look something like this.
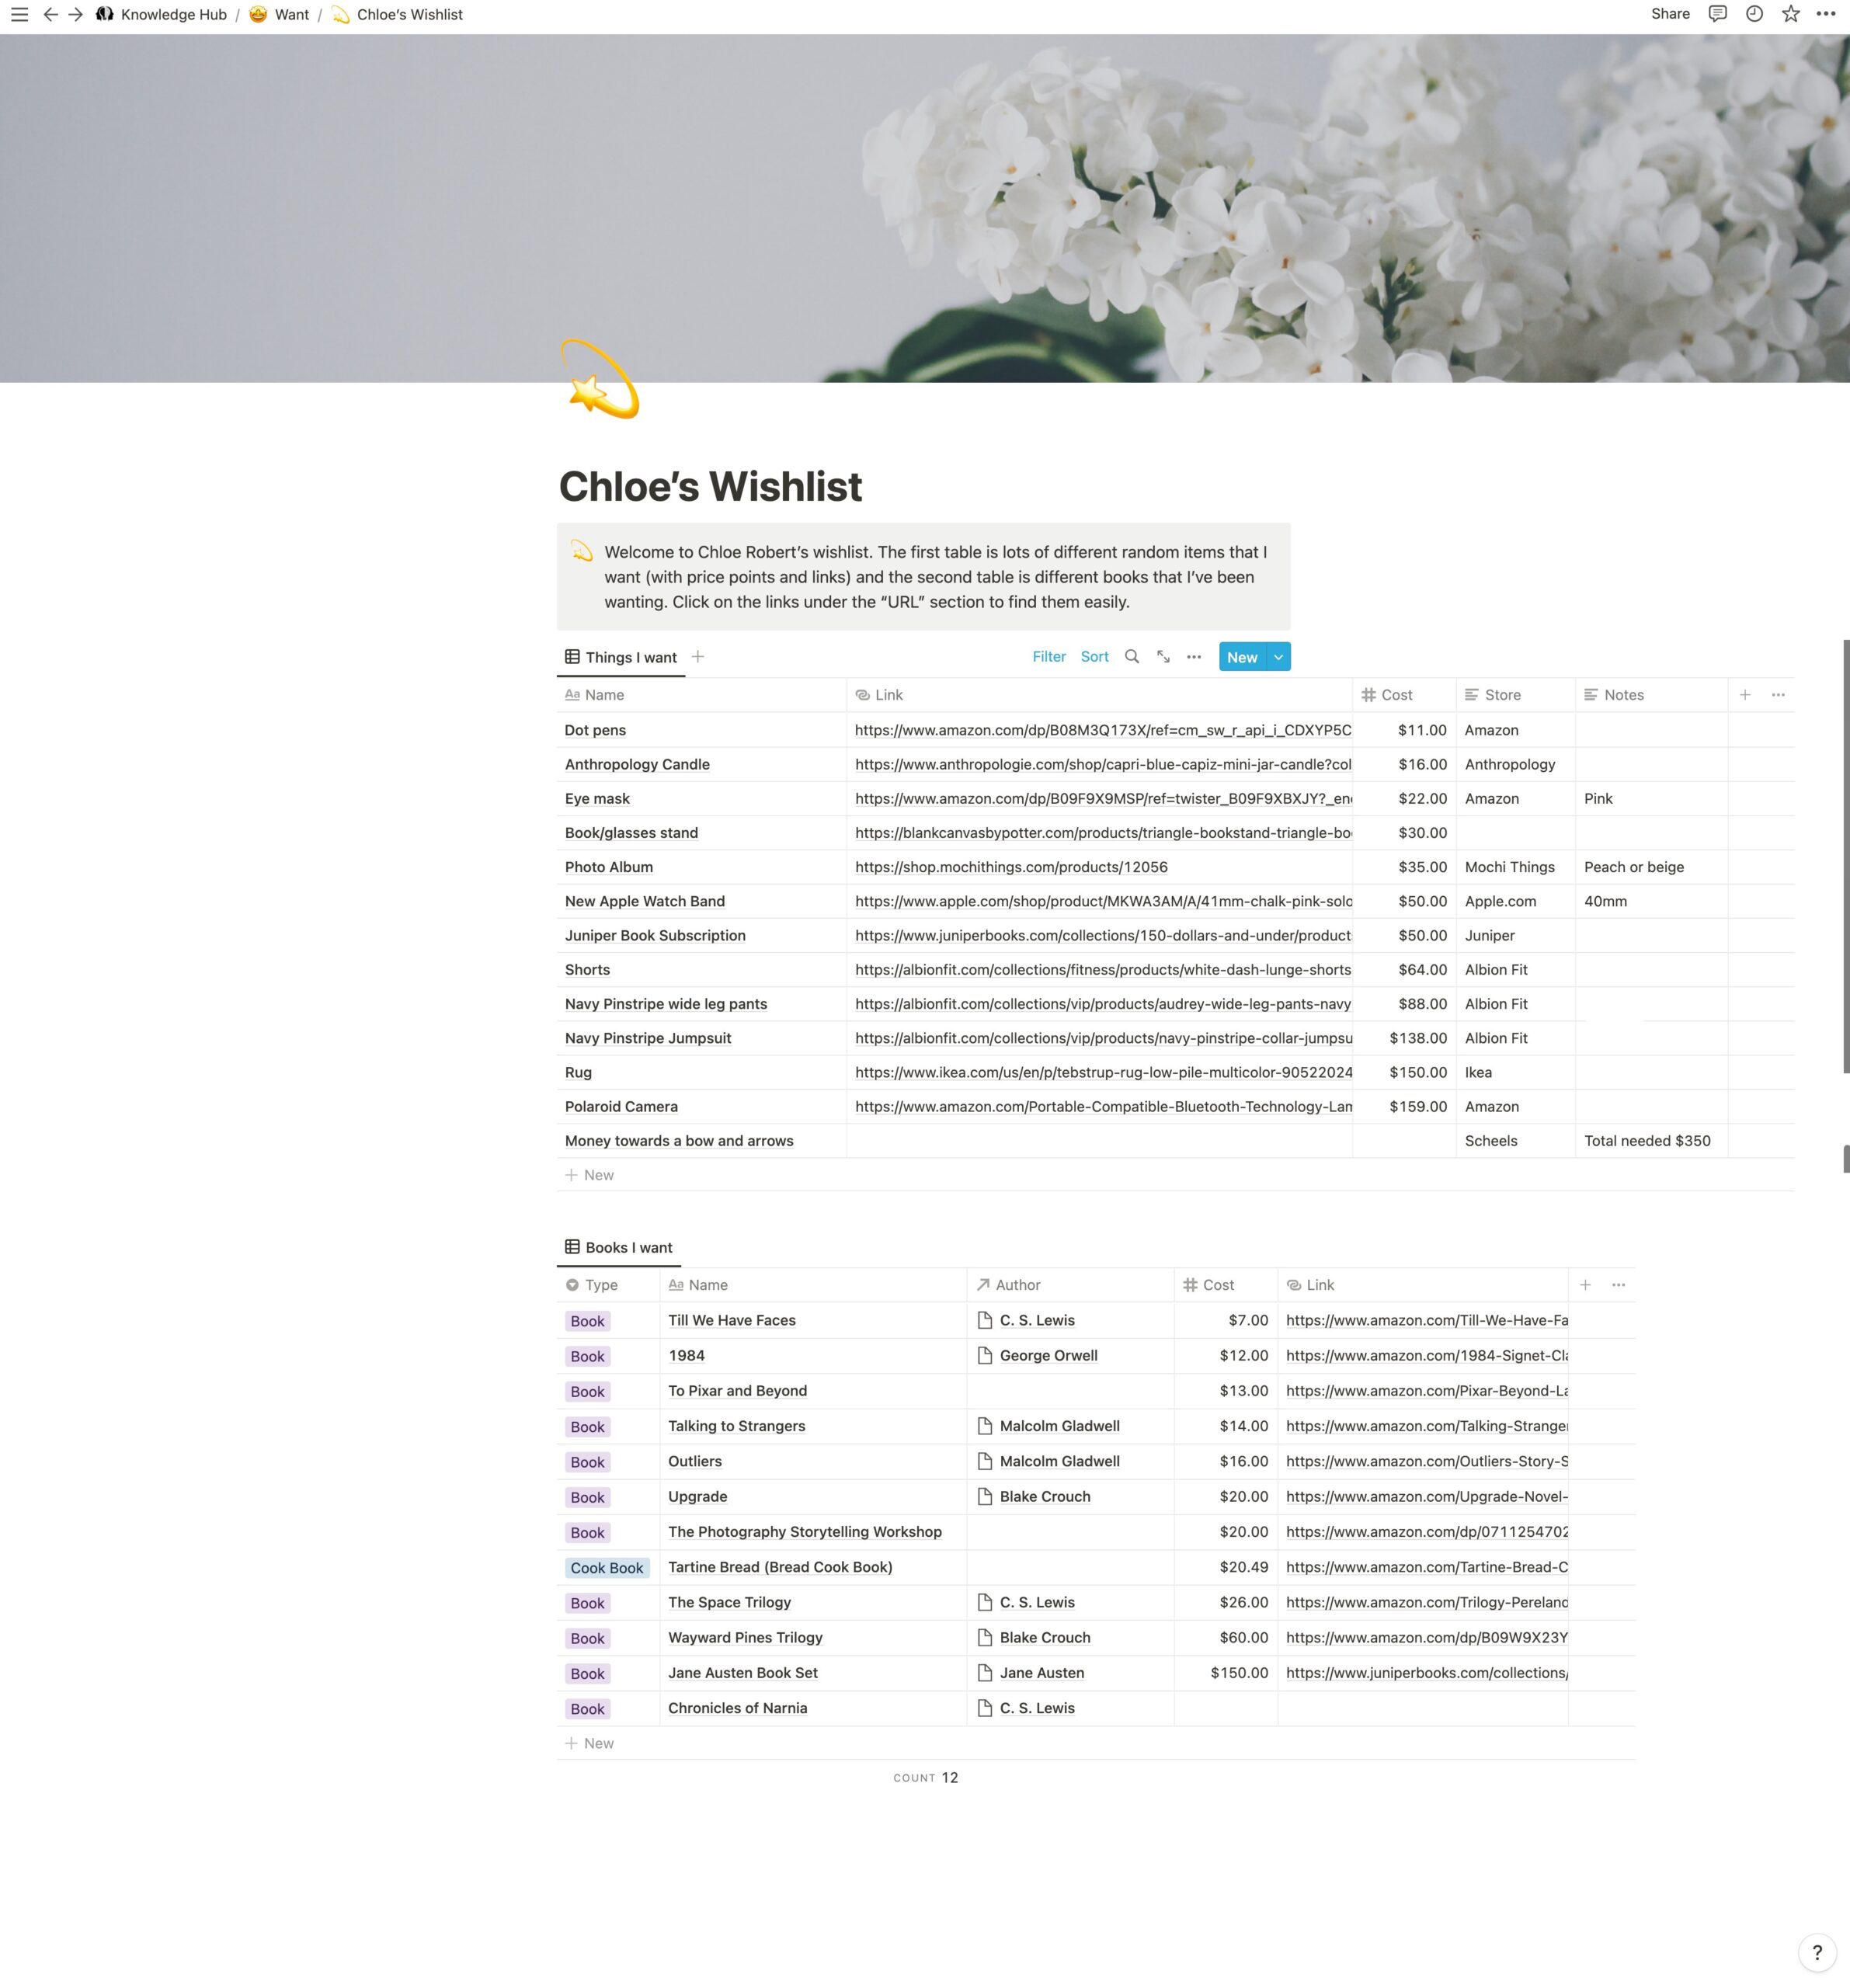
Now we move on to the slightly complicated part, sharing it.
Sharing your wishlist
I’m gonna be honest, Notion’s sharing permissions are pretty nuanced and can require a lot of finicking to figure out.
The goal is to share this page and all the information on it, but not allow anyone to edit it.
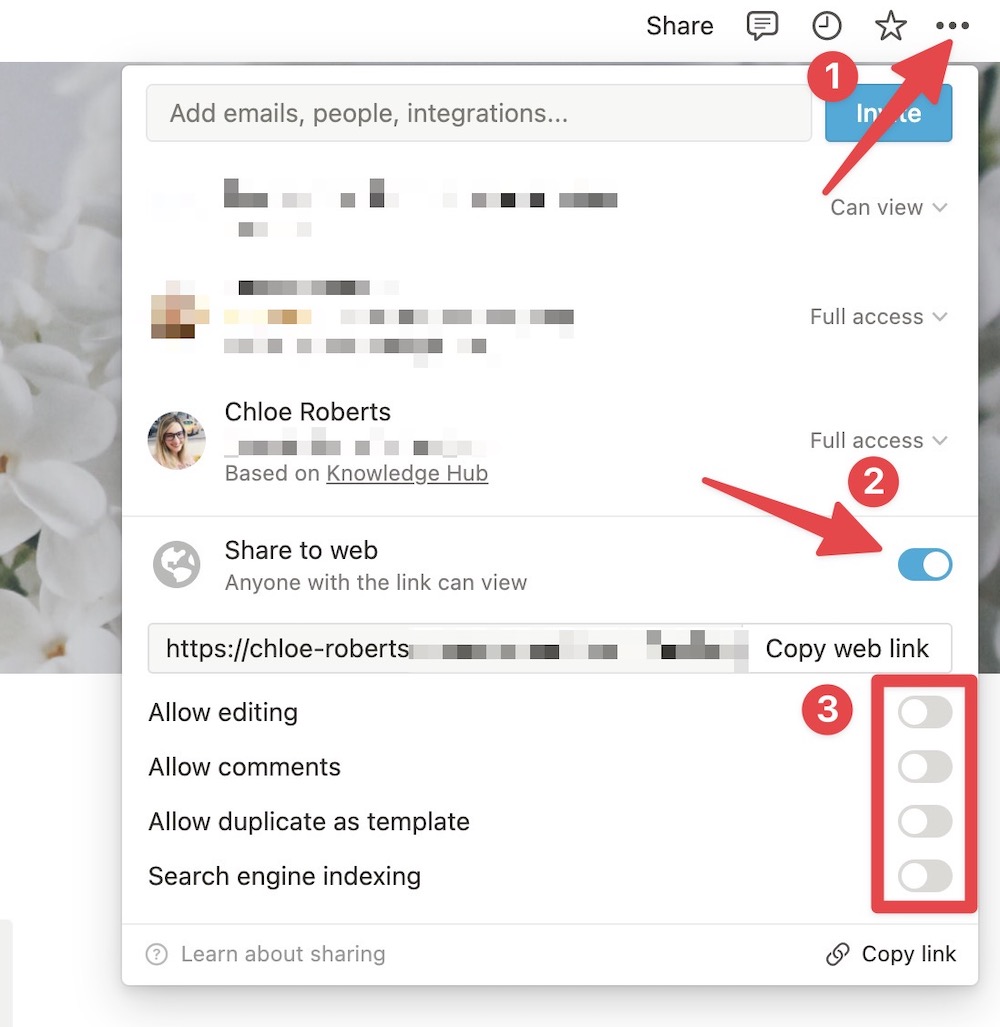
First, click the three dots in the top right corner of your page, then click Share to web, Show Link options, and turn them all off.
We don’t want people to edit, comment, or duplicate this list. We just want them to view it.
(You can change your preferences for your URL in Settings under Domain)
Depending on how you set up this page, you might not be done yet.
If you built brand new databases or tables on this page, then you are good to go. When you share this page, everything should show up.
But, if you brought in other databases onto this page, you would share an empty page. We have to share the linked database AND the source database for people to see everything on the page (see how it can be a bit nuanced?).
To do this, click the database title (you might need to un-hide it). Once you land on the page, click Share in the top right corner, then click Share to web, click Show Link options, and turn them all off. Now your database will be visible on your wishlist page, but no one can make any changes to the content. Do this for every database that is on your wishlist page.
IMPORTANT: Once you share a database, there is a possibility that a curious person that knows how Notion works can find the full database by clicking around (but they wouldn’t be able to edit anything depending on the settings). If you don’t want that, then maybe create a new database that is only for your wishlist. Notion’s sharing permissions are all or nothing, unfortunately.
Make sure that you test it out first yourself to make sure everything is showing up correctly. I recommend doing this in a private or incognito window so that you don’t get automatically logged in and can view the page as an “outsider.”
Every time you make a change to the Sharing settings, the URL changes. So make sure you are testing and sending out the latest URL.
Wrap up
It is easier (when building this specific page) to create a brand-new database for your wishlist. You don’t have to deal with linking databases or the difficult sharing permissions. But then you wouldn’t have the convenience of having all your databases linked.
But once it’s all set up (however you choose to do it), it’s smooth sailing. You can easily add or remove items from your wishlist and send it to your friends and family for your birthday or Christmas or when you just want people to buy you stuff.
This is a great way to show off your Notion skills while getting people to buy you presents at the same time. This one feels like a win-win.