How to Organize Your Writing in Ulysses
In addition to giving you a distraction-free writing interface to help you get your words out onto the page, Ulysses also gives you several tools that will help you keep your writing organized.
Groups
Ulysses allows you to keep your writing organized in your library by using groups. Groups are kind of like folders on your Mac, so if you’re the type of person who likes to keep your computer files in a nested folder hierarchy on your Mac, you’ll feel right at home using groups inside of Ulysses.
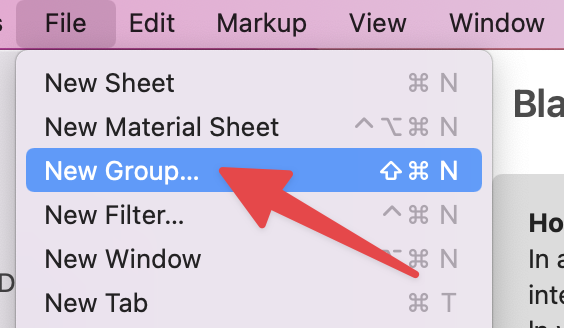
Groups allow you to keep related documents together. You can create a new group by selecting File → New Group, or using the keyboard shortcut Shift-Command-N.
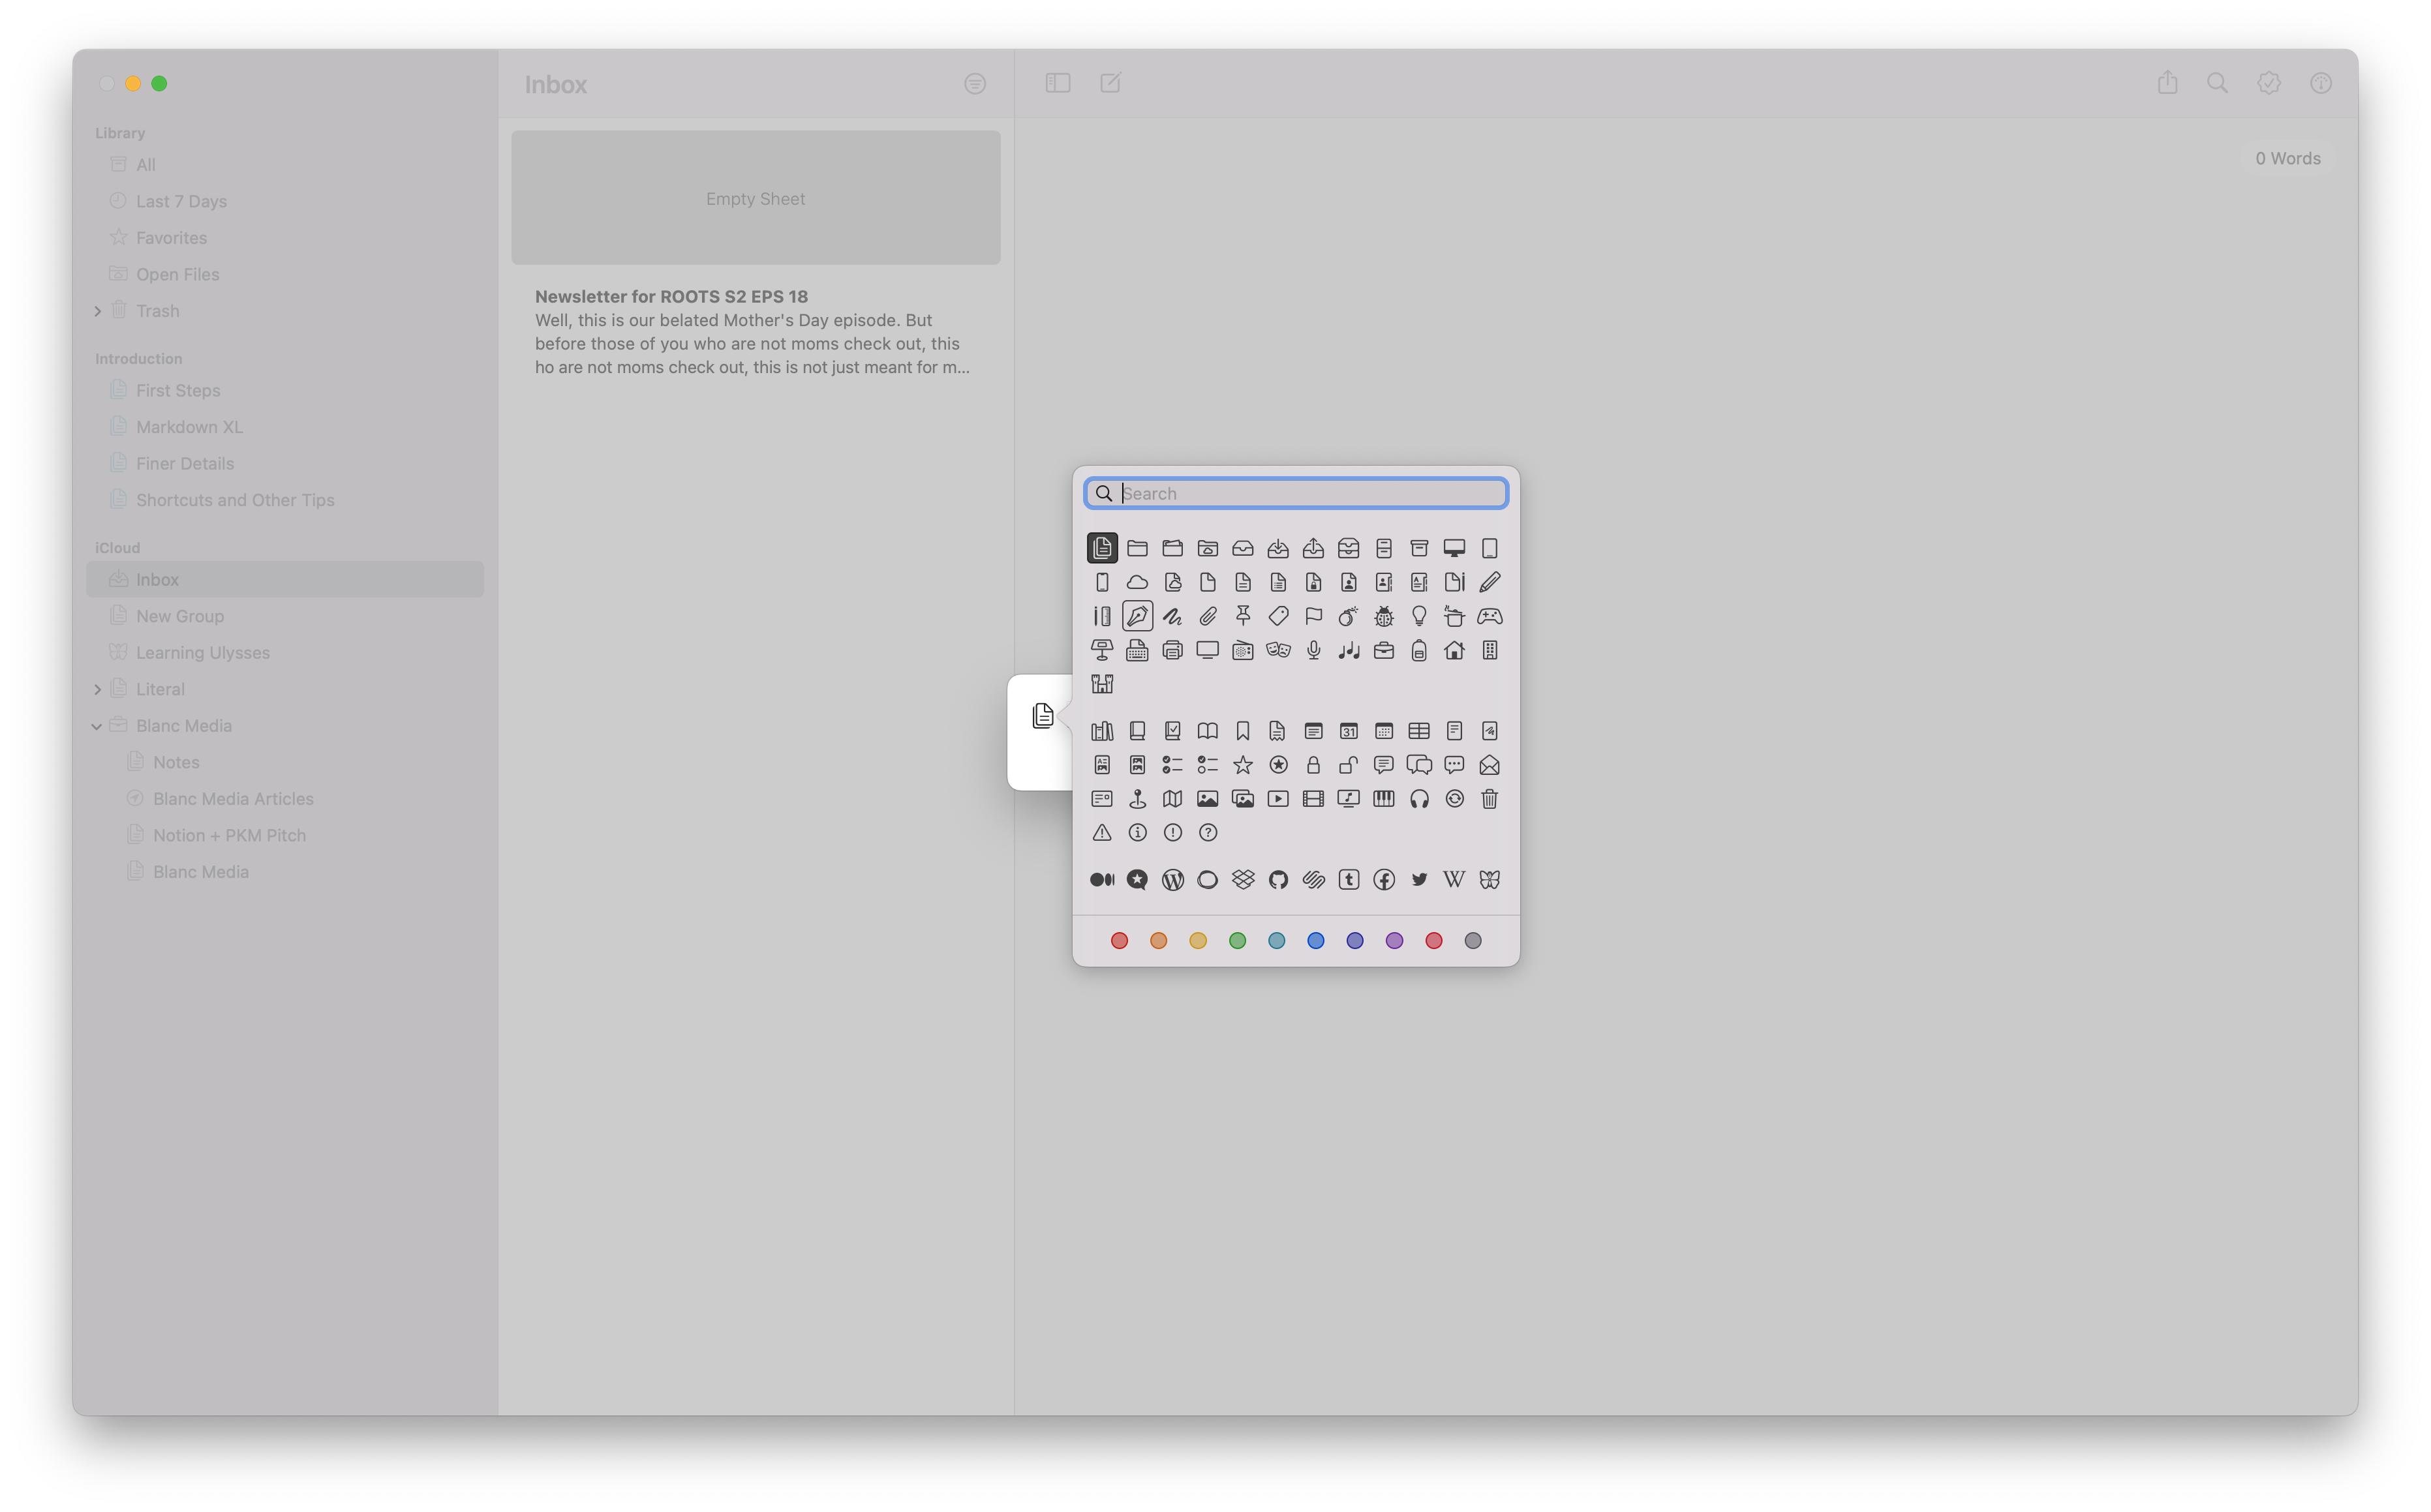
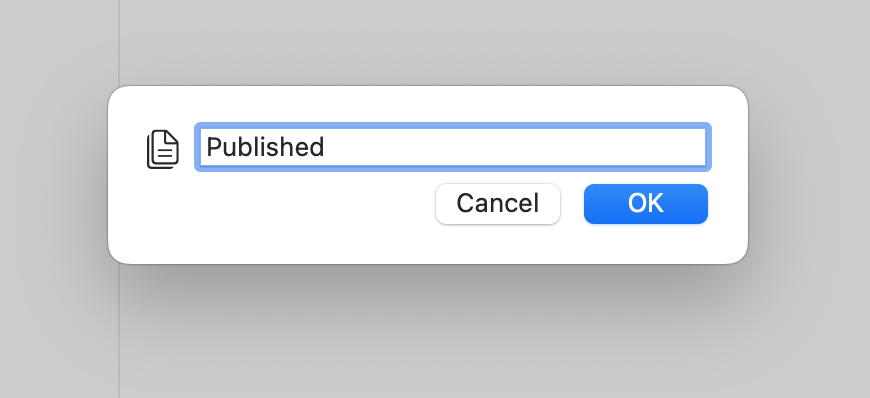
Let’s say you want to use Ulysses to start an email newsletter. We’ll create a new group in the library and we’ll call it Newsletter. Then we’ll select a new icon for this group, like this old-school pen icon, and now we have a group where we can store all of the writing we do for our email newsletter.
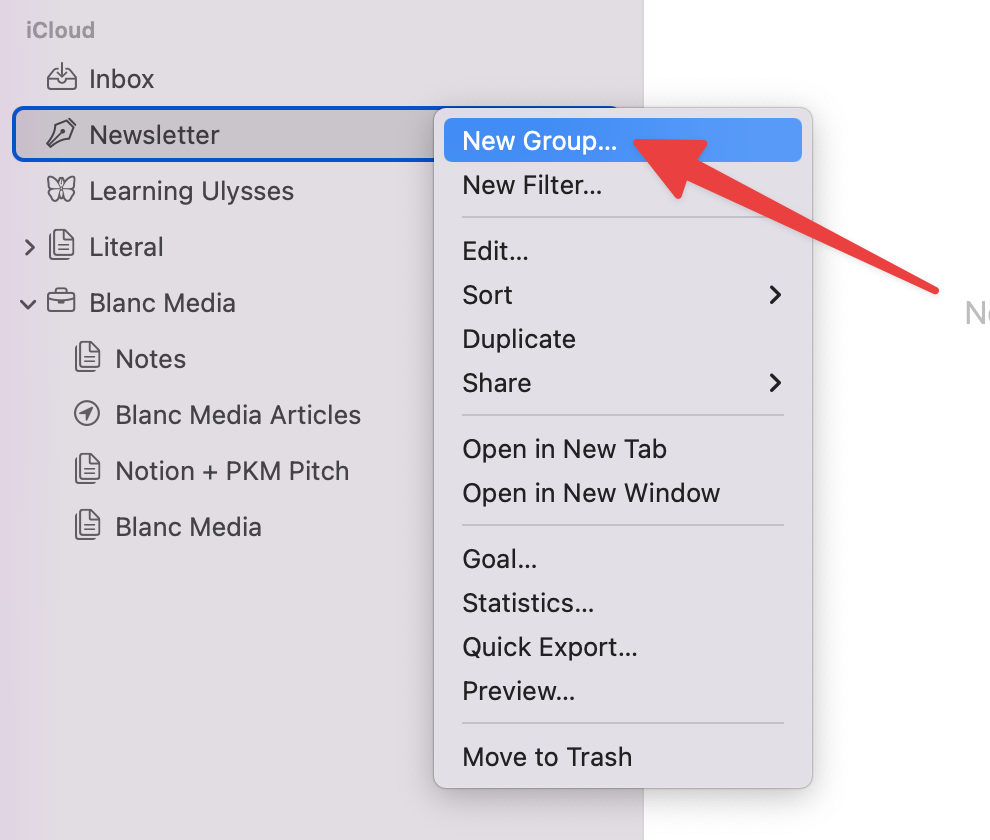
And, we can even create an additional subgroup for the published newsletters once we send them.
Keywords
Ulysses lets you apply keywords to your sheets. Keywords are basically tags, giving you another way to group your files without the confines of folders and physical locations. We’ve got a whole video on best practices for using keywords and the concept of tagging that it’s all based on, but in short, these are very flexible and allow you to quickly search for related things regardless of their location.
For example, if you’re writing a book with many characters or locations, you could use keywords to filter all the scenes starring the same character or in the same location. Or for the newsletters we want to send out, we could use keywords to show which ones are still rough drafts, and which ones are ready for publishing.
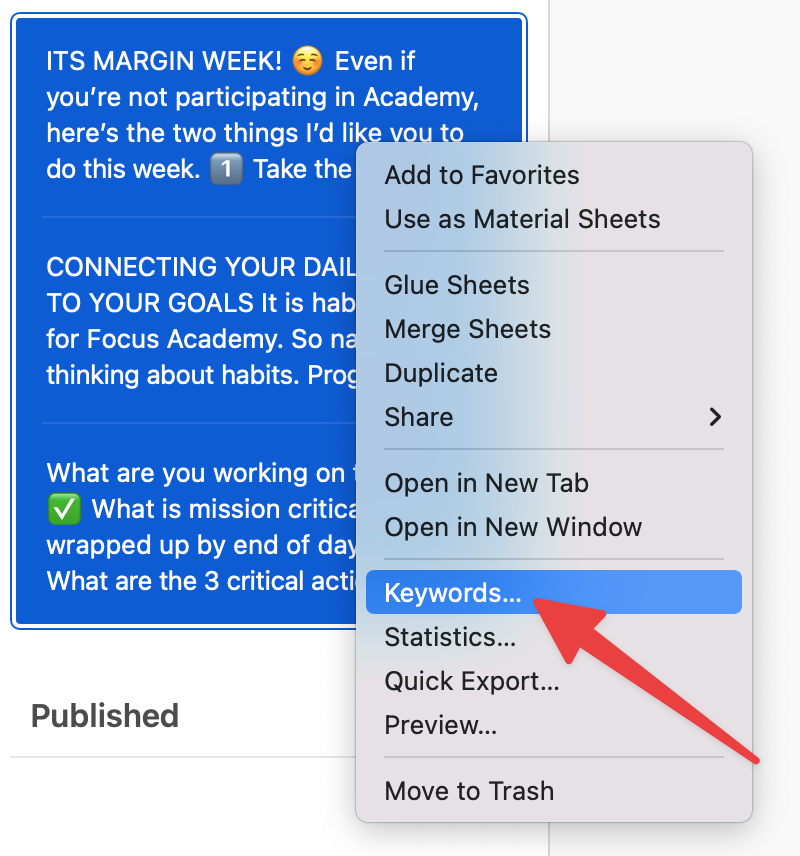
You can add keywords to an individual sheet from the Attachments bar, and you can apply keywords to multiple sheets at once by selecting multiple sheets in the sheet list, right-clicking them, and selecting Keywords from the contextual menu.
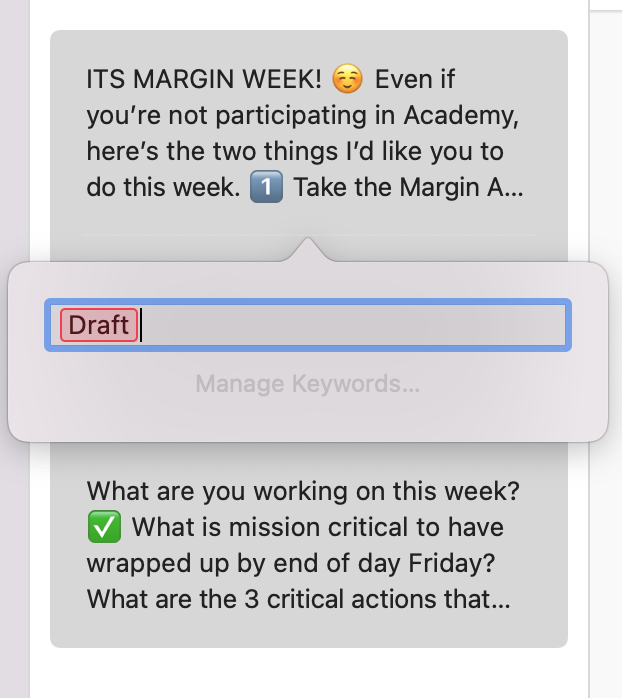
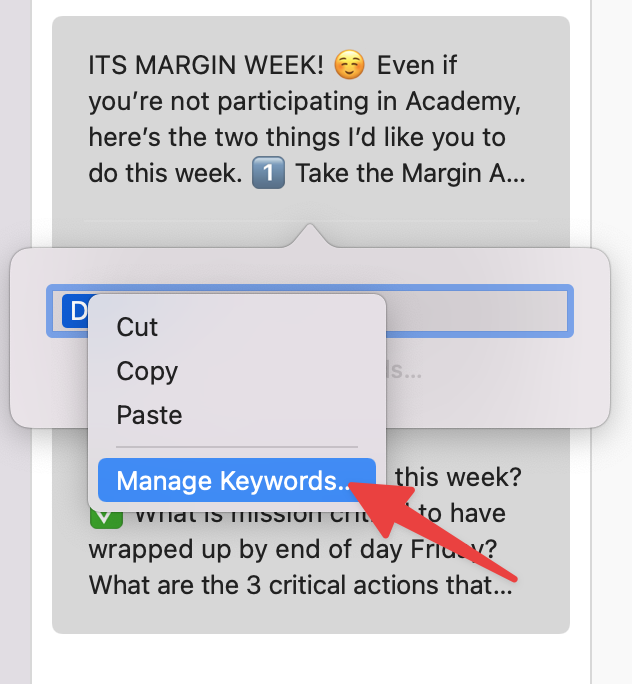
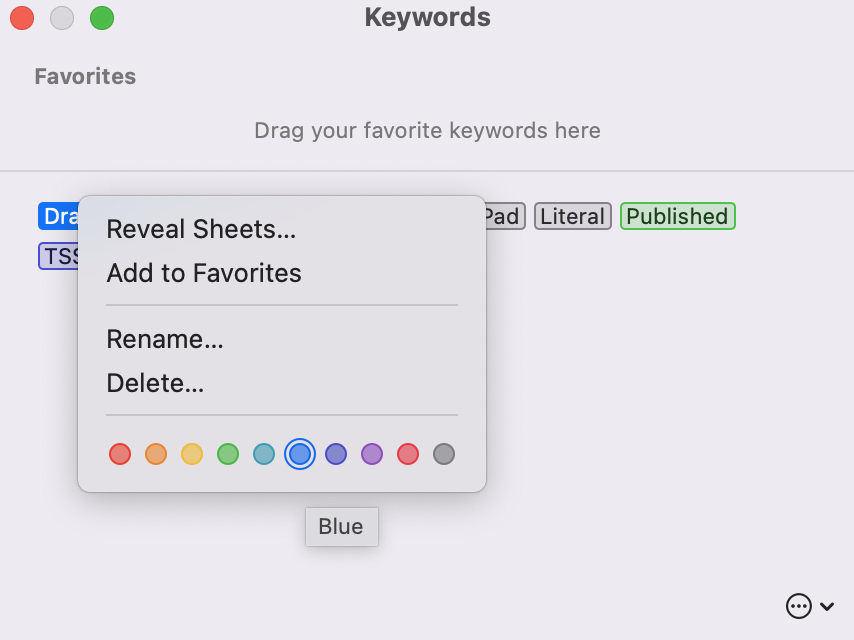
Let’s add the keyword “Draft” to these sheets and hit Enter to save it. Then we can right-click the keyword itself to select Manage Keywords to select a different color. Let’s make it blue.
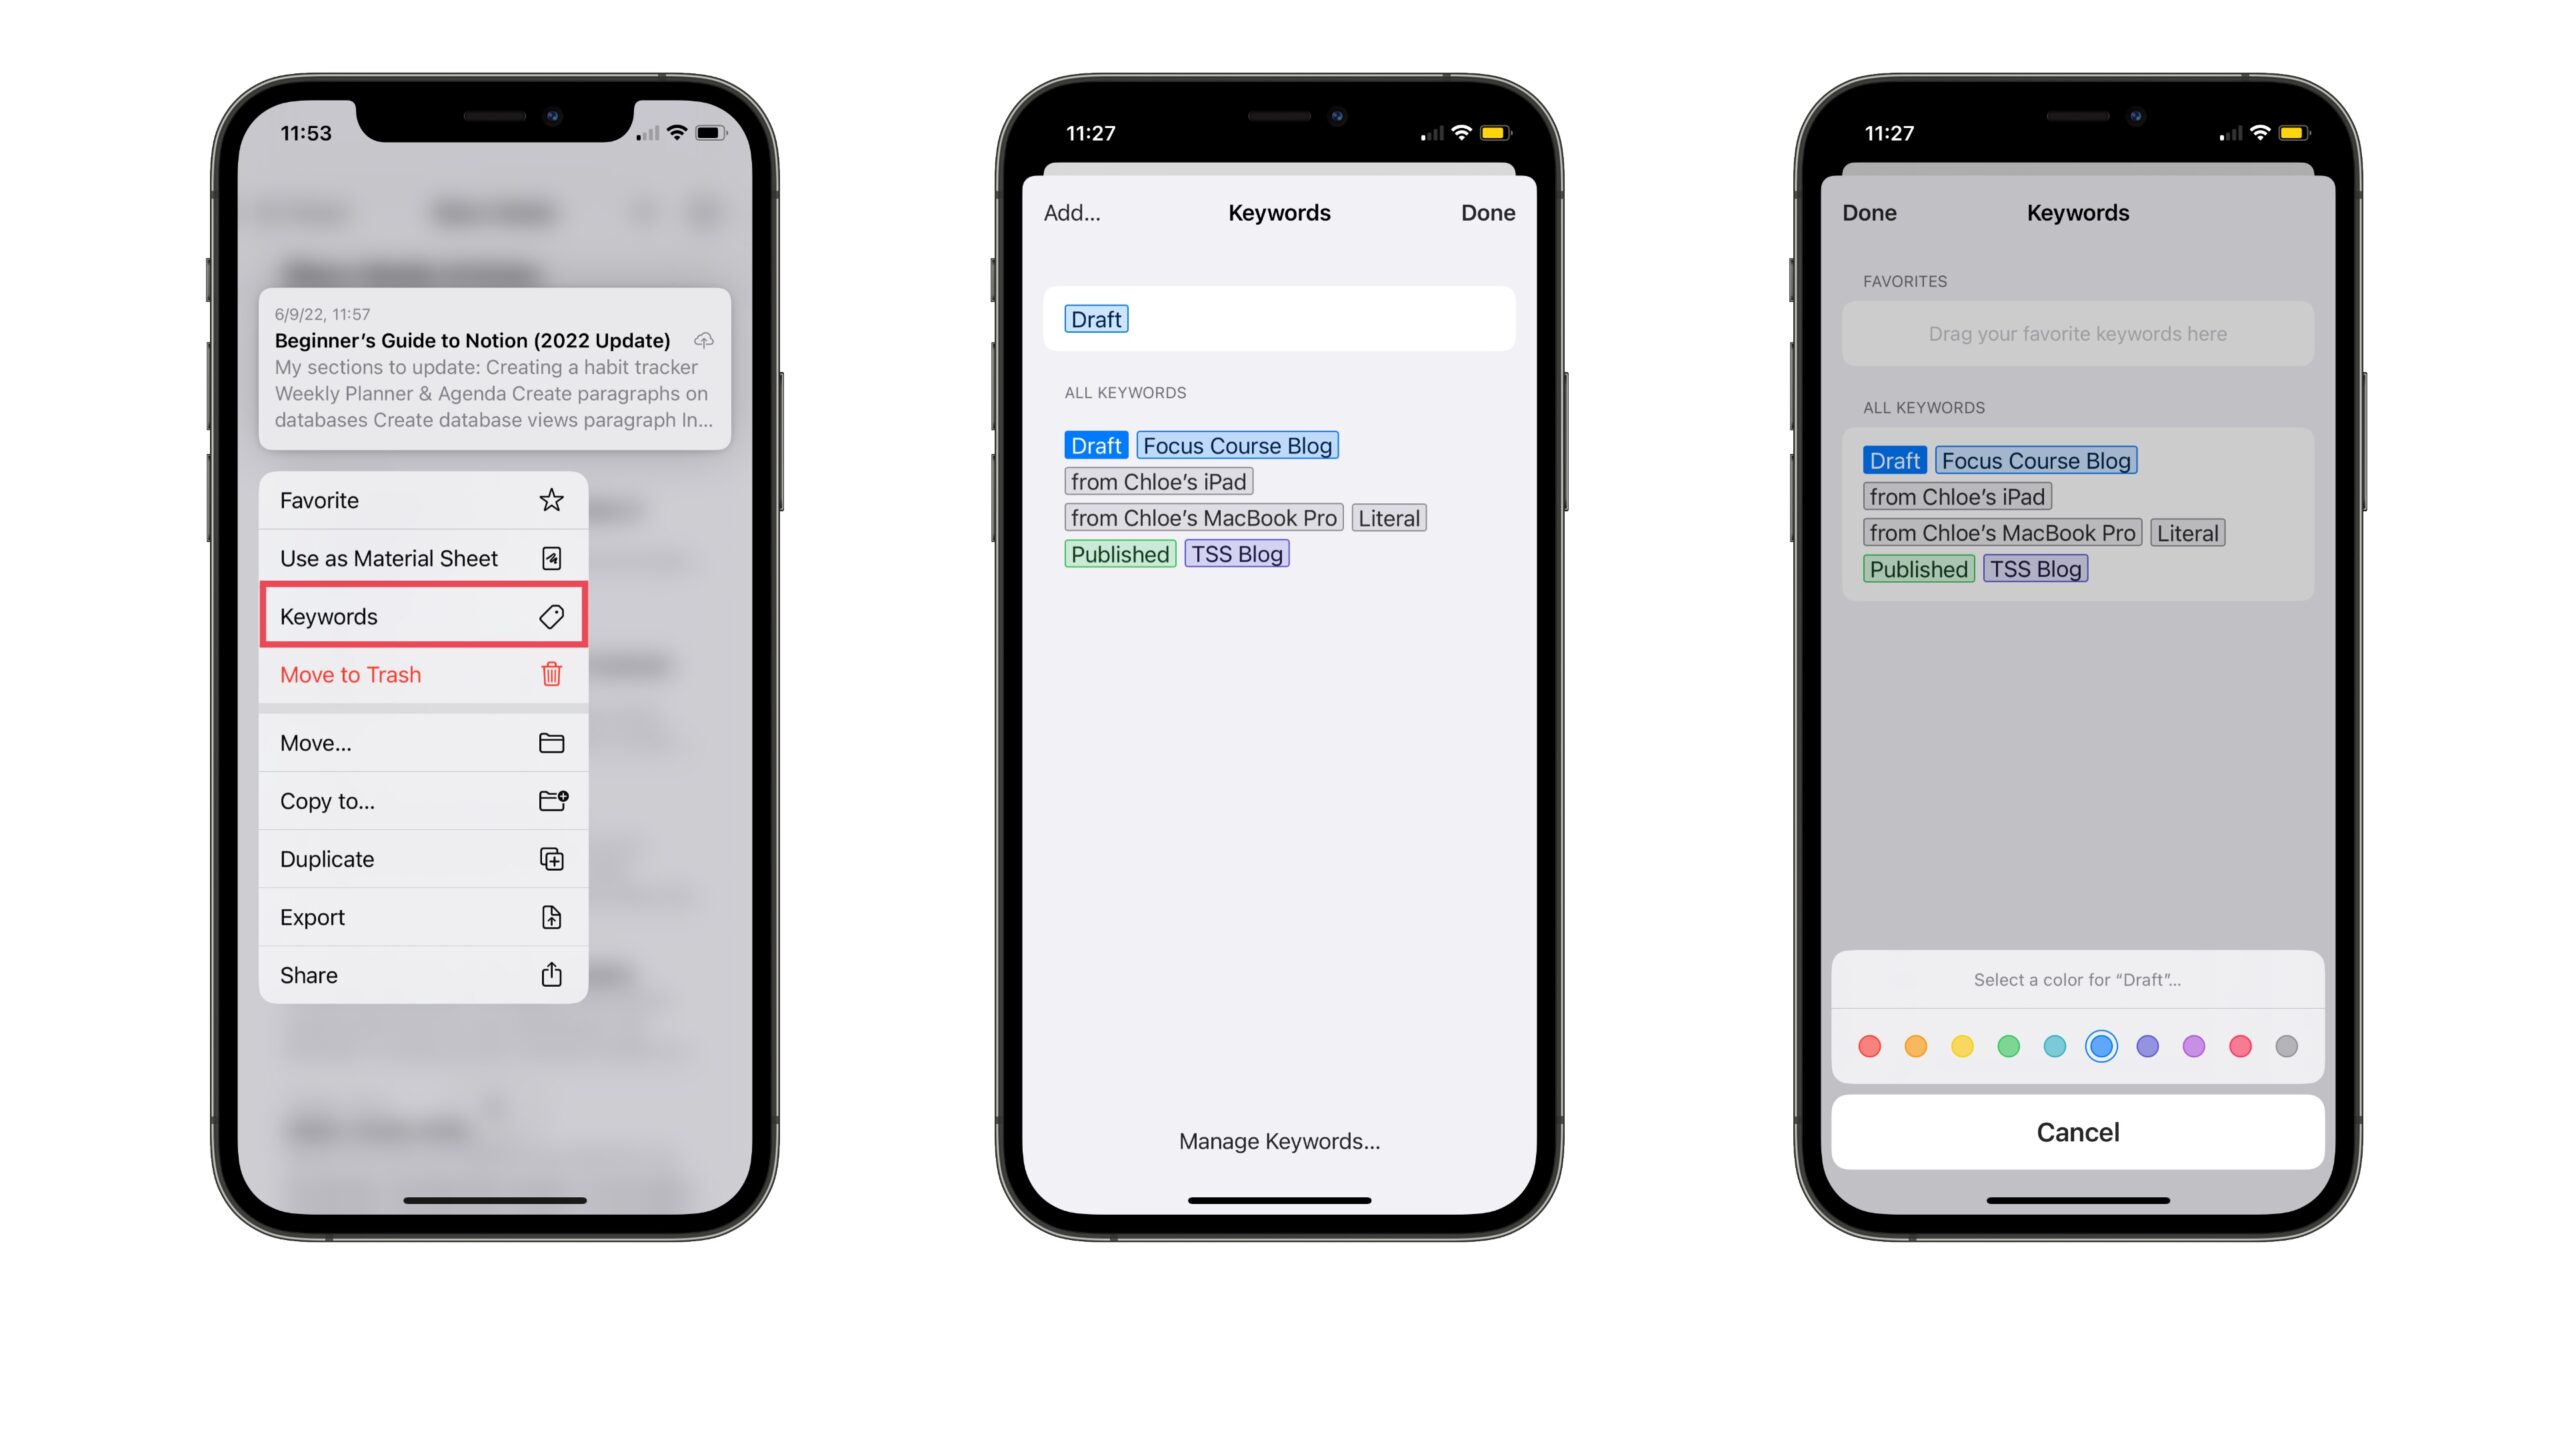
You can do this on iOS by going to the sheet list, tapping and holding the sheet, and tapping Keywords. Type the tag’s name, tap Done, then tap Manage keywords to change the color.
By the way, once you select a color for a keyword, it will be applied to all instances of that keyword throughout your Ulysses library.
Stop losing your ideas and notes to multiple apps…
An online course to help you save time, organize your notes, and master the best writing app for Mac and iOS: Ulysses.
Filters
Ulysses also has a feature called Filters, which act kind of like smart folders. Filters are really powerful because they allow you to combine these different things to quickly find anything you’re looking for, even if you have tens of thousands of sheets in your Ulysses library.
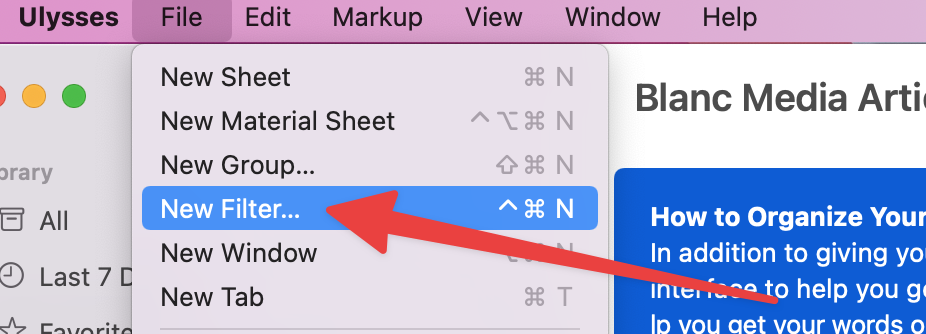
Filters allow you to create living folders that have content in them based on criteria, like documents that contain certain keywords or based on when you wrote or modified a document, etc. You can add a filter by selecting File → New Filter, or using the keyboard shortcut Control-Command-N.
For this example, let’s create a new filter here for all of our active sheets. We’ll call this filter “Active,” and for the condition, we’ll select Modification Date is Newer than Seven Days.
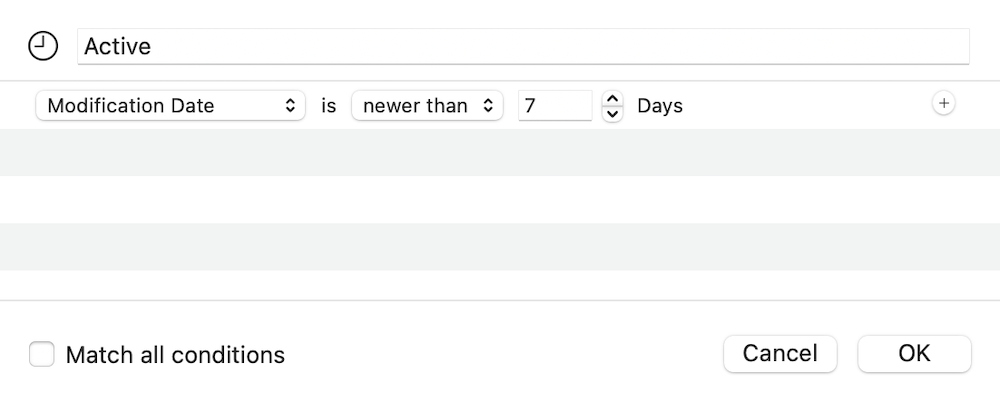
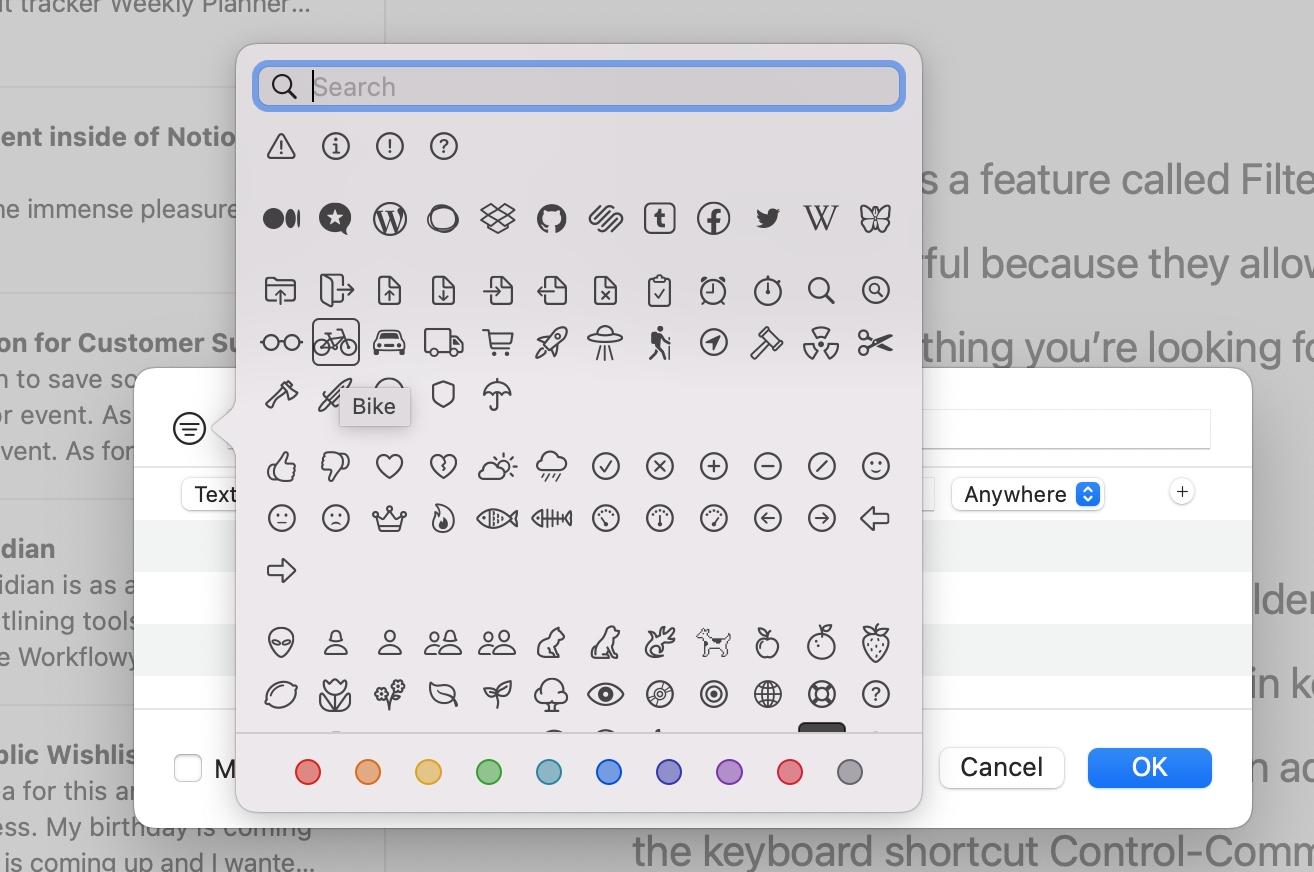
To change the icon for this filter, click on the clock icon next to where we’ve typed Active and choose the Bike icon (or whichever one you like).
This will create a group in the library that looks a lot like our other groups, but the contents are automatically updated based on the criteria, so this filter will always show us only the sheets that we’ve been working on at some point in the past week.
Favorites
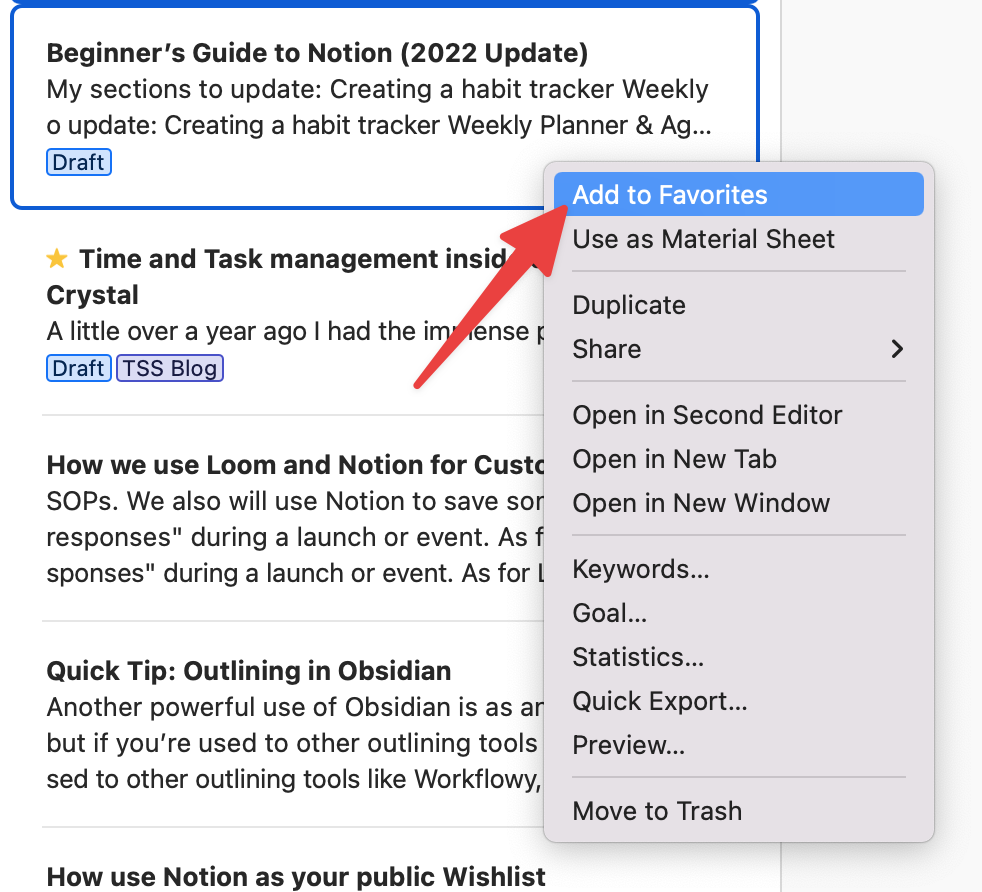
Lastly, you can also favorite sheets that you access frequently. Just select the sheets you want to favorite, right-click and select Add to Favorites, or hit the keyboard shortcut Command-D.
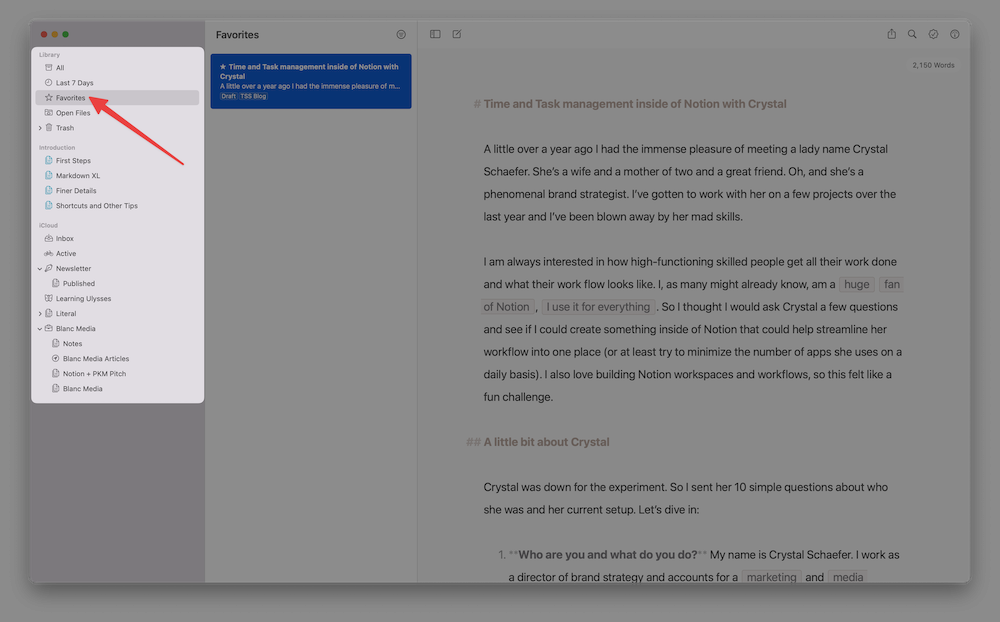
When you add a sheet to Favorites for the first time, a new item will be added to your library so you can quickly access your favorites in the future.
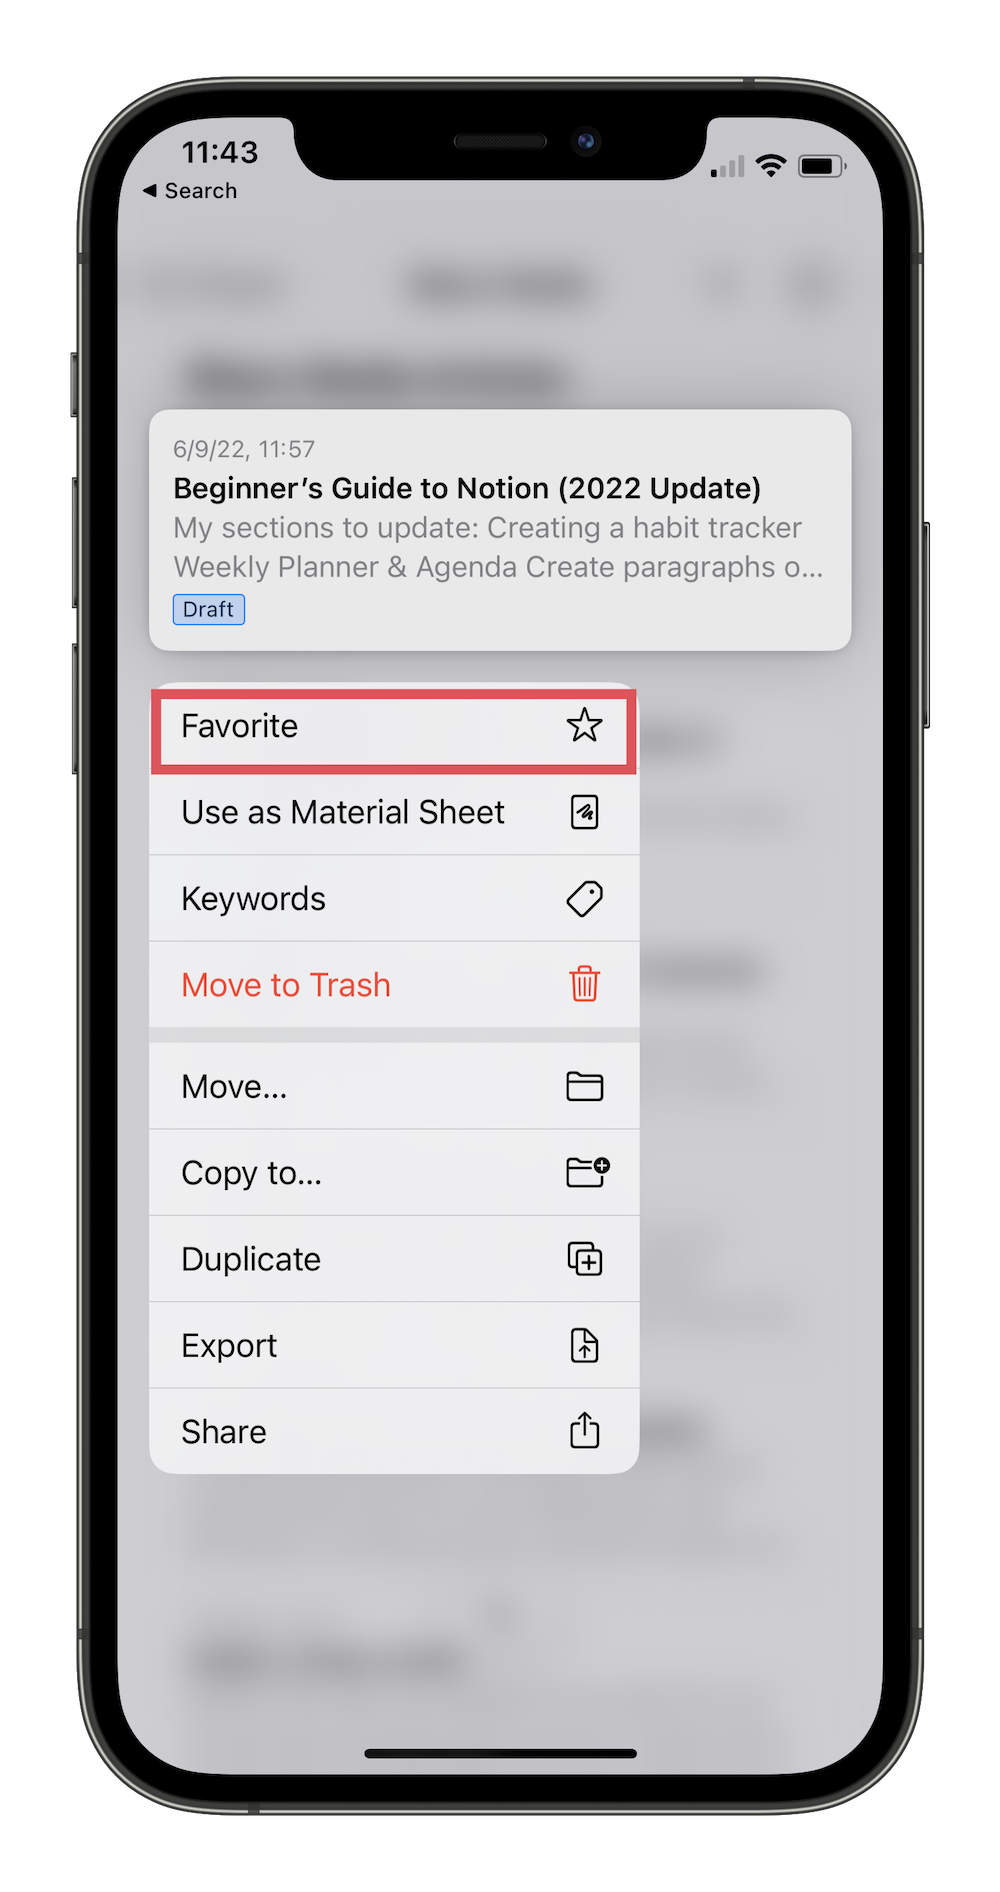
To add a favorite on iOS, just tap and hold the sheet you want to favorite, and tap Favorite. You’ll see a star added to the sheet itself in the sheet list, so you can easily tell which sheets are in your favorites while looking at your main sheet list.
Wrap up
This is an overview of some of the ways you can easily organize your writing in Ulysses. Whether you are writing a book, doing research, creating a newsletter, or just looking for a place to capture notes, Ulysses can adapt to your needs and organize your writing creations.
Stop losing your ideas and notes to multiple apps…
An online course to help you save time, organize your notes, and master the best writing app for Mac and iOS: Ulysses.