How to Manage Your Notes, Notebooks, and Folders in GoodNotes (Video)
This is a free sample lesson from our new course, Learn GoodNotes.
The course will sell normally for $39, but right now you can save 20% during launch week (just $31).
You can get access to our complete, in-house library of custom templates that you can use as a journal or notebook within GoodNotes for productivity, ideation, planning, goal setting, and more. Additionally, let us not forget that there is also a whole series of video screencast tutorials for how to use GoodNotes even gooder.
Enjoy this screencast video tutorial that is from the course. Here you will discover how to manage your notes, notebooks, and folders in GoodNotes
Press the button below to get instant access to all the course videos plus all our custom templates…
?
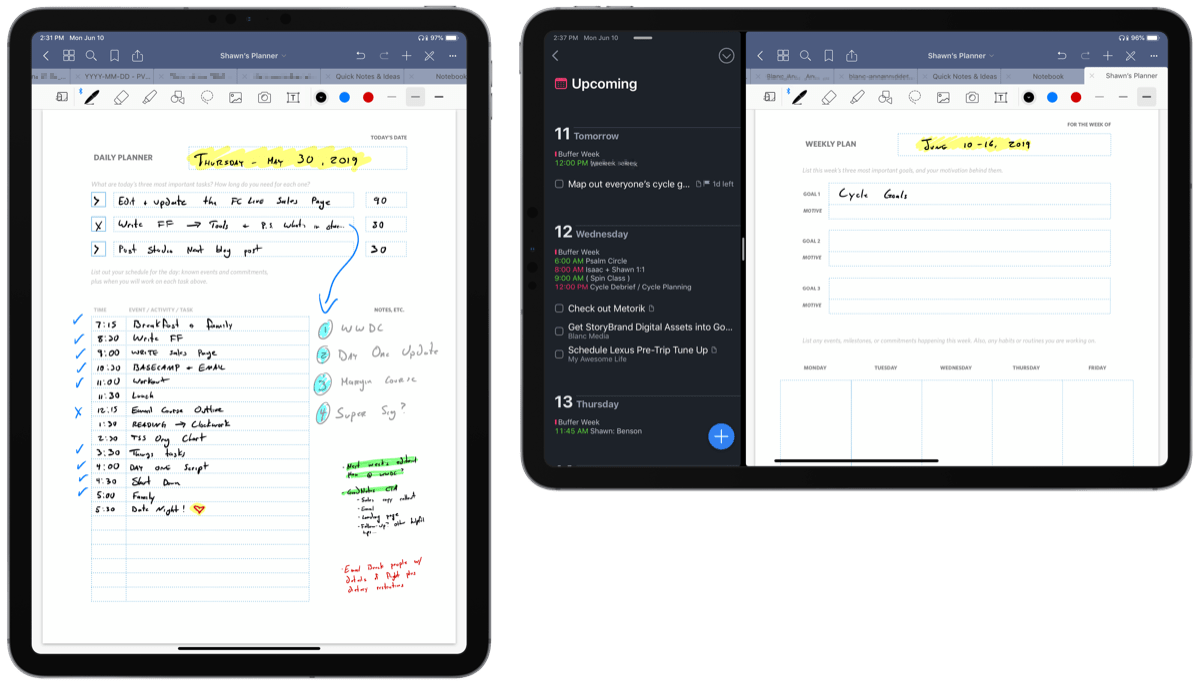
When you first launch GoodNotes, you’re taken to the Library view. This view shows you everything you have inside of GoodNotes and may contain individual notes, notebooks, or folders. By default everything is displayed in a grid view that you can organize by either date modified or name, but you can change this to a list view by tapping the list icon in the upper right to toggle on the List View. From either the Grid view or the List view, you can tap on the check circle in the upper right to select items, then:
- Export them using the iOS Share sheet
- Duplicate them in the currently selected folder
- Move them to a different folder inside of GoodNotes, or
- Delete them by moving them to the Trash.
Tap Done to return to the normal Library view, and you can also tap the star icon to favorite a notebook or folder, or tap on the down arrow duplicate, move, export, or delete the notebook or folder. You can also tap in the Title field to rename the notebook or folder. Once you’ve favorited notebooks or folders, they’ll show up in the Favorites view. Tap Favorites in the lower right to see a list of shortcuts to the notebooks and folders you’ve favorited, as well as any specific pages that you’ve marked using the bookmark icon in the Nav menu from the GoodNotes editing interface. You can filter your favorites by tapping the Filter button, then choosing between:
- Any (which shows all your favorites),
- Documents only (which will just show you the notebooks you’ve favorited),
- Pages only (which will display just the pages you’ve bookmarked), and
- Folders only.
To create a new document, notebook or folder, go back to the Documents tab and tap the plus icon. There are several options available to you here. First, you can create a new notebook. This takes you to the new Notebook screen where you can customize your notebook. Tap Cover to select the cover that will be displayed in the Library, then select the default paper type you want to use. There are lots of options to choose from, and you can even upload your own paper templates, which we’ll show you how to do in another video. You can select the size and color to filter the results that are shown, choose the layout for the notebook from either portrait or landscape, and select the language you want the recognition engine to use when applying optical character recognition to your text (or OCR) so it can be indexed and searched. Give your new notebook a name, then tap Create to add your new notebook to your GoodNotes library.
You can also create folders to keep your notes organized. Tap the plus button, and this time select Folder. Type a name for your new folder, then hit Done. The folder is created, and you can open the folder by tapping it. To add notes and notebooks to this folder, just create them while inside this folder. For example, tap the plus button again and this time select image. Select the image from your photos, and the image is added as a note inside of our new folder.
You can also add photos to this folder by using the camera. Tap the plus button and select Camera to take the picture and if it looks okay, select Use Photo to import the image as a document into the currently selected folder in your GoodNotes library.
You can also import a file into GoodNotes as a note, which can be very useful for PDFs you want to annotate and mark up. Just tap the plus button and select Import, then select the file you want from the Files app. The file is imported as a new document inside the selected folder.
You can also create a QuickNote, which can be useful when you just need to create a new note and start writing without having to decide which folder it belongs in or which notebook it should be a part of. Tap the plus button and select QuickNote to create a new blank note. You can always move this page to the right notebook later using copy and paste or drag and drop. You can also create a new QuickNote in the currently selected folder by double-tapping the plus icon from the Library view.
Wait. There’s a Bonus….
Custom Productivity Templates for Your iPad
If you want to use custom productivity templates on your iPad, we’ve put together a free, walkthrough guide along with two of our in-house templates that can help you get started.
We’ll show you…
- How to create and save custom page templates.
- How to use those page templates to transform GoodNotes into your own productivity notebook (or any other type of notebook replacement).
Plus, we also have included two of our custom productivity templates for you to get started with.
This guide is available for FREE to our email subscriber community. And you can get it right now.
By joining the Sweet Setup community you’ll also get access to our other guides, early previews to big new reviews and workflow articles we are working on, weekly roundups of our best content, and more.