How to Annotate Screenshots and Photos on iOS
Screenshots are one of the most effective ways to communicate about UI elements in virtually any operating system. What used to be a clunky and frustrating experience in years past is now a seamless and quick task. Thanks to the built-in screenshot tools on iOS today, it’s easier than ever to comment and share your ideas around the UI experience.
Annotating a New Screenshot
Whenever you take a screenshot on iOS, the image floats in the bottom right corner for a while — not long, just long enough for you to grab it if you want to. This is the most immediate way to start editing a screenshot. If you tap this floating image, then you’ll be taken straight to the editing window with the pen, marker, pencil, eraser, and lasso tools across the bottom. Next to these, you can choose the color you want to use with these tools.
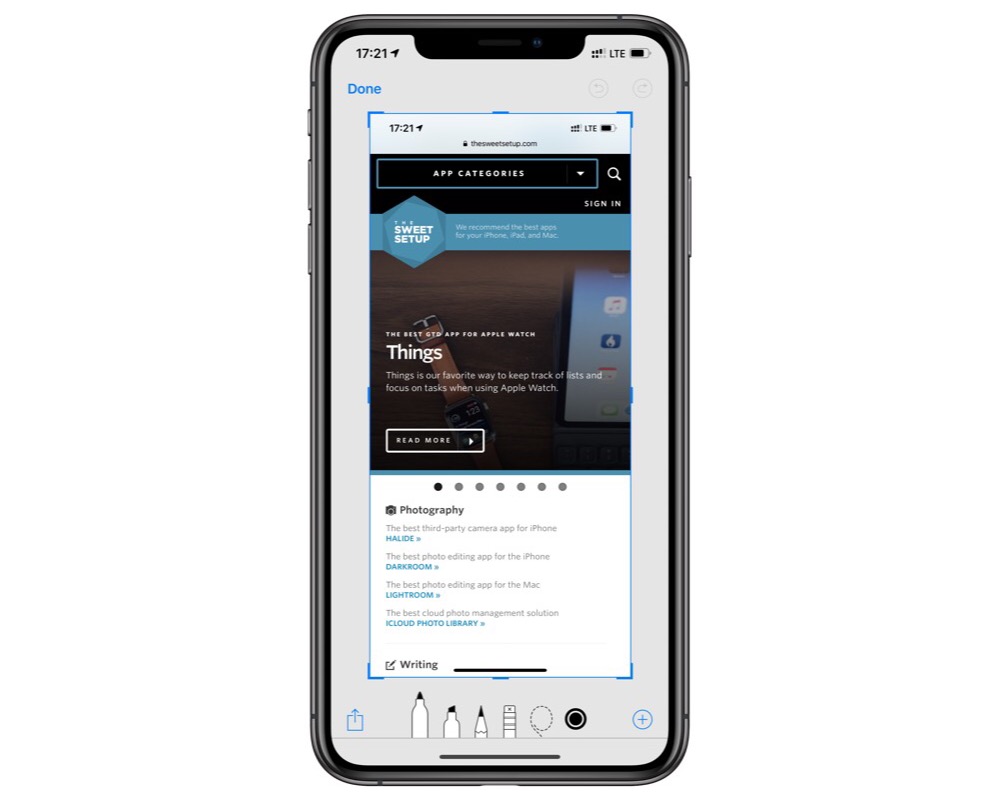
In the bottom right corner, there’s a + button, which allows you to add additional markup — be it text, a signature, magnification, squares, circles, speech bubbles, or arrows.
Once you’ve annotated your screenshot to your heart’s content, you can use the share sheet in the bottom right corner to send it where it needs to go instantly. Once you tap Done in the top left corner, you’re given the option of saving the image to photos or deleting the screenshot immediately, which helps to keep your camera roll clean.
Annotating an Existing Image
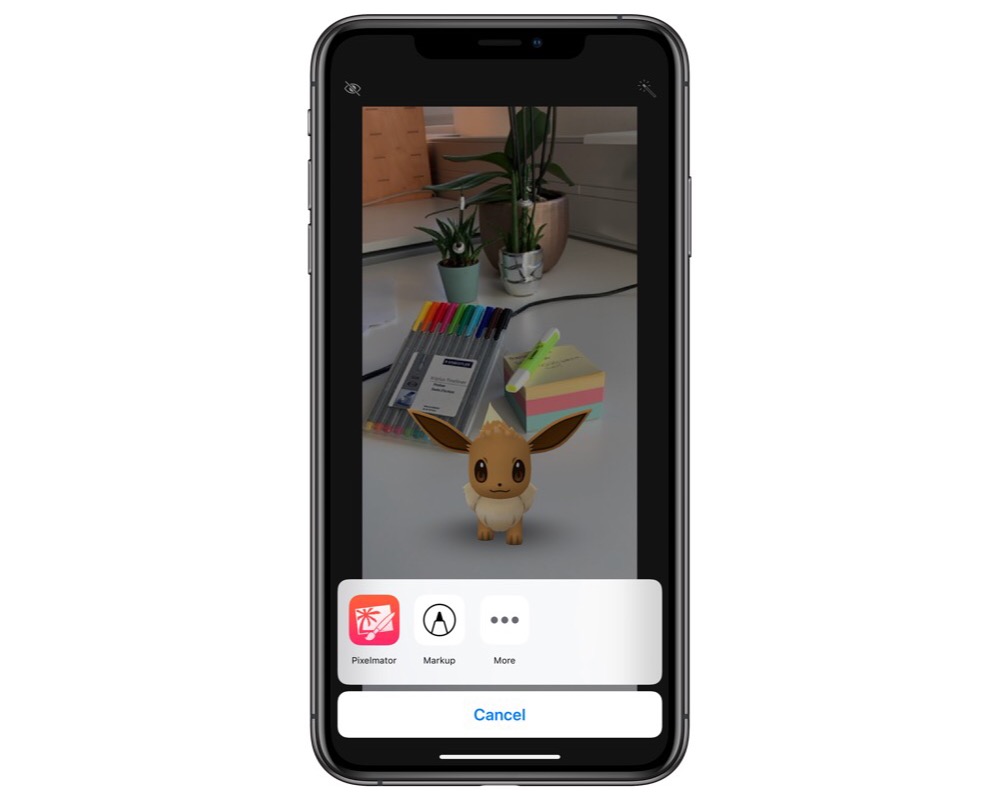
If you already have an image or screenshot saved in your Camera Roll, you can simply find it in Photos, tap Edit, and when you tap the … menu item at the bottom of the screen, choose Markup. This gives you all the same options as marking up a screenshot.
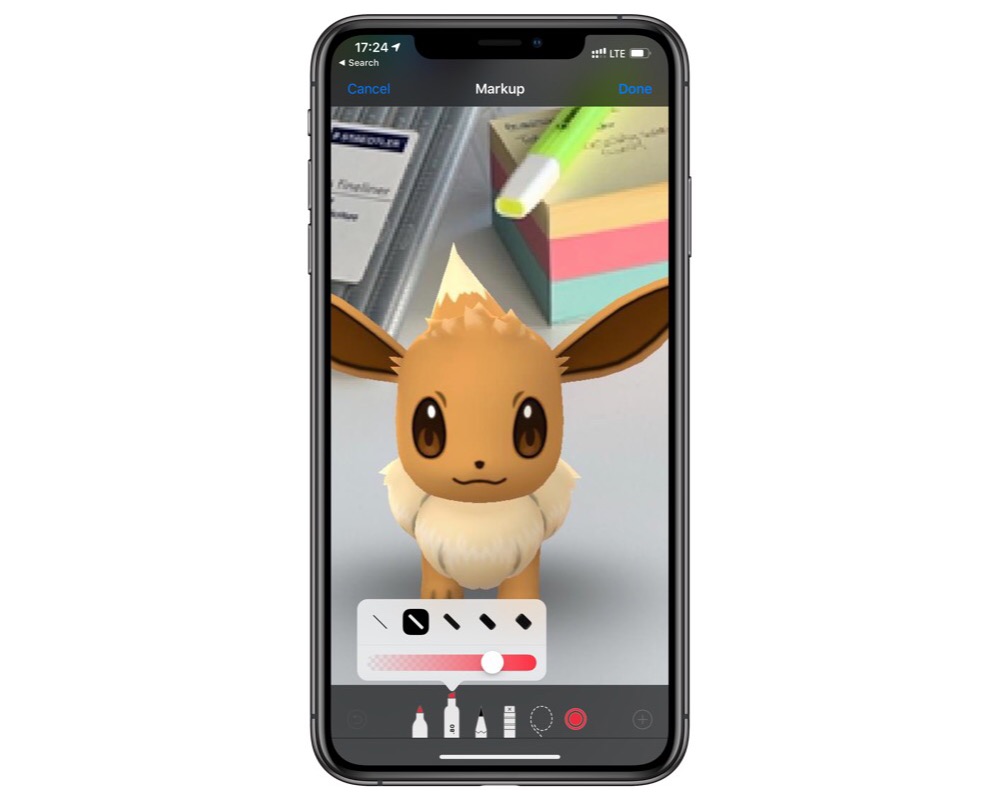
If you tap and hold the marker icon, you can choose how transparent or thick it should be too. Just don’t forget — it can be removed with some photoshop, so don’t use it to redact sensitive information.
Mess up your annotation? Tap and hold the undo button to undo all your changes.
We have more helpful tips right here.
Wait. There’s a Bonus….
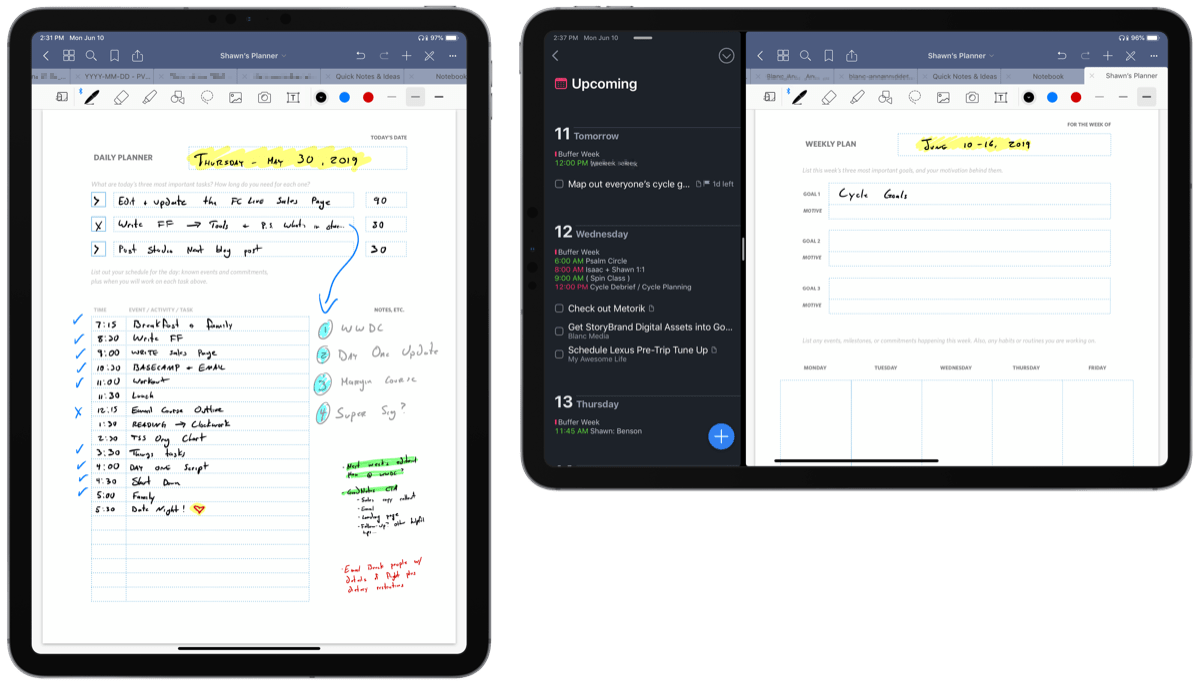
Custom Productivity Templates
We have a set of custom productivity templates that work well with the iPad app, GoodNotes. And if you want to try them out, we’ve put together a free guide that can help you.
We’ll show you…
- How to create and save custom page templates in GoodNotes.
- How to use those page templates to transform GoodNotes into your own productivity notebook (or any other type of notebook replacement).
Plus, we also have included a couple of our custom productivity templates for you to get started with. These templates are right out of our popular productivity course.
The custom templates and the guide are available for FREE to our email subscriber community. And you can get it right now. By joining the Sweet Setup community you’ll also get access to our other guides, early previews to big new reviews and workflow articles we are working on, weekly roundups of our best content, and more.