How Obsidian’s Live Preview Feature Works (VIDEO)
Obsidian version 13 introduced a new editor engine that allows WYSIWYG (What You See Is What You Get) text editing called Live Preview. It’s a pretty big update, and in this video, we walk you through how to set it up and how it works.
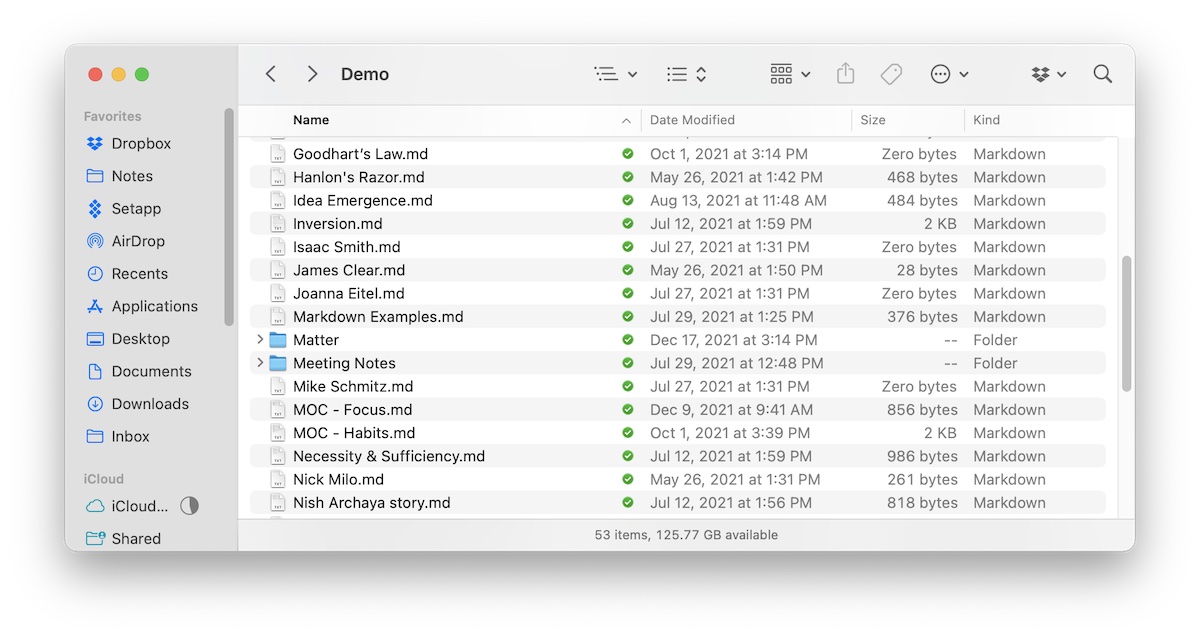
One of the things that I love about Obsidian is that it is all based on plain text. Any note in your Obsidian vault is really just a Markdown file sitting locally on your computer.
There are lots of different ways that you can style Markdown text. For example:
*text*to italicize text**text**to bold text# textto create a header- textfor unordered lists1. textfor numbered lists[text](link)for external links[[page title]]for internal linksfor images
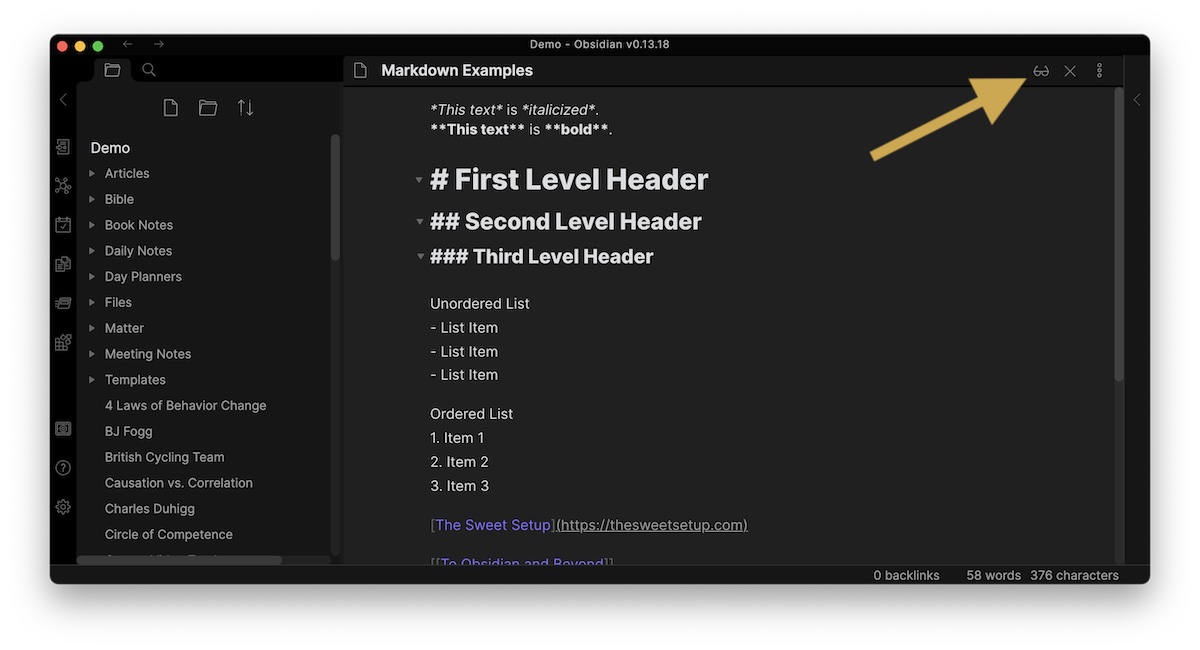
Before the rollout of the Live Preview feature, the source text (with the Markdown formatting) was separate from the rendered text. If you have used Obsidian for a long time, you’re probably familiar with this Edit View.
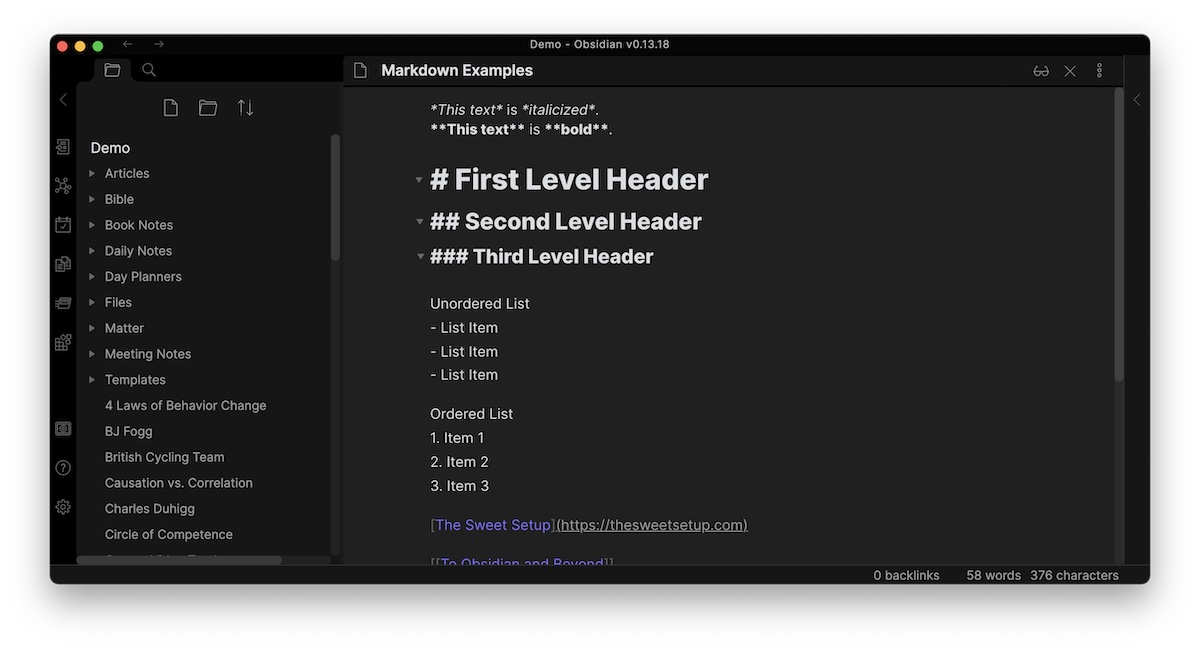
One of the basic principles in Obsidian from the very beginning is that this Edit Mode is where you make all the changes to your text and Preview Mode (now called Reading Mode) is where you would see your text rendered. You can switch from Edit Mode to Reading Mode by clicking the button up here.
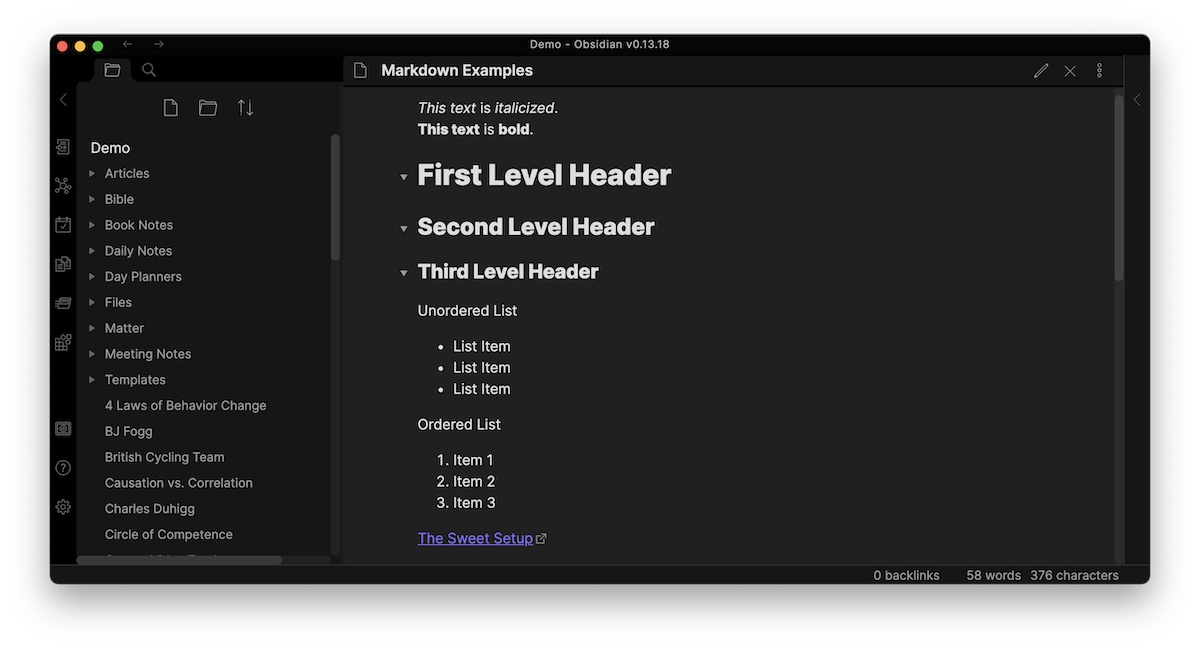
And this is what our text looks like when the Markdown formatting is actually rendered in Reading Mode.
For much of Obsidian’s brief history, people have been switching back and forth between this preview mode and the edit mode when making changes to text. But this is all different with the rollout of the Live Preview feature, which actually combines the Reading Mode and the Edit Mode together.
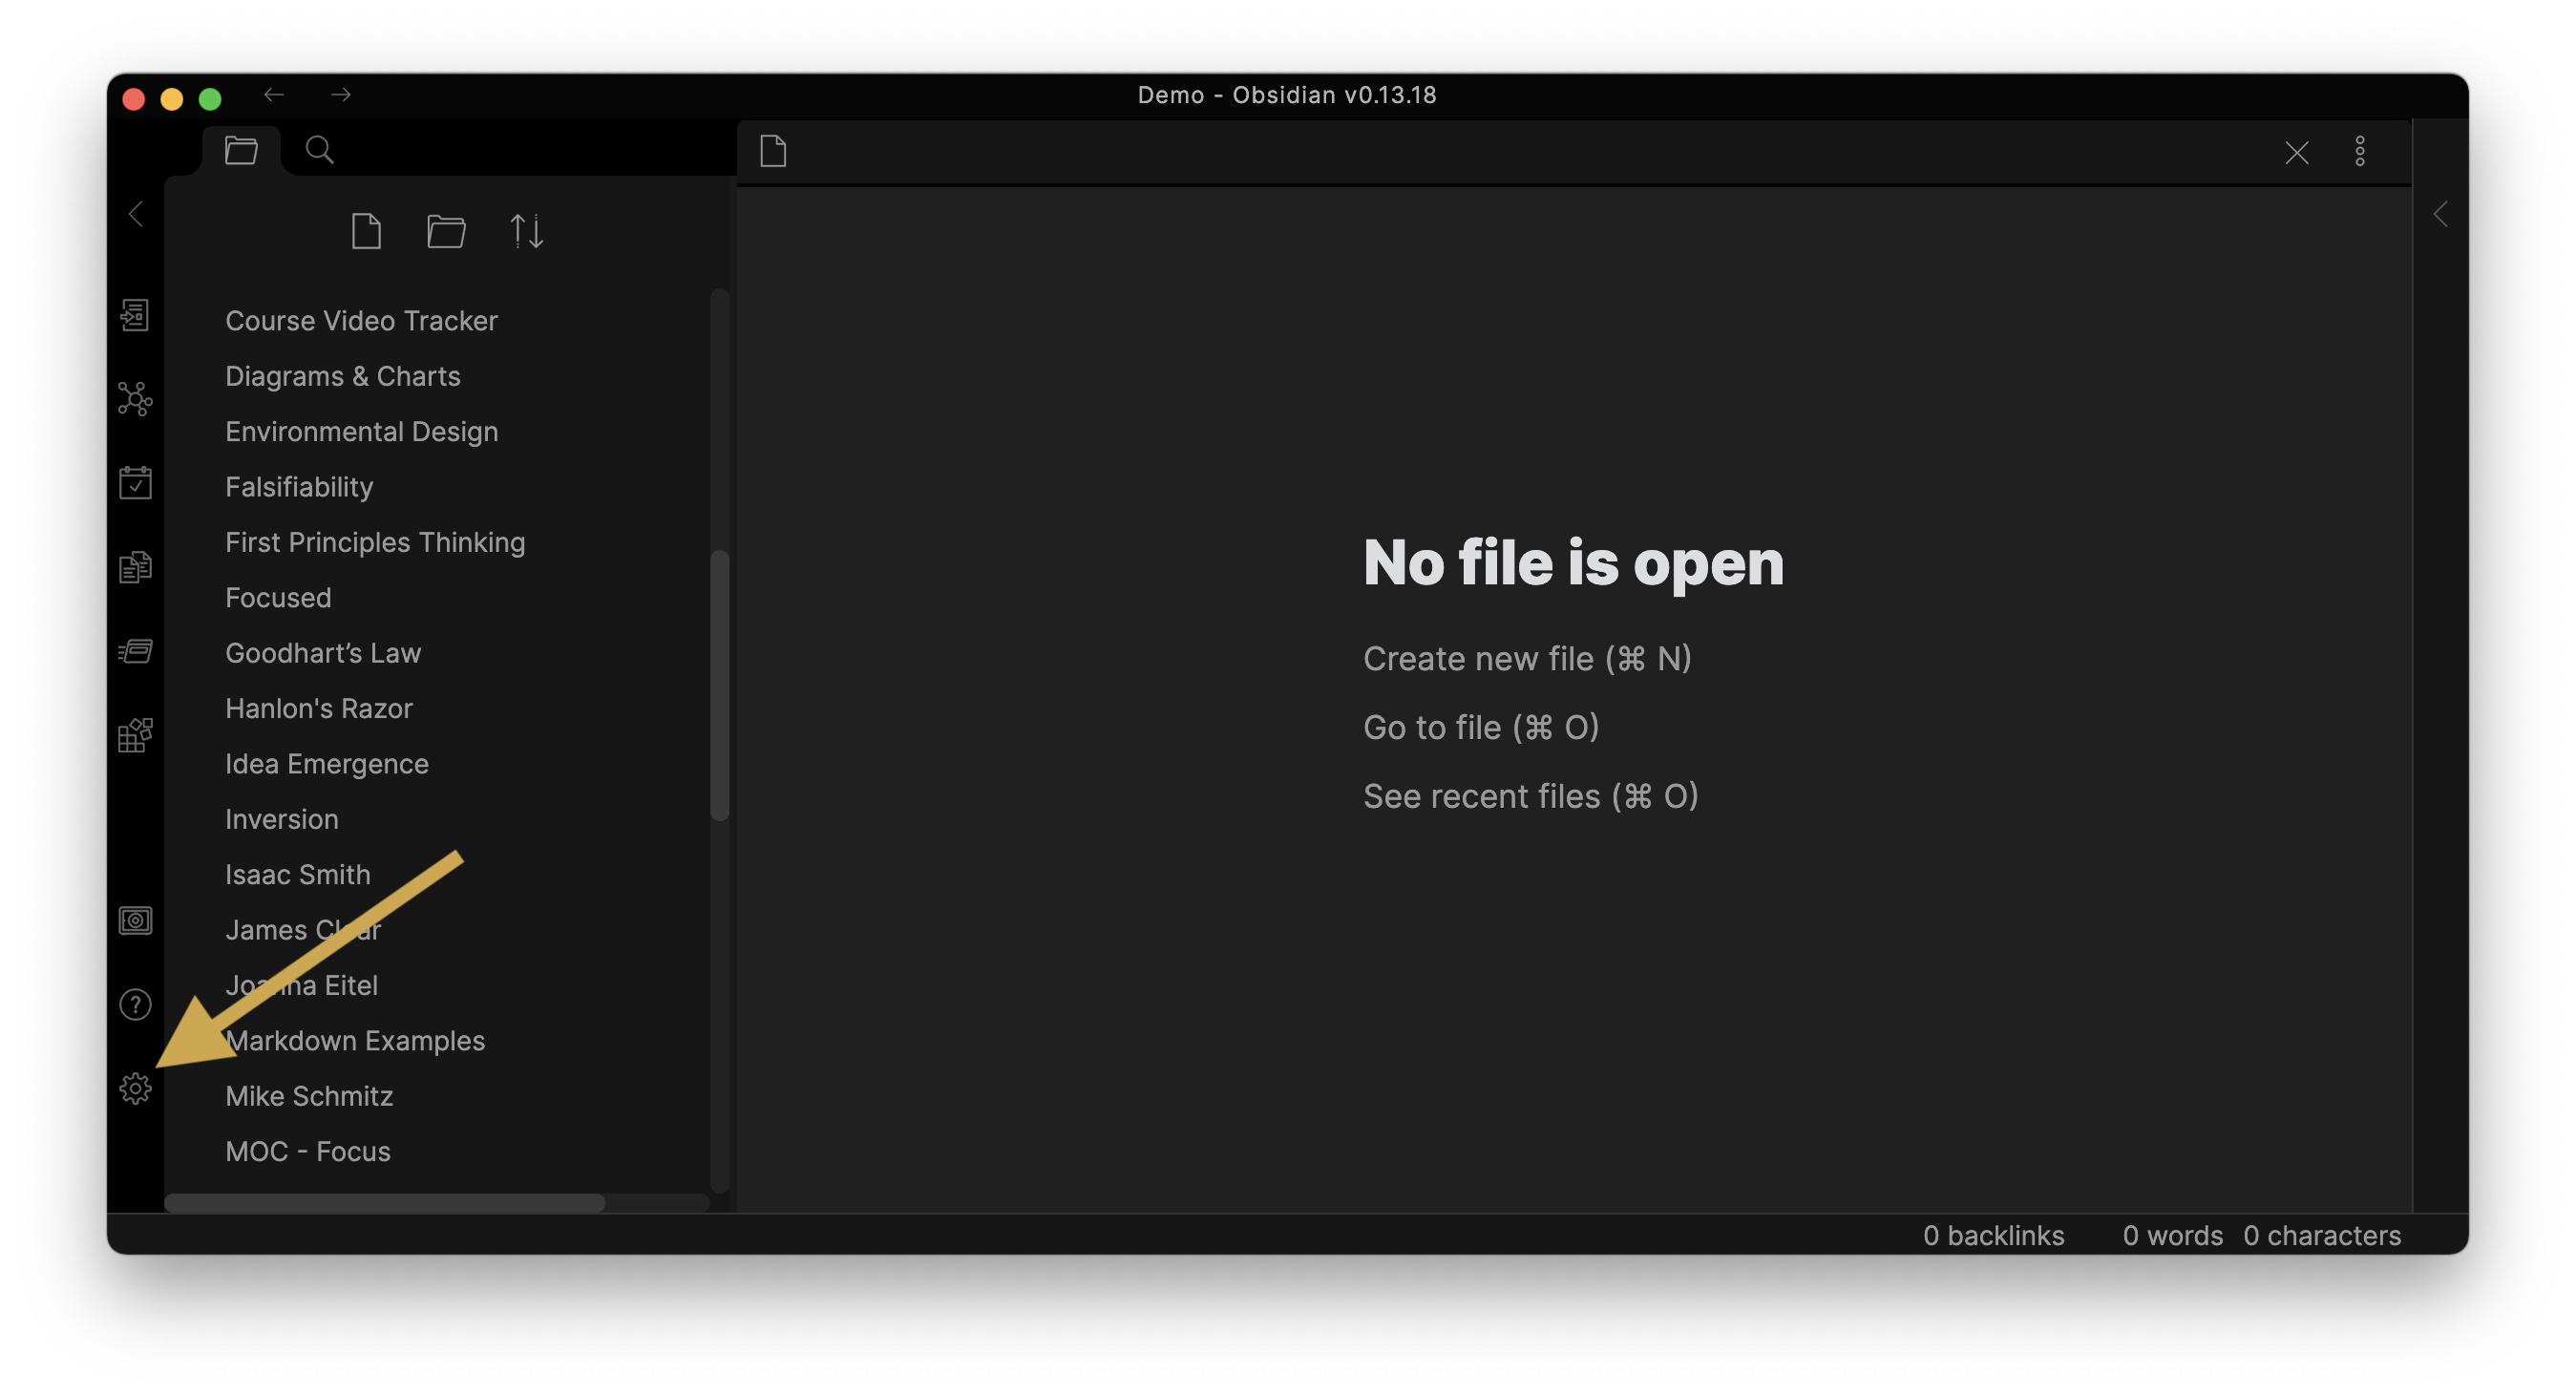
If you’re just installing Obsidian for the first time, there’s a good chance that it actually ships in this Live Preview mode. But if you’ve been using Obsidian for a while, you will have to go turn this on in the Settings by clicking on the gear icon in the left sidebar:
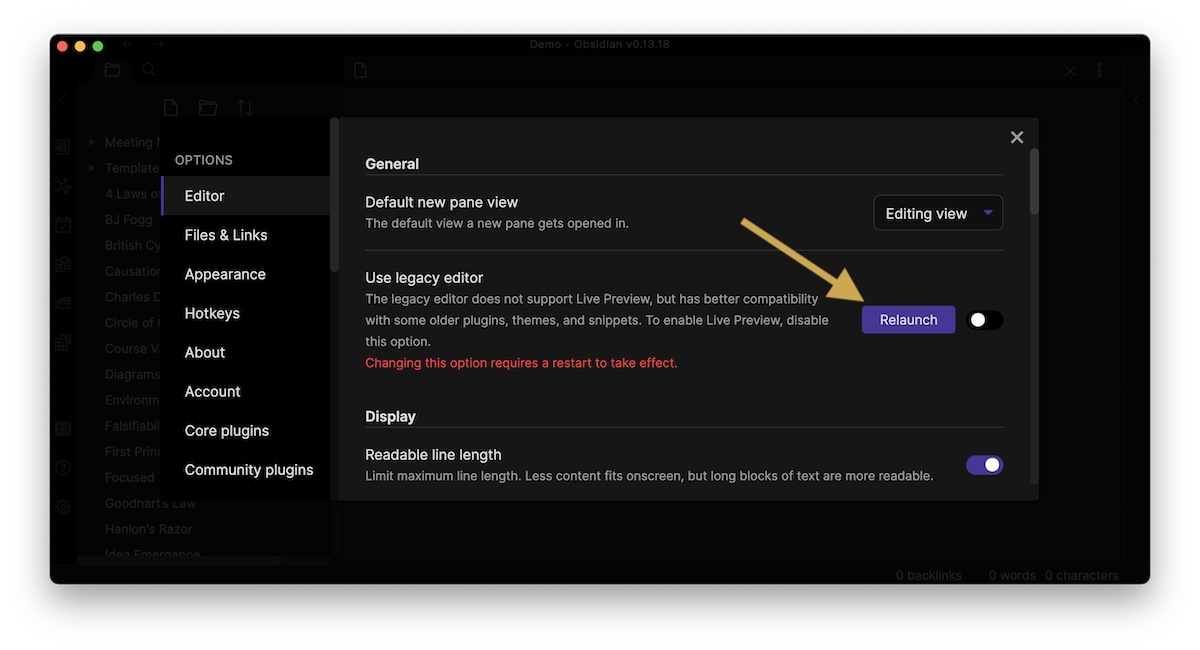
Next, go to the Editor tab and toggle off the Use legacy editor option.
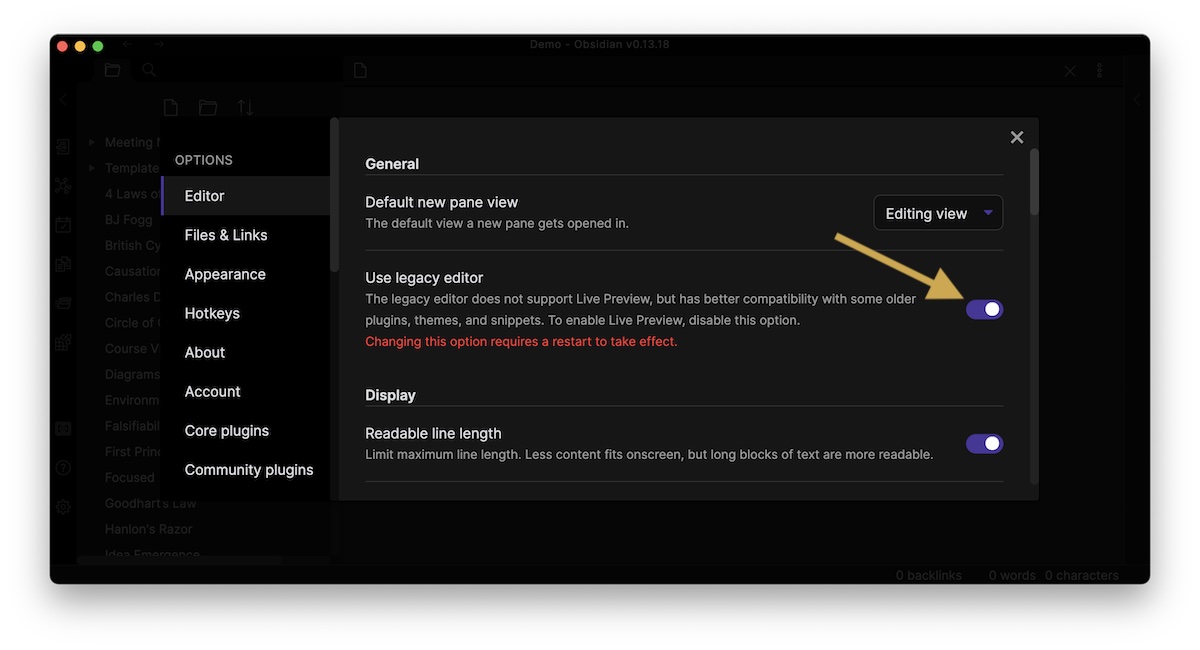
You need to restart Obsidian in order for this to take effect, so click the Relaunch button.
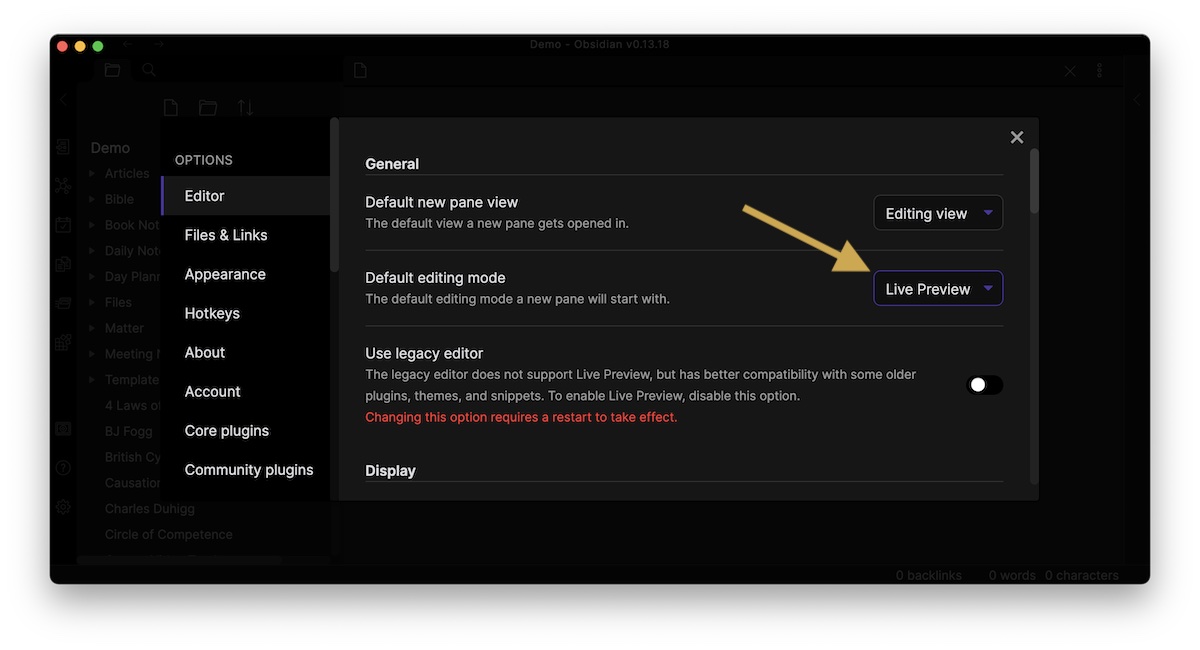
Now let’s go back to our settings, and switch the default editing mode to Live Preview.
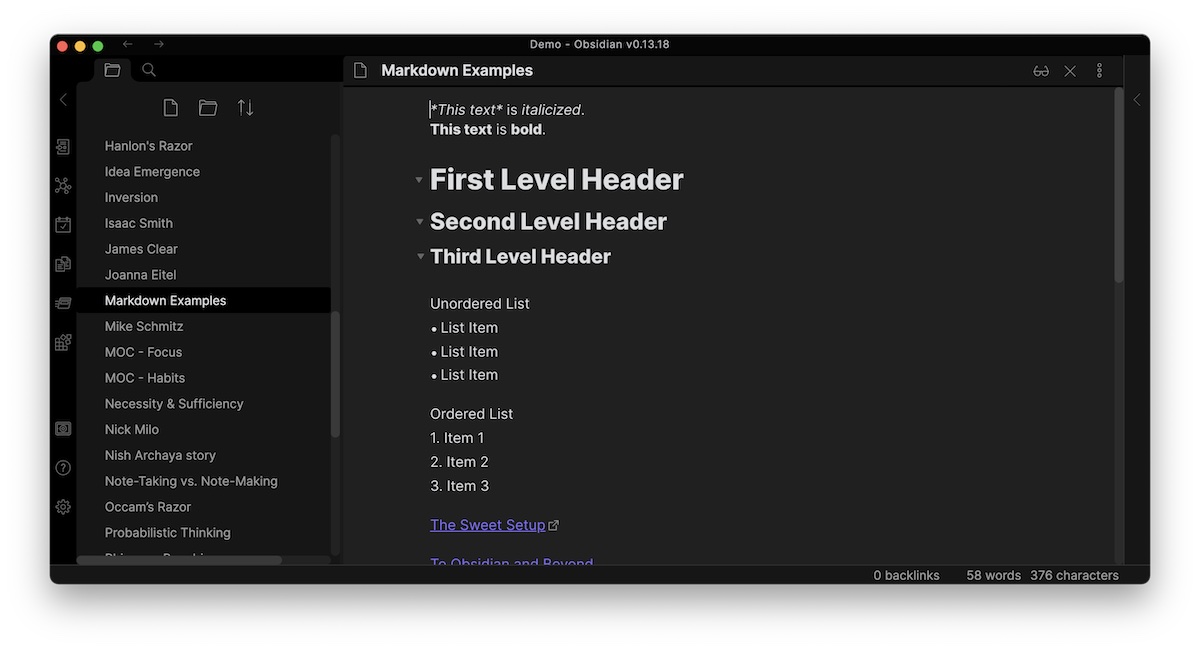
Close the current note and open it again to see the changes take effect. Now you can see that the line with the cursor shows us the actual Markdown, but everything else in our note has been rendered.
This eliminates the need to go back and forth between the different views and is going to be a lot more familiar for people who are coming to Obsidian from a program like Roam Research or LogSeq. It may take some time to get used to if you’re coming from the classic editor, but I really like this Live Preview feature and I encourage you to give it a try. It gives you the benefit of seeing what your document looks like and eliminates the complexity of clicking the button to switch back and forth between the different modes. It’s a great feature that makes Obsidian a lot more usable for a lot of people.