How I Use the iPhone 11 Pro for Product Photography
Each year, I buy a new iPhone, review it, take photographs of it (and with it), share my thoughts, and promise to return to the subject to see how specific elements of the iPhone fair over the long run.
And each year, I fail to return to the conversation.
But this year is different for one main reason: The power of the iPhone 11 Pro’s camera system.
The iPhone 11 Pro’s camera is simply the best camera system yet in an iPhone, and I’ve found myself using the iPhone for more of my personal photography than ever before. Live Photos have always been a mainstay in my photo library, but the 11 Pro’s video camera has enabled better personal videos as well.
The 11 Pro’s camera system also provides ample opportunity to shoot a specific type of photo that always required a dedicated camera in the past: product photos. I’ve been playing with the iPhone 11 Pro over the last few months to see if there’s a possibility I can leave behind my Fujifilm cameras for some product photography.
In some cases, I’m happy to report, I can use the iPhone in a pinch and nobody has noticed enough of a difference to make a comment. But it has required some extra hardware (and some extra patience) to arrive at a final result I’m happy with.
First, the hardware.
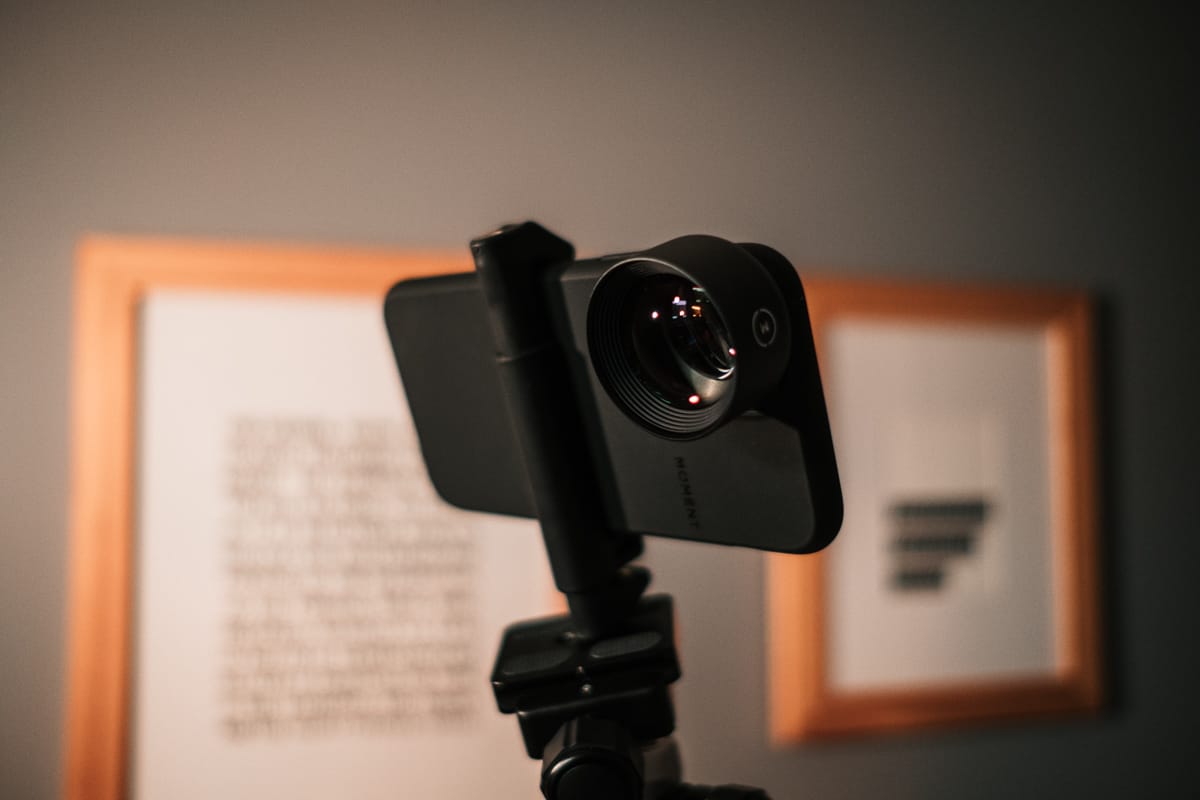
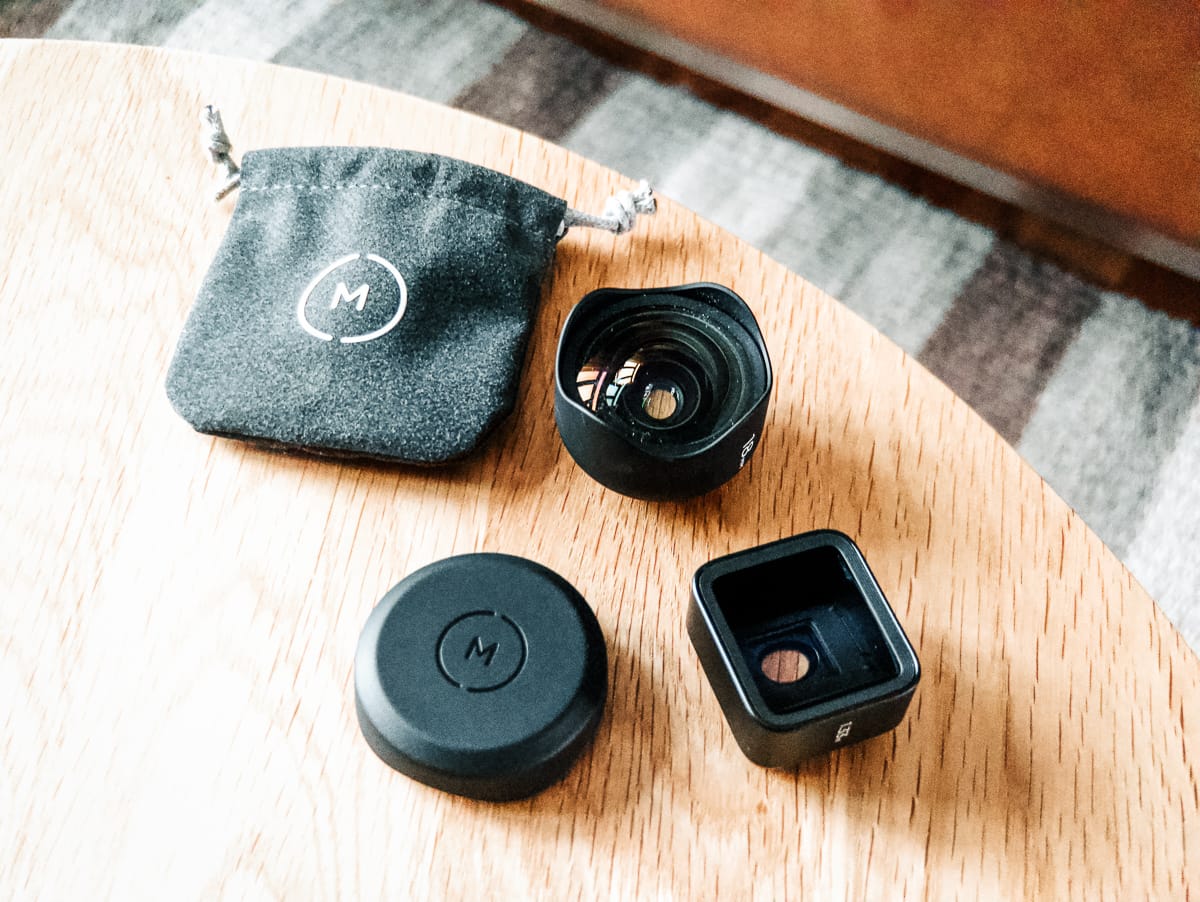
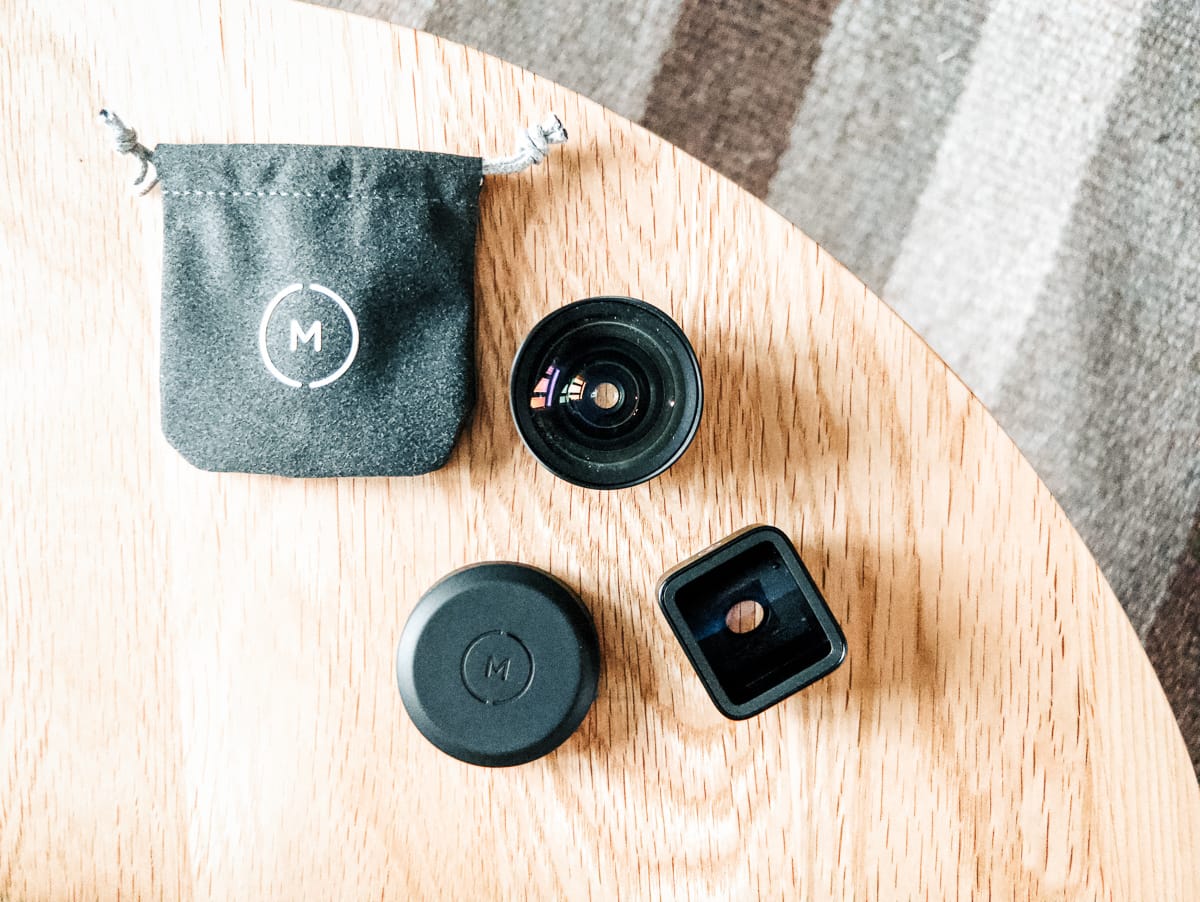
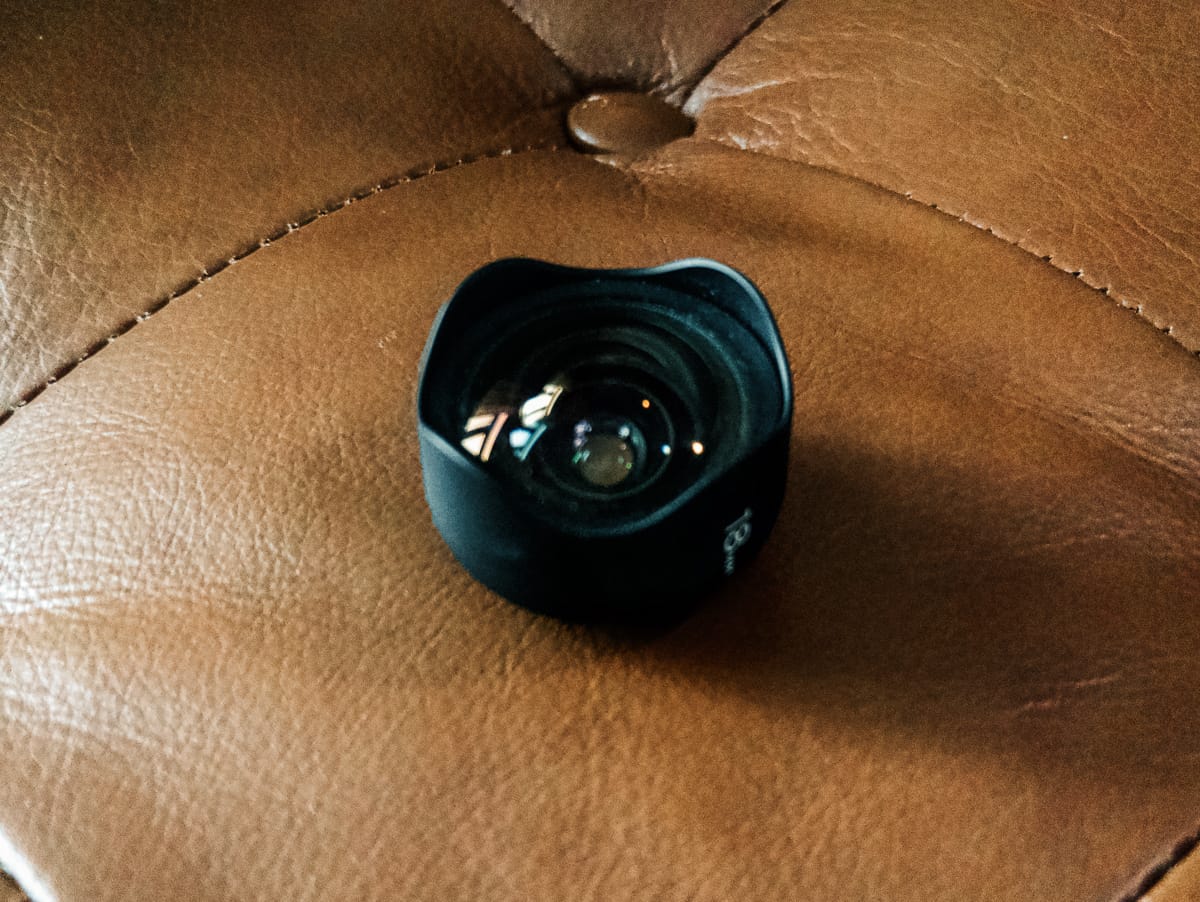
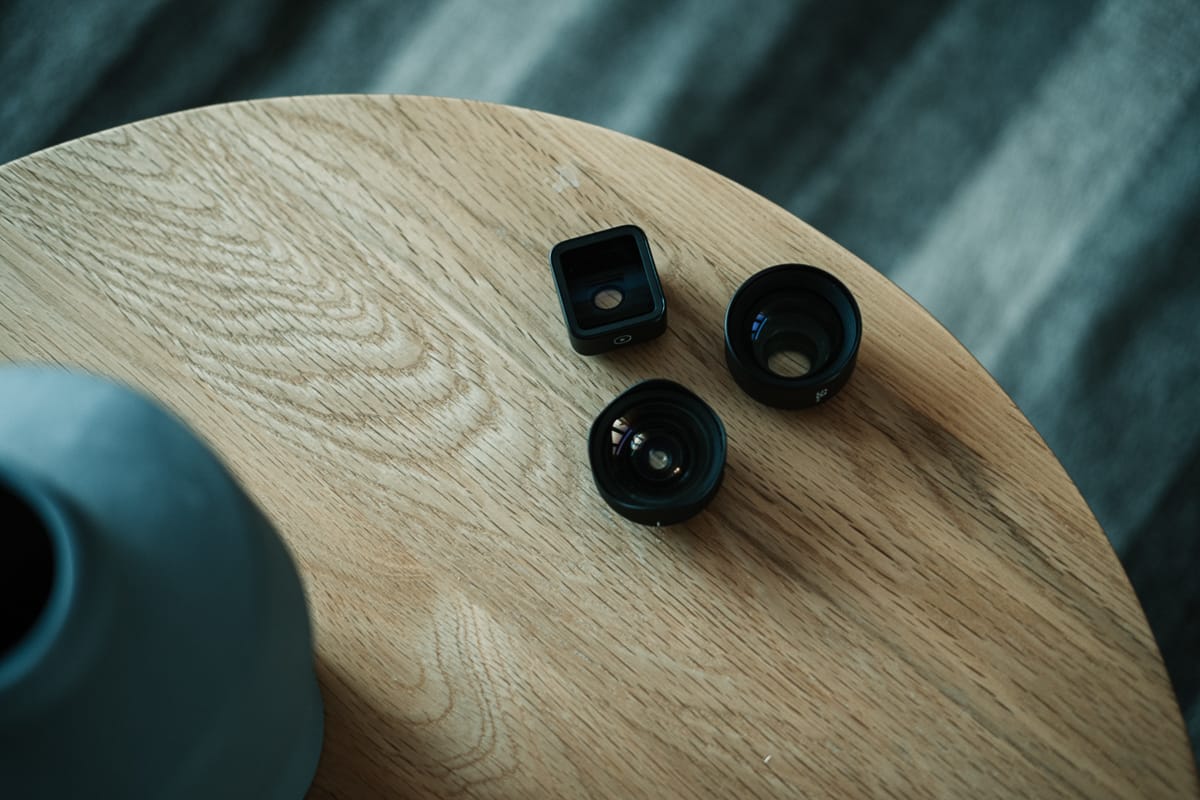
Moment’s Wide and Tele (and Anamorphic) Lenses
Moment’s hardware lenses for the iPhone have highlighted how far the iPhone’s camera has come over the last few years. I received the Moment Wide, Tele, and Anamorphic lenses and have tried to compare the results from the hardware lenses to the built-in iPhone 11 Pro cameras. In some cases, I’ve been really impressed with each of the add-on lenses. In others, the lenses have shown how great the 11 Pro’s built-in cameras already are.
All these lenses attach to one of Moment’s proprietary iPhone cases. The case has a mount over the top of the iPhone’s cameras in which you can (fairly) easily mount the external Moment lenses. Simply insert and twist 90 degrees to secure the lens.
Aside from ease though, I haven’t been overly impressed with the iPhone 11 Pro Moment case — the quality is surprisingly poor, the buttons hardly depress, and the removable lens mount moves around too much to be fully reliable. The case is workable, but it’s nowhere near the quality of the XS Max case from last year.
All of Moment’s lenses are of the highest quality. I’ve handed each lens to different friends over the holidays and they were all surprised by the heft and density of each lens. These are impressively high quality lenses and will fit in with any other professional photography gear you may have.
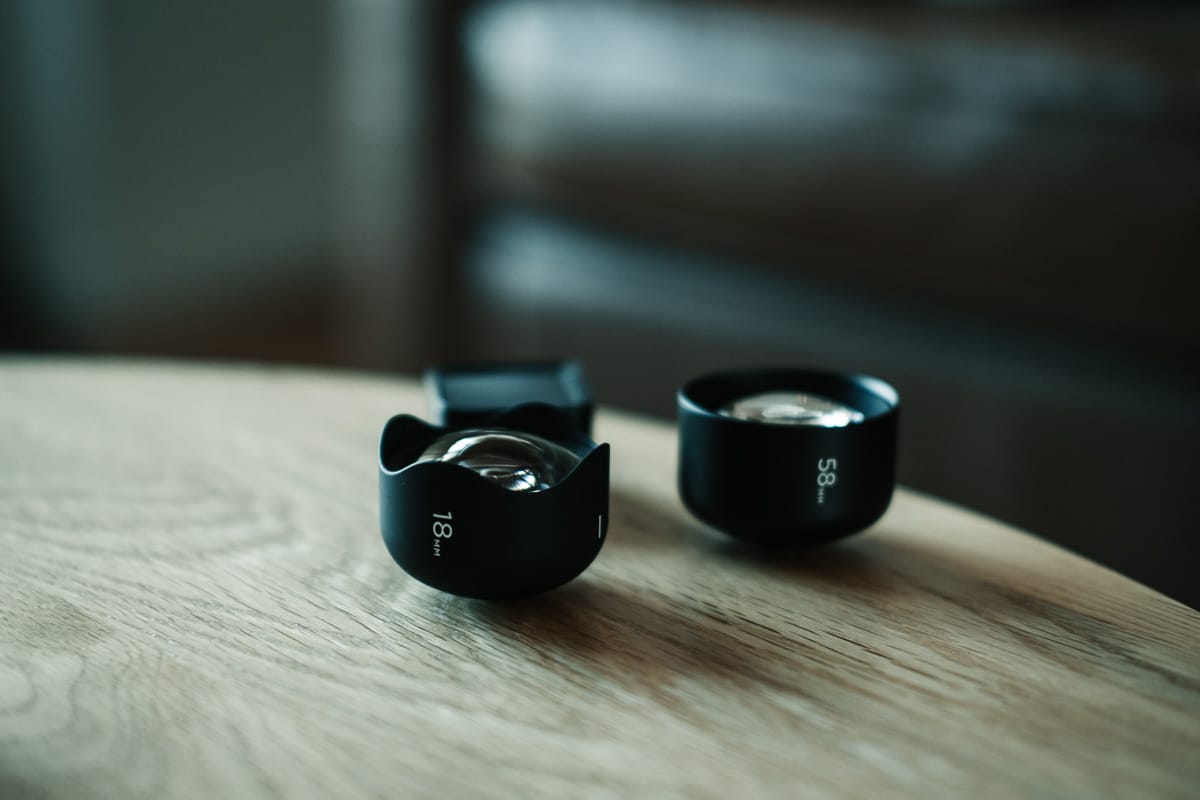
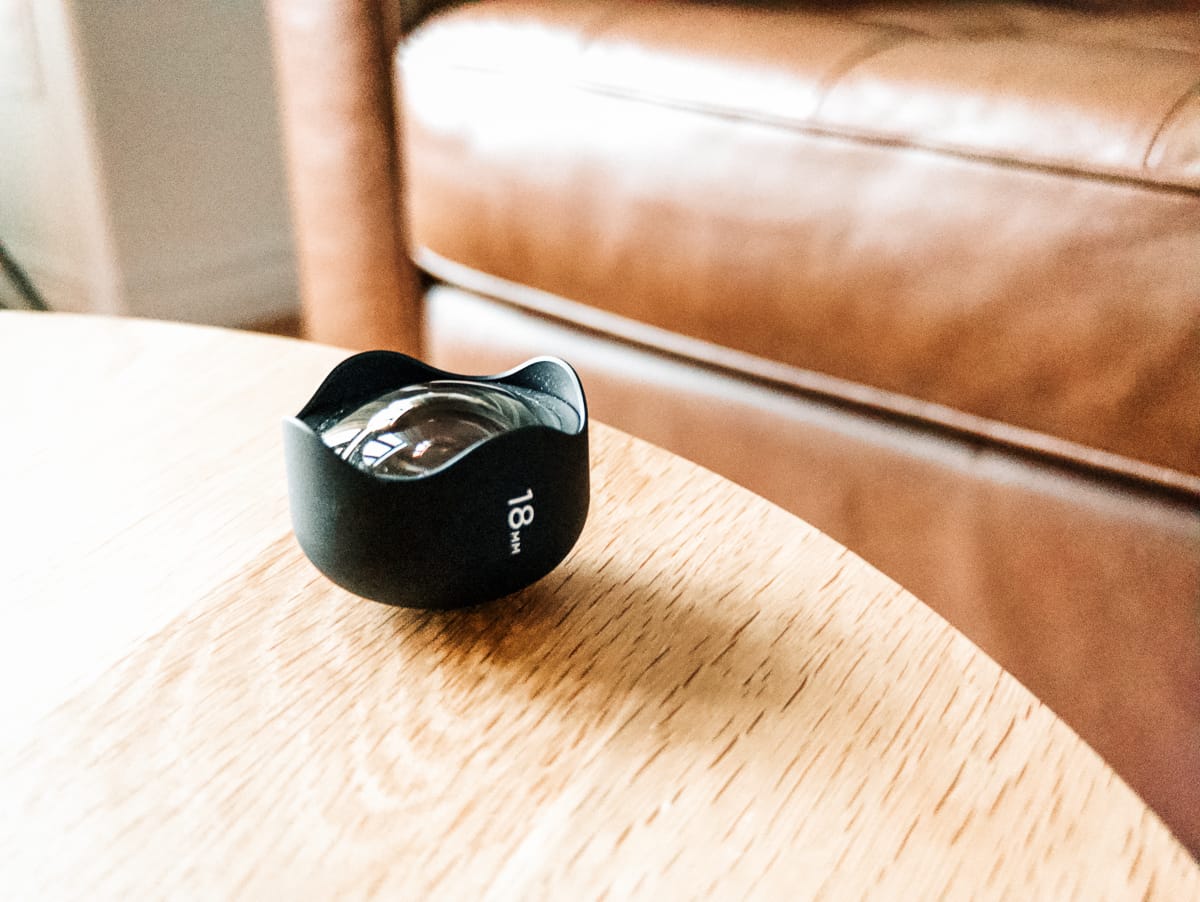
Each lens is secured over the iPhone 11 Pro’s wide camera — you don’t put the tele lens over the tele camera and the ultra-wide over the ultra-wide camera.1 This is both convenient and advantageous. For one, you don’t need to guess which camera to mount which lens. And two, you can use the 11 Pro’s best camera and sensor — the wide camera — for all your shooting. This camera has the widest aperture and shoots the cleanest files.
Moment’s Wide lens has a slightly wider field of view than the iPhone 11 Pro’s wide camera, allowing you to capture a field of view that fits between the 11 Pro’s ultra-wide and wide cameras. This Wide lens is awesome for shooting well-lit indoor photos, photos of your kids in the backyard or on the play structure, or travel photos.
But overall, I haven’t used the Wide lens at all for product photos. It’s not my most-loved focal length for product photography and, instead, has been my go-to lens for shooting holiday photos over the last few weeks.
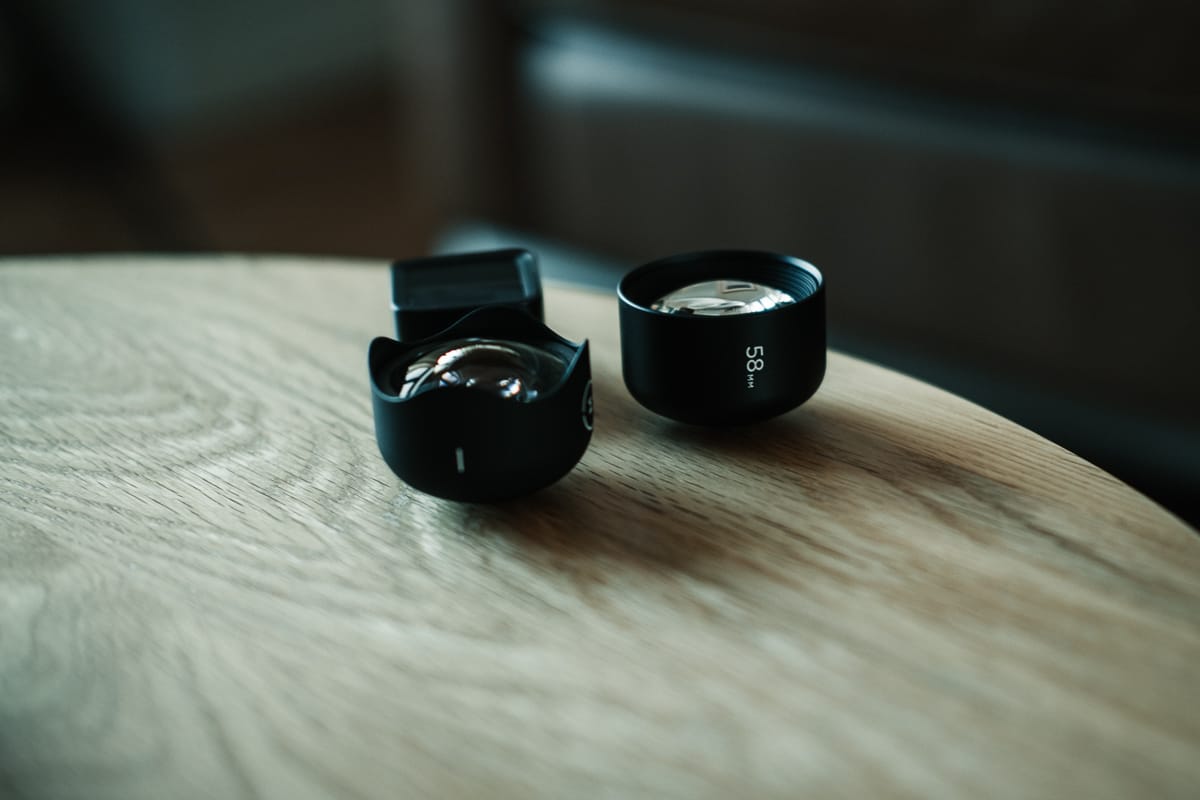
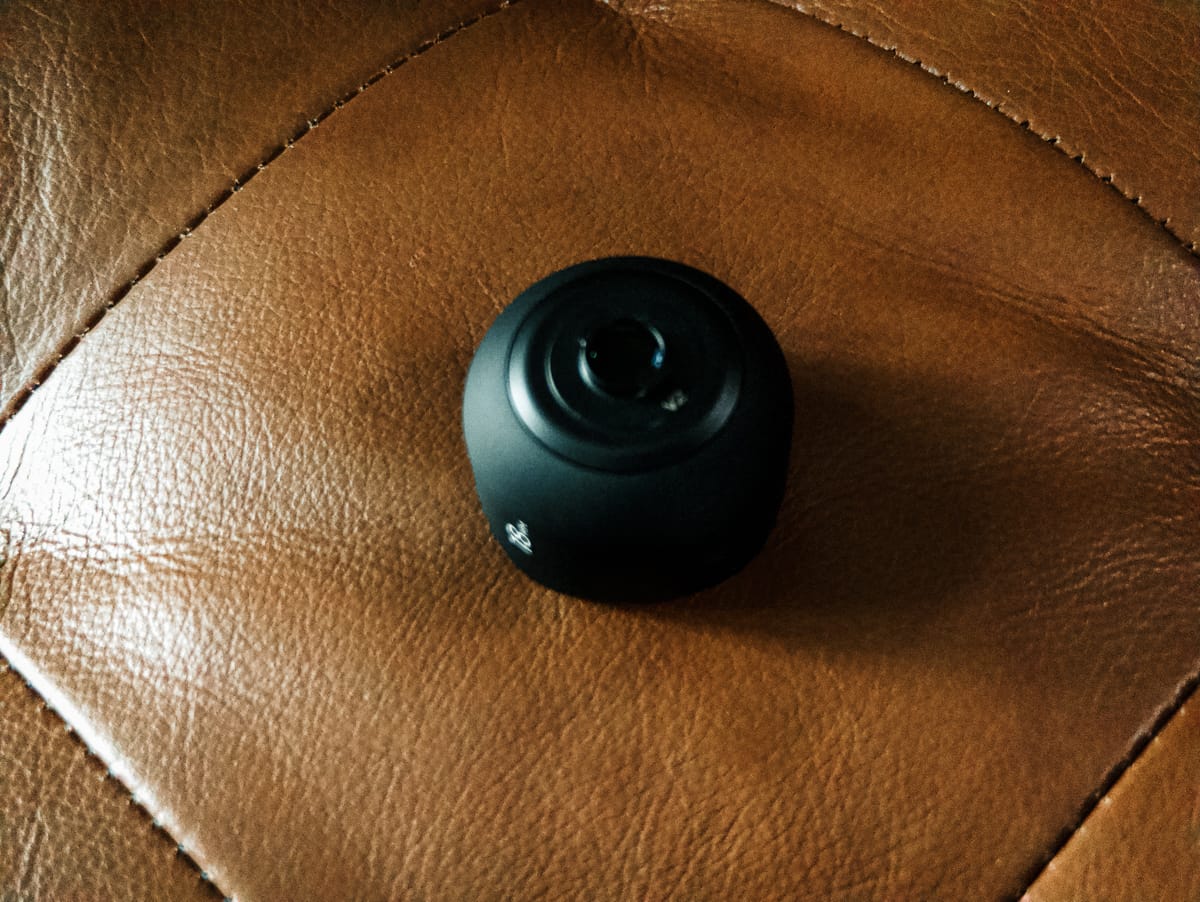
Moment’s Tele lens carries the same build quality as the Wide lens and has a 58mm focal length to boot — perfect for shooting product photos. Whether you’re shooting flat-lay, top-down photos of your desk or need to get a bit closer on a specific part of a product, the 58mm Tele lens is a great focal length to get the job done.
Despite the fact that I almost never use the telephoto camera on the iPhone 11 Pro, the Moment Tele lens is my most-used external lens so far.
Studio Neat’s Glif
I bought one of Studio Neat’s Glifs way back in the day (back for the iPhone 6, I believe) and I’ve used it on and off as a tripod accessory ever since. So long as you have an Allen wrench nearby, you can adjust the Glif to any of Apple’s current iPhones and mount the whole package onto a tripod for stabilized shooting. You can use the Glif for other purposes as well — like propping up your iPhone to watch a movie — but it’s best used for mounting the iPhone to a tripod.
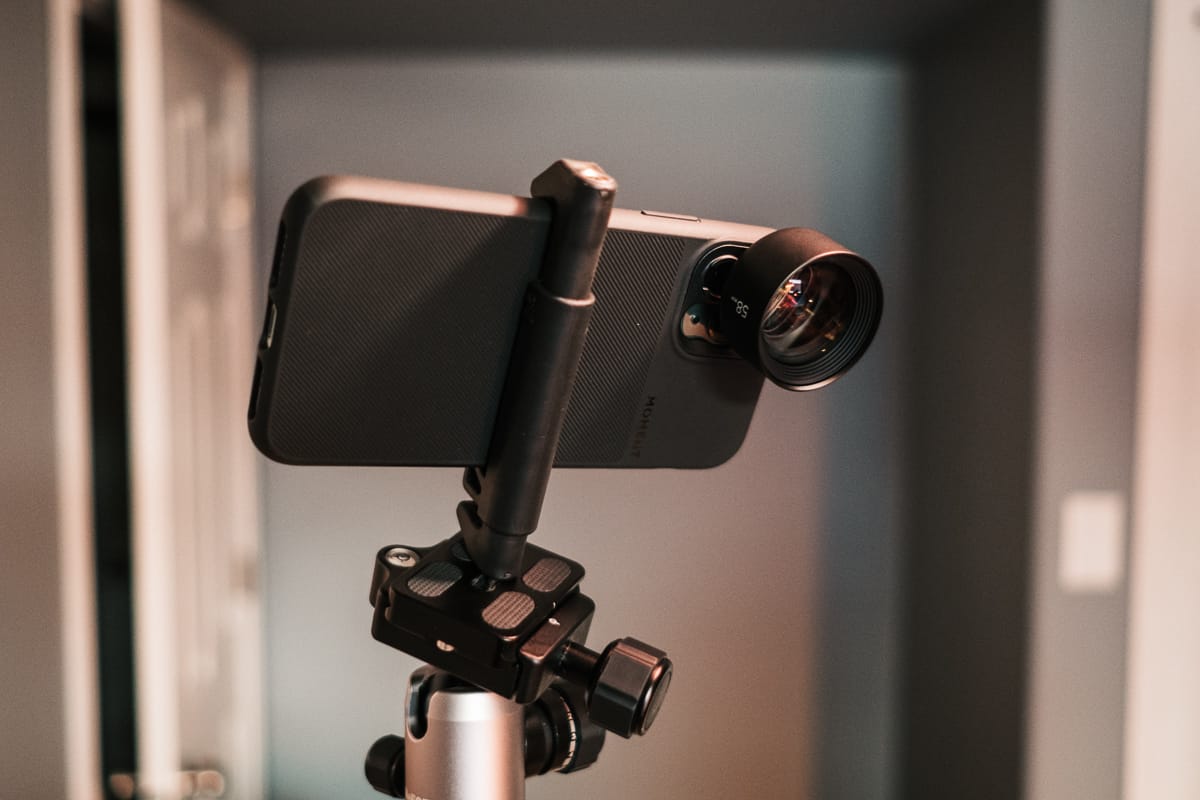
I’ve found the Glif to be a near-mandatory part to my iPhone product photography experiments, as it is necessary to keep the iPhone as still as possible when shooting in low light. Daylight is hard to come by in the Canadian Prairies right now, so much of my photography is completed using strobes and flashes at dark times during the day. No matter how good Night Mode is on the iPhone 11 Pro, you’re bound to achieve better results by mounting the iPhone to a stable tripod and triggering the shutter off camera. Provided you have a Glif and an off-camera trigger (like a pair of EarPods), the workflow is possible.
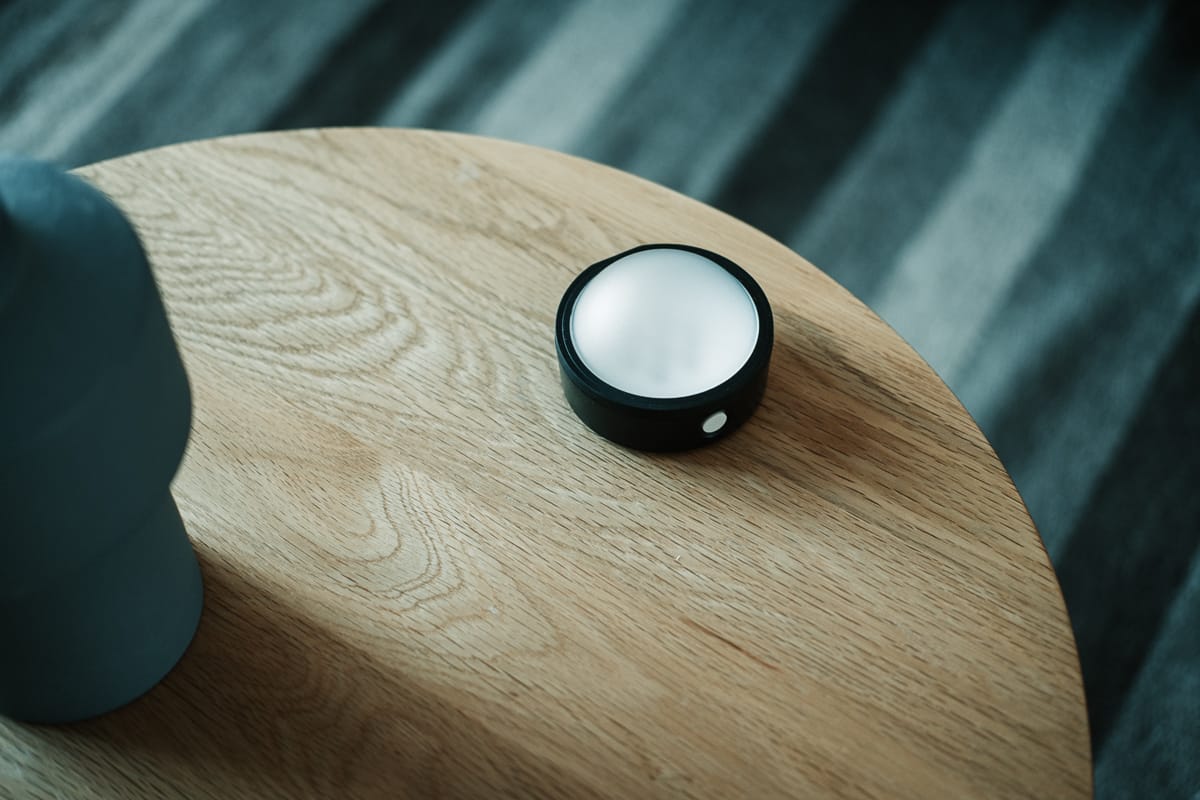
ProFoto’s C1 Mobile Light
ProFoto’s C1 Mobile Light might be the most expensive off-camera trigger you could buy for iPhone photography, but it also happens to house one of the best lights I’ve ever played with. In fact, this C1 Mobile Light might be my favorite iPhone accessory of all time.
The C1 connects to your iPhone via Bluetooth and fires when you fire the shutter button on your iPhone. Using ProFoto’s app, you can change the intensity of the flash, turn on the C1 as a continuous light, change the temperature of the light, and set exposure, white balance, and other photographic settings. Connecting the C1 to the ProFoto app is an absolute breeze and everything works instantly and seamlessly.
The C1 charges via USB-C and can fire 2,000 full-power flashes per full charge. You can use the continuous light for up to 40 minutes on a full charge, and it only takes 2 hours to charge the C1 to full capacity.
This little light can do it all.
Most importantly, you can use the light as an off-camera trigger as well. If you mount your iPhone onto a tripod, you can trigger the shutter using the single button on the side of the C1 Light. With this handy feature, you can shape the light around your subject however you want.
If you want to build the C1 into your dedicated camera kit, you can opt for the more expensive C1 Plus. The Plus comes with 20 LEDs (compared to the C1’s mere 7 LEDs), the ability to mount magnetic color gels, and the ability to link it into a larger TTL kit for your dedicated cameras. I had no idea what I was getting into with the C1, but I can now see why someone would opt for the C1 Plus considering all its incredible features.
The base C1 Mobile Light has changed how I shoot photos with my iPhone. It provides an incredible amount of light for such a small little device, and the flexibility of being able to hold it wherever to create the look you want is empowering.
If I could recommend any single accessory for taking your iPhone photography to the next level, it would be the C1 Mobile Light.
Setup and Shooting
All the above hardware is put in place in order to maximize the iPhone’s best camera sensor in the lowest light conditions. I’ve found it works best to put the Tele lens onto the regular wide iPhone camera, enabling the fastest aperture camera to be used. However, if you want to skip over the Tele lens, it’s entirely possible to still get great results — I directly compared the built-in tele camera to the Moment Tele lens on the wide camera and the differences are very subtle.
Once the Moment Tele lens is secured to the iPhone case, I mount the iPhone to the Studio Neat Glif and then onto my simple MeFoto Backpacker Travel Tripod. The Backpacker can provide top-down composition via the swivel head, but it’s not a perfect setup — I’d recommend a proper top-down tripod accessory for this sort of thing.
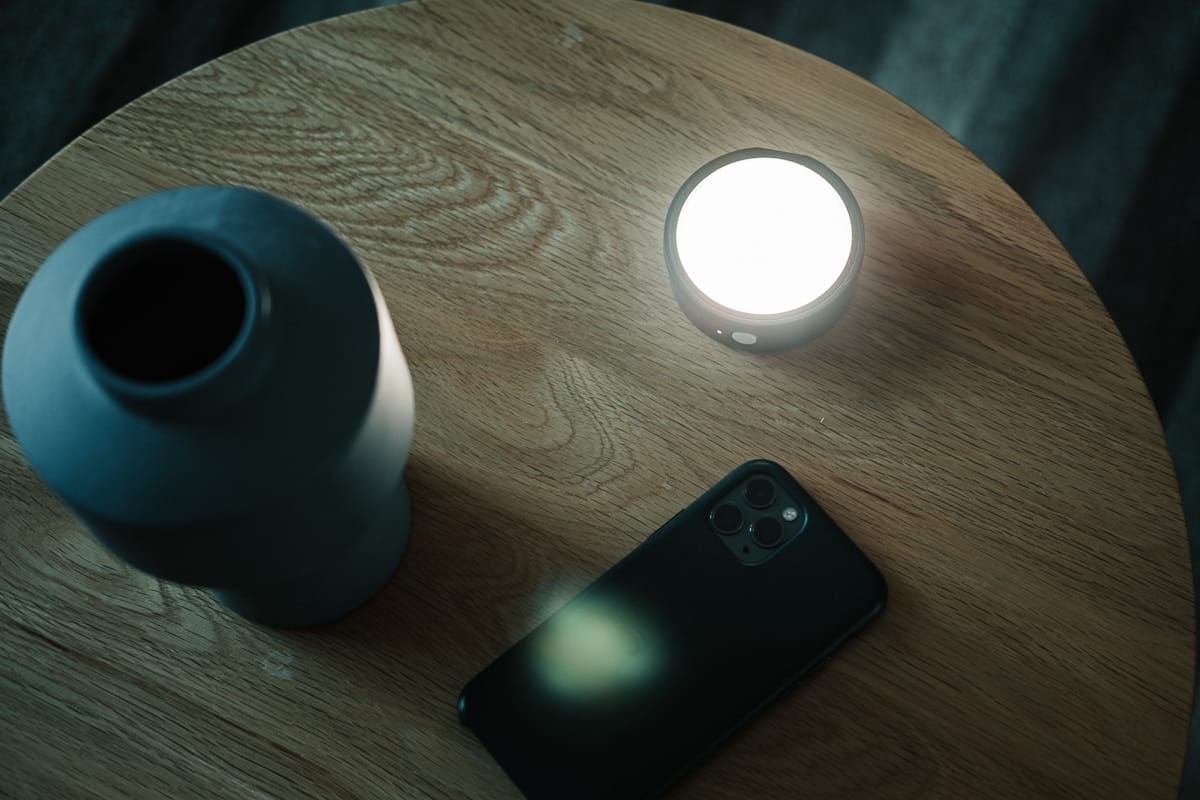
You can compose your photo inside the Profoto camera app and fire up the C1 Mobile Light in the meantime. While composing, I’ve found it best to turn on the C1 continuous light and play around with the temperature of the lighting in the scene to find what I want. Once I’ve found what I want, I turn off the continuous light feature and set my flash settings accordingly.
At this point, I generally back away from the iPhone camera and let it be. I grab the C1 Mobile Light and move to the spot I want the light to fire from. Then, I just press the big white button on the C1.
A few flashes will take place depending on your settings and the iPhone will capture and save your photos to your Camera Roll directly. It’s really that simple.
Even without a tripod, I find it best to fire the shutter directly from the C1 in my left hand while composing the photo with the iPhone in my right hand. The iPhone’s camera ergonomics have never been great (especially when it comes to the shutter button) and moving the shutter off-iPhone to the more comfortable C1 has been the best practice so far.
All the Camera Apps
There are tons of camera apps available on the App Store right now, and all of them offer their own unique shooting features or unique UI elements. We’ve chosen Halide here on The Sweet Setup as the best third-party camera app for the iPhone, as its manual camera settings and design set the bar for third-party camera apps.
However, when you delve into the world of mobile photography accessories, it seems each hardware manufacturer requires you use their own special camera app to achieve best results.
This is especially noticeable with Moment lenses and ProFoto’s C1 Mobile Light.
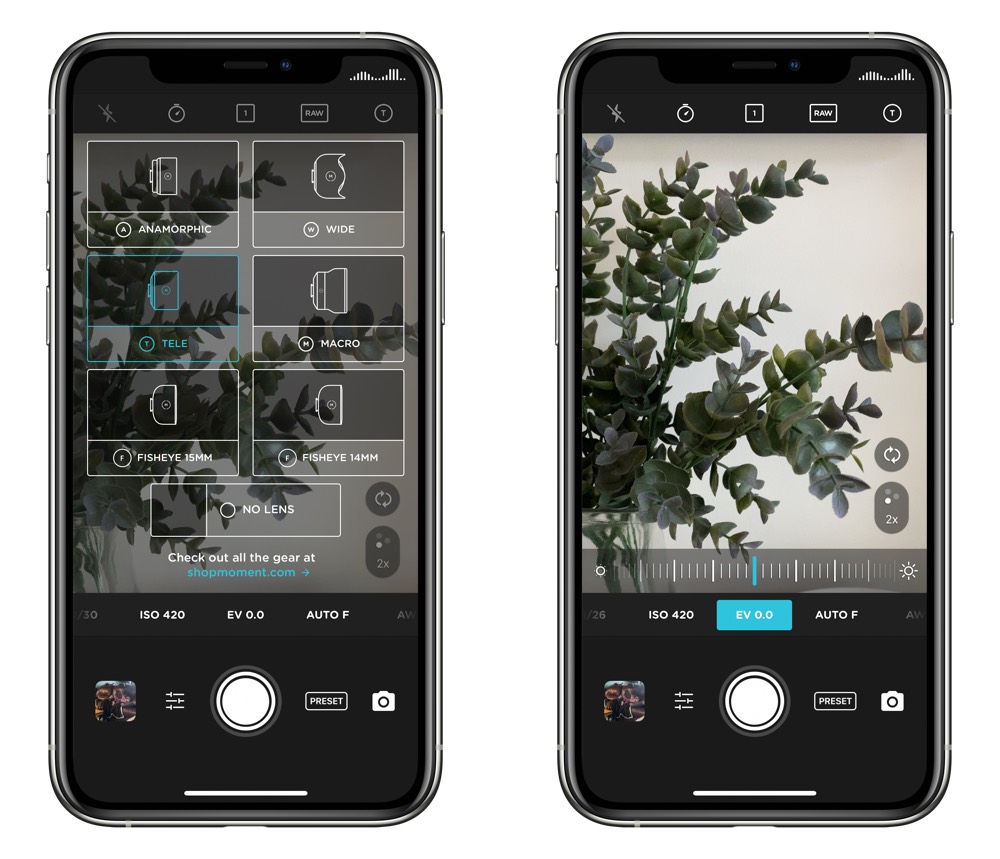
In order to get the best out of the Moment lenses, I recommend using Moments Pro Camera app. In the top-right corner, you can set which lens is mounted to your iPhone and the app will make immediate adjustments in the viewfinder. This is most noticeable when putting the Tele lens onto the telephoto camera on the iPhone, or when shooting video using the Anamorphic lens. In fact, shooting proper video with the Anamorphic lens is more or less impossible with any camera app other than Moment’s Pro Camera app.
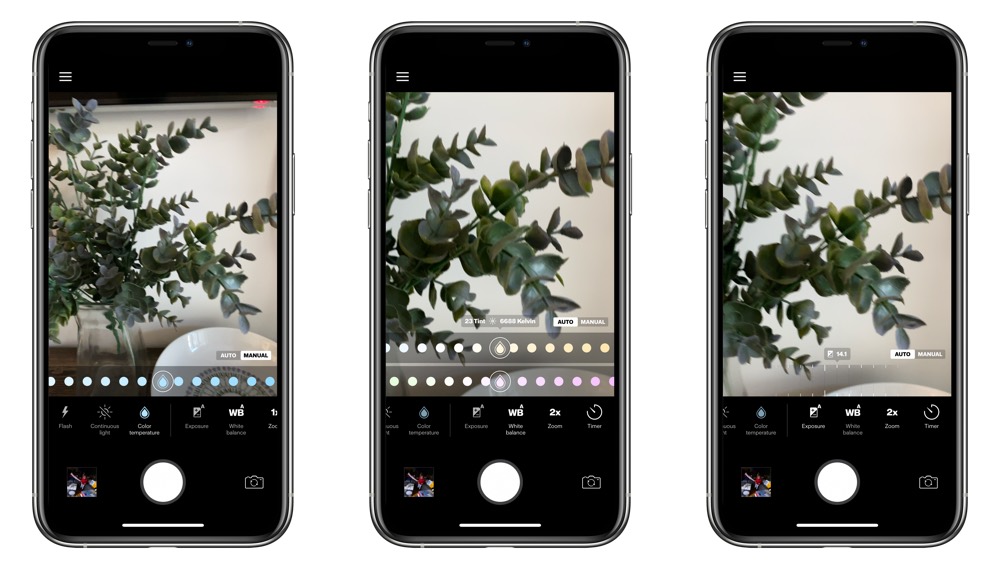
Same goes for the C1 Mobile Light. In order to sync the C1 with your iPhone’s shutter, you must use the Profoto app. If you attempt to fire the shutter via the C1 in the default Camera app, the C1 will simply turn on as a continuous light.
Further, this also means you can’t bring out the best of your Moment lenses via the Moment Pro Camera app and use the Profoto C1 at the same time. For those circumstances, I recommend turning the C1 into a continuous light and not relying on it as a flash at all.
Comparing to the Fujifilm X-T2
Finally, the moment of truth. Is the iPhone, complete with all the extra Moment lenses and off-camera Profoto lights, capable of outpacing a dedicated camera like the Fuji X-T2?
Well, no. If you put a dedicated camera with a flash system up against an iPhone with a flash system, the dedicated camera is going to win every single contest.
But that’s not the point. Rather, my question is if I could push the iPhone system so far as to be able to leave the Fujifilm X-T2 behind on occasion.
In short, I can leave the X-T2 behind when shooting during daylight hours and when my subject is in a situation with lots of natural light. If the sun is down and I’m cooped up in my home office, the iPhone 11 Pro is not the iPhone generation that will allow me to fully retire my dedicated camera kit.
Ease of Setup
Everything associated with “mobile” has this connotation of “easier,” but this isn’t entirely the case for iPhone product photography.
First, you have to de-case and re-case your iPhone with Moment’s iPhone 11 Pro case (I suspect most folks would opt not to use this case as their daily carry), find and mount your lens, fire up the ProFoto C1 Mobile Light, adjust settings, and fire.
With a dedicated camera like the Fuji X-T2, the lens is often already mounted, I don’t have to de-case and re-case, and making adjustments with dedicated dials is often quicker than using multiple apps to adjust camera settings. With the X-T2, I have to fire up my two strobes, the transceiver, and the camera. After everything is fired up, I can get down to shooting.
Generally, I find de-casing and re-casing with the Moment iPhone 11 Pro camera case to be more tedious than having to set up the Fuji X-T2 system. In terms of ease of setup, I’d rather opt for the Fuji than the iPhone.
Photo Quality
Again, pitting the iPhone against a dedicated interchangeable lens camera, at least at this point in time, will never work out in favor for the iPhone. iPhone image quality has come a long way in recent years, but the sheer size of a dedicated camera body, camera sensor, and lenses will always outpace the smaller camera module inside the iPhone.
Here are some examples shot with the Fujifilm X-T2 over the last year or so. You’ll notice an increased level of sharpness, contrast, and depth of field, all of which help make a product photo pop.
Conversely, here are a few shot with the iPhone and Moment lenses.

These are impressive for an iPhone, to be sure. But if anyone was choosing in terms of quality, they’d choose the Fuji photos every time. Especially in low light photos, the results tend to be a bit muddy and noisy.
In good light, the iPhone results really improve. Photos are still more muddy and noisier, but there’s significantly more definition in the subject if the light is good. Blacks aren’t smooth and nicely black, but they are reasonably so. And if you’re shooting photos for the web, often the optimization of the photo file size will make photos like this entirely usable.

Above, you will find two photos highlighting major depth of field differences between the iPhone and a dedicated camera. The first image shows lots of definition of elements and subjects in the background, while the second image blurs things out nicely in the background. And, the dedicated camera image is shot at f/2, which has significantly more depth of field than faster lenses on full frame cameras.
Comparing iPhone photo malleability — or the ability to push, pull, and mould your iPhone photo to look how you want when editing — to a Fuji’s photo quality is another mismatch. The dynamic range provided by a Fuji RAW photo file is significantly more than a RAW iPhone photo file, allowing you to retain more definition and data in the shadows and highlights with the Fuji file. If you’re shooting in sub-optimal conditions and tend to rely on the editing process to save your photos, you’ll still be disappointed in iPhone photo quality relative to a dedicated camera.
All this to say, in good light, the iPhone and Moment lens combination can produce usable — even nice — images that can be used for publishing on the web, sharing on Instagram, or sharing with friends on your iPhone. I’d likely opt for a dedicated camera system whenever light gets low or whenever I’m shooting for a client.
But the iPhone system can fill in in a pinch if you don’t happen to have your camera nearby.
Editing
This is the penultimate reason for wanting to shoot all types of photography on the iPhone. Initial creation through to editing and sharing can all be done on one device in a fraction of the time, something no dedicated camera can do at this point.2
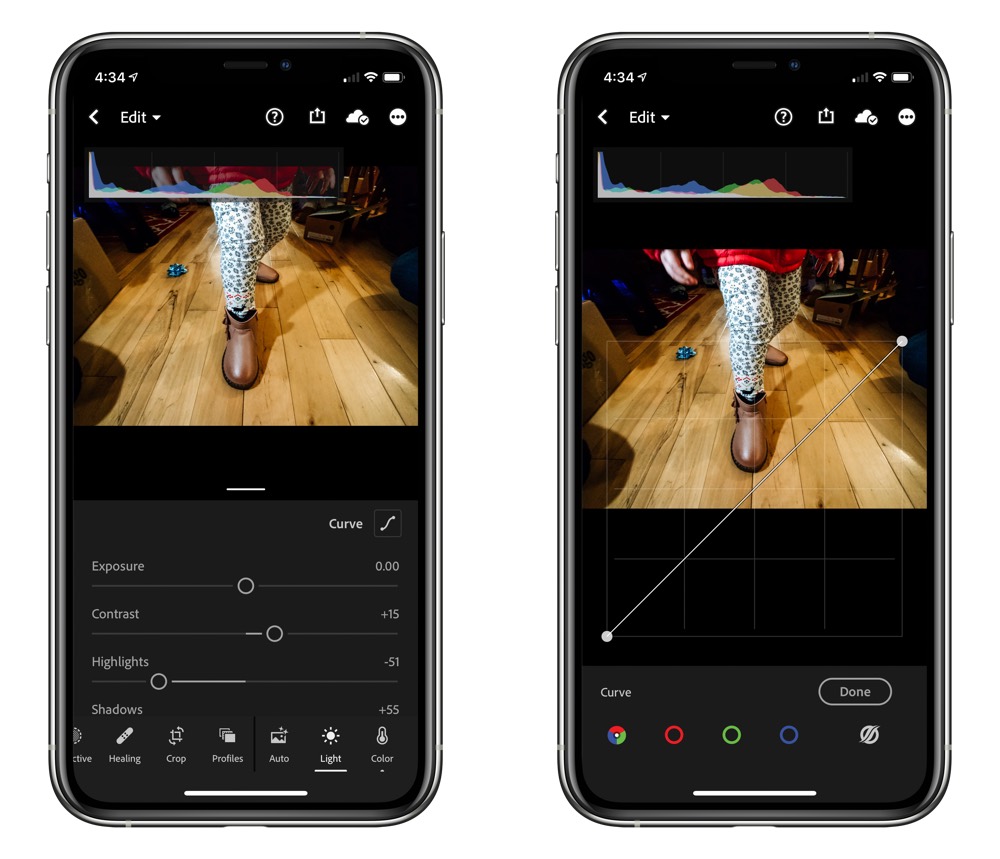
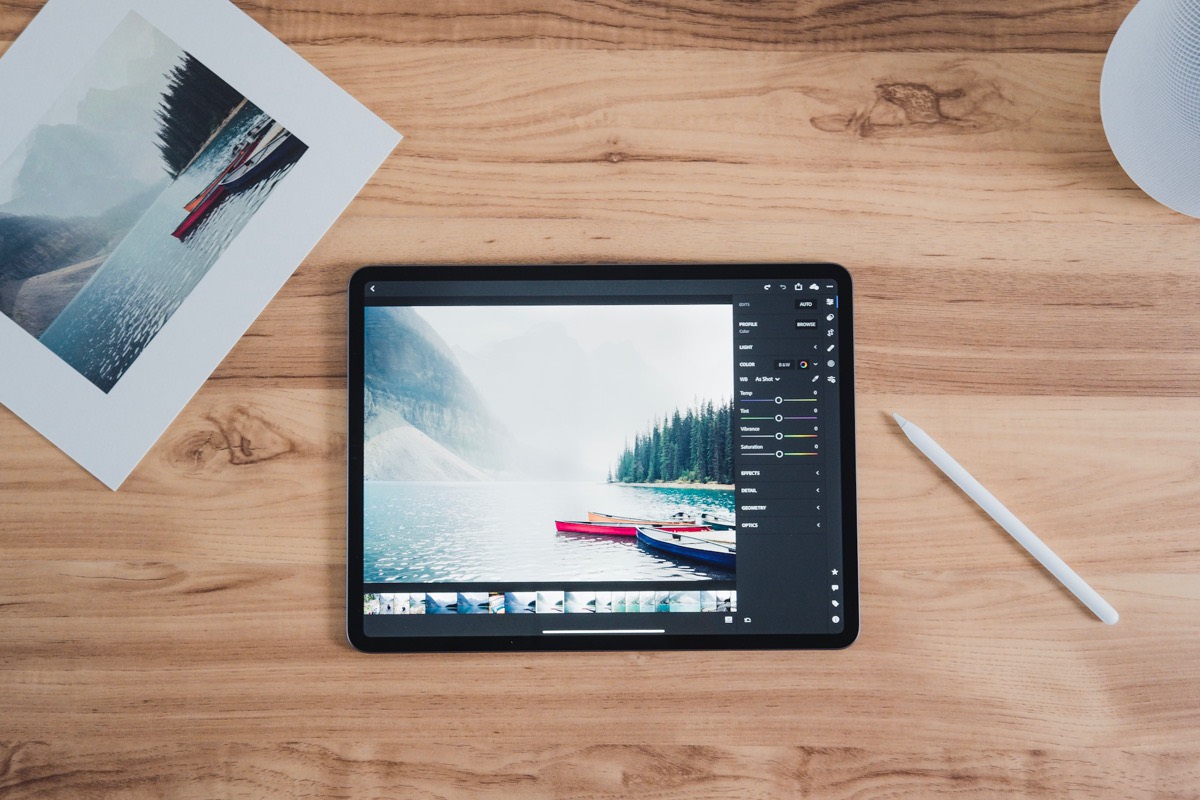
Editing photos on the iPhone is largely dependent on your choice of editing app. We recommend Adobe Lightroom across all platforms right now, as the tools are effectively the same whether you’re working on an iMac, iPad, or iPhone.
If you’re using Adobe Lightroom, importing photos into Lightroom from your Camera Roll still results in duplicates and is an extra step in the editing process. Once you’ve imported though, the tools inside Lightroom are top-of-the-line, and if you have saved presets on your Mac, you can use them on the iPhone as well. For many, Lightroom will be the only option for editing.
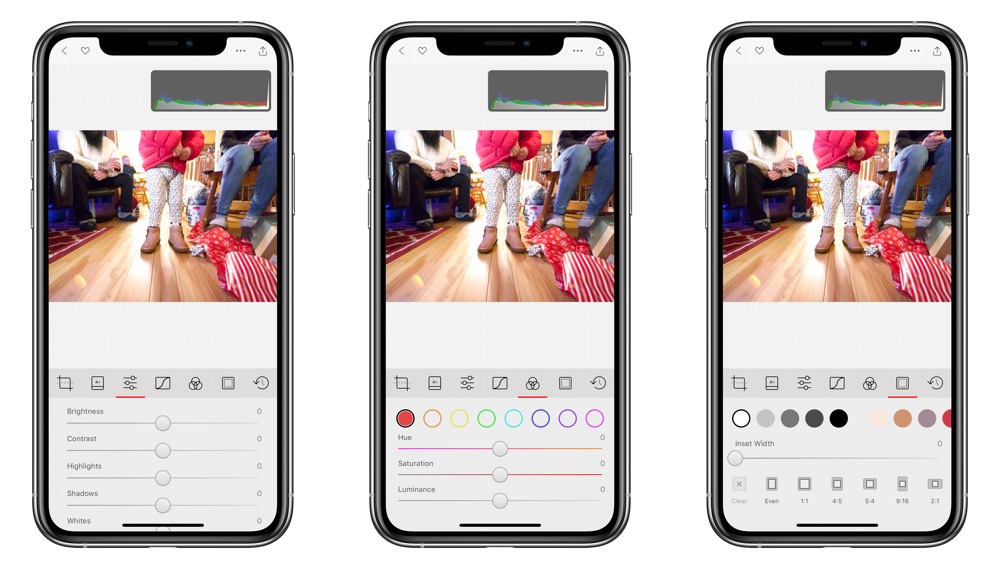
If you opt to use Darkroom, our favorite app for editing iPhone-specific photos, your importing, editing, and sharing process will be a lot smoother than with Lightroom. No matter whether you shoot in Moment’s Pro Camera app or ProFoto’s app, the photos will show up inside your Camera Roll and, therefore, instantly inside Darkroom. Darkroom is built to edit iPhone photos, so you can get the most out of the iPhone’s RAW photo format, Depth photos like Portrait Mode, and Live Photos (though Live Photos are not captured inside Moment’s or ProFoto’s camera apps). Sharing is also easy, as you can export and minimize your file sizes right in Darkroom and put finishing touches like a border on your photos.
This is one area where the Fuji will never be capable of matching the iPhone.
In Summary
There’s a lot to this article, and there’s sure to be easier and more convenient ways to produce product photos with the iPhone. Each person’s personal level of quality also has to be measured in this process — I may find a photo inferior and unusable where another person may think it fits their style. To each their own.
But the reality is that the iPhone can stand in as a backup camera if things go wrong or if your dedicated camera isn’t nearby. I took a trip to see family over the holidays and had to produce a photo for a blog post. My Fuji X-T2 wasn’t nearby, so I opted for the iPhone (and this was without the Moment camera lenses as well). In good light, the iPhone produced great results that I’m confident in using in my work.
But when the sun goes down and when the pressure is on, there’s still nothing like a dedicated camera with dedicated lenses and dedicated lights to get the job done.
As I mentioned from the start, the iPhone’s camera conversation evolves and pushes forward each year. I often get ahead of myself in thinking I can use the iPhone for the majority of my work in the early days of owning the new iPhone, and the honeymoon always wears away.
This time though, with the help of the Moment lenses and the ProFoto C1 Mobile Light, I find myself questioning the need for a backup camera (in my case, a Fujifilm X-Pro 2).
The iPhone can deliver in a pinch, is always on hand, and provides the option of editing and sharing all in one spot. Convenience and fluidity make the iPhone a compelling product photography camera, one which has its foot in the door as my backup camera.
-
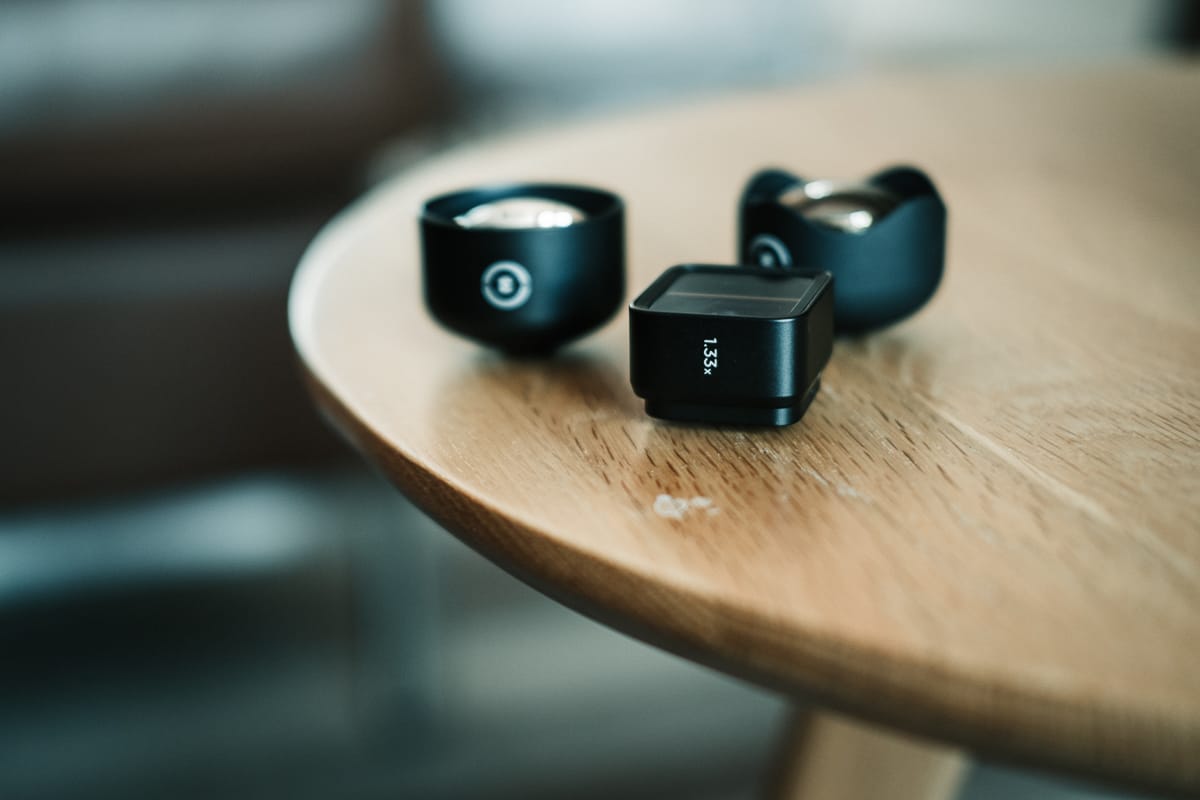
It should be noted that you can put the Tele lens on the telephoto camera on the iPhone 11 Pro and, using the Moment Pro Camera app, you can achieve 4x optical zoom rather than the standard 2x optical zoom. The flexibility is appreciated. ↩
-
Though I’ve read the Zeiss ZX1 may be capable of shooting and editing photos inside Adobe Lightroom right on the camera. ↩