Apps We’re Trying: Alternative Window Managers for macOS
There are many apps that grace the Mac and iOS App Stores that simply don’t get enough attention or admiration. Sometimes, an app is so good at what it does, it becomes the default app for the task and is rarely questioned. Other times, a new app debuts in a given category and, while it shows promise, doesn’t quite live up to our pick for the best in that category.
There are millions of apps to try out on any given day, so here are two we’ve been trying lately.
Over the past year, I’ve been on a quest to learn more about other operating systems — specifically, Linux. I’ve had brief encounters in the past with some of the more common distros, but they just never stuck due to the prevalence of Windows and my affinity for Macs. It was cool to see what a “free” OS could do, but it was rarely anything besides a quick distraction.
As part of this new journey, I’ve become quite smitten with the power and stability that Linux can offer, as well as the overwhelming amount of customization and tinkering that I can do as long as my appetite for the terminal and configuration files is strong.
To generalize the Linux experience, you have a couple of main options to get started: what distribution do you want, and what desktop environment do you like best? Think of the distribution as the underlying foundation of the OS, while the desktop environment is the GUI that you see and interact with. For example, one of the most popular distributions of Linux is Ubuntu, and the default desktop environment that Ubuntu uses is called GNOME. GNOME is fairly similar to Windows and macOS in that you manipulate windows on the screen for applications that you can move and resize to meet your needs.
On the other end of the spectrum, there are desktop environments that cater to the old-school “tiling” window manager days of Windows 3.1.
What Are Tiling Window Managers?

Every operating system has a window manager, and it controls how windows are displayed, how they’re sized and moved, and other default options to go along with a window-based GUI. In current standards of Windows and macOS, windows can overlap or completely cover other windows, with the knowledge that the window exists behind the top layer window.
A tiling window manager does not allow windows to overlap each other. Every new window (aka, application) that you open on the screen means that the other windows have to readjust their sizing to make room for the newest window. Similar to the default Windows 10 behavior (and the behavior of Magnet, which we looked at a couple weeks ago), tiling window managers allow you to equally space windows beside each other. For example, if you have two windows open on your screen, they each take up 50% of the available screen space — one on the left, and the other on the right. If you open a third window, depending on the window manager settings, it may split all three windows into equal 33% columns, or it may leave the left 50% as-is and then split the right 50% into two equally sized rows.
Sound confusing? Well, you’re not alone. For the most part, we’ve all grown up in a world where windows float and go wherever we want them to go, and the tiling paradigm takes some time to grasp.
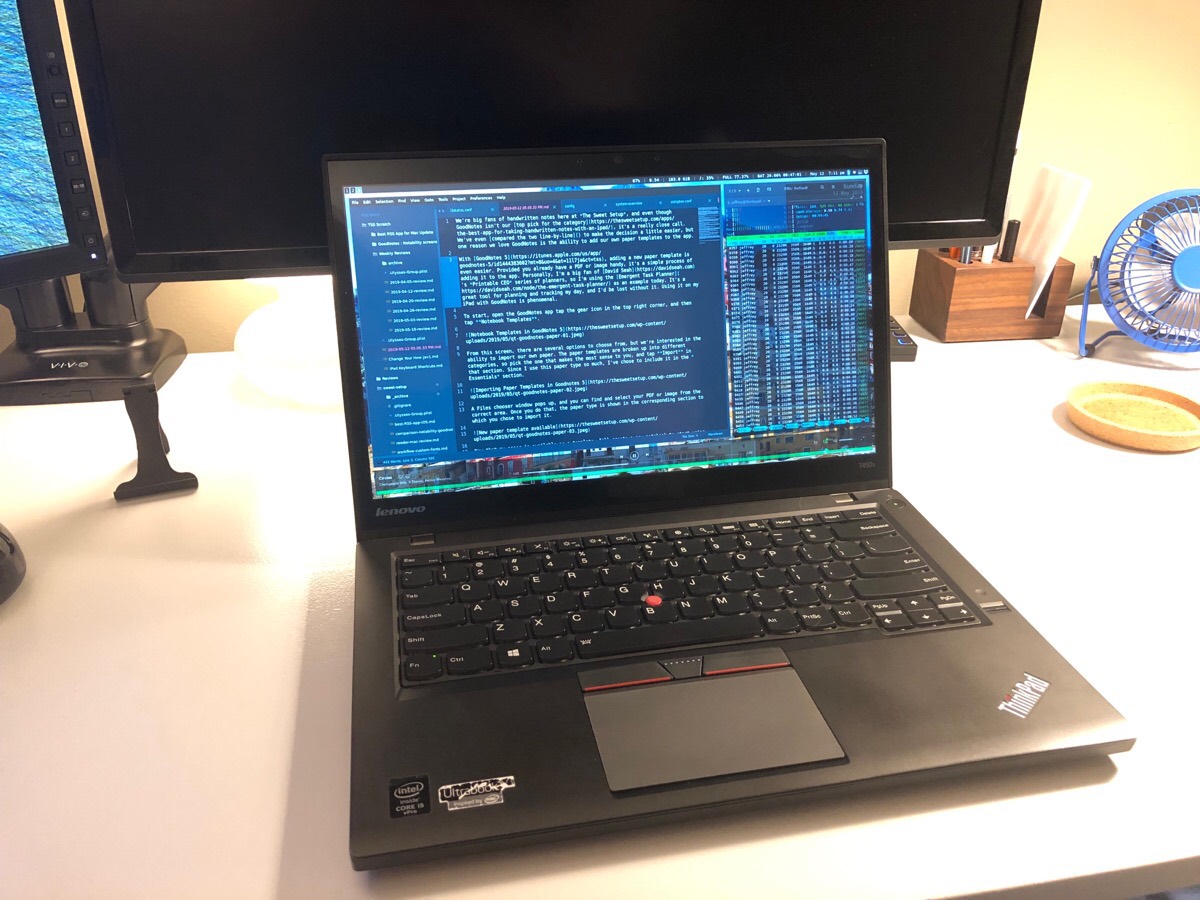
For me, I’ve really enjoyed using i3 on my Linux laptop, and I was eager to find something similar that worked on macOS.
Amethyst and chunkwm for macOS
That’s where Amethyst and chunkwm come into play. These are both tiling window managers that run on macOS. The default window manager in macOS is Quartz, but these utilities both take over and allow you to use macOS in 100% automatic tiling window mode. While these two utilities don’t work as crisply as other options in Linux, the baseline functionality is exactly what I was looking for.
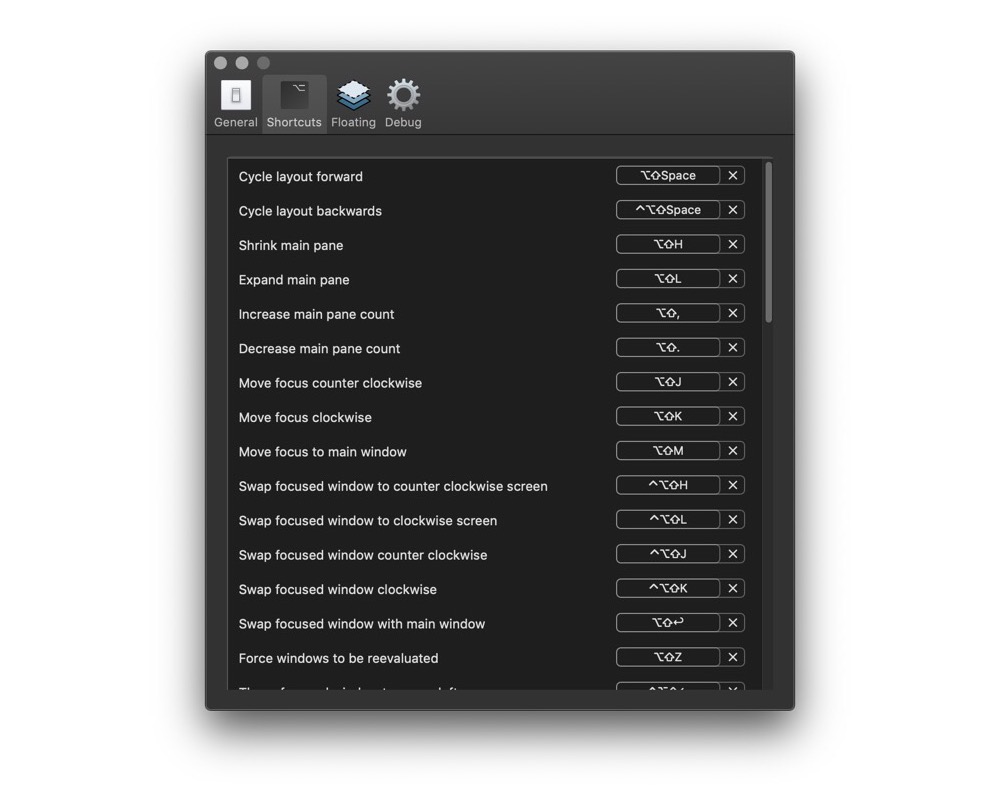
Tiling window managers are very keyboard-centric, and these two are no different. Resizing windows, rearranging windows, and deciding where new windows will appear is all handled through keyboard shortcuts. It takes some time to learn the shortcuts and tweak them to your preferences, but once you understand the basics, you can fly around your computer’s interface pretty quickly.
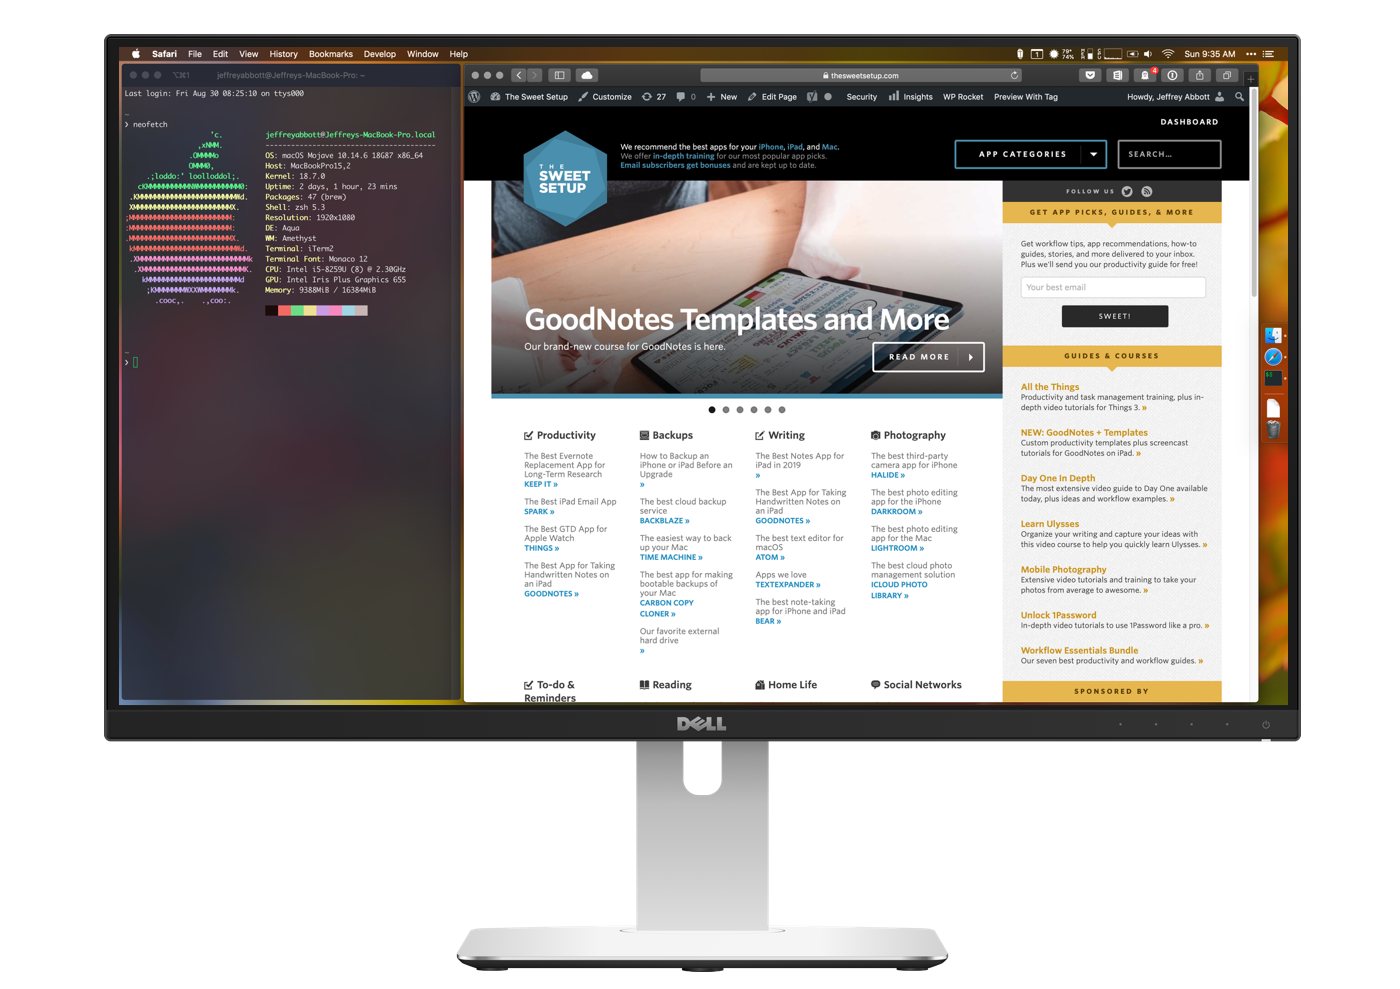
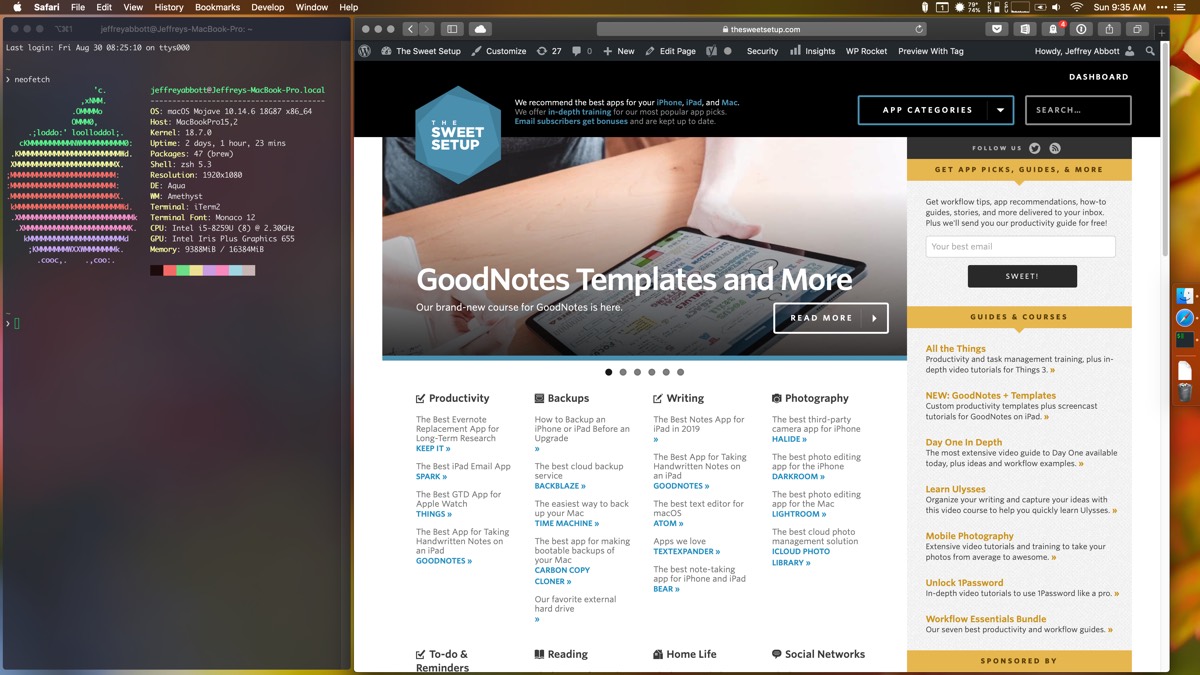
On my computer, I like to have my email client and Todoist open side-by-side throughout the day so I can keep an eye on incoming messages and chip away at my task list. I’ve found that my email client looks good at about 75% width, and Todoist can manage with the remaining screen width. On another Space, I have Safari and a terminal window open. On yet another Space, I have Slack and Messages open, along with a small Twitter client. I never have to search for windows that fall behind larger windows, and I have a great view at everything on my screen on any given Space. Obviously, if you adopt a tiling window manager, you have to also become very comfortable with using Spaces in macOS. I already used Spaces extensively for different modes of work, so this piece fell in quite naturally.
I usually have about five Spaces open through the day. One for a browser and terminal, another for email and task management, another for team-based project management tools, and another for instant communication tools. I also keep an empty space available so I can quickly do some work with a text editor or photo editing tool when necessary.
I love splitting up my work modes across different Spaces because it keeps my computer clean and manageable for the way I work. Throwing a tiling window manager into the mix just makes that method even more robust.
And, for those times when you want a window to be exempt from the tiling behavior, both tools have a quick keyboard shortcut to make the active window float so that you can move and resize it with the mouse.
Amethyst Versus chunkwm
I’ve been trying these two utilities for weeks, and you might wonder why two of these things even exist, right? For the most part, they behave the same and offer the same functionality and speed once you learn the keyboard shortcuts. How they differ is in the installation and preferences approaches.
Amethyst
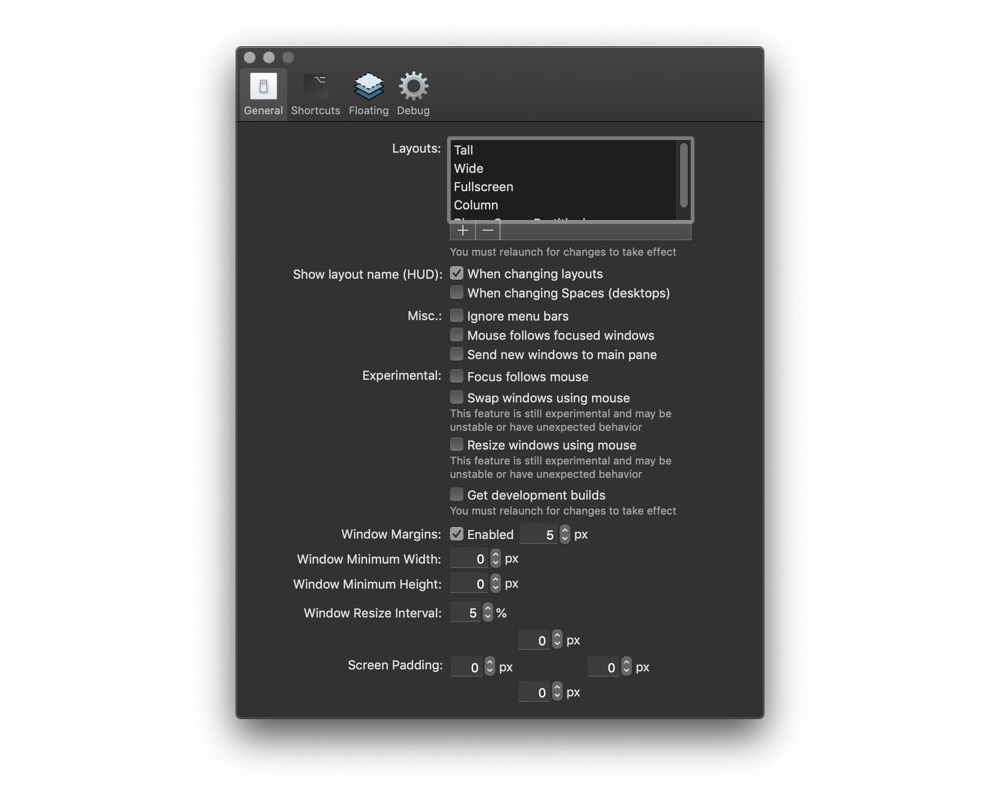
Amethyst is the tiling window manager I would recommend for new users. The installation process is a breeze, and the configuration is all done via a preferences window. All the keyboard shortcuts are listed out in one tab, and you can even modify them to your liking using a well-designed interface.
There are also handy options to tell Amethyst that you want to ignore certain window types. For example, maybe you don’t like how System Preferences takes up the whole screen or becomes a small window if you already have other windows open. You can tell Amethyst to ignore System Preferences so that it always opens as a floating window.
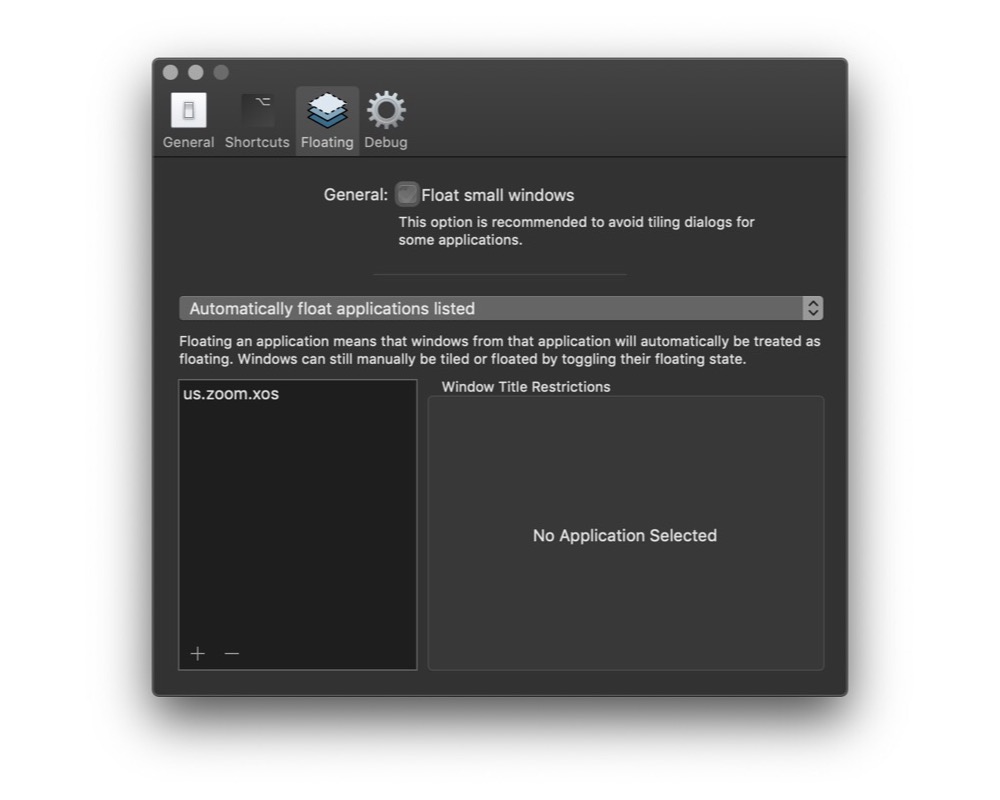
No matter how you have your windows arranged, System Preferences will also pop up over the top so you can modify preferences, close the window, and get back to work without having to rearrange windows. For me, I’ve chosen to ignore Zoom so that it always opens in “float” mode. The options are endless, and I’ve been really happy with the functionality of Amethyst’s settings.
Another great thing about Amethyst is that it lives in your menu bar while it’s running. This is a great place to quickly open the Preferences window or quickly quit Amethyst is you want to go back to the normal floating window mode of macOS.
Quitting Amethyst is incredibly simple. Nothing happens visually — all of your winodws keep their arrangement and size, but you’re able to freely grab windows to move them around or resize them. It really is a seamless experience and I’ve had no issues with crashes or weird window behavior when switching back and forth.
chunkwm

Where Amethyst seems to borrow a lot of the clean macOS design language, chunkwm stays squarely in its Unix roots. While I wouldn’t recommend chunkwm to a new user, it uses the same mentality as any Linux tiling manager I’ve used, including my favorite i3.
Installation is done via the command line with tools like Homebrew. While this is easy enough, it’s definitely far off the beaten path for most users. For example, if you don’t have Homebrew already installed, that’s another step and potential headache that users have to figure out.
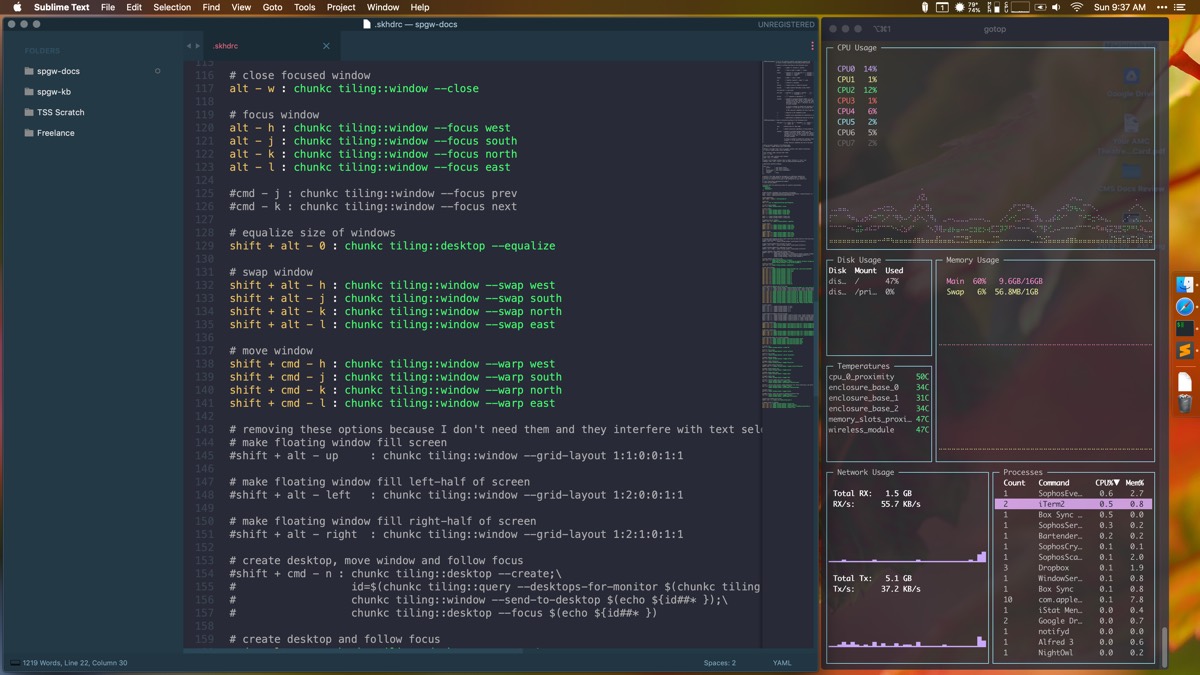
Along with chunkwm, you also have to install another utility that handles all the keyboard shortcut input — skhd. Again, this is done via Homebrew.
Once you install the two utilities, you also have to start them individually via the command line. Also, if you want to restart or quit the processes, guess what? Yep, command line. While this process is second-nature to a Linux user, it’s extremely foreign for the average Mac user. But if you’re interested in tiling window managers, this is part of the territory!
The functionality of chunkwm is the same as Amethyst. It arranges windows automatically and you can move and resize them using keyboard shortcuts. It’s pretty stable for the most part, but I did notice it would resize all my windows to the default equal ratio when my computer came back from sleep. For example, in my email and Todoist Space where the email app took up 75% of the width, chunkwm would reset the two windows to take up an equal 50% each after macOS woke up. Not a dealbreaker, but certainly not ideal.
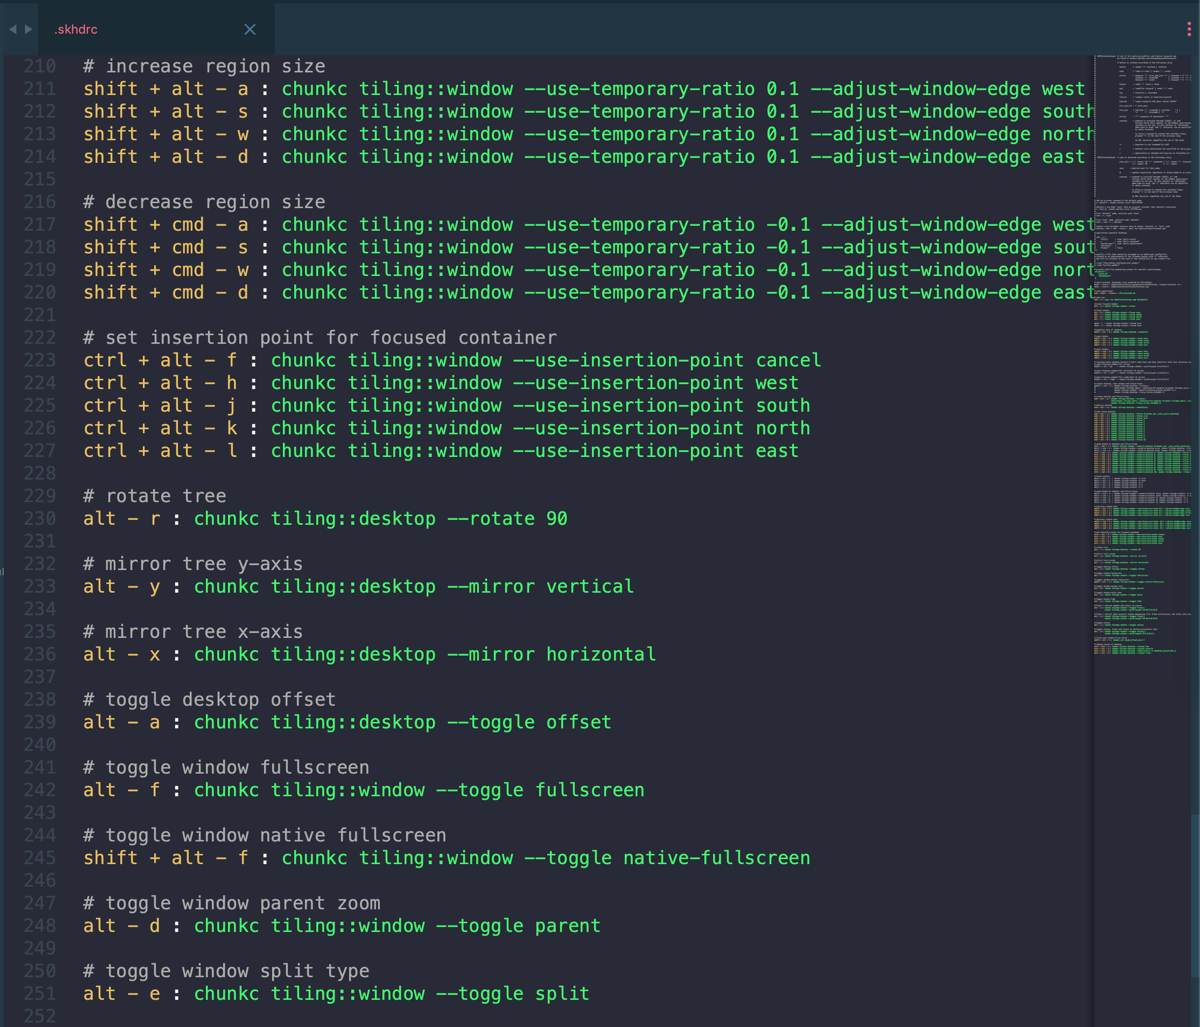
Another major difference between Amethyst and chunkwm is how chunkwm is configured. Staying true again to its Unix roots, chunkwm relies on a configuration text file for customization. And since skhd is responsible for all the keyboard input, it also has a unique configuration text file, and this is where you’ll spend a lot of time tweaking the behavior of different keyboard shortcuts.
Like Amethyst, you can also choose to ignore certain windows so that they always open in “float” mode, but you have to do that in the configuration file. Here’s an example configuration file for skhd. It can look intimidating, but it doesn’t take long to get the hang of it.
If you’re having trouble visualizing how this works in practice, check out this walkthrough from Hatena Blog. The gifs really provide a great example of how tiling window mangers in general operate.
Are Tiling Window Managers for You?
In my day to day work, I’ll use a tiling window manager sometimes, but I’ll also switch back to the trusty Quartz manager whenever I feel like it. It’s great that switching back and forth is so easy on macOS.
I’ve really enjoyed learning and experimenting with Linux, and I was happy to discover that I could bring over one of my favorite elements (tiling window managers) to macOS. While they definitely breathed fresh life into my macOS computing experience, it’s difficult to dethrone the first-party champion that is Quartz. Since Linux is so open, the window managers are a bit more powerful and smooth. Amethyst and chunkwm do the job, but they are slightly crippled due to the closed nature of macOS. At the very least, they are incredibly fun to experiment with over a weekend at almost no risk to your computer!
On the other hand, if you just want a utility to help you snap windows to the sides of your screen or tile everything to specific ratios, tools like Magnet and Spectacle are phenomenal. You can still efficiently utilize all of your screen real estate without going through the process of installing a completely new window manager.
Wait. There’s a Bonus….
Custom Productivity Templates for Your iPad
If you want to use custom productivity templates on your iPad, we’ve put together a free, walkthrough guide along with two of our in-house templates that can help you get started.
We’ll show you…
- How to create and save custom page templates.
- How to use those page templates to transform GoodNotes into your own productivity notebook (or any other type of notebook replacement).
Plus, we also have included two of our custom productivity templates for you to get started with.
This guide is available for FREE to our email subscriber community. And you can get it right now.
By joining the Sweet Setup community you’ll also get access to our other guides, early previews to big new reviews and workflow articles we are working on, weekly roundups of our best content, and more.