Magnet Brings Windows 10-Style Window Management to macOS
There aren’t too many features that Windows 10 sports that I miss on macOS. I’d really like if Microsoft Excel’s keyboard shortcuts were as advanced in macOS as they are in Windows, and I personally prefer the way Windows Explorer operates in comparison to Finder (I may be on my own on this one).
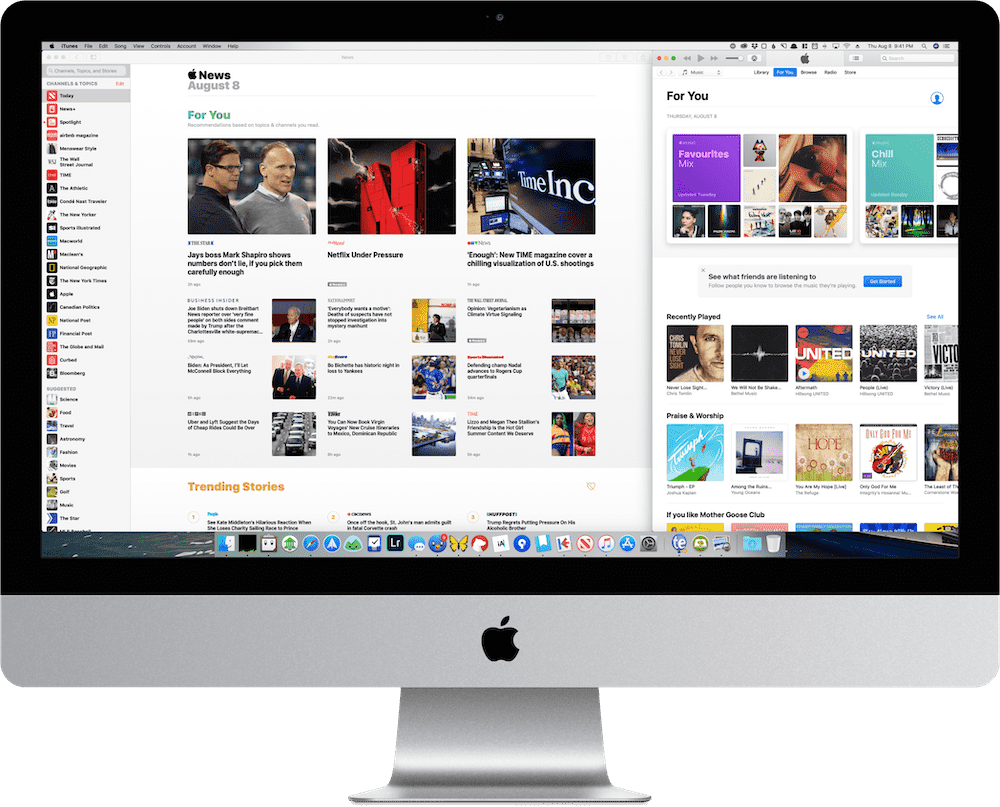
But more than anything, I wish default Windows 10 windows management was more explicitly available in macOS. In Windows 10, you simply have to grab the title bar of any window and drag it to the edge of the display to immediately snap the app into an organized tile. Once completed, Windows 10 asks you to choose another app to move to the other half of the display, creating a great 50/50 split view for focusing.
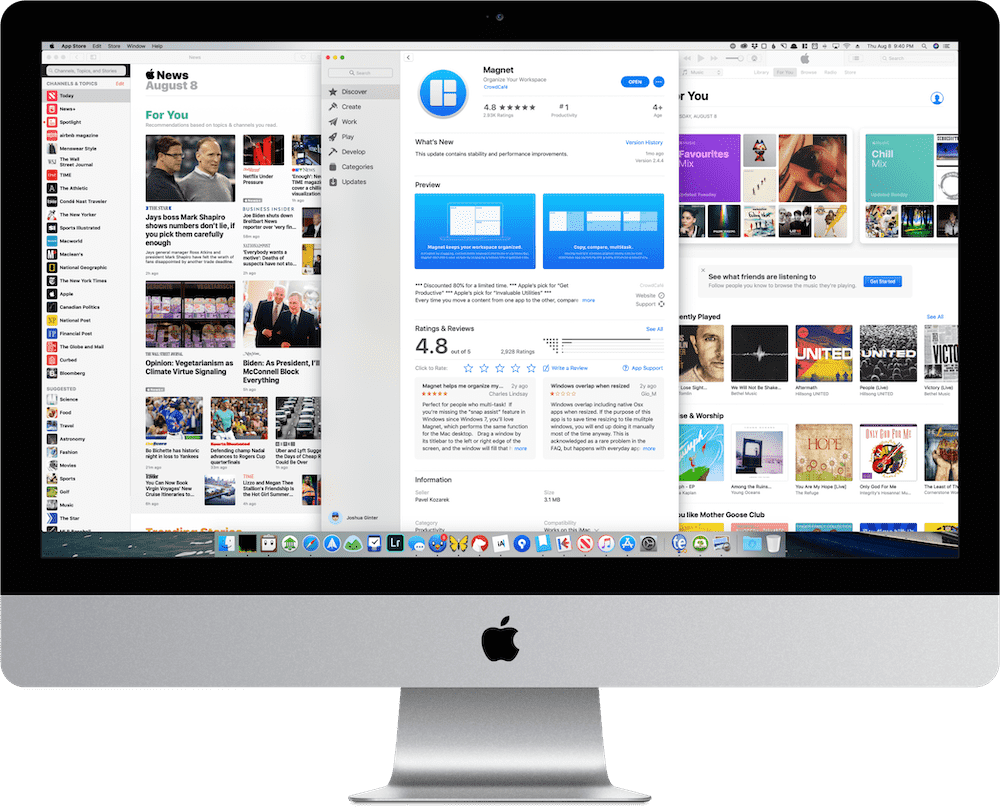
Magnet, from Crowd Cafe, isn’t a new app for handling this sort of thing, but it not only brings that same Windows 10 window management behavior to macOS, it also offers a variety of other automated options to better organize your screen.
I recently upgraded to a 2019 27-inch iMac and I opted to use my old 27-inch 5K UltraFine Display beside the iMac for a few days. It was immediately evident that Magnet was designed for using two massive 27-inch displays side-by-side.
I’ve since sold the 27-inch UltraFine, but I continue to use Magnet each day.
So whether you’re using multiple displays, one big display, or one small display, Magnet will make short work of window management so you can focus in on your work.
Tiles
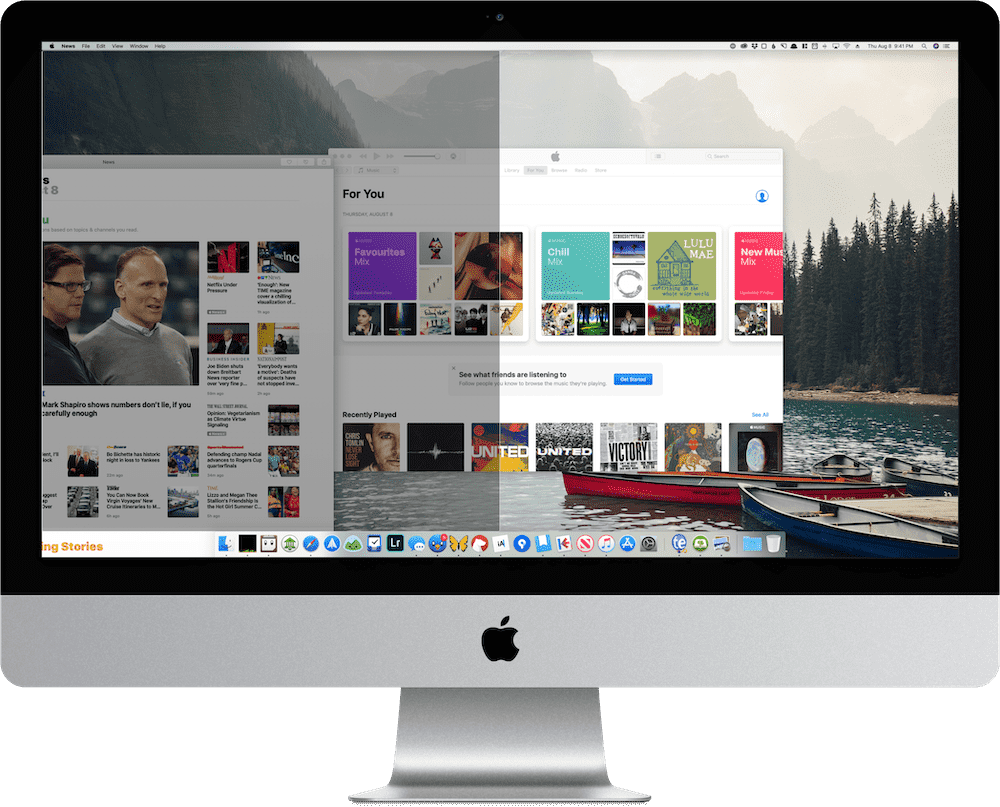
When you drag a window near any edge of your display, you’ll see Magnet kick in and preview the area of the display where it’ll snap your currently selected window. Let go of your mouse and Magnet quickly and easily maximizes the window to fill the tile. Once you’re finished, simply grab the title bar of the window again to snap it back to its previous window size.
There are an inordinate number of ways you can organize windows with Magnet:
- Drag the title bar up to the top of your Mac’s display to fill the display (but not enter macOS’s own full-screen view).
- Drag to the right or left edge to snap your window into a 50/50 tile.

- Drag to the upper or lower edge of the display to snap your window into a horizontal 50/50 tile.
- Drag your window to any spot at the bottom of your display to auto-snap your window into a 1/3 split view. If you want one app to take up 2/3 of your display, simply drag the window while hovering over the bottom of your screen to expand.
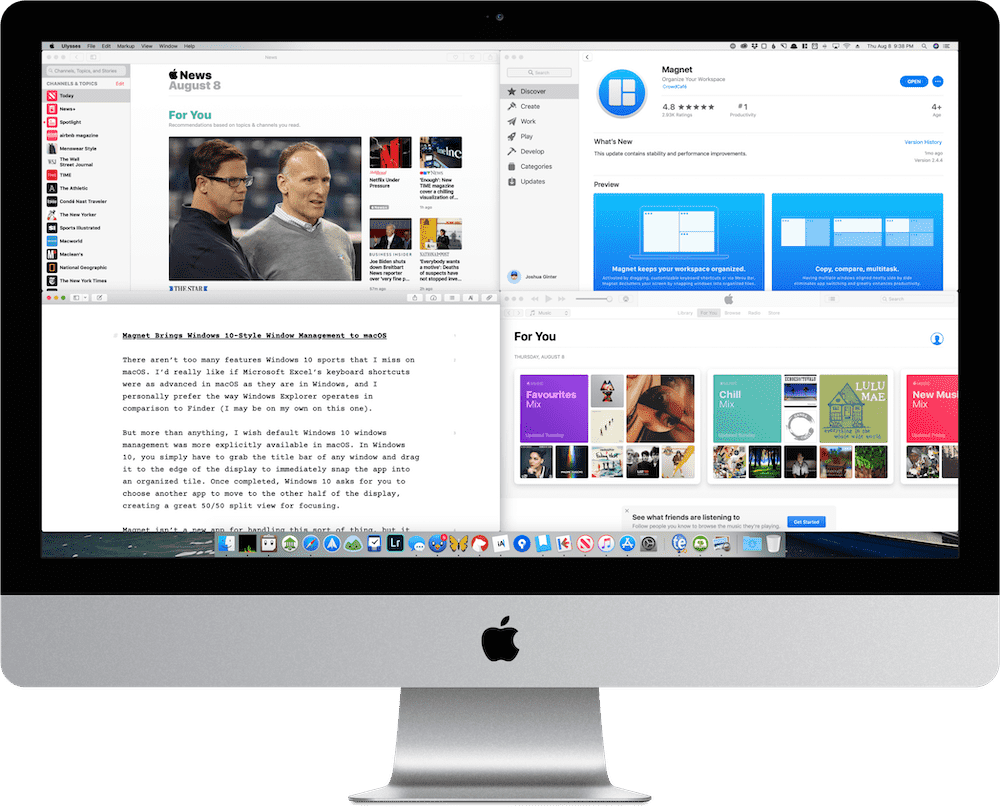
- Drag your window directly into any quarter to snap your window into a 1/4 tile.
It’s always easy to tell which window is active thanks to macOS’s highlighting and UI references, and Magnet ensures every square inch of your display is utilized. When you’re in thirds-view, for instance, Magnet actually shapes the windows such that they overlap slightly with one another, allowing you to quickly notice which app is at the forefront.
Magnet supports up to six external displays, allowing you to snap windows into tiles across a vast array of screen real estate, and Magnet also adapts to vertical displays, so those who like long views of text can organize in a snap.
Keyboard Shortcuts
For any power macOS user, all of these snaps and tiles need to be automated with keyboard shortcuts. Magnet has this covered in spades.
Every one of the default methods for splitting your windows into tiles is supported by its own keyboard shortcut.
- To split into quarters: Ctrl + Option + U/I/J/K
- To split into thirds: Ctrl + Option + D/F/G
- To split into 2/3 and 1/3 view: Ctrl + Option + E/T
- To split into vertical halves: Ctrl + Option + Left/Right arrows
- To split into horizontal halves: Ctrl + Option + Up/Down arrows
Mastering keyboard shortcuts takes some time and practice, and Magnet’s keyboard shortcuts are no exception. However, I like the way Magnet splits the shortcuts into logical areas on your keyboard. With a little practice, snapping windows into any position can be done without even thinking about it.
Menu Bar
Of course, if you’re not into dragging windows to an edge or mastering keyboard shortcuts, you can always use Magnet’s menu bar app.
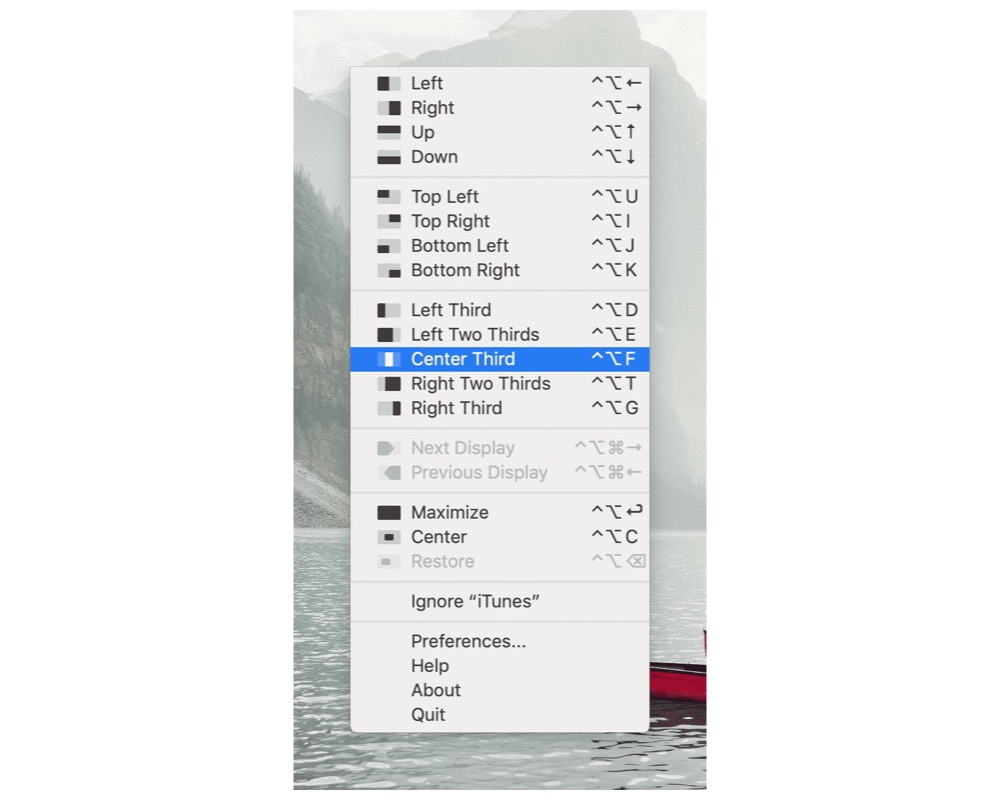
Clicking the Magnet icon in your menu bar provides a range of options (and the keyboard shortcut) to snap your window into the tile you want.
The menu bar app also allows you to access Magnet’s preferences, where you can customize any organizational tile to your own unique keyboard shortcut.
Wrap Up
At heart, I’m a knowledge worker. I work as an accountant by day and I do a lot of writing for The Sweet Setup at night. So while neither job requires the computing prowess of a beefed up iMac or a second 27-inch display, the ability to spread out PDFs, Excel spreadsheets, research, and Safari windows across lots of screen real estate is a productivity boon.
It’s also super easy for lots of screen real estate to get out of hand. Windows 10 has had this type of windows management for years, and I’m glad I finally found a more efficient way to organize windows on my Mac. For comparing two or more documents, referencing research, and multitasking across a variety of apps, Magnet has become an essential app on my Mac.
Magnet can be purchased from the Mac App Store for only $1.99.
Wait. There’s a Bonus….
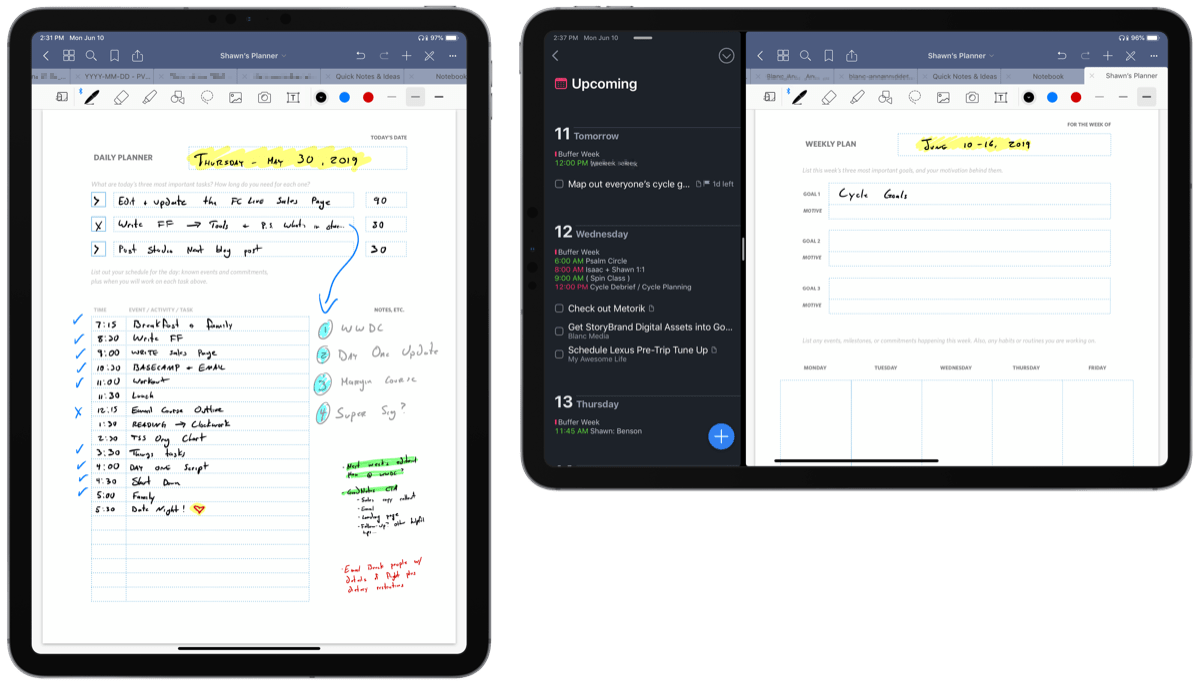
Custom Productivity Templates for Your iPad
If you want to use custom productivity templates on your iPad, we’ve put together a free, walkthrough guide along with two of our in-house templates that can help you get started.
We’ll show you…
- How to create and save custom page templates.
- How to use those page templates to transform GoodNotes into your own productivity notebook (or any other type of notebook replacement).
Plus, we also have included two of our custom productivity templates for you to get started with.
This guide is available for FREE to our email subscriber community. And you can get it right now.
By joining the Sweet Setup community you’ll also get access to our other guides, early previews to big new reviews and workflow articles we are working on, weekly roundups of our best content, and more.