Using Shortcuts to Rename, Resize, and Compress Images
Last week, Josh showed us how he uses DataJar to temporarily store images before uploading them to our CMS online. In that post, he alluded to a separate part of the shortcut that handles the renaming, resizing, and compression of these images. Today, we’ll look at the steps to do this with your own shortcut.
If you’d like to follow along, here’s a link to the shortcut example we’re using today.
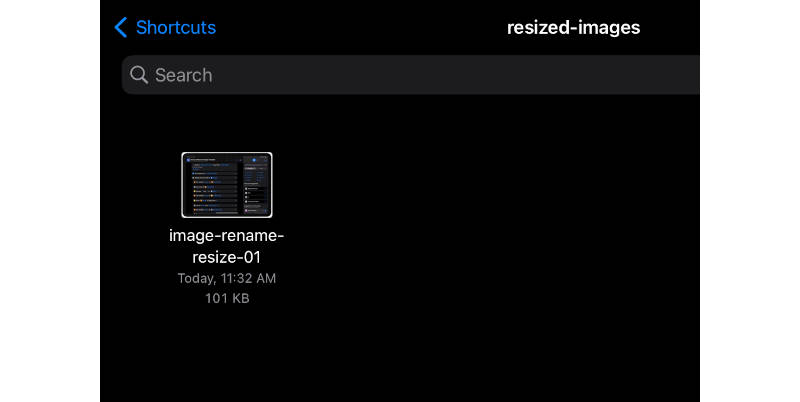
Before starting, we need to set up a location for these modified images to go once the shortcut is complete. When you import the shortcut, it will ask you a couple of questions, but here’s a quick explanation for how it works. By default, the shortcut saves to the main Shortcuts folder in iCloud Drive. I’ve set it up to save images to the resized-images folder, but you can either use your own existing folder, create a new one, or just save images to the main Shortcuts folder without a subfolder. If you do opt to use a subfolder, just make sure it exists prior to running the shortcut! Otherwise, the shortcut won’t work correctly. Also, we’ve left the Ask Where To Save option disabled to avoid the tedious task of selecting a save location with every image. If you’d rather be asked where to save each image, turn this option on.
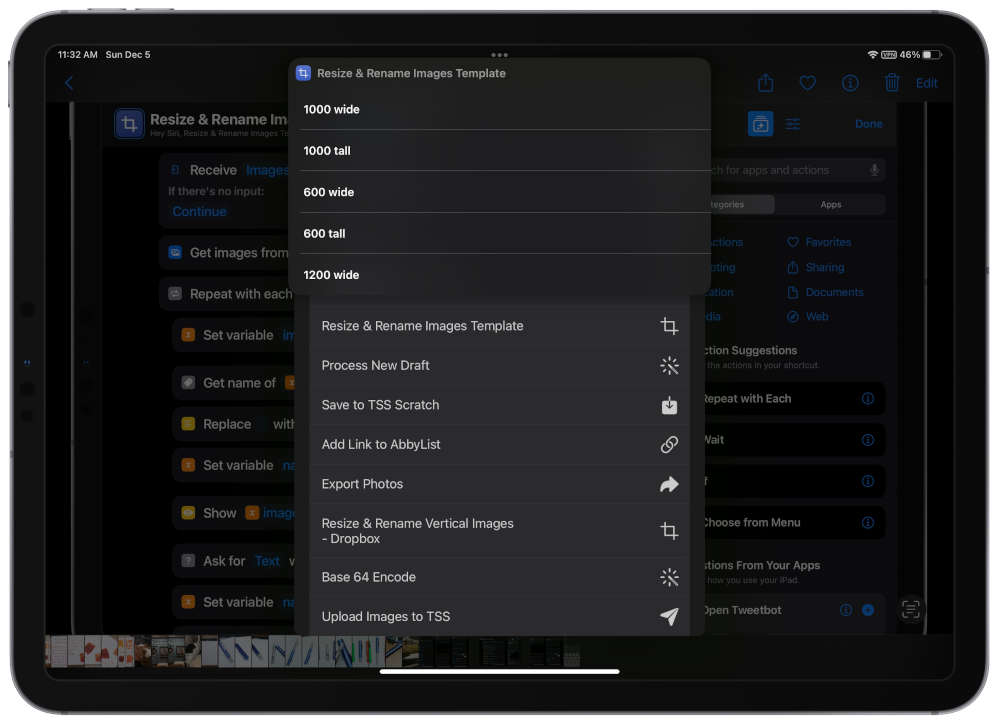
This shortcut will one or many images for processing. A typical workflow for us is selecting multiple images that we’ve prepped for The Sweet Setup that need to be renamed and resized for the web. So, to begin, select a handful of images from the Photos app, the Files app, or anywhere else that you have images stored (like a photo editing app, for example). From there, use the share menu to find the Resize & Rename Images Template shortcut.
The shortcut begins with the first image, shows you the image in Quick Look (to jog your memory on what image is currently being processed), and asks you if you want to rename it. It uses the existing filename as the default, but you can easily change that.

Next, it asks you what size you want to scale down to from a list of options.
The image is resized, compressed, and saved behind the scenes, and then it moves on to the next image!
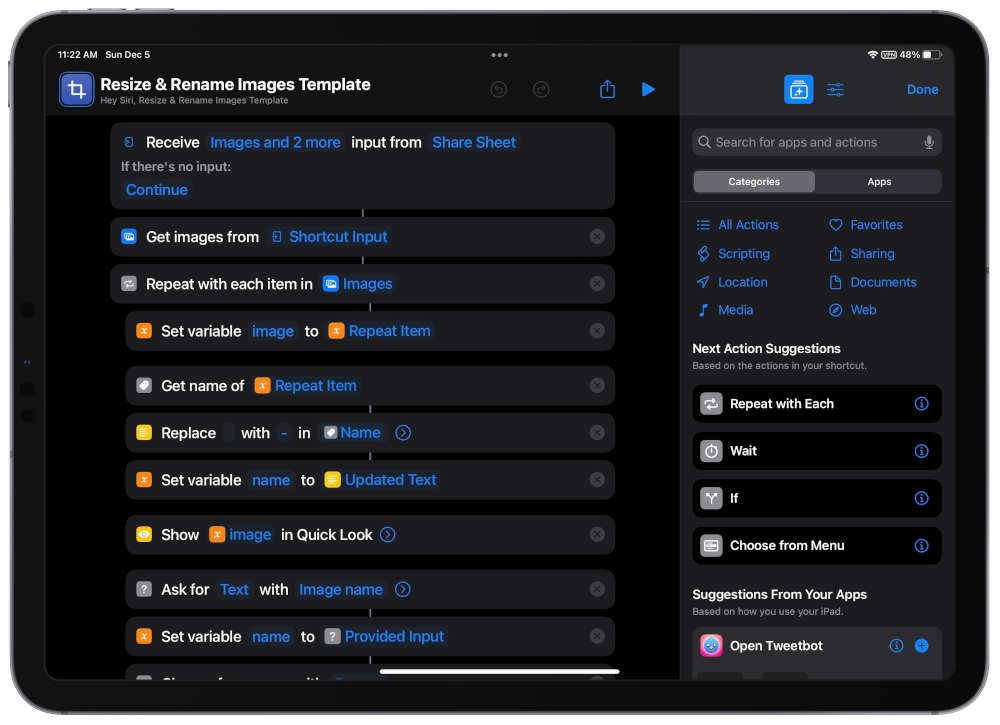
Here’s a rundown of the shortcut steps:
- Receive image(s) as input from Share sheet
- Repeat with each image:
- Create a variable called
imageand set it to the Repeat Item (image file) - Get existing name of Repeat Item
- Replace any spaces in the name with dashes (the web doesn’t like spaces in filenames)
- Create a variable called
nameand set it to the Updated Text (our existing filename with spaces replaced with dashes) - Show the image in Quick Look (to remind you of which image is currently being process)
- Ask for a new image name (existing filename is pre-populated, but you can change it here)
- Update the
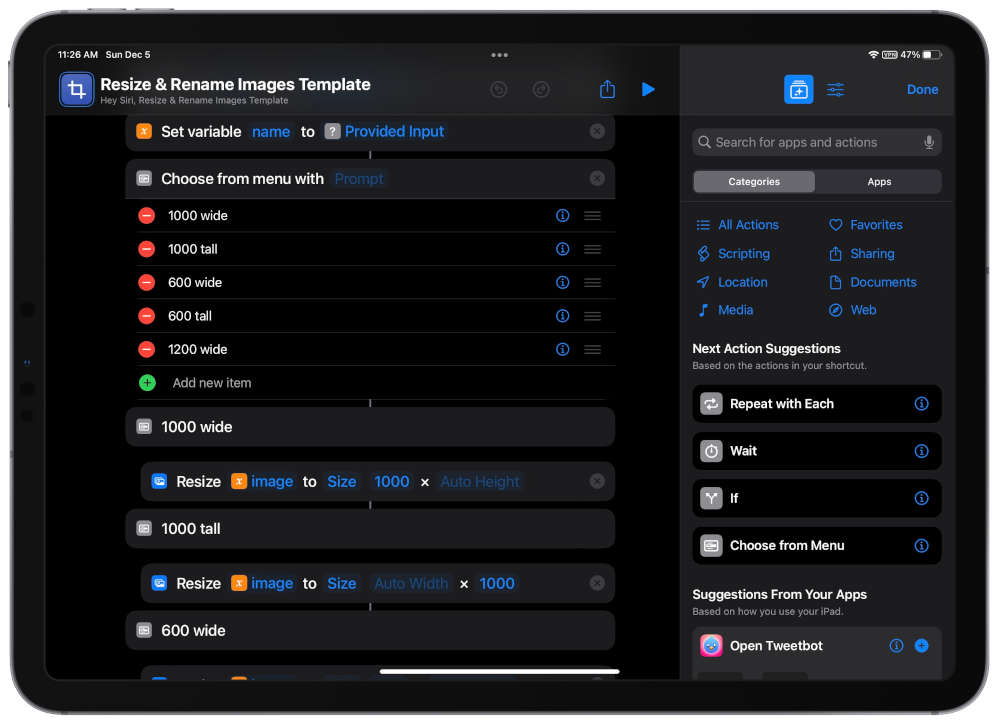
namevariable to the input from previous step - Choose a new image size from the menu
- x wide: resize the image proportionately so that width is 1000, 600, or 1200 pixels (ideal for landscape orientated images)
- x tall: resize the image proportionately so that height is 1000 or 600 pixels (ideal for portrait oriented images)
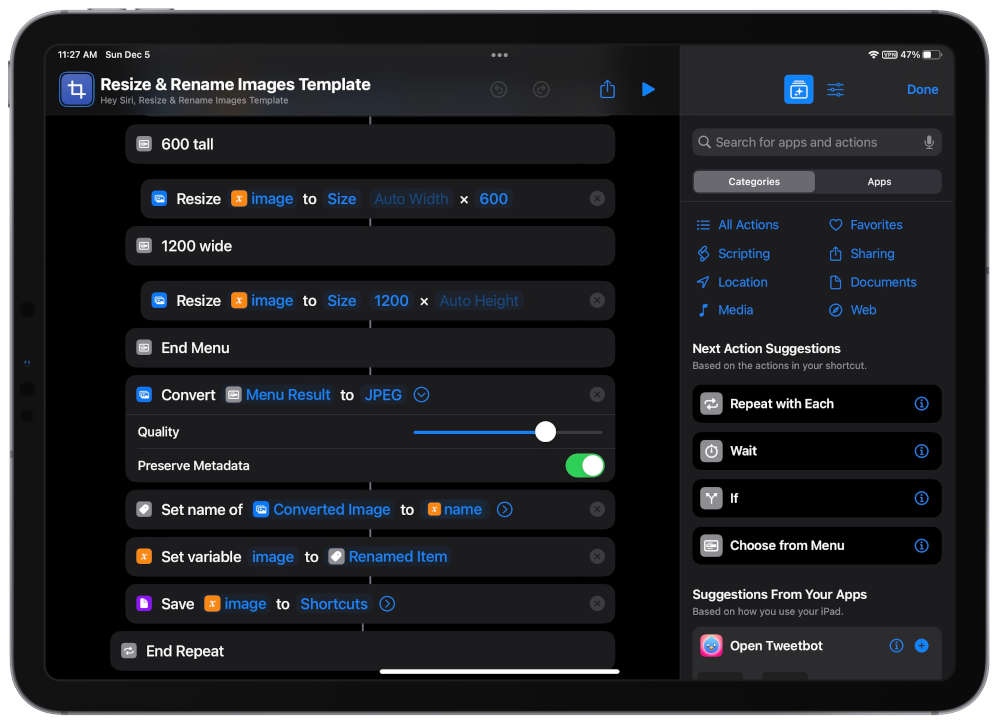
- Resize the image to the chosen dimensions
- Convert the resized image to JPEG format with 80% quality, and preserve metadata
- Rename the new converted JPEG file to
namefrom step 2.4 - Save resulting image to folder
- Create a variable called
- End repeat loop
This is a simple shortcut that saves us a lot of time. It’s easy enough to make these changes in a photo editing app, but this shortcut allows us to do that in bulk with minimal input. If it doesn’t do quite what you want, you can adjust it to fit your needs.
For example, you can easily change the resize options to different dimensions or customize the renaming action to your own format. And, if you want to do something else with the images after the process is complete, you can replace the Save File action with something else!
We have more helpful tips right here.
Wait. There’s a Bonus….
Custom Productivity Templates
We have a set of custom productivity templates that work well with the iPad app, GoodNotes. And if you want to try them out, we’ve put together a free guide that can help you.
We’ll show you…
- How to create and save custom page templates in GoodNotes.
- How to use those page templates to transform GoodNotes into your own productivity notebook (or any other type of notebook replacement).
Plus, we also have included a couple of our custom productivity templates for you to get started with. These templates are right out of our popular productivity course.
The custom templates and the guide are available for FREE to our email subscriber community. And you can get it right now. By joining the Sweet Setup community you’ll also get access to our other guides, early previews to big new reviews and workflow articles we are working on, weekly roundups of our best content, and more.