Using Filters and Labels in Todoist to Stay Focused
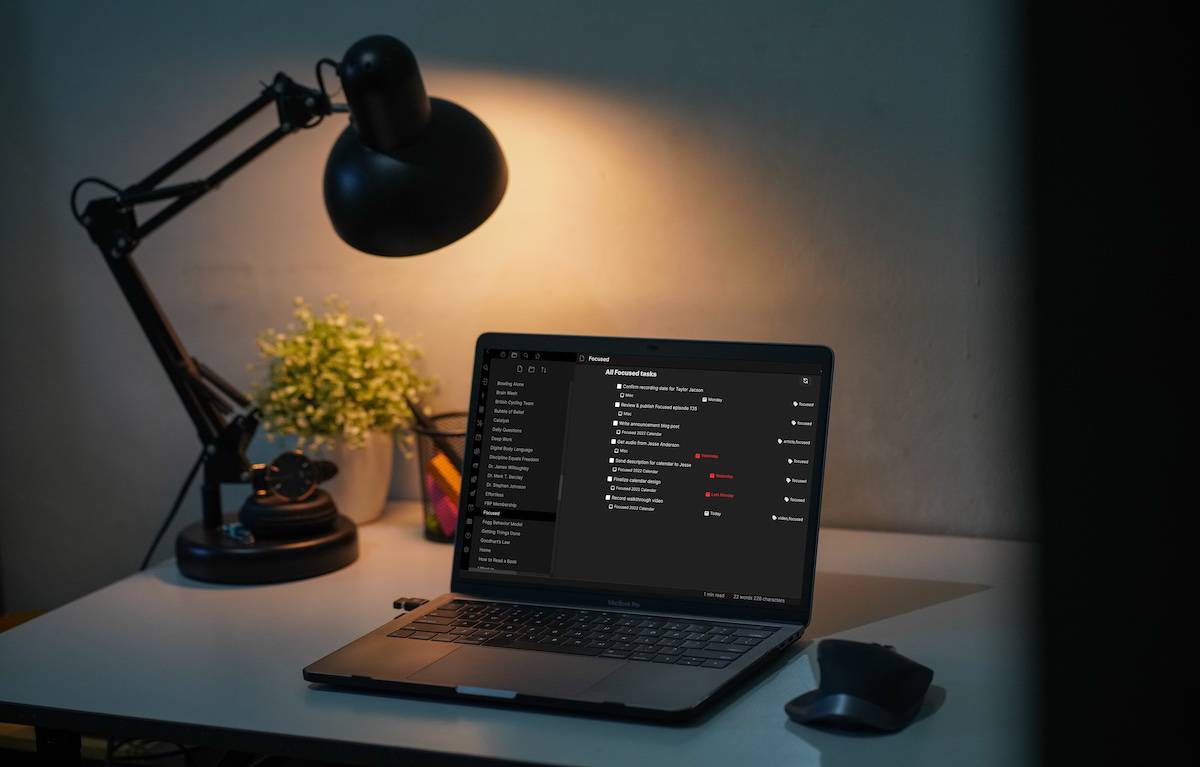
A few weeks ago, we looked at how to use Todoist filters to organize your projects and task lists. While filters can be as flexible (and powerful), you can do even more when you combine them with labels.
Filters allow you to determine what information you want to include in a view from within Todoist. We looked at how you can filter by project hierarchy, due dates, assignee, priority, and more. We even showed how to use filters to separate your work and personal projects. But when you add labels to the equation, you have even more flexibility over what Todoist shows you when.
Tired of being managed by your tasks?
Take our Personal Task Manager Assessment
There are lots of great app options for helping you stay on top of all your personal tasks and projects.
But with so many options, how do you know which task managemer is right for you?
Find out which task management app is best suited for your needs so you can get things done and get back to what is really important.
What are Labels?
Labels aren’t a new concept, and the way that Todoist implements them isn’t foreign either. You can call them labels, tags, even contexts (like OmniFocus) — they all do the same thing. And since you can create any label you want, the possibilities for how to use them are endless.
Todoist uses the @ symbol to denote a label, so @email would be an email label on a task or project.
You could also have labels for @home or @out to designate whether a task happens at home or away from home (such as an errand at a store). I’ve also seen people use labels to give tasks a rough estimate of effort so they can pick one-off tasks when they have a few minutes to spare. Something with a @low-effort label could mean it takes less than 5 minutes to complete, for example. Similarly, you could use a label to indicate that a task needs to be reviewed or fleshed out during your weekly review session. If you can think of a way to use filters, Todoist is flexible enough to handle it.
One of the main ways I personally use labels is for indicating a person that is required for me to complete the task. I have a label for each person I interact with on a regular basis. For example, if I think of something to discuss with my boss at our next weekly one-on-one meeting, I can add that task and add the label @boss to remind me that I need to have this conversation with that person. The same thing goes for my spouse, my coworkers, family, etc.
Why not include the person’s name in the task name or description? Sure, you could do that and it’s probably a tad easier. But the power of the label is in how it can be used to filter information later. When I put this concept together in my head, it was a major “whoa” moment that really propelled me forward in my Todoist journey.
Let’s use the same example about discussion topics for my boss. If I have more than one idea during the week, I can pull those up (by going to the label in Todoist) during my meeting so that I can run through each one and cross them off as we go. Nice! This is cool because each task can be associated with a different project, and I can easily group them together by adding the proper label.
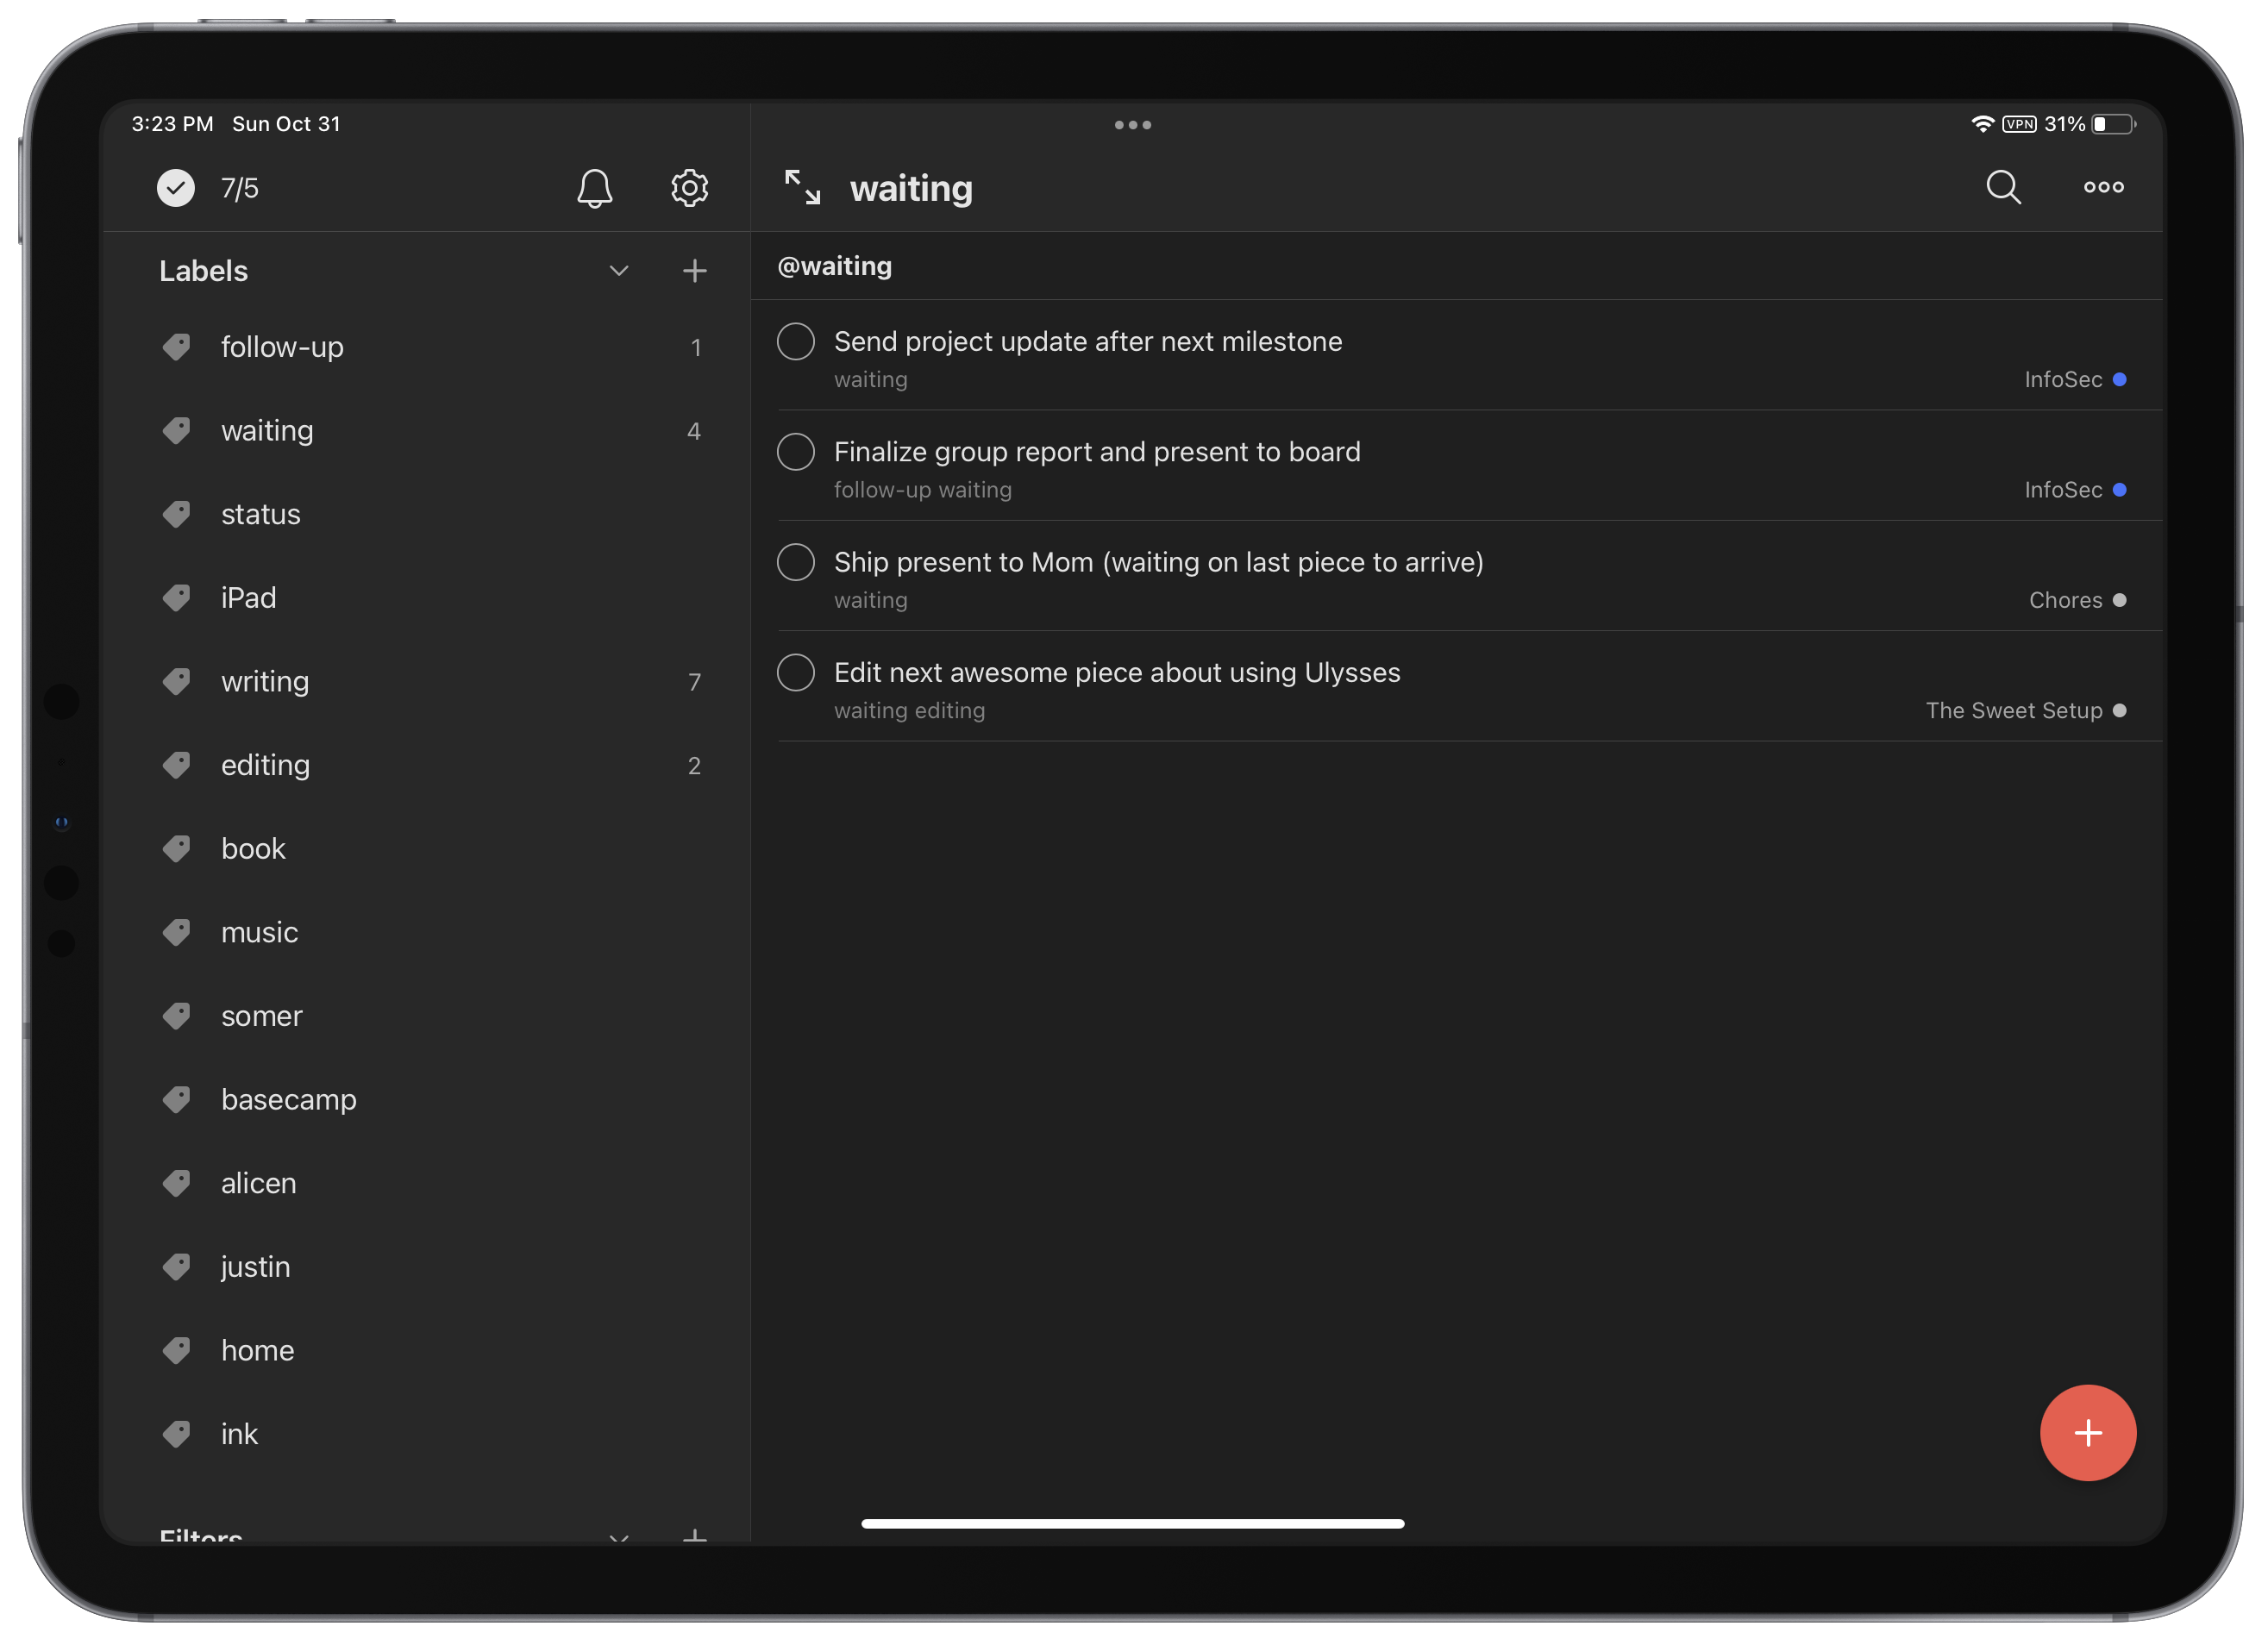
Another example that I learned from using OmniFocus in the past is to use a @waiting label for any items that I cannot work on just yet due to other dependencies not being complete. During my weekly review, this is one of the labels that I review to make sure nothing has changed in my “waiting” list.
Maybe you identify yourself as a morning person (or a night owl!) and know when you have the most creative energy available for doing specific work. There are many names for these types of labels, but I like to use @focused and @braindead to differentiate these two. When it’s time to focus, I can quickly scope down my list to only the items that are important for my focused work session. And, if it’s the end of the day and I don’t have much energy, I can dig into that list and get some easy (but monotonous) admin work done.
With these examples, you’re hopefully starting to understand what labels alone can help you accomplish in Todoist. But once you get used to using labels with your tasks, things open up even more when you realize you can attach multiple labels to a task. While I don’t use this a lot, it’s incredibly helpful in those one-off situations.
Combining Filters with Labels
Labels are great on their own due to the fact that they are independent of any project and assignee associations. It’s just one more piece of metadata that allows you to organize your life.
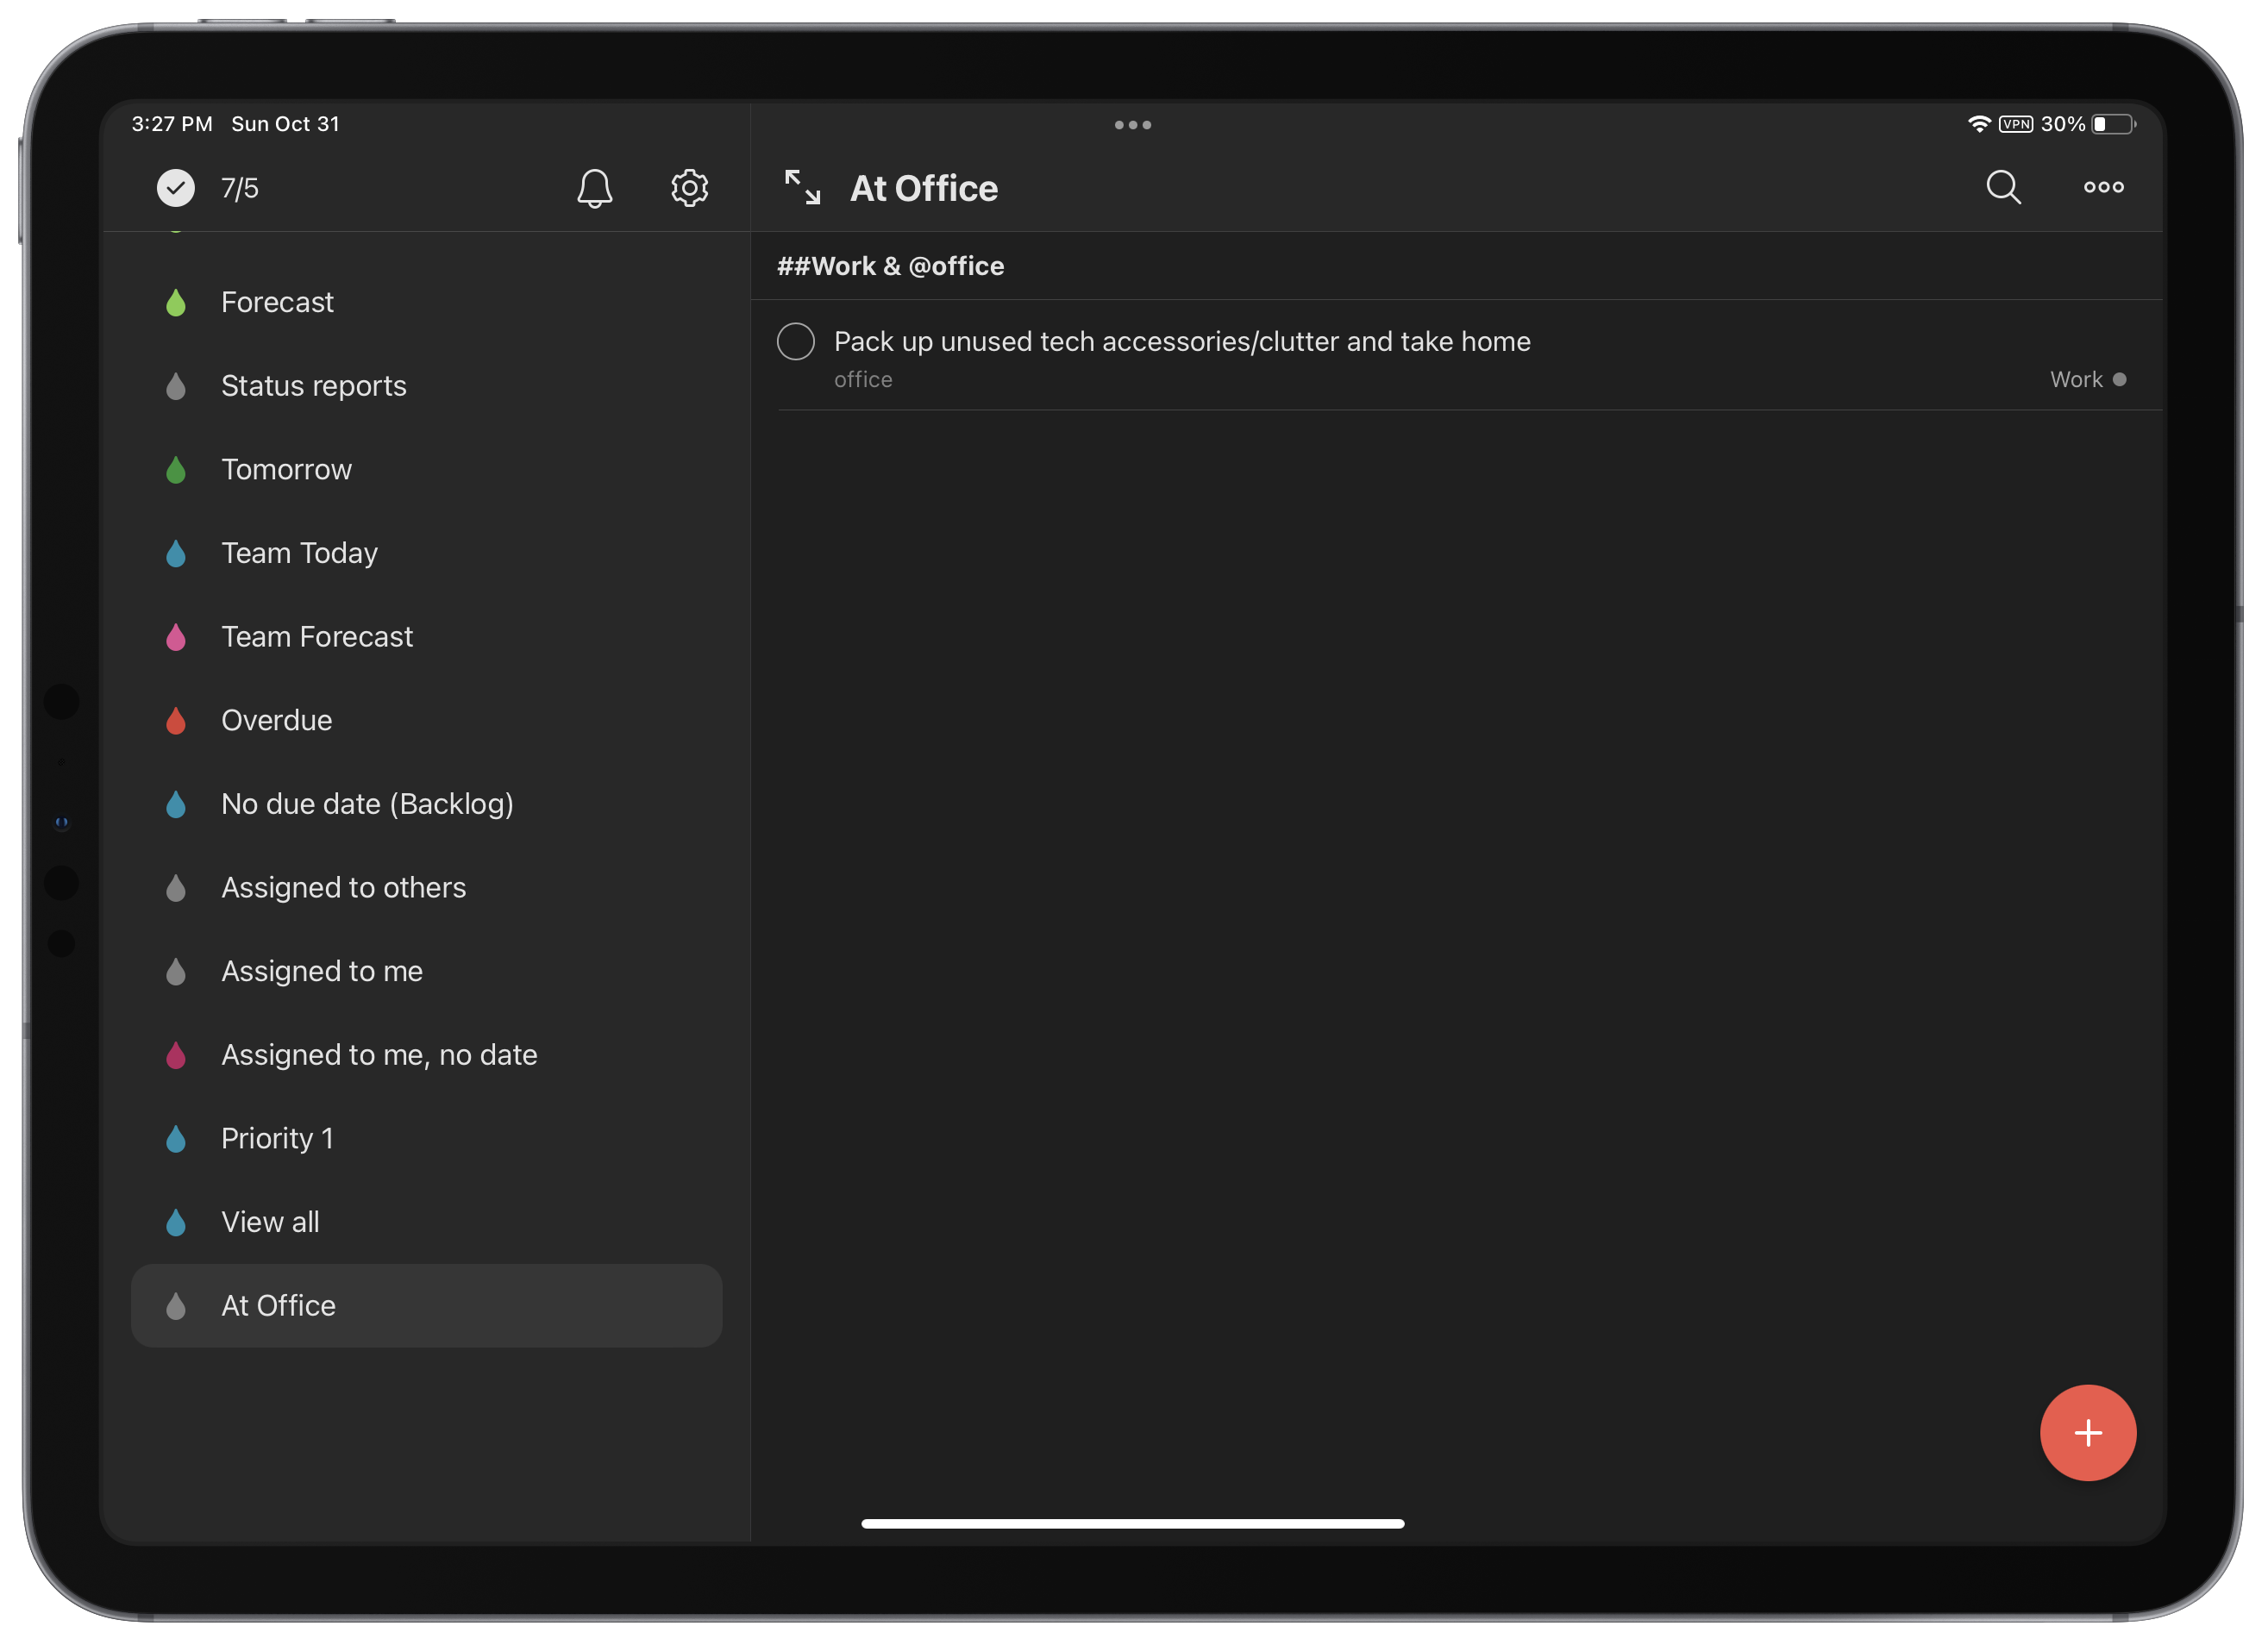
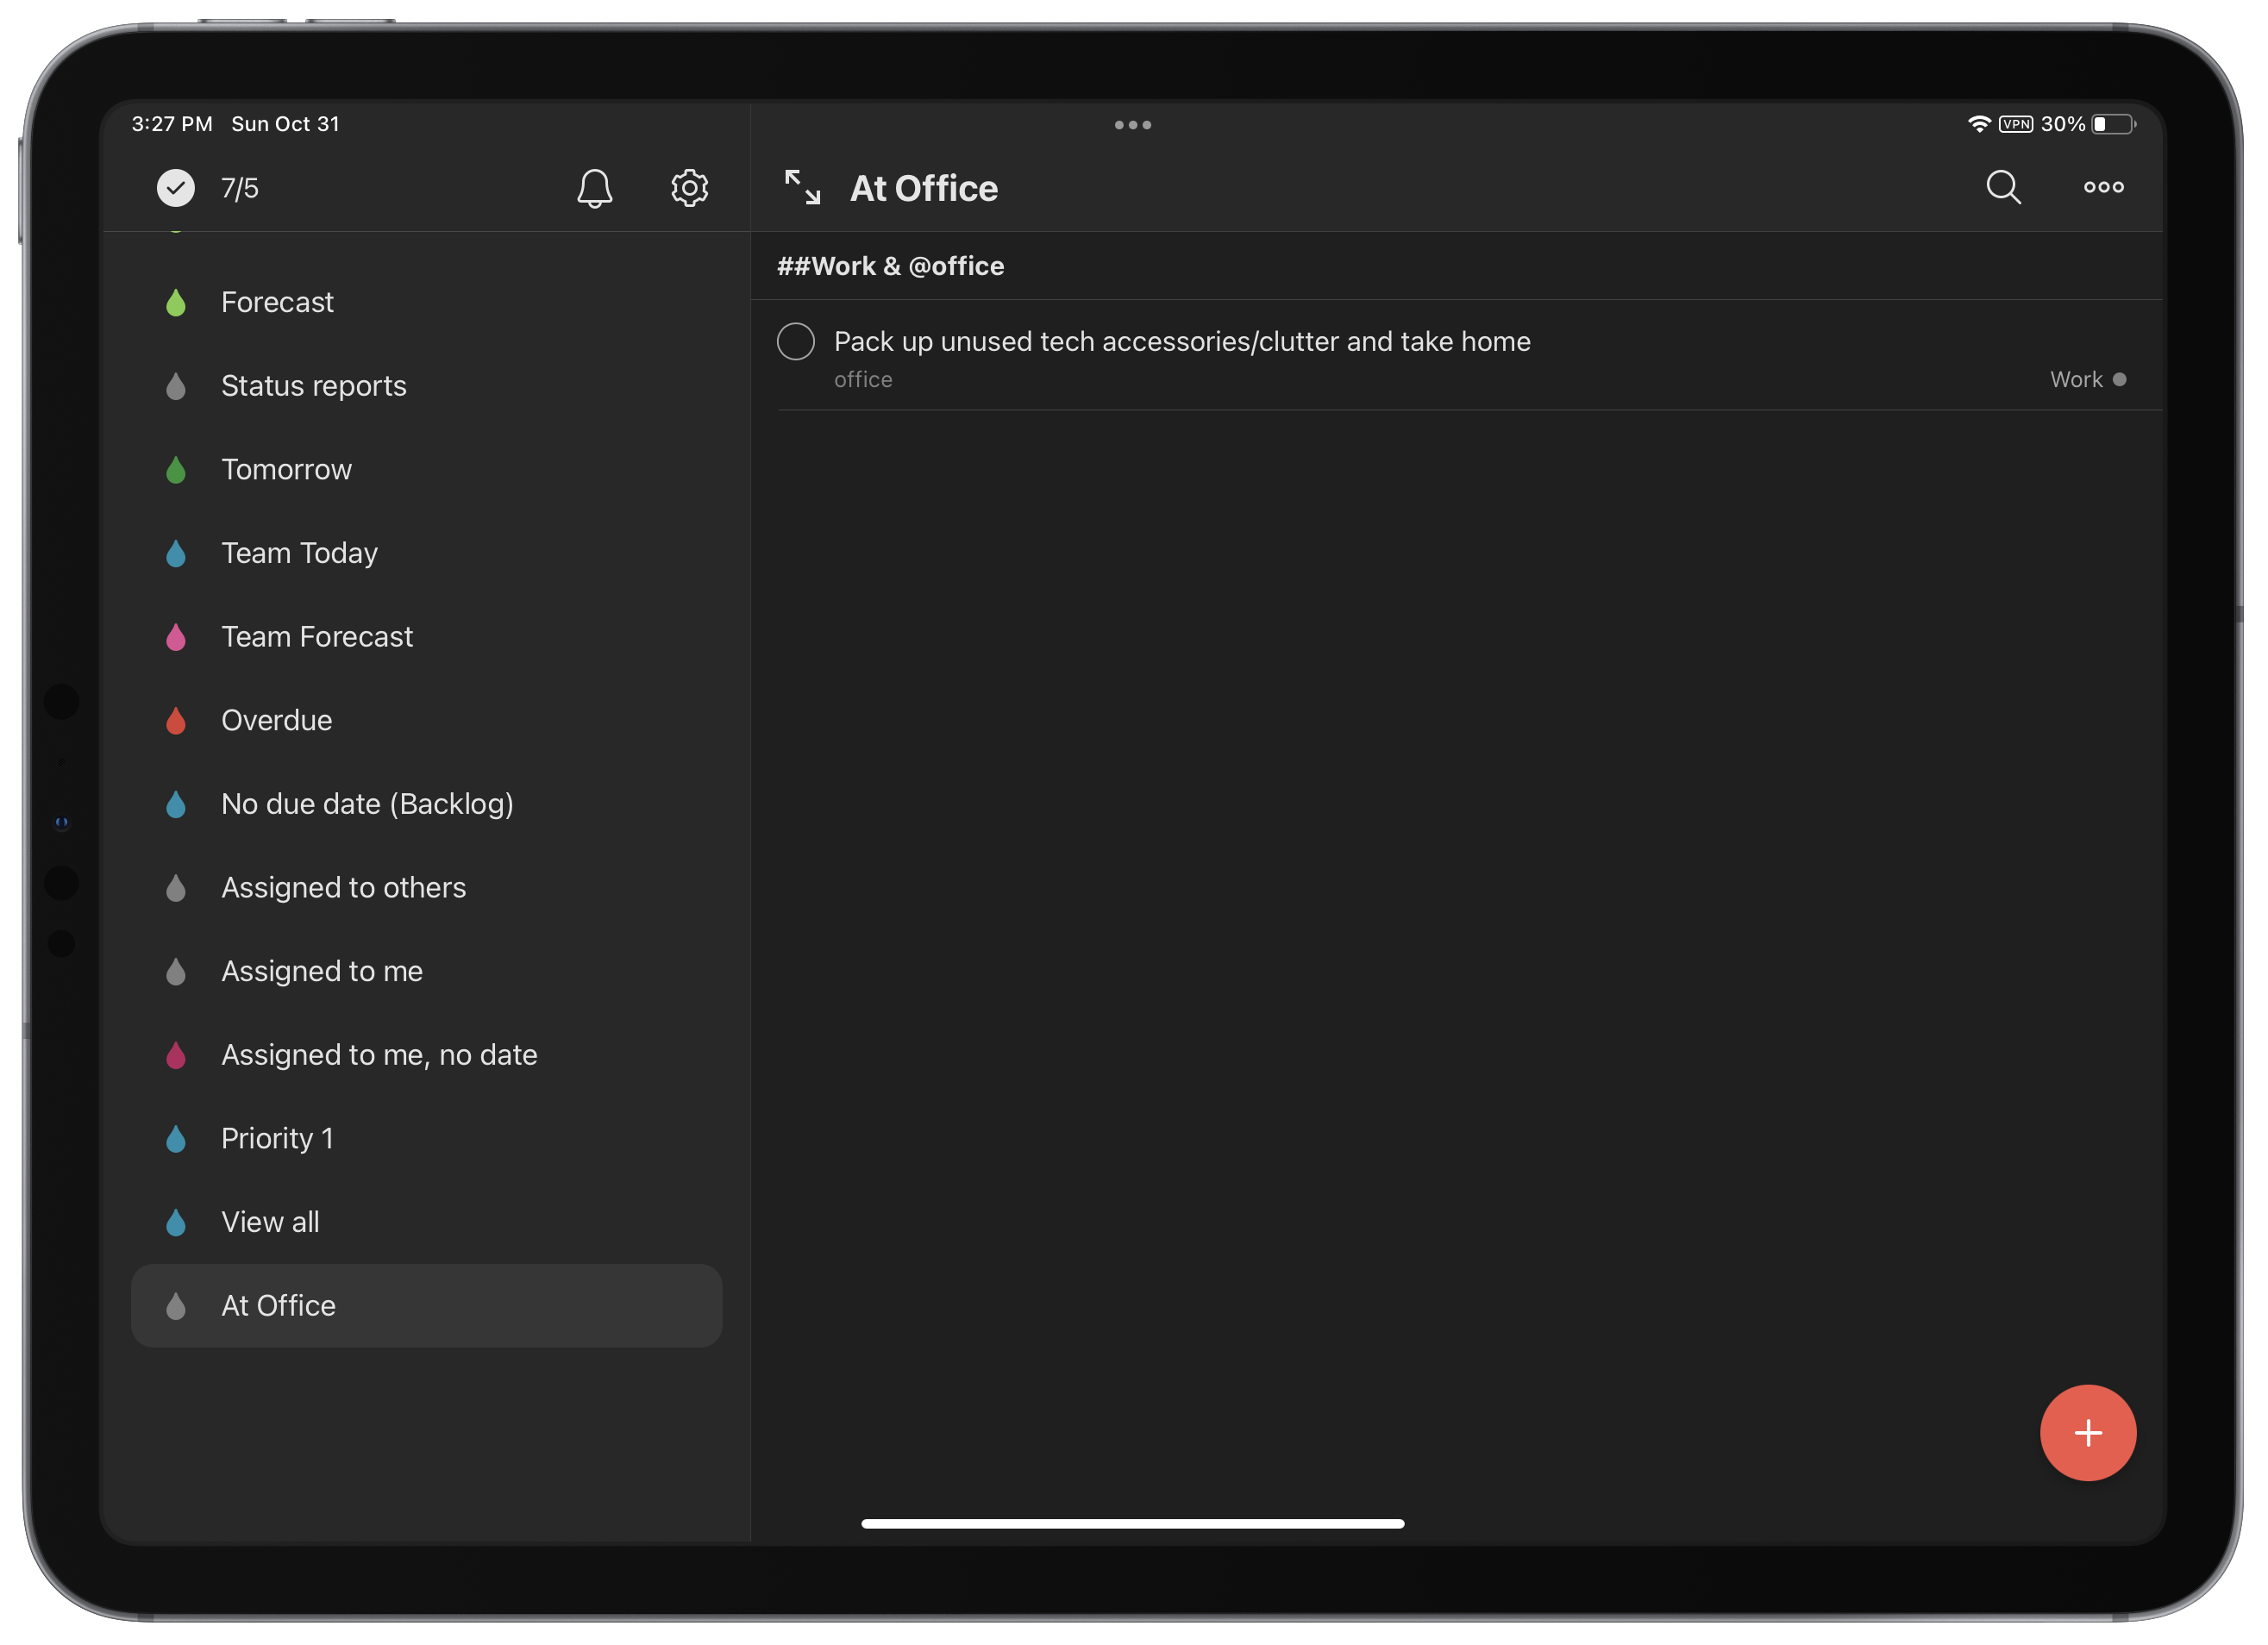
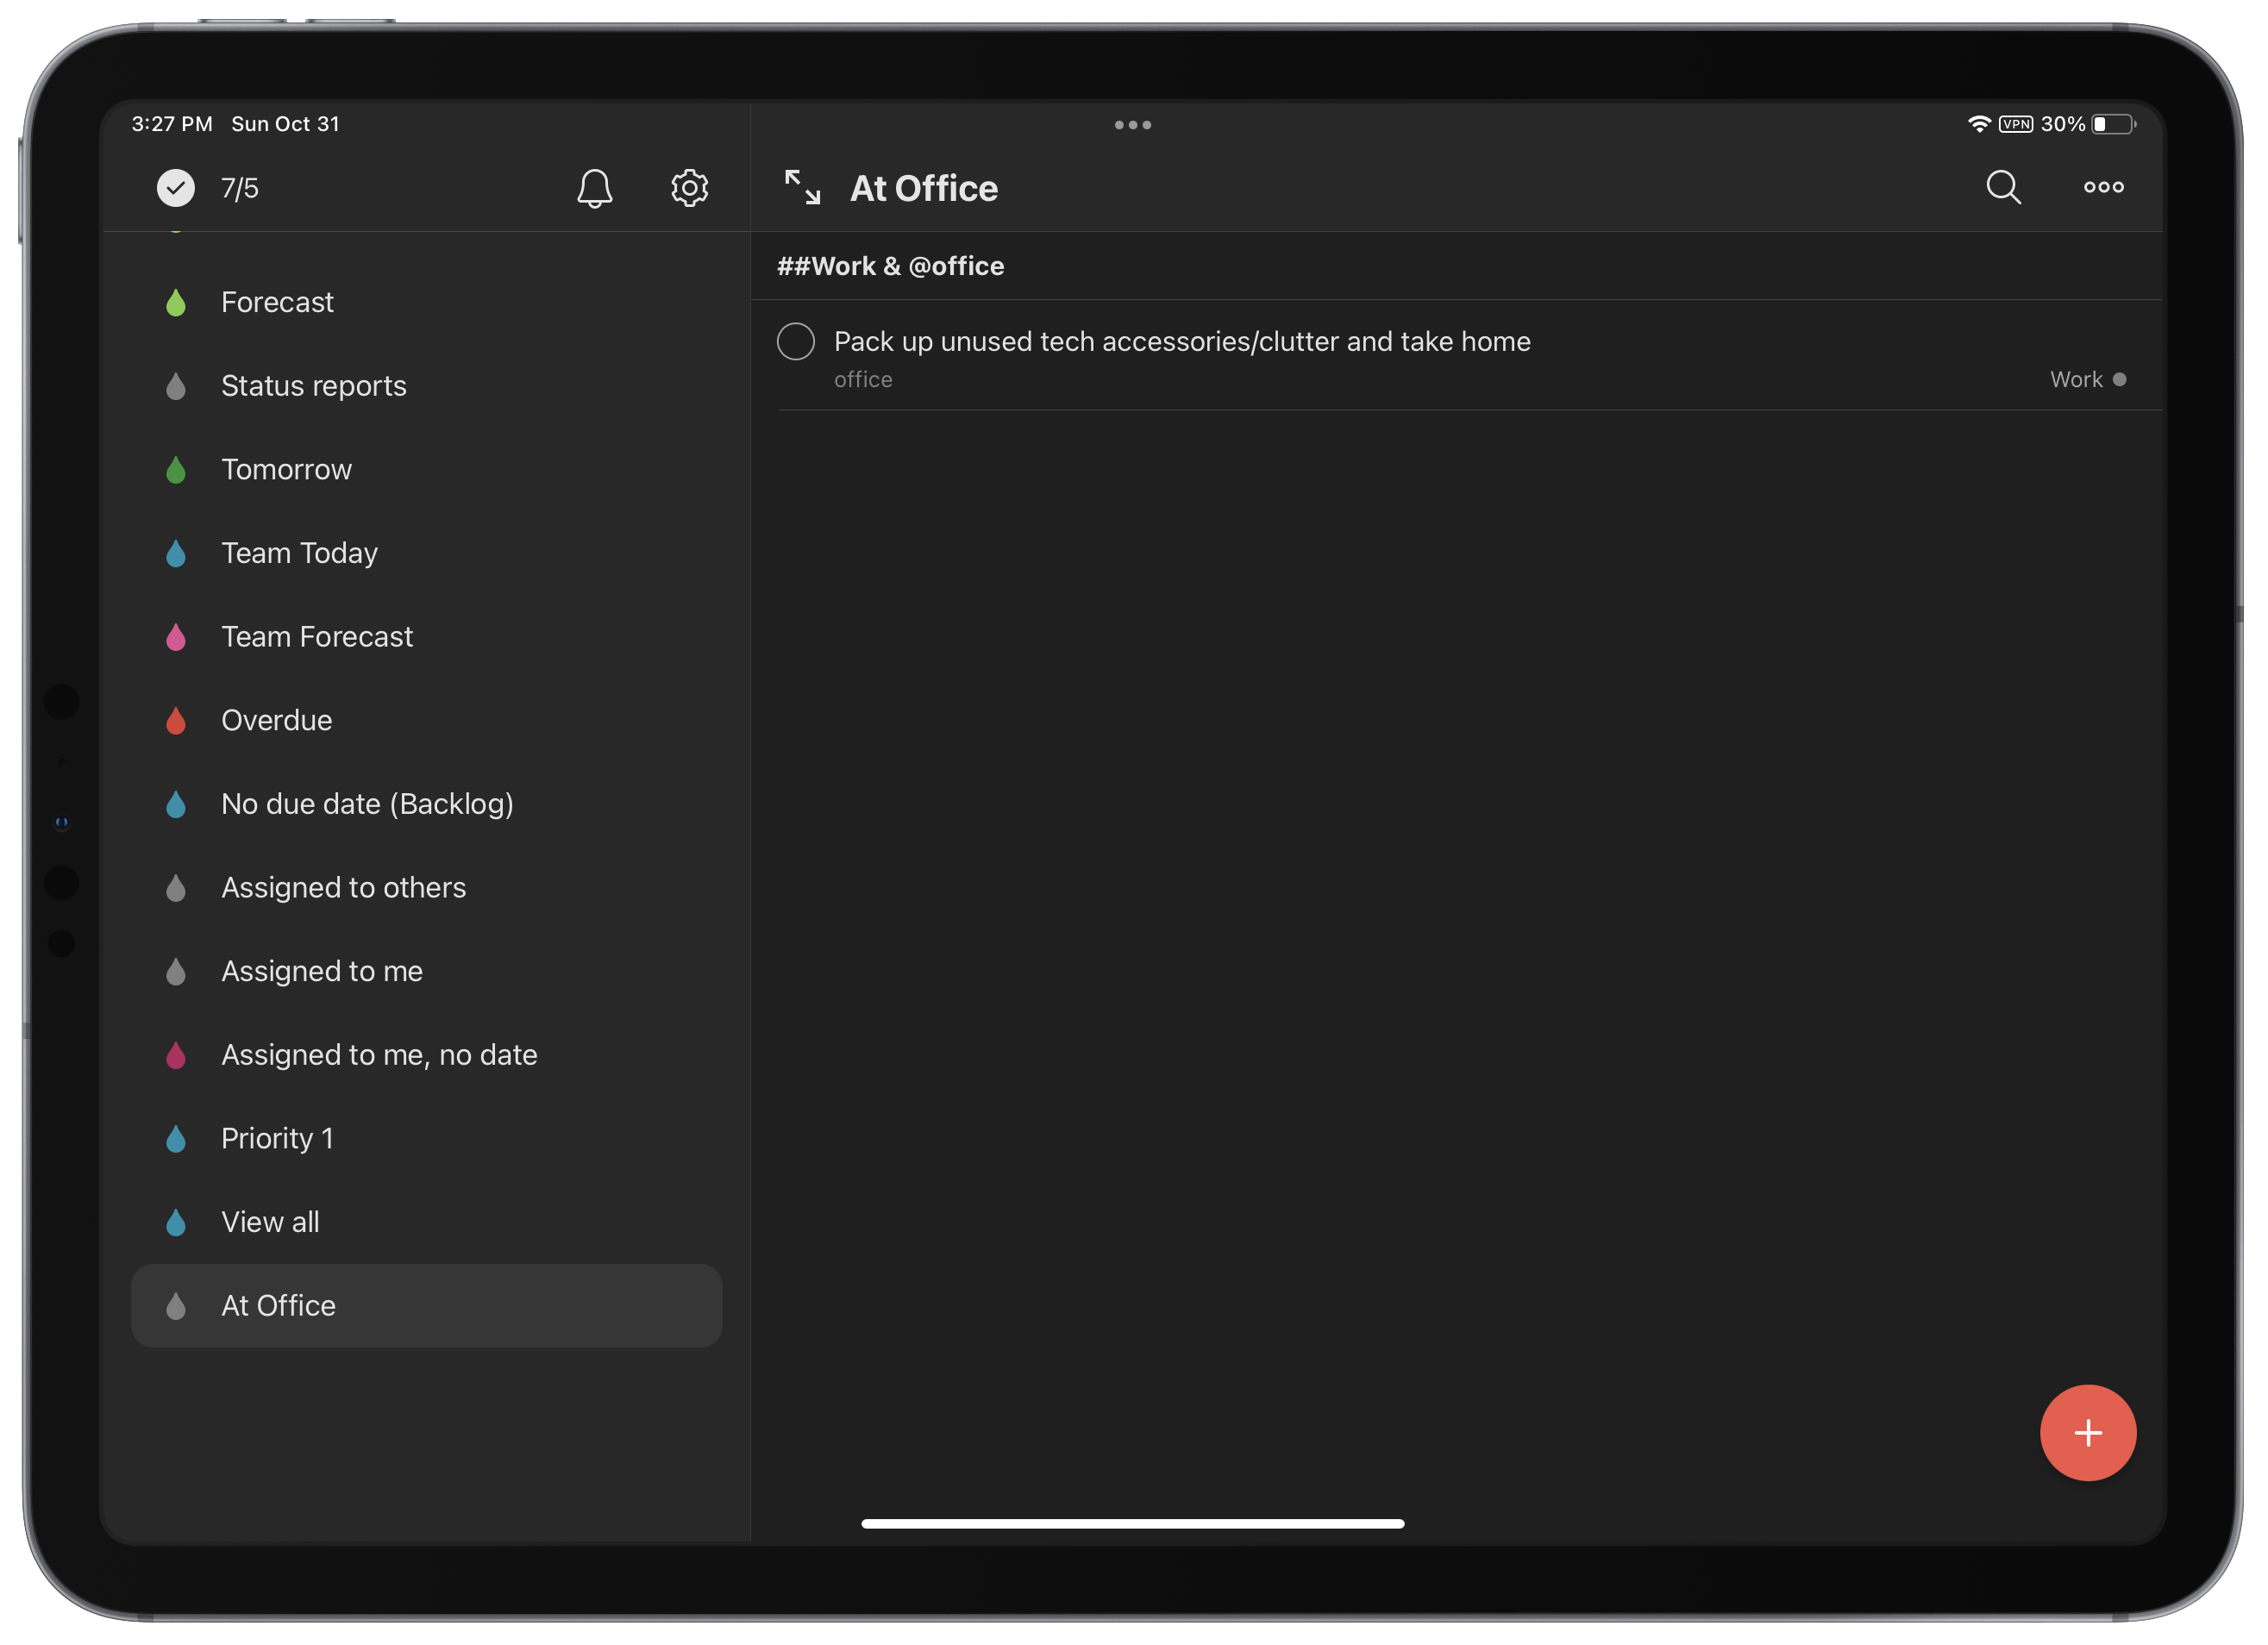
Let’s start with an example for filtering tasks that I need to complete while physically at the office. Since this will only be relevant for work projects, I can include only projects that are under my main Work hierarchy and have the @office label.
##Work & @office
Now, let’s look at an example that uses a couple of different labels. Let’s say I want to spend a few minutes following up on tasks that are dependent on other people. Previously, I added the @email and/or @waiting labels to tasks during creation or my weekly review. Now, I can create a filter that shows me the tasks that have both labels applied so that I know exactly who I need to email. You can combine them by using an & modifier and wrapping both labels in ().
##Work & (@email & @waiting)
To make this even more specific, let’s only consider tasks that are overdue or coming up in the next week. You can indicate an or modifier by using a pipe character |.
##Work & (@email & @waiting) & (overdue | 7 days)
Finally, let’s make one more small tweak to this complex filter to show tasks for following up with specific people via email.
##Work & @email & (@John | @Donna | @Natalie) & (overdue | 7 days)
You could also make a small change to this filter to focus on people that you need to call back. I use the @phone label for indicating that I need to use a phone to call someone — another great label to filter on when you’re focused on returning phone calls.
Next, let’s look at an example that shows us a list of tasks that we can work on when it’s the end of the day and we have a few minutes to work on some easy tasks or chores around the house. The ! characters tells Todoist to focus on projects that are not in the Work project hierarchy and that we’re not waiting on.
!##Work & (@home & @braindead & !@waiting)
This opens up your filtering syntax even more!
The Sky is the Limit
What I’ve learned from my years with Todoist is that you can create a filter for anything you need. It can take some thinking and task updates to make the system work how you intend, but I’ve always been able to find a way to make Todoist show me exactly what I want to see based on all the contexts and responsibilities that shape my life.
Labels are incredibly simple in nature — they’re just words that you can attach to tasks ad nauseum. But if you plan out the system and stick to it, they become incredibly powerful tools for making your data work for you (and not the other way around). Plus, you can impress people with your seemingly super-human information recall if you have a few go-to filters in your Todoist toolbelt!
If you’re looking for more inspiration on how to use filters and labels, Todoist has a lot of documentation on their site that can help you customize everything to your liking.
Tired of being managed by your tasks?
Take our Personal Task Manager Assessment
There are lots of great app options for helping you stay on top of all your personal tasks and projects.
But with so many options, how do you know which task managemer is right for you?
Find out which task management app is best suited for your needs so you can get things done and get back to what is really important.
