Using an iPad with LumaFusion to Edit and Publish Videos
Going iOS first has meant that I no longer have access to the regular video editors found on macOS. Yes, there is iMovie for iOS, but it’s hardly full-featured. Luckily for everyone, we have LumaFusion.
My Video Workflow
In addition to writing about software, I occasionally review outdoor gear I’m using. While I could carry a GoPro, I have opted to stick with my iPhone 6S Plus and a small tripod. I’ve got my phone with me already, and I just don’t want to carry more than I need for hours in the mountains.
My workflow starts by opening up the stock camera app in iOS on my iPhone, framing the view I want, and then running past the camera. I’ve been looking at FiLMiC Pro so that I have more options as I’m shooting, but at this point I’m not sure I could even use most of them.
All of my gear reviews are longer term reviews — I don’t do hot takes or unboxing videos. This means I have to store the footage for at least a few weeks as I put time in with the gear to test it properly. I don’t love all those videos cluttering up Photos on iOS alongside pictures of my kids, so I pull all the videos out of Photos and add them to my iCloud Drive tagged with the shoes or gear I was wearing, along with a location-based tag so that I can find it later.
Get Our Best Photography Tips & Workflows
Transform your photos and edits from average to awesome with our in-depth, mobile photography course. It’s jam-packed with training, ideas, and lessons that can literally transform your photography overnight.
Moving to Editing
When I’m ready to edit a project, I start by bringing all my footage together. Since I’ve tagged it all in Files, I select the tag and my videos are right there in front of me.
Next, LumaFusion steps in with its powerful editing capabilities. While LumaFusion is directly integrated with iOS Share Sheets, sending a video directly from the Files app to LumaFusion means that I end up with two copies of the video in my filtered tagged view, which gets confusing. I generally take a few minutes to watch all the existing footage in the Files app and then go through the voiceover work and bring in a single video at a time to LumaFusion from Files.
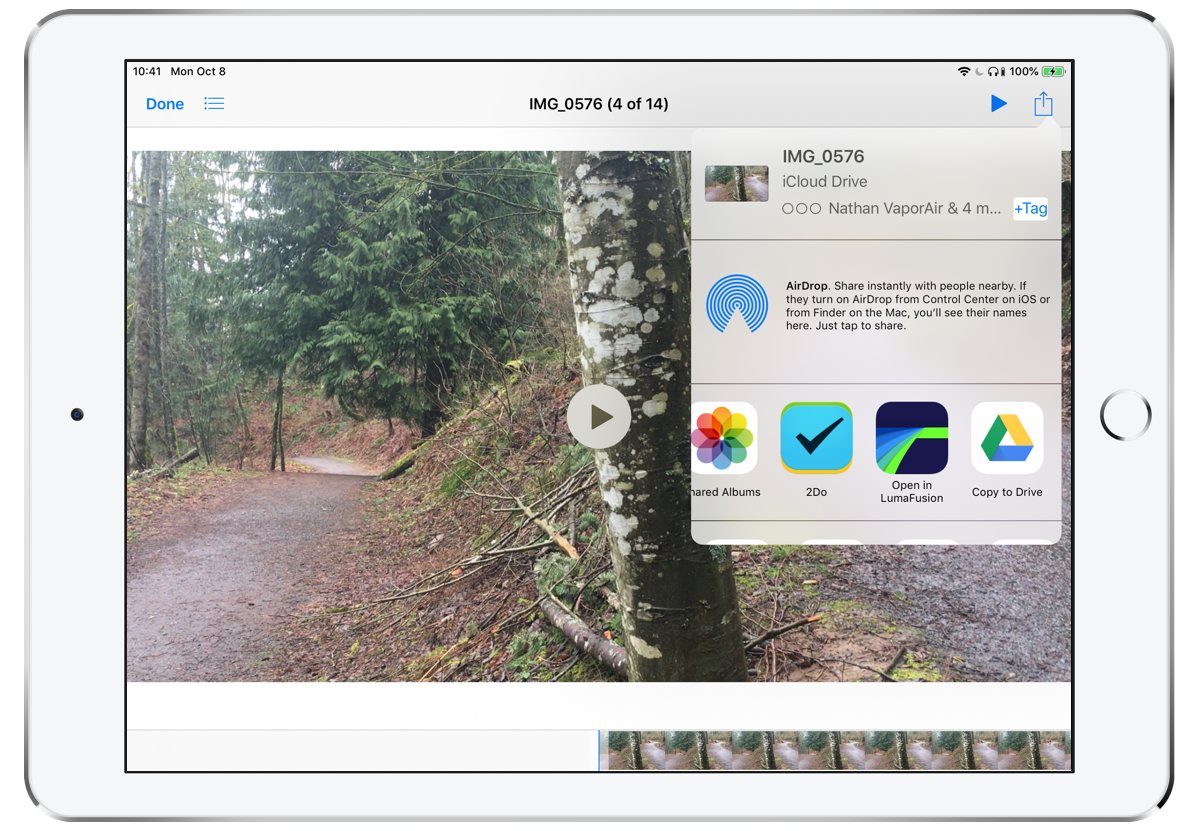
When you do this, LumaFusion shows the video under the Imported media tab.
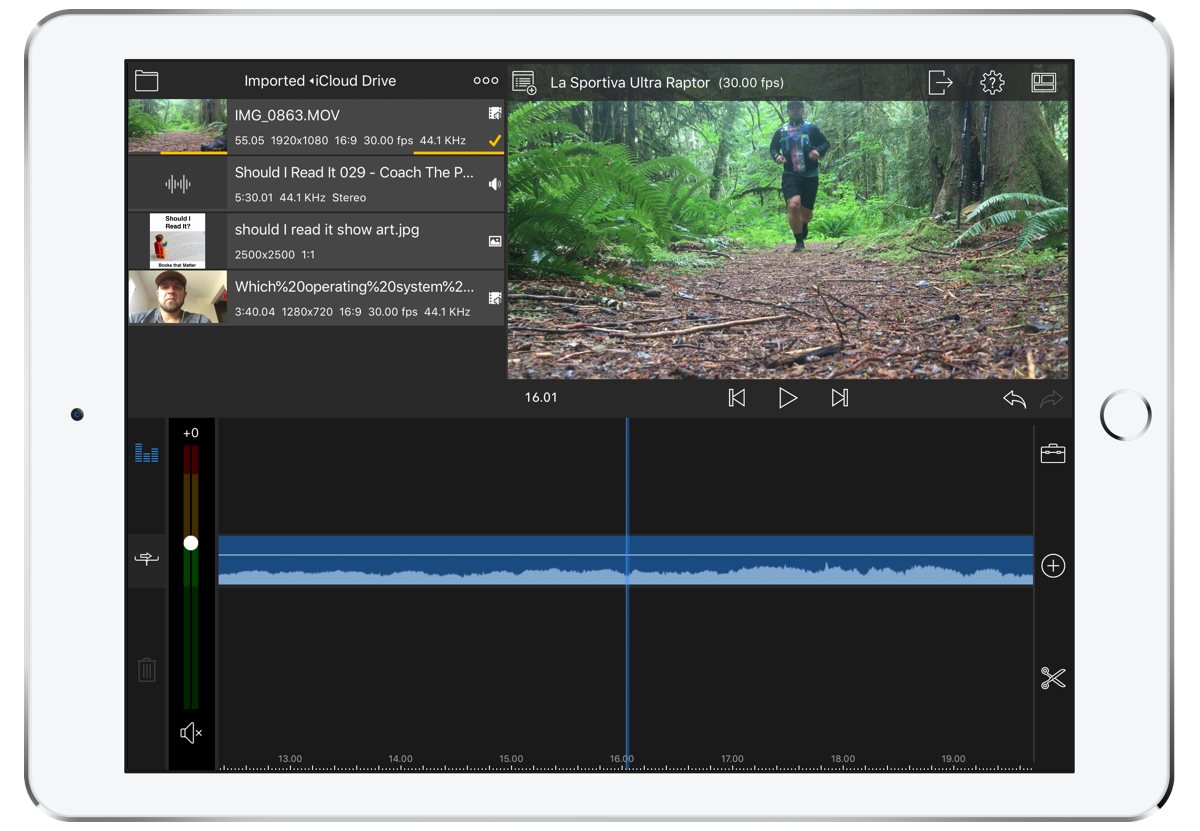
You can also browse any videos that exist in the Photos app directly from LumaFusion. I find this way of getting media in more difficult because I end up wading through way too many media items that have nothing to do with my current project.
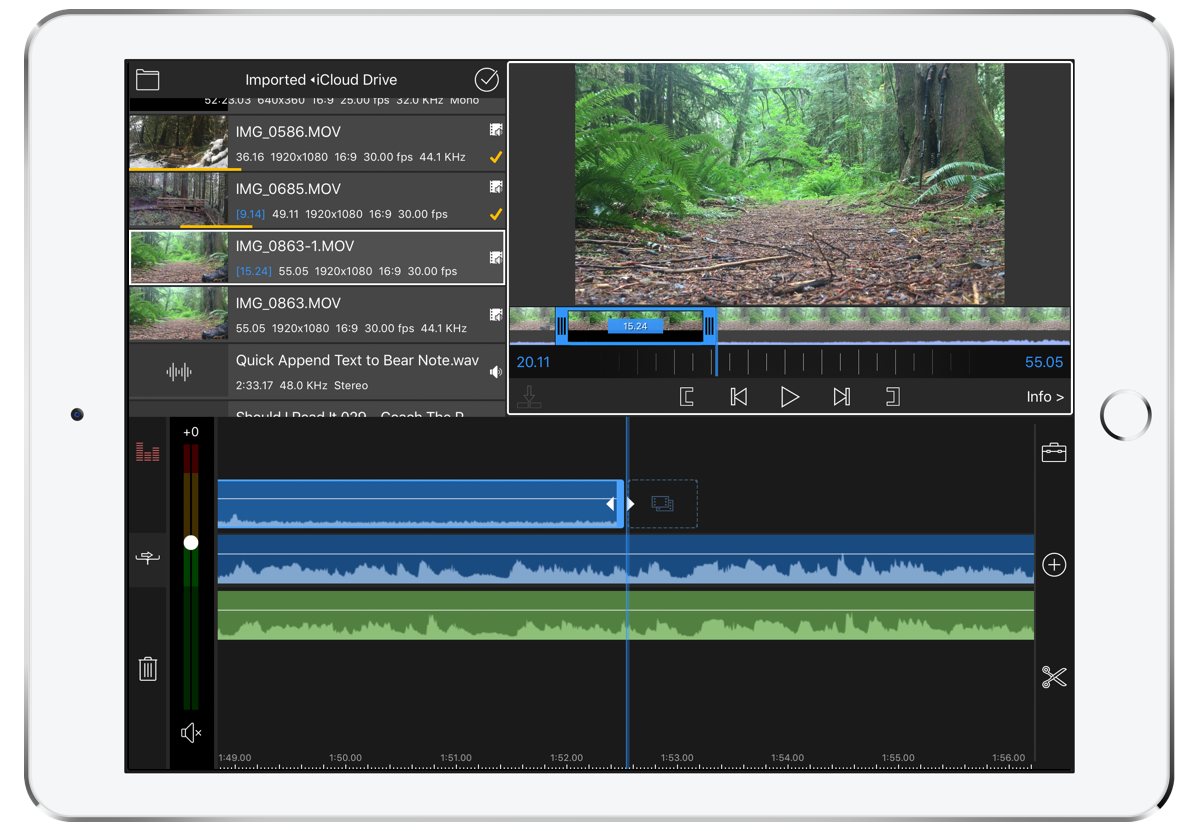
Once I have a video source in LumaFusion, I use the built in trimmer to edit the video down to the clip I want before bringing it into my project.
From there, LumaFusion allows you to add transitions and pans directly to your videos. This allows you to take a static shot and add a bit more visual appeal to it.
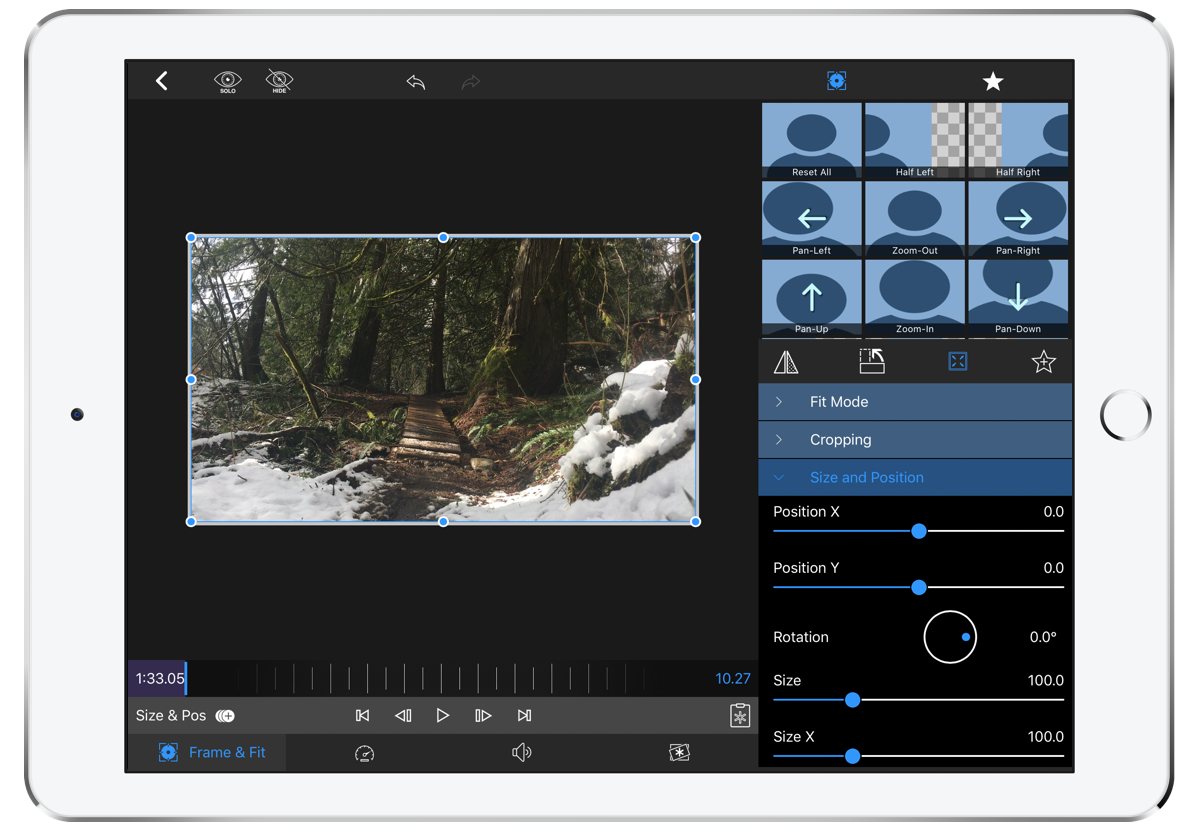
If you’re including truly static media as well, then you can also use this editing pane to decide how you want your images to fit inside the viewing port that is provided by LumaFusion.
Once you’re done with the video, LumaFusion provides a number of export options. You can send your video directly to YouTube, Vimeo, and many other places. I generally choose to send my videos to Photos and then upload them in the YouTube app so I have more control over when they publish.
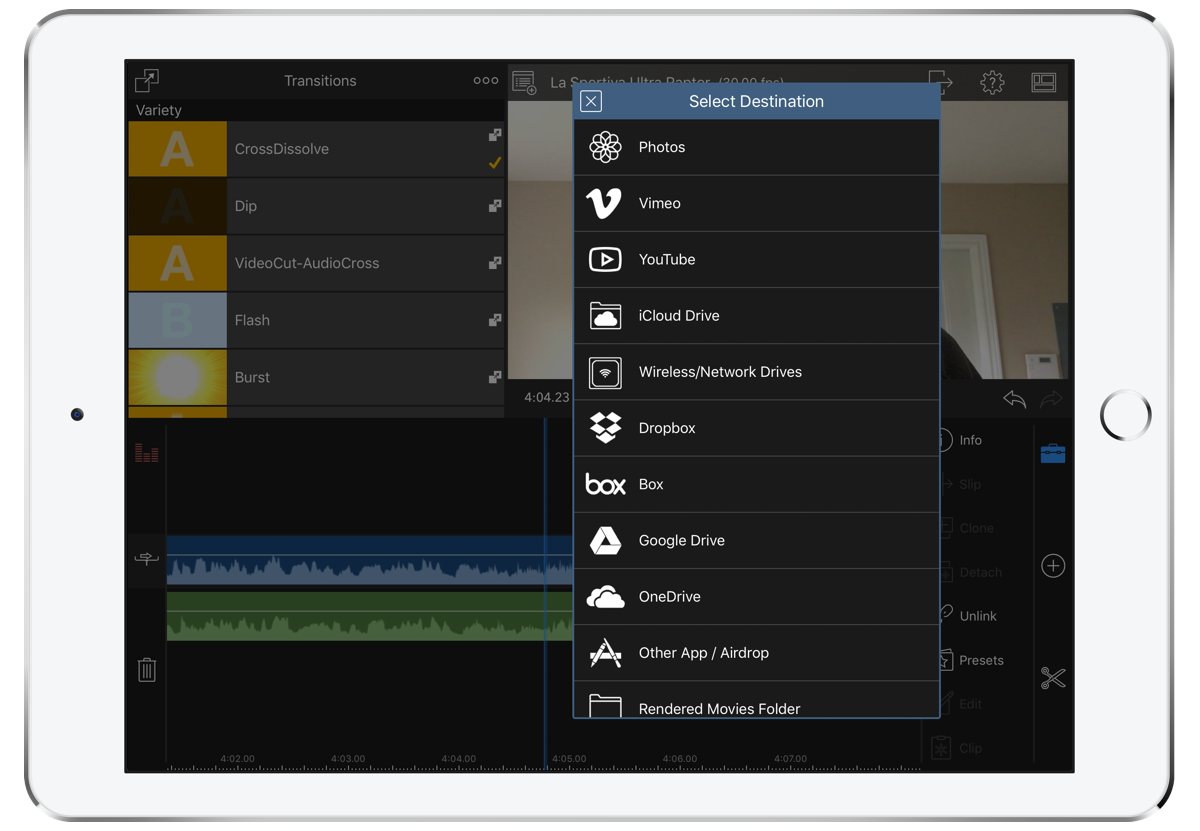
I’ll even use the expert options to grab the audio file so I can run it through Brusfri for noise cancelling to improve my audio quality. Then, I send the audio back to LumaFusion and mute the audio in the main video clip so I can rely on the clean version.
All told, LumaFusion provides a very powerful video editing experience directly on the iPad. Where I used to use more powerful tools on my Mac, I now find that LumaFusion has 90% of the tools I need for my work and I don’t need to touch any of the YouTube videos I produce in macOS.
Yes, some people may still need a bit more power, but most of us can easily be happy with the multi-track editing provided by LumaFusion on iOS.
Get Our Best Photography Tips & Workflows
Transform your photos and edits from average to awesome with our in-depth, mobile photography course. It’s jam-packed with training, ideas, and lessons that can literally transform your photography overnight.
