fbpx

FREE! Plan Your Ideal Week: Bonus Workshop + Planner  →  Get the Workshop

Quick Tip: Record audio with QuickTime

While tools like Call Recorder are very helpful if you need to record all sides of a podcast, recording local audio — for a podcast or otherwise — can be done with QuickTime, which ships for free with every Mac.

To open QuickTime, take a trip to Spotlight, or navigate in Finder to the Applications folder. To record, go to the File menu and select "New Audio Recording:"

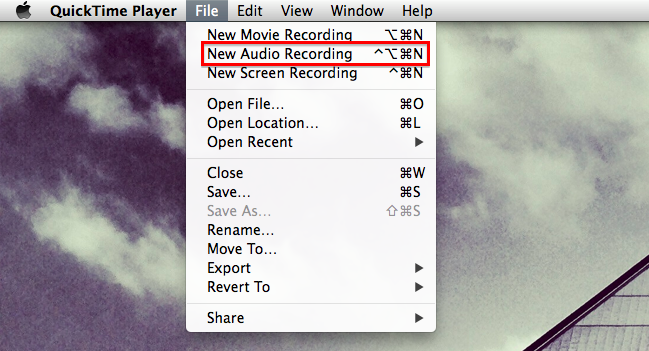
This will open a new window. Using the disclosure triangle on the right side of the window, select the proper audio input and the desired quality:

High quality produces compressed AAC audio, while the Maximum setting produces high-quality uncompressed movie files that can be huge in file size. Therefore, we recommend using the "High" setting for most use cases.

Apple has a big support document about all of this, of course. In it, the company explains the UI used while recording:

The current running file size is displayed on the bottom right of the controls while you’re recording; this changes to the total elapsed time when you stop recording. The sound meter (located at the bottom of the controls) makes it easy to ensure your volume level is consistent, and is helpful for making sure you’re an appropriate distance from the microphone.

Once your audio is recorded, it can be saved right to your disk, ready for editing or sharing: