iOS 11: How to use the new multitasking features
With iOS 11, multitasking has been elevated to a whole new level on the iPad. There are multiple ways to trigger it, and there are multiple ways to manage it.
Here are some ways to invoke it:
Swipe up and use the Dock
If you swipe up from the bottom of the screen, you’ll see the Dock come up. Apps on the Dock can be dragged onto the multitasking window, and you can also trigger the Dock from a hardware keyboard shortcut by pressing Option + Command + D.
From Spotlight
If you hold Command + Space, a spotlight window will appear. You can search for an app and bring it into multitasking view straight from Spotlight.
Launch multitasking with a non-Dock app
To use an app that isn’t in your Dock, you can return to the home screen with the Home button, grab the app you want, and use a second finger to re-open the original app.
Split View and Slide Over
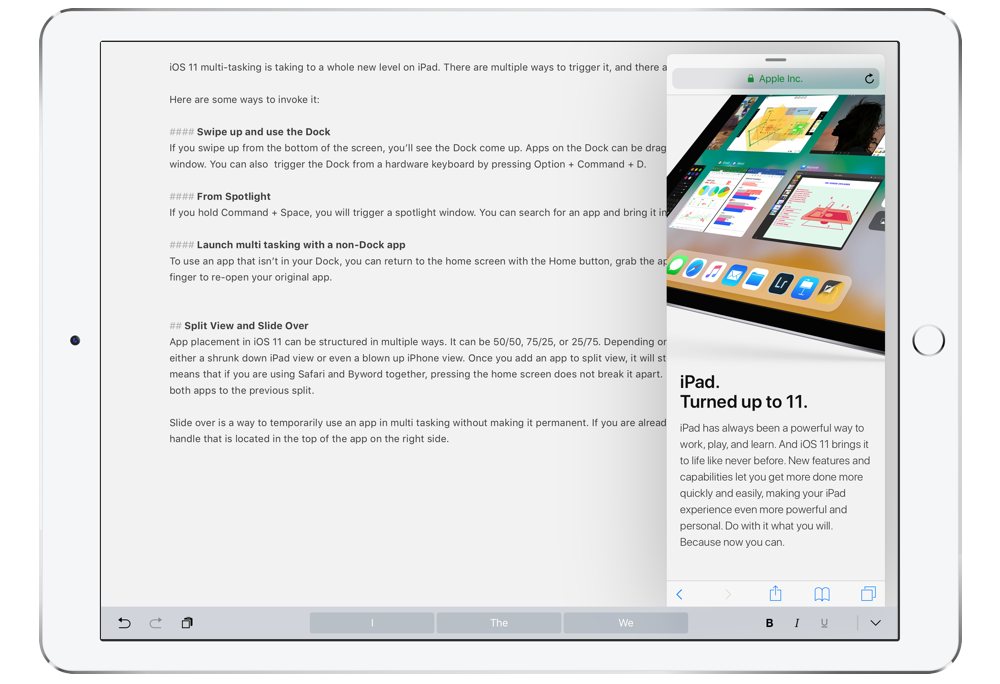
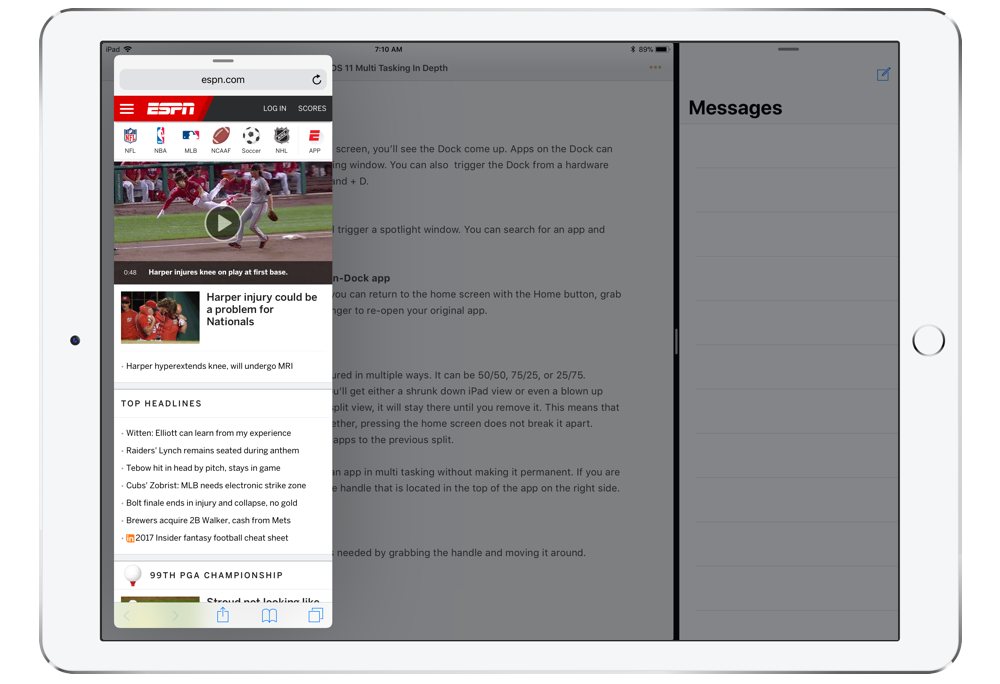
App placement in iOS 11 can be structured in multiple ways. It can be 50/50, 75/25, or 25/75. Depending on which iPad you have, you’ll see either a shrunk down iPad view or even a blown-up iPhone view. Once you add an app to split view, it will stay there until you remove it. This means that if you are using Safari and Byword together, pressing the home screen does not break it apart. Launching either app will restore both apps to the previous split.
Slide over is a way to temporarily use an app in multitasking without making it permanent. If you are already in a split view, you can grab the handle that is located in the top of the app on the right side.

You can slide it over and back again as needed by grabbing the handle and moving it around. You can also use slide over at the same time as you use the traditional split view multitasking as well (3 apps at the same time).

We have more helpful tips right here.
Wait. There’s a Bonus….
Custom Productivity Templates
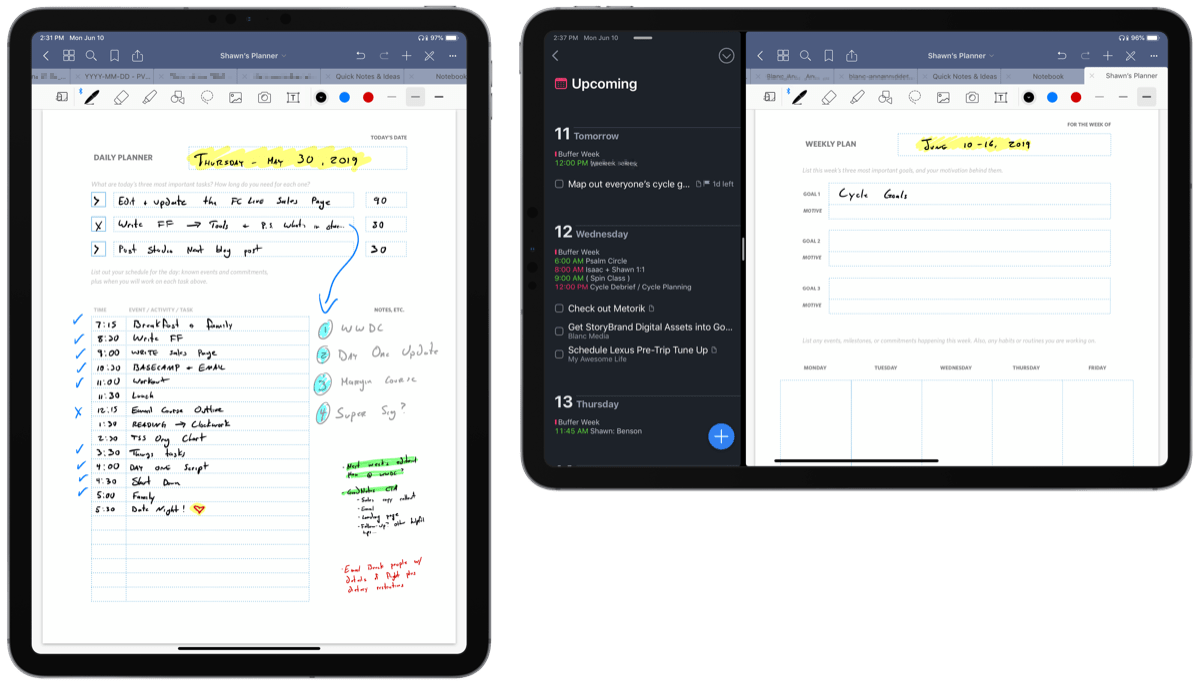
We have a set of custom productivity templates that work well with the iPad app, GoodNotes. And if you want to try them out, we’ve put together a free guide that can help you.
We’ll show you…
- How to create and save custom page templates in GoodNotes.
- How to use those page templates to transform GoodNotes into your own productivity notebook (or any other type of notebook replacement).
Plus, we also have included a couple of our custom productivity templates for you to get started with. These templates are right out of our popular productivity course.

The custom templates and the guide are available for FREE to our email subscriber community. And you can get it right now. By joining the Sweet Setup community you’ll also get access to our other guides, early previews to big new reviews and workflow articles we are working on, weekly roundups of our best content, and more.
