How To Filter Your Day One Entries on the Mac
As I mentioned yesterday, one of Day One’s greatest assets as a journal is the ability to search through its archives. Entries can be tagged and starred for easy access to important dates and important information. Entries are also automatically stamped with the time and date as well as the actual location you were at, creating both a timeline and geographical archive of your entries.
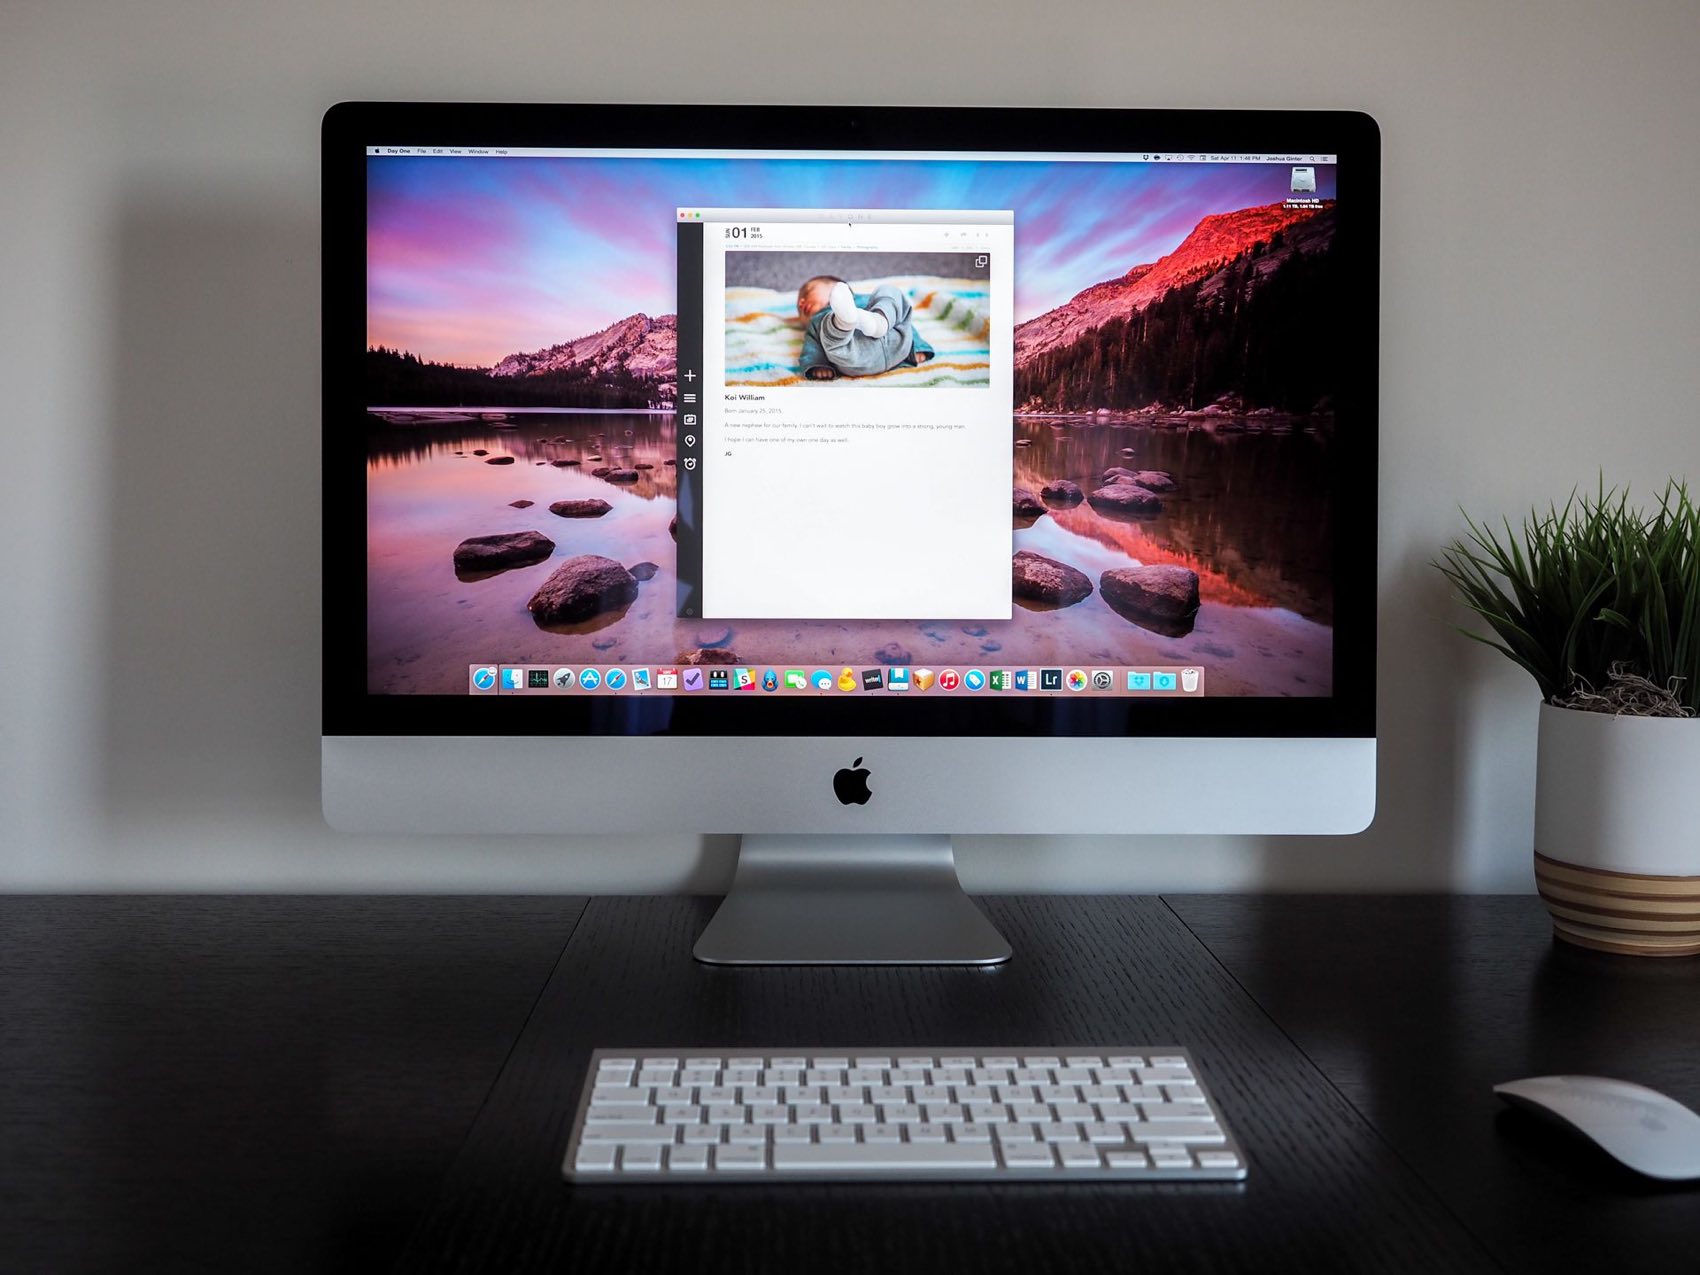
Day One on the Mac has many ways to view and filter your entries. There is a main timeline view (which shows all of your entries in reverse chronological order), a Map view (which shows your entries as blue dots based on their geo-location), and a calendar view (which shows you a calendar and which dates on it have entries).
Today I’m going to show you the many ways you can view and filter your timeline of entries.
Wait! There’s more….
How to Use Day One in Your Life
For a the best journaling app, you won’t do better than Day One. And if you want to discover how to use this app more regularly, and take full advantage of all its features, then we have some video screencasts that can help you.
In our course, Day One in Depth, you get 8 video screencasts that will take you line by line through every feature, setting, preference, and option found in Day One.
We’ll show you…
- Complete walkthrough of the Mac and iOS apps.
- How to create and customize your journal entries (from text, to photo, to audio)
- How to find, filter, export, and more.
Plus! You will get bonus tips, workflows, and tutorials for how best to use Day One to suit your own needs: from a morning writing time to a photographic travel log, to weekly reviews and productivity journaling — Day One can do it all and we will show you how.
We’re going to cover how the timeline works, as well as how you can mix and match for advanced filtering of your timeline view.
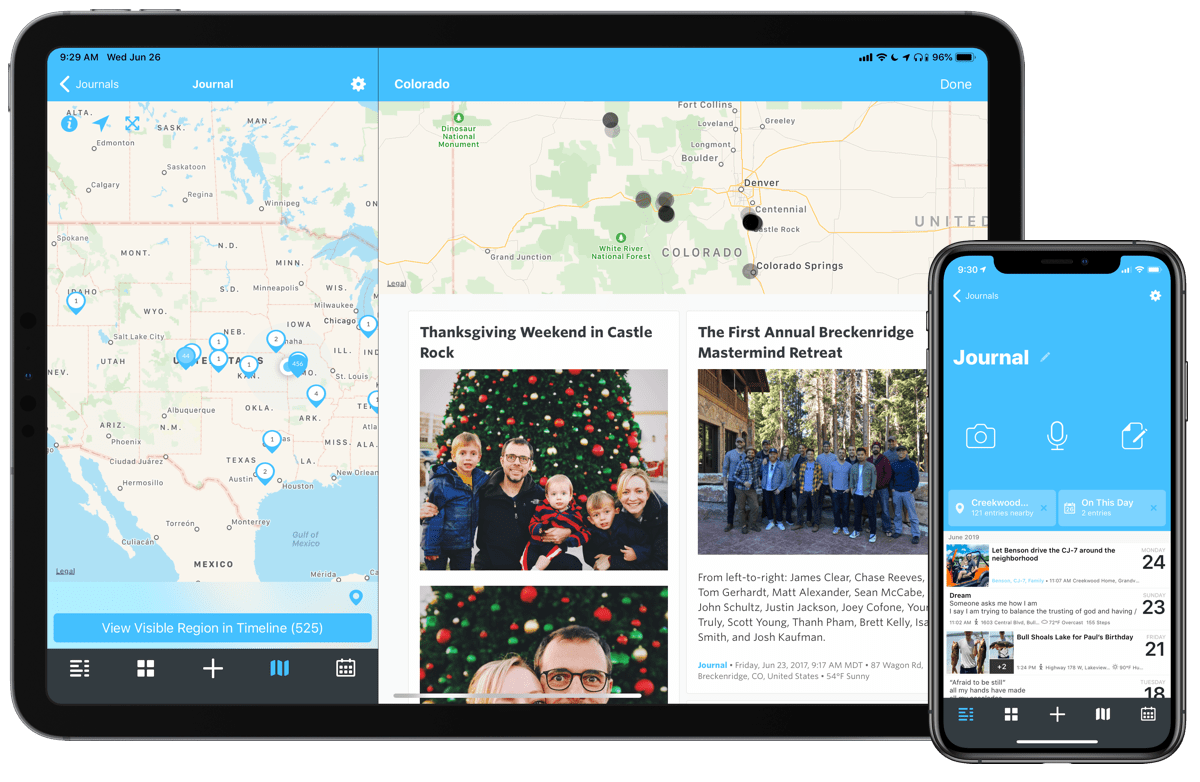
On the iOS apps, it’s pretty straight-forward. From the Day One home screen, you have options to see your whole Timeline, just photos, only entries with a specific tag, only entries that you have Published, only entries you have starred, or only entries from a particular year.
Regarding the photos view, iOS has a leg up on the Mac. The photos view is like your own personal Instagram feed.
But, regarding everything else, the Mac has an advantage. On the Mac, not only can you view entries that match a certain criteria (such as only entries with a specific tag or that you’ve Published, starred, etc.), but you can mix and match these filters to get an even more granular timeline view. It’s one of the most powerful features of Day One.
Also, the Mac has a beautiful Map view that shows you all your entries based on where they were created. If you’ve traveled even just once or twice a year, your Map view will quickly become something special to behold.
- Timeline view
- Calendar view
- Map view
Here we’re going to show you how to mix and match the Day One timeline filters, and explain why you’d want to do this.
Filtering the Main Timeline View
The default timeline view is a very straight-forward, reverse-chronological list. At the top is your most recent entry, and if you were to scroll all the way to the bottom, you would find your very first Day One entry. Note that you can change the sort order to be chronological (oldest on top) by clicking the arrow-shaped logo in the top-right corner of the app.
Day One offers some pretty clever ways to filter this list. And it’s these powerful filtering features that make Day One such a powerful journal and help make a case for using a digital journal. If you remember our section about best practices for using tags, you can use Day One to log and write about literally every area of your life — from personal musings, professional challenges, side-hobbies, exercise statistics, and more.
If (and when) you want to review your past entries, you don’t have to scroll through all of your daily meal-logging entries just to find the entry you wrote two weeks ago about the dream you had. Day One lets you refine and filter the timeline view so that you are only seeing entries that meet a certain criteria (based on date, tag, if they’ve been Published, and if they’ve been starred).
Here’s how: From the timeline view, you can click on any one of the four icons in the top left corner. They are: Filter by date, Filter by Published status, Filter by tag, and Filter by starred.

You can filter by just one of these criteria — such as to see only the entries from 2013 — or, you can combine them and see only the starred entries from 2013, or only the entries you published in 2014, or only the starred entries from 2012 tagged “family,” etc.
Filter by Date
This is how you can narrow your timeline view to show entries that are only from a certain year.
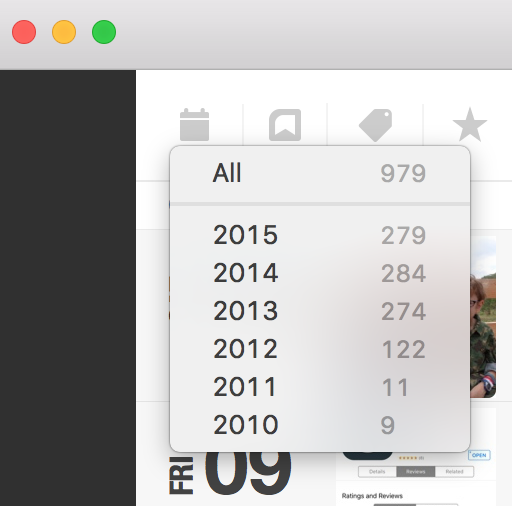
Try clicking the icon for filtering by date and selecting a year other than the current one (assuming you created a journal entry in a previous year). You’ll see the timeline view adjust accordingly.
In the top center of Day One, you’ll notice that in blue text it tells you the year currently being displayed, and underneath that it shows you how many entries and photos are currently part of the filtered year.

While you’re here, click the star icon. You’ll see the timeline adjust again, and now it is showing you only the entries from the year you chose that have also been starred.
To remove the star-based filter, simply click the star icon again. To remove the year-based filter, click the icon for filtering by date and select All. Or, to remove all filters, simply click on the circle with an X icon located to the right of the star icon.
Filter by Published Status
This one’s easy. Simply click the icon that looks like a bookmark and your timeline view will be sorted to only show the entries that you have published to Day One’s Publish service (dayone.me).
Filter by Tag
Tags in Day One can show off just how flexible and accommodating it can be as a “catch all” notebook for your whole life. All you have to do now is filter your timeline view to see only a specific type or category of entry based on your tagging structure.
To filter by tag, click the Tag icon. You’ll get a list that shows all the tags you’re using in Day One. You can select one tag or many. When you do, your timeline will show only the entries containing those tags.
If you select more than one tag, you’re shown any entry that has any of those tags. Choosing “dreams” and “family” shows all the entries tagged “dreams” as well as all the entries tagged “family.” There’s no way to show only the entries that are tagged with both “dreams” and “family.”
To cease filtering the timeline by one or all of the tags you’ve selected, simply click the Tag icon again, and then click either Clear All or the X icon next to the tag you want to remove. And, as mentioned above, you can completely clear the filters by clicking on the circle with an X icon that’s to the right of the Star icon.
Filter by Starred
This one’s also easy. Simply click the icon that looks like a star, and your timeline view will be sorted to only show the entries that you have starred (if any).
Mix and Match For Even More Powerful Filtering
You can mix and combine filter types for more granular results.
Here are some examples of how you can use multiple filters in Day One on the Mac:
- Show only the starred entries from 2011 that are tagged “family.”
- View all your entries about daily progress on your side hobbies so far this year.
- Do an annual retrospective for yourself, or to give to your family. If you were tagging those entries accordingly throughout the year, and at the end of the year chose to see only the year 2015 entries with the tag “family” (or whatever tag you use), then you can export that as a PDF and print it out to share at the holidays. If any of those tags contain photos, then they’ll print out as well.
As you can see, the ability to mix and match the different filters makes Day One on the Mac extremely powerful, and it shows off one of the great advantages of a digital journal.
Wait! There’s more….
How to Use Day One in Your Life
For a the best journaling app, you won’t do better than Day One. And if you want to discover how to use this app more regularly, and take full advantage of all its features, then we have some video screencasts that can help you.
In our course, Day One in Depth, you get 8 video screencasts that will take you line by line through every feature, setting, preference, and option found in Day One.
We’ll show you…
- Complete walkthrough of the Mac and iOS apps.
- How to create and customize your journal entries (from text, to photo, to audio)
- How to find, filter, export, and more.
Plus! You will get bonus tips, workflows, and tutorials for how best to use Day One to suit your own needs: from a morning writing time to a photographic travel log, to weekly reviews and productivity journaling — Day One can do it all and we will show you how.