A Few Thoughts on the New iPhone XS Camera
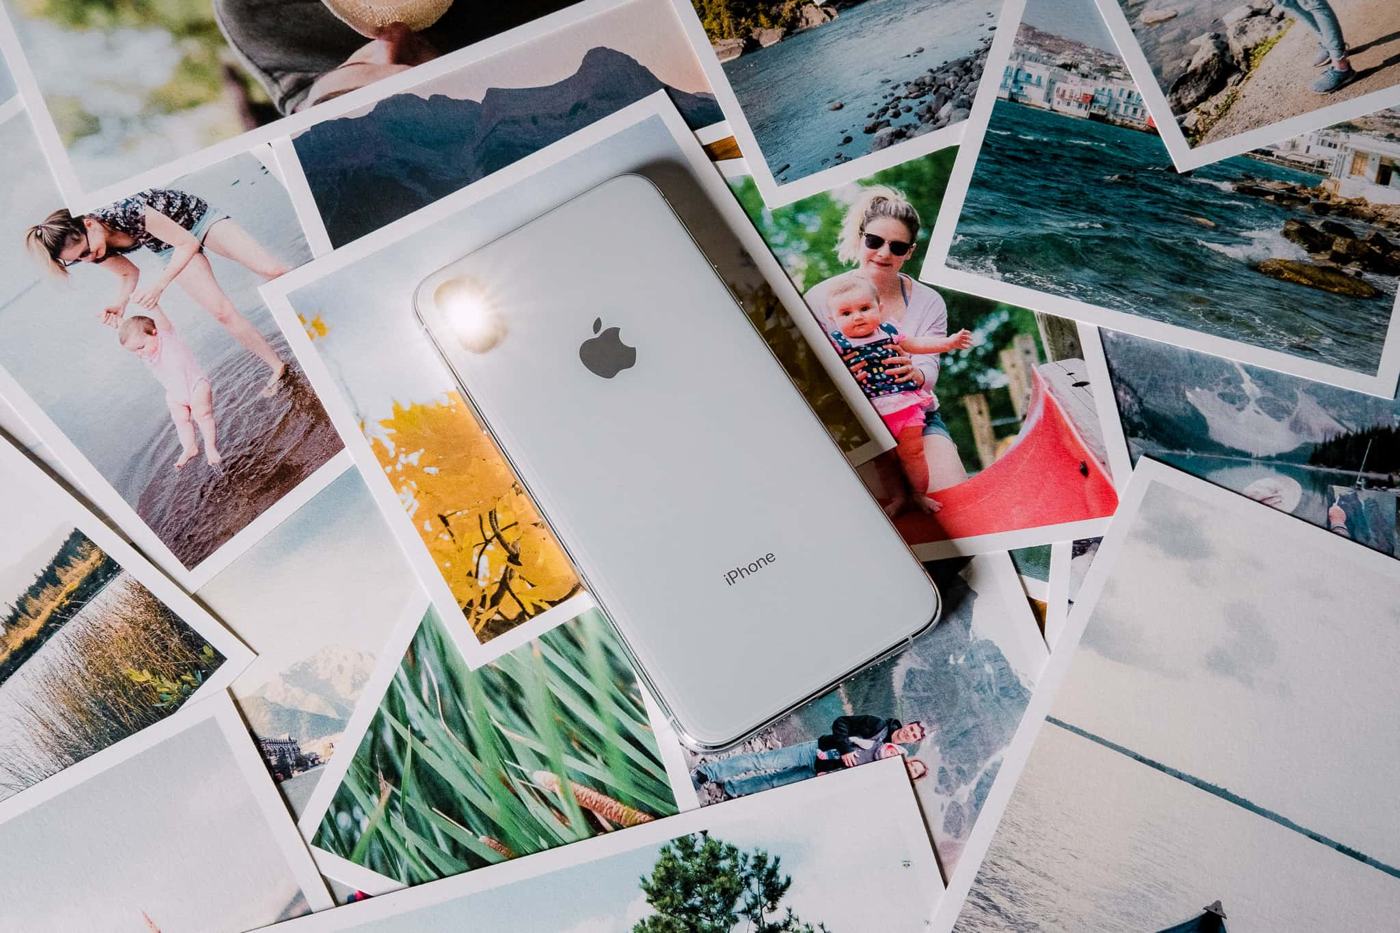
I recently traded in my iPhone X for the XS, and it feels like a much bigger difference when it comes to the camera, than past steps up, and I have mixed feelings about it. On the one hand, I feel a certain loyalty to iPhone, because it was kind of my first love when I picked up photography, and getting to be part of Apple’s World Gallery was one of the most memorable experiences of my life. On the other, I’m not sure I like some of the camera’s changes, or if I’m just not used to them yet. So, I come into this already wanting to love it, yet I feel a bit conflicted. Maybe it’s that I’m simply already spoiled: iPhone cameras have been excellent for so long that I take it for granted.
Get Our Best Photography Tips & Workflows
Transform your photos and edits from average to awesome with our in-depth, mobile photography course. It’s jam-packed with training, ideas, and lessons that can literally transform your photography overnight.
I’ll start with an update I really like: the adjustable bokeh feature on portrait mode. This was the thing I was most excited for with the XS. In the past, I’ve used the Focos app, to exaggerate and change the shape of the portrait mode bokeh in my iPhone 7+ and iPhone X shots, so I think it’s cool that I can now adjust the strength of the bokeh in my portrait mode shots, right in my photo, by just tapping “edit” and moving the slider that appears. I think the effect is not perfect, but pretty good and fun to play with.
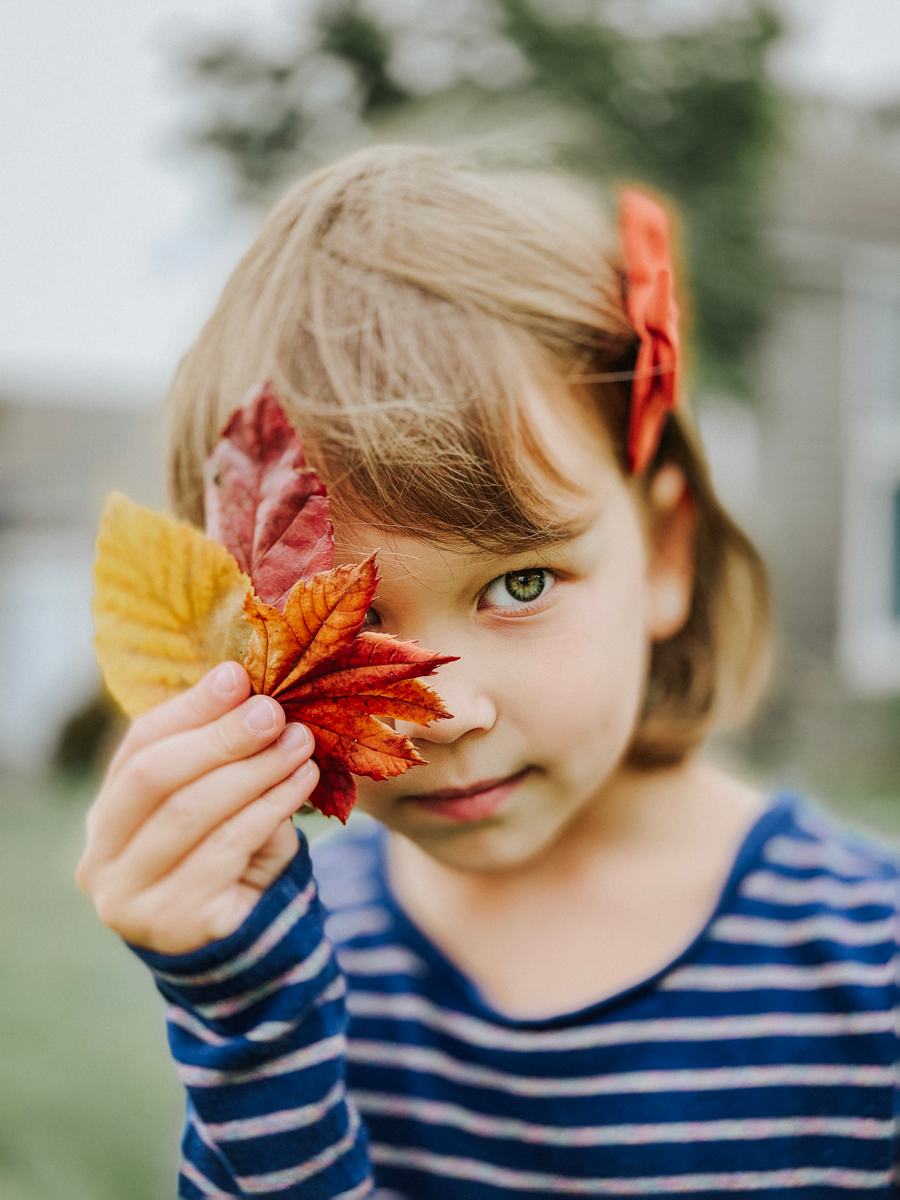
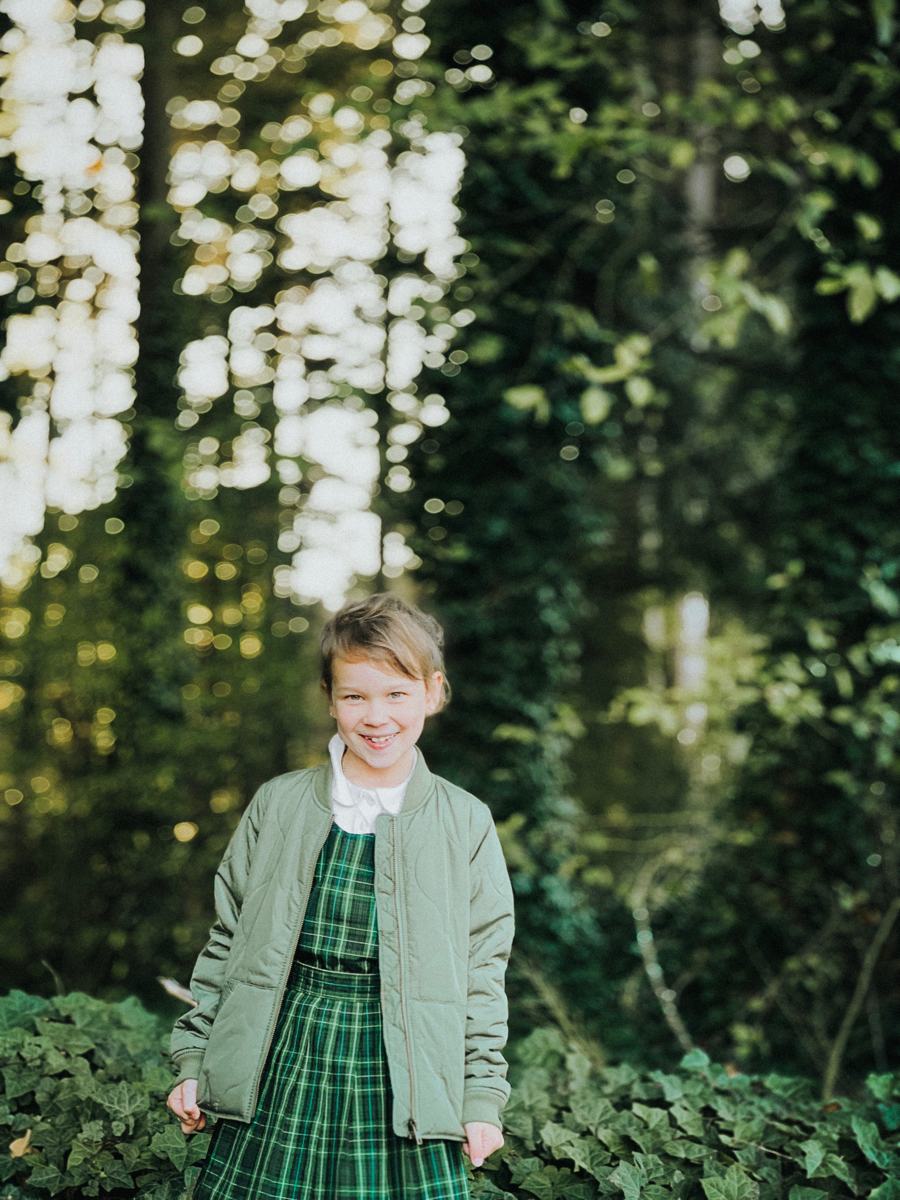
In the portrait above, I applied the full f1.4 bokeh strength in the native edit feature. You can see that it REALLY blurred the image, with just a narrow line of focus, similar to how my 86mm (equivalent) lens would in a portrait taken up-close at f1.4. Personally, I love it. I love how dreamy it made this shot look, and I happen to love shooting wide open, as well as freelensing (removing the lens and tilting it to create exaggerated blur in an image), so this effect is right up my alley.
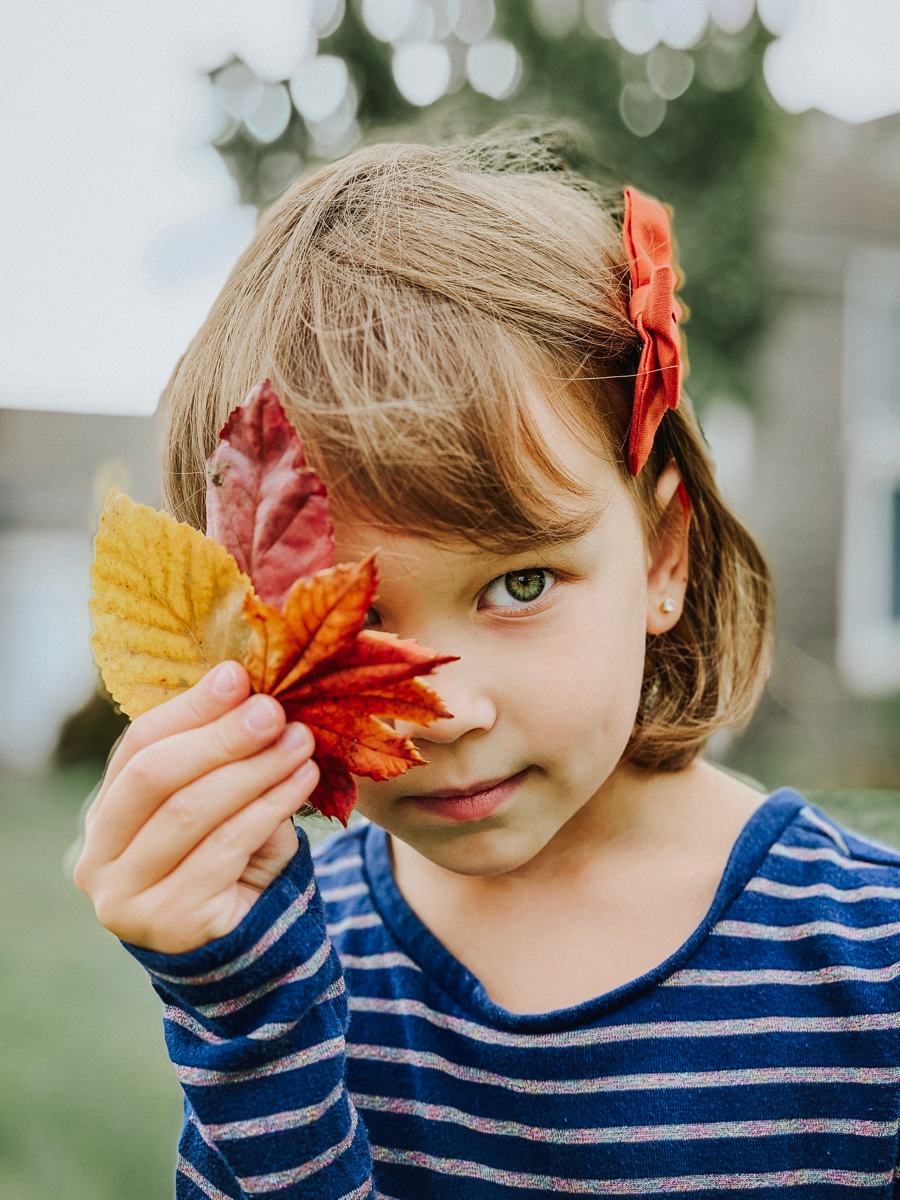
Out of curiosity, I also put the same image into Focos to see how it would be different, and interestingly, even when Focos app said it was what they believe was f1.4, the depth of field was deeper, and the blur wasn’t as soft. While the new blur feature built into the edit function blurred part of her face, some of the leaves, part of her hand, her dress, and most of her hair, Focos kept most of those things in focus. I could have kept more of that in focus with the native app if I wouldn’t have slid it all the way to f1.4, but I wanted a super-blur, and feel like the new iPhone XS feature did a better job, especially around the edges of the leaves and her hair. Neither blur effect is perfect, but here, Apple more closely represented what such a shallow depth of field on a prime lens would do to this portrait.
However, in a couple more Focos vs. Apple comparisons, I liked what the new adjustable portrait mode feature did, but I preferred what Focos did. Below is an iPhone XS shot I took at a coffee shop. The first version is the one I edited using Apple’s feature, which I left at the f4.5 it defaults to when using portrait mode. The second is what Focos said f4.5 was, and the third is what I preferred: what Focos said f2.8 looks like.


Clearly, the blur feature is more exaggerated in the native camera’s new edit feature than it is with the Focos app; however, the bokeh is more pronounced with Focos. Apple’s own blur feature leaves the bokeh flatter, softer, and lower in contrast. I didn’t like the way the iPhone’s own version completely took the detail out of the leaves on the ground through the window, and much preferred the way Focos handled the background.
I think for me, when it comes to selecting one blur effect over the other, it will just depend on a couple of factors, the first being ease. It’s the same reason I shoot with the native app instead of opening up Halide or any other great apps for shooting RAW — it takes too long. I like to just swipe and shoot, and the native app is there for me. So, in the same vein, it’s much easier for me to simply tap “edit” and slide than to open up Focos and apply the blur features there. Focos does give me a lot more options with the blur itself, but it’s still easier and quicker to use the native feature.
The other factor that will help me decide is the knowing the look I’m seeking. For photos such as the up-close portrait of my daughter above, I love that super shallow depth of field and how soft the edges are, and I found it to be more accurate, so I would use the native app to attain that. However, for images like the coffee cup and like the forest scene below, I prefer Focos.
Below, the second, image was done in Focos (f2.8), compared to the first where I applied the built-in blur adjustment feature (f2.8). I think the light sparkles more in the bokeh in the Focos version, and is far more blurred and flat in the Apple version. I also sometimes don’t like the shape of Apple’s bokeh, which tends to be more perfectly round. I like that with Focos I can select different classic shapes.
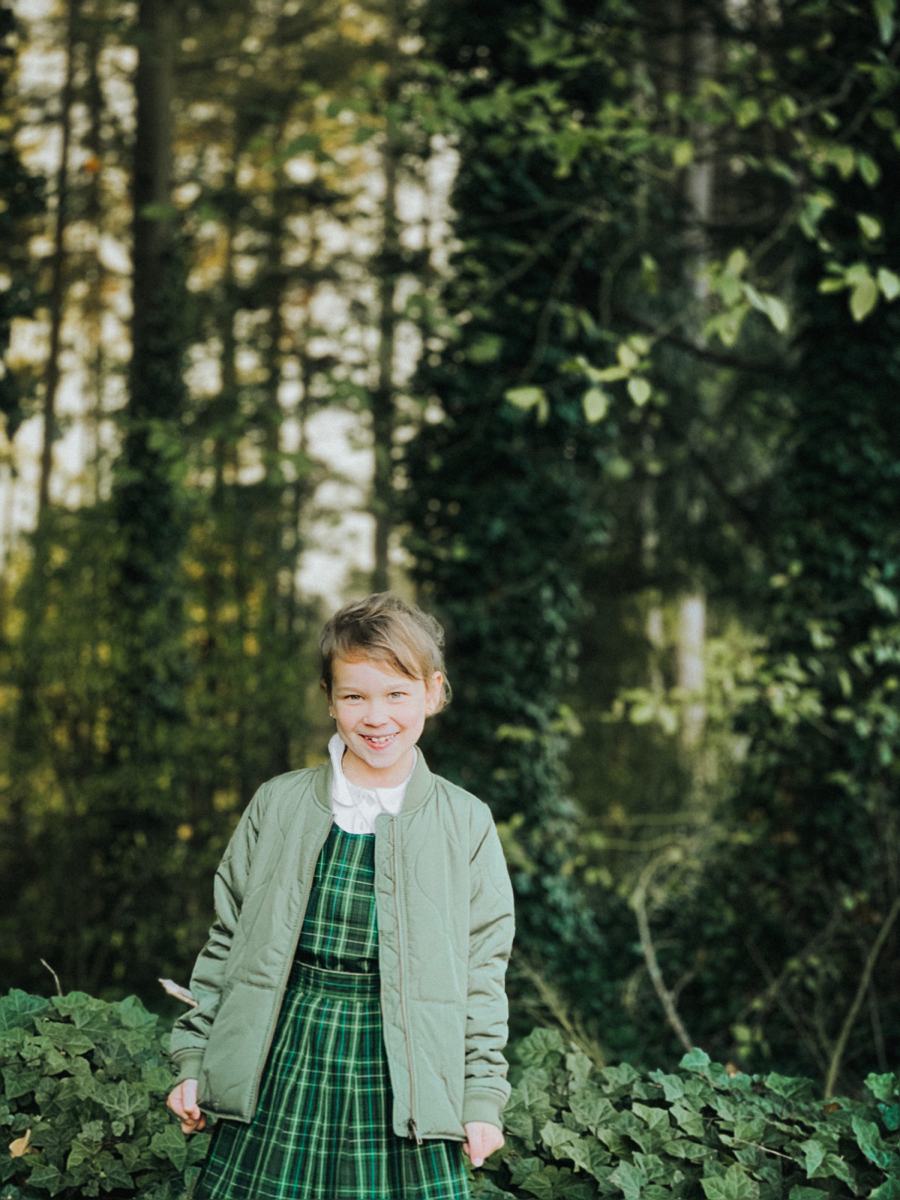
This shot above brings me to the next new feature: Smart HDR. I shot the above photo with it turned on, and I can’t say I love it. For me, it doesn’t make a whole lot of visual difference when I’m shooting, and that very well could be by default. I almost always underexpose my shots so I don’t blow out the highlights anyway, but I noticed it did weird things to highlighted, especially white, areas. Take a look at the SOOC version of the forest shot below, and look at her shirt collar.
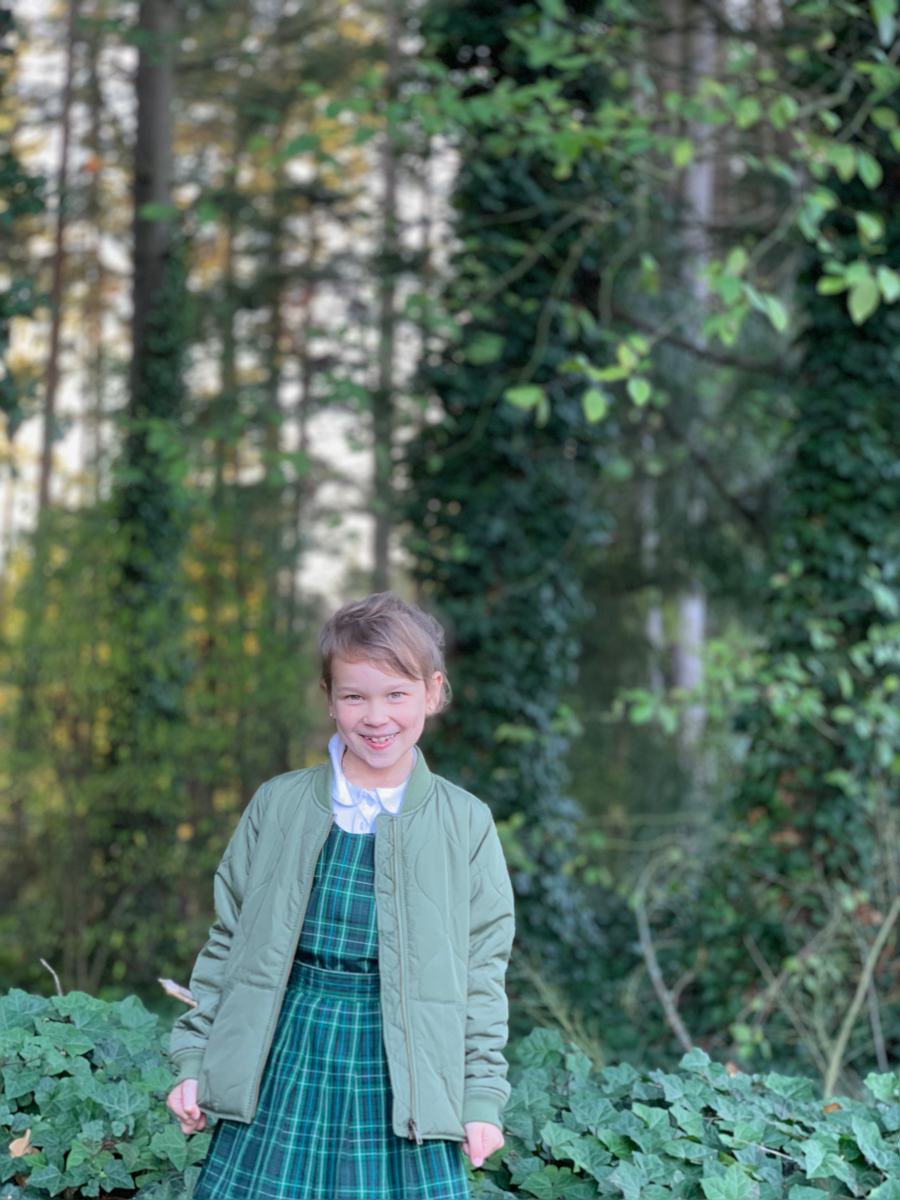
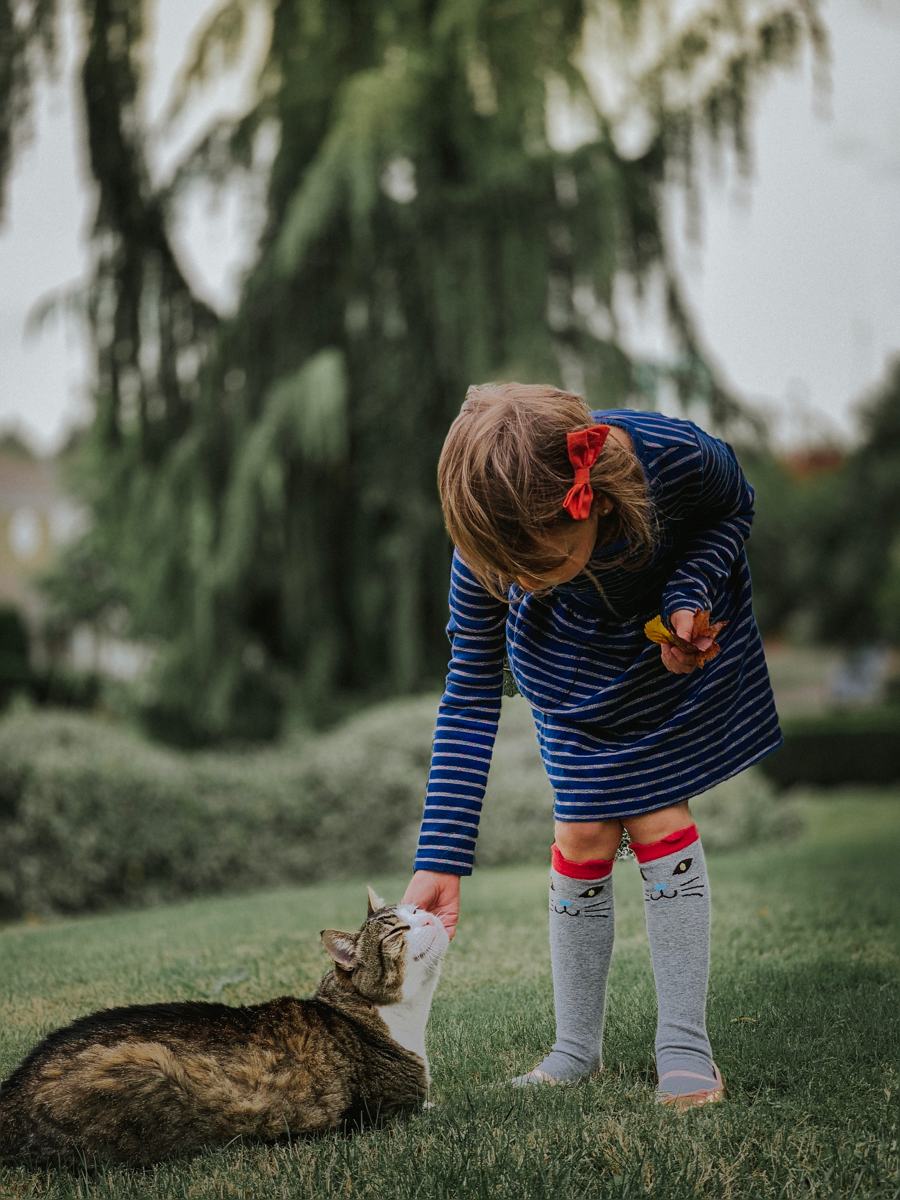
It’s FREAKING BLUE. I underexposed to try and get it to stop doing that, but no matter what I did, it came out blue. It took a lot of correcting in Lightroom Mobile to fix it, and that was the last straw: I turned Smart HDR off. Even with Smart HDR off, I’m having trouble with other white or bright things, like my cat’s face. I underexposed the image below, and again, no matter what I did, his face was blown out (look at the bridge of his nose to see what I mean).
You’ll also notice between her arm and body and between her legs, portrait mode missed areas that should have had depth blur applied. Portrait mode still struggles with edges and in between limbs, around hair, etc. as it has previously, though I do feel like it’s slightly better at it this go around.
I’ve noticed that a lot with this new phone’s camera, I have to underexpose dramatically, far more than with previous phones, to get hot spots to go away, and by then the rest of the image is too dark to salvage. Take the video of me live-shooting the image below: I had to underexpose almost all the way to prevent the back of her nightgown from being blown out in the light. I think in an effort to improve the dynamic range, and perhaps to correct the auto overexposure that happened with previous iPhones and to try to more perfectly expose, this weird refusal to lower the highlights in certain areas is the byproduct.
Another thing I do like about the new XS camera is its low light performance. I wouldn’t say that it necessarily does a noticeably better job in low light overall, but because it has this new noise reduction thing going on (the reason selfies look super smooth and filtered now), faces and shadows alike are smoother in portrait mode. So truly, better here just means less noise.
Overall, I think I like the new camera on the iPhone XS. I’m still getting used to it. I don’t love smart HDR right now, but I have a lot of fun playing with portrait mode and being able to adjust it, and I know the enhanced dynamic range will come in handy when I shoot trickier light situations. The over-blur that sometimes happens now as a result of the noise reduction can be a bit much, but I just add a little grain if I feel it goes overboard, and it’s nice that dark shadows aren’t as noisy because of it. I also like that Apple is trying to improve auto exposure, even if it misses the mark sometimes. I like that it’s in an effort to help everyone get properly-exposed shots. I like that portrait mode keeps getting better and that I can now emulate the look of a prime lens with a device that fits in my pocket. And that is why, deep down, more than for my own sentimental reasons, I will always love the iPhone: It’s a powerful, accessable, and unintimidating camera.
And I believe photography is for everyone.
Get Our Best Photography Tips & Workflows
Transform your photos and edits from average to awesome with our in-depth, mobile photography course. It’s jam-packed with training, ideas, and lessons that can literally transform your photography overnight.