How to Manage Do Not Disturb Settings on your iPhone, iPad, and Mac
December 4, 2014
Do Not Disturb is actually one of my favorite iOS features. With group iMessages and push notifications, my iPhone can feel like it’s going to vibrate off the table sometimes. Do Not Disturb allows you to completely silence your iPhone for meetings, movies, etc. You can access it by going to Settings → Do Not Disturb.
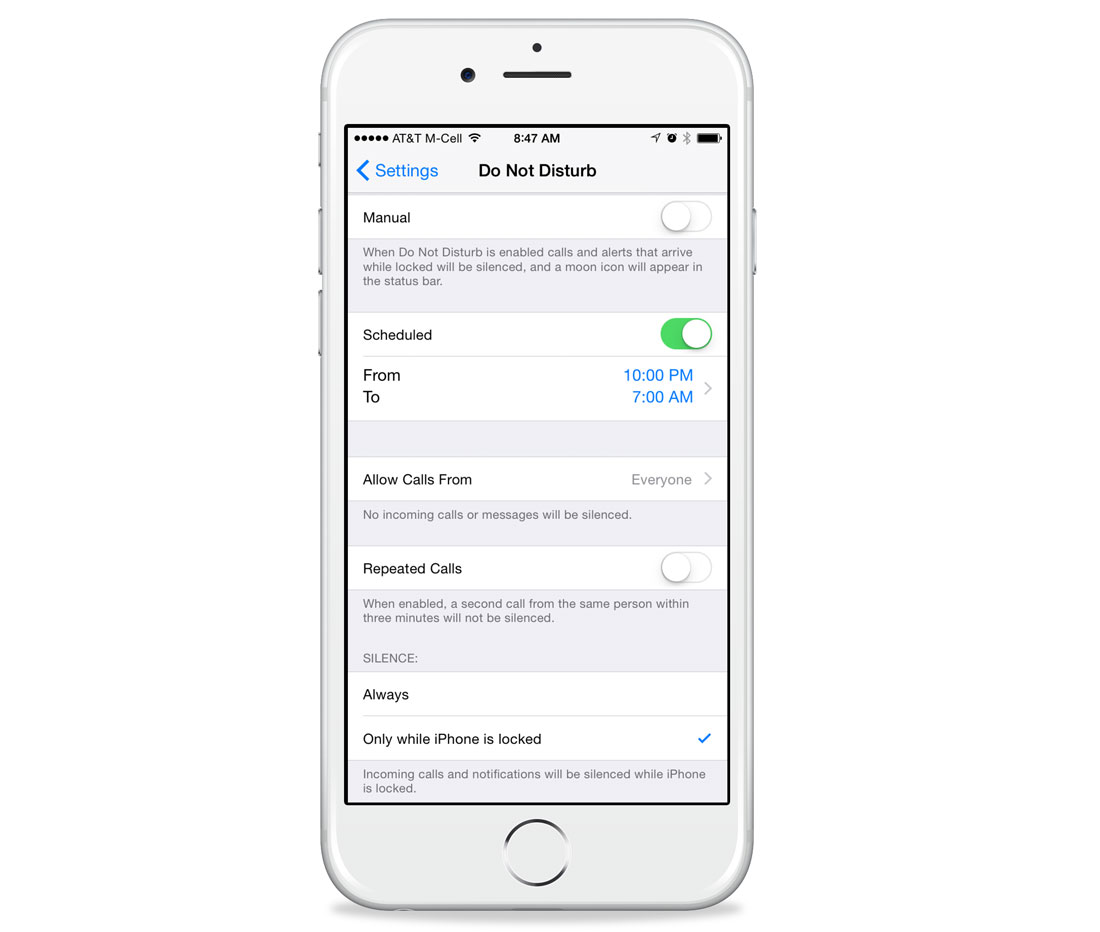
Inside the Do Not Disturb settings screen are quite a few options:
- Manual is a quick toggle for Do Not Disturb. You can also access it from the iOS Control Center (the crescent moon icon).
- Scheduled is where you can control an automatic schedule. I have mine set for 10:00 PM to 7:00 AM.
- Allow Calls From allows you to select various types of contacts (groups, favorites, no one). I have mine set to Favorites only.
- Repeated calls is a great feature for parents of teenage drivers. If the same number calls you a second time within three minutes, it will allow the call to go through.
- Silence will allow you to silence notifications all of the time or only when the phone is locked. The always option is great if you often read books on your iOS device before bed. This will silence all notifications even if you are using the device.
As great as iOS devices are, they often become overloaded with vibrations, dings, and banners. Do Not Disturb allows you to regain control of when you want to be notified.
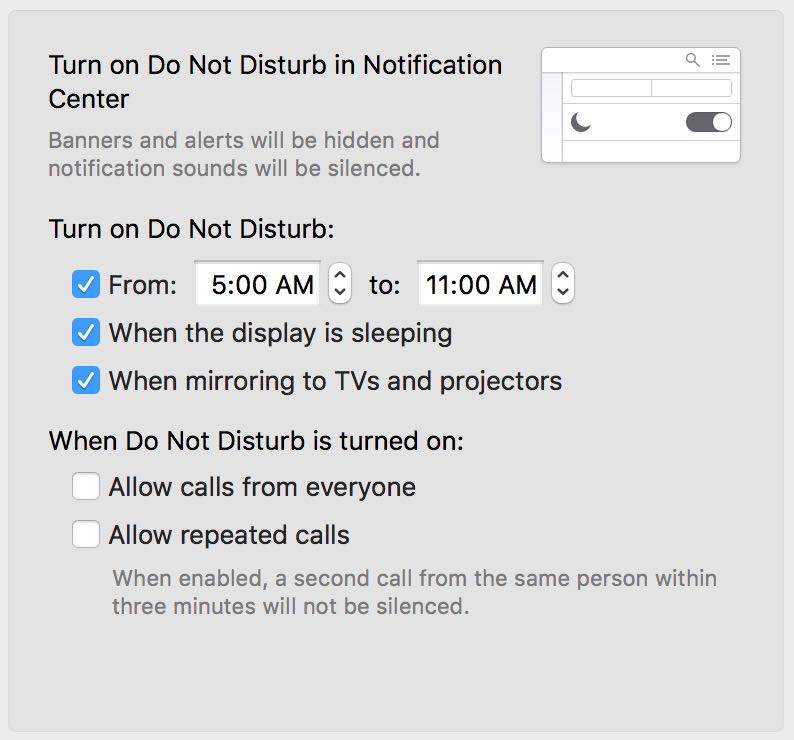
You can also set your Mac’s Do Not Disturb schedule. Just go to System Preferences → Notifications.
We have more Quick Tips right here.